
Apple Pie Filling
This post may contain affiliate links. Read the full disclosure here.
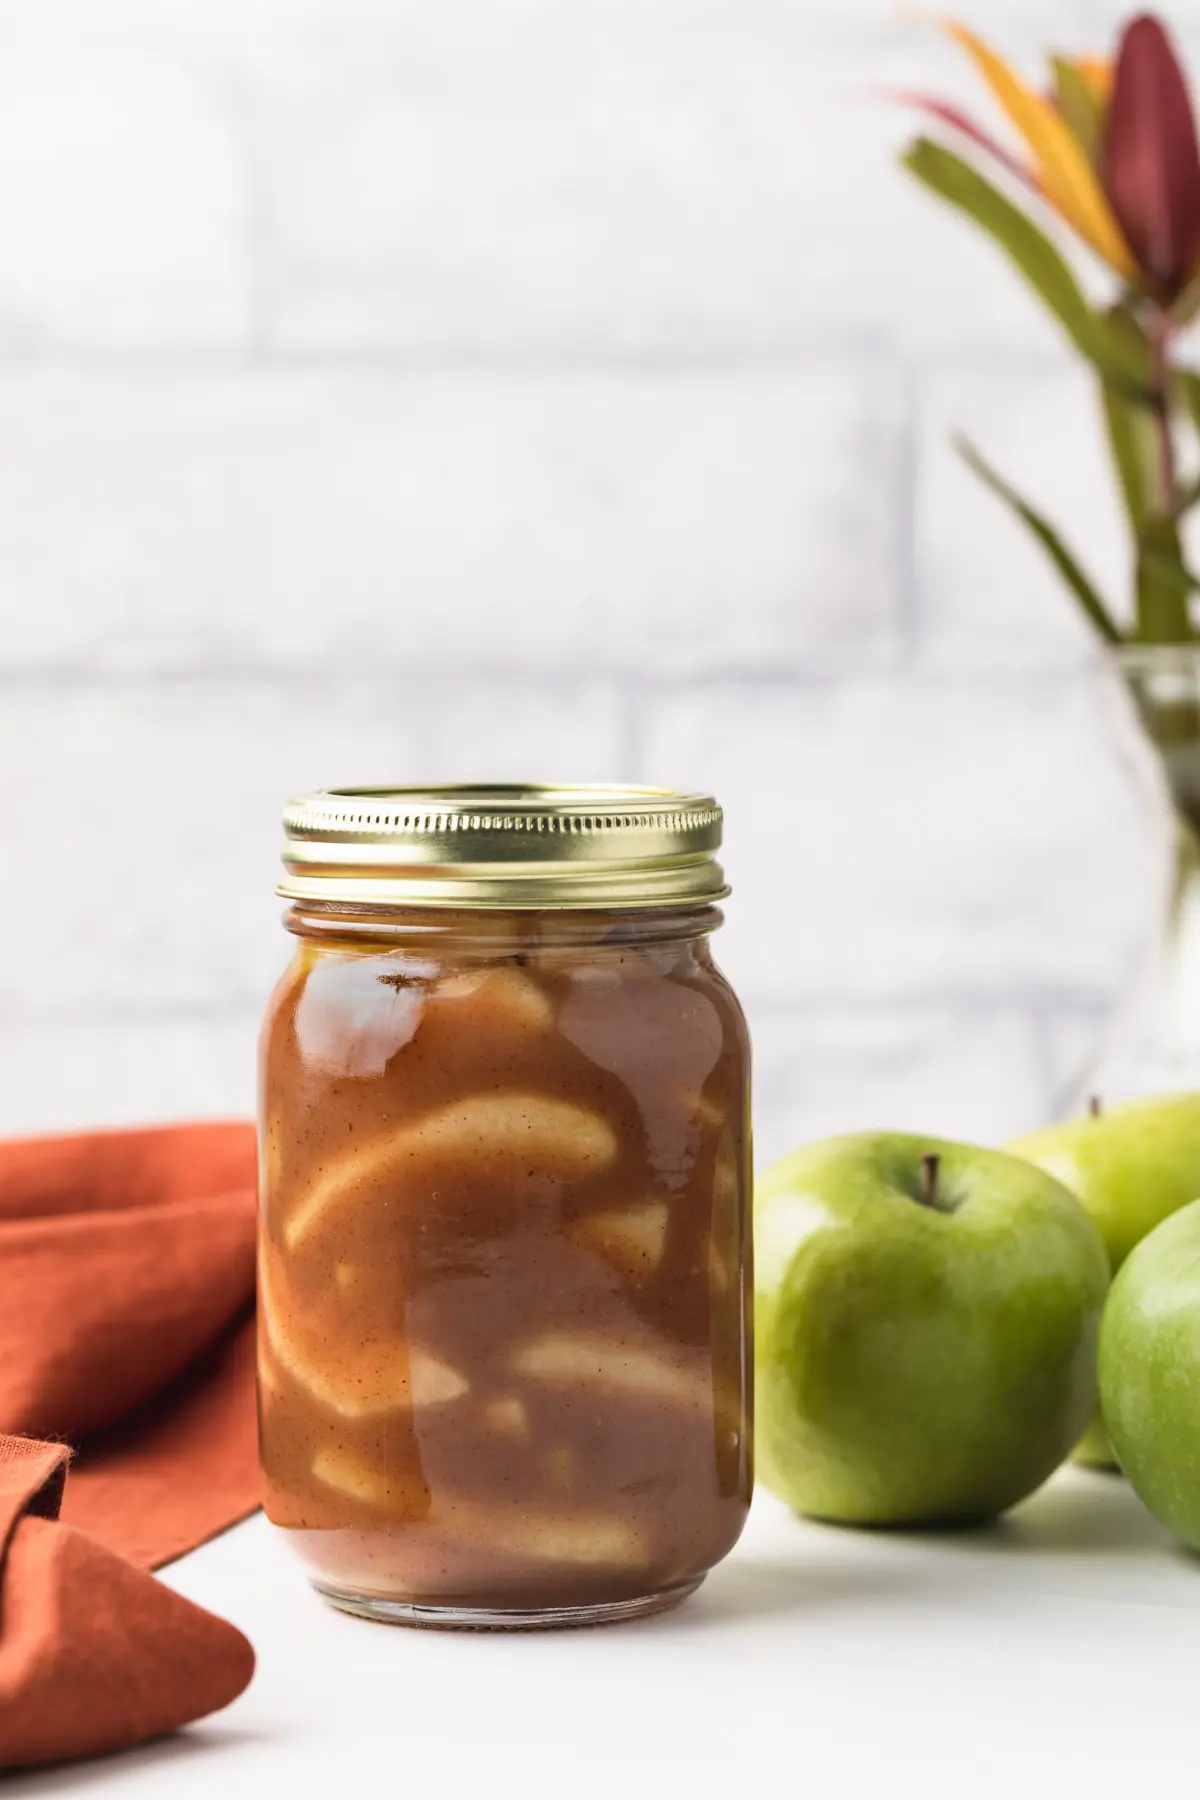
This apple pie filling recipe features tender syrupy apples with hints of cinnamon. This recipe is better than storebought pie filling and is great to have on hand when you need to quickly make a pie.
This homemade apple pie filling is so perfect for fall. It’s a super simple recipe that takes no time at all to put together. Keep it stashed away in the freezer to use when you need a quick filling for an apple strudel, apple pie, apple spice cupcakes, or apple streusel bars.
I chose to thicken the filling with a roux instead of cornstarch. This creates a thick syrupy consistency that won’t become grossly congealed once cooled. This is what makes my apple pie filling so much better than the canned pie filling.
You can do so much with this filling too. Try using it in pop-tarts or on top of cheesecake. You could even add a crumble topping and serve it with ice cream!
The possibilities are limitless.
Why this recipe works
- A roux made from butter, flour, and apple cider thickens the filling and adds flavor.
- Golden Delicious apples offer a sweet flavor and the apples hold up well to cooking.
- The filling can be made ahead and kept frozen for later use.
Apple pie filling recipe
I love a good apple pie. My favorites are brown butter apple pie and caramel apple pie. And having a great tasting pie filling on hand saves me so much time when I’m in the mood to make a pie.
I love being able to whip up my perfect pie crust, toss in the homemade filling, and bake it. It takes less time to bake because the apples are soft from precooking. You’re just baking it to cook and brown the crust.
I give instructions on how to bake an apple pie with homemade filling down below in the recipe. But, feel free to get creative with how you use it. It’s meant for more than just pies!
Ingredients
See the printable recipe down below for the ingredient amounts.
- Apples: You can use any variety of apple you choose. I used Golden Delicious for the development of the recipe.
- Lemon juice: A splash of lemon juice will help prevent the apples from oxidizing.
- Butter: Unsalted butter is recommended so you can control the amount of salt in the recipe.
- Flour: Plain all-purpose flour is all you need.
- Apple cider: Apple cider has the best flavor but apple juice can also be used.
- Sugar: Regular granulated sugar is what I chose to use but brown sugar or a combination of both is also great.
- Cinnamon & Salt: I kept the spices simple. You can play around here and add nutmeg, cloves, ginger, allspice, or any other spice you think will taste good.
To make this filling you’ll need:
- Saucepan: A large saucepan is used to cook the filling.
- Whisk: A balloon whisk is needed for making the roux.
- Jars: If you plan to store the filling for later, a jar or ziptop bag works best.
How to make apple pie filling
The Filling – The filling starts with a roux, then apples, sugar, and spices are added and cooked until thick and tender.

Step 1: Make the roux
For the roux, melt butter in a large saucepan. Once melted, whisk in the flour and cook for 5-7 minutes. Keep whisking while the flour cooks. This helps to brown the flour and add flavor.
When the flour begins to brown, slowly pour in apple cider while whisking continuously to remove any clumps. The mixture will be thick like gravy.
Step 2: Make the filling
Add the apples, sugar, cinnamon, and salt. Stir everything together and let simmer for 10-15 minutes. I like to cook it just until the apples begin to soften.
The longer you cook it, the thicker the filling will be.
ⓘ Dice the apple smaller. Depending on how you plan to use the filling, you may wish to dice the apples instead of slicing them.
Allow the filling to cool completely before using it. Once cooled, you can use it in a recipe for transfer it to a freezer-safe container and freeze for later use.

How to store homemade apple pie filling
Allow the filling to cool completely before storing.
Refrigerator: Transfer the filling to clean glass jars and seal tightly. Keep refrigerated for up to 5 days.
Freezer: Transfer the filling to a ziptop freezer bag and keep frozen for up to 2 months. When ready to use, thaw overnight in the refrigerator.

If you like apples, you’ll love these other apple recipes:
Apple Pie Filling

Ingredients
- 2 ½ pounds (1132 g) Golden Delicious Apples, peeled and sliced – about 7 medium apples
- 1 tablespoon fresh lemon juice
- ¼ cup (56 g) unsalted butter
- ¼ cup (32 g) all-purpose flour
- 1 ½ cups (360 ml) apple cider, or apple juice
- ¾ cup (150 g) granulated sugar
- 2 teaspoon ground cinnamon
- ⅛ teaspoon salt
Instructions
- In a medium bowl, toss the apples with lemon juice until evenly coated. Set aside.
- In a medium saucepan, melt the butter over medium-high heat.
- Whisk in the flour and cook until the flour begins to brown, about 5 minutes while whisking continuously.
- Slowly whisk in the apple cider making sure to break up any lumps of flour.
- Stir in the apples, sugar, cinnamon, and salt.
- Bring to a boil then reduce the heat and simmer for 10-15 minutes, until apples are tender and the sauce has thickened.
- Allow the filling to cool completely before using in a recipe or storing for later use.
Notes
- Use any variety of apple or combination of apples you prefer.
- Dice or chop the apples if don’t prefer the large slices.
- Store in glass jars in the refrigerator for up to 5 days.
- Or store in zip-top freezer bags in the freezer for up to 2 months. Thaw in the refrigerator overnight before using.
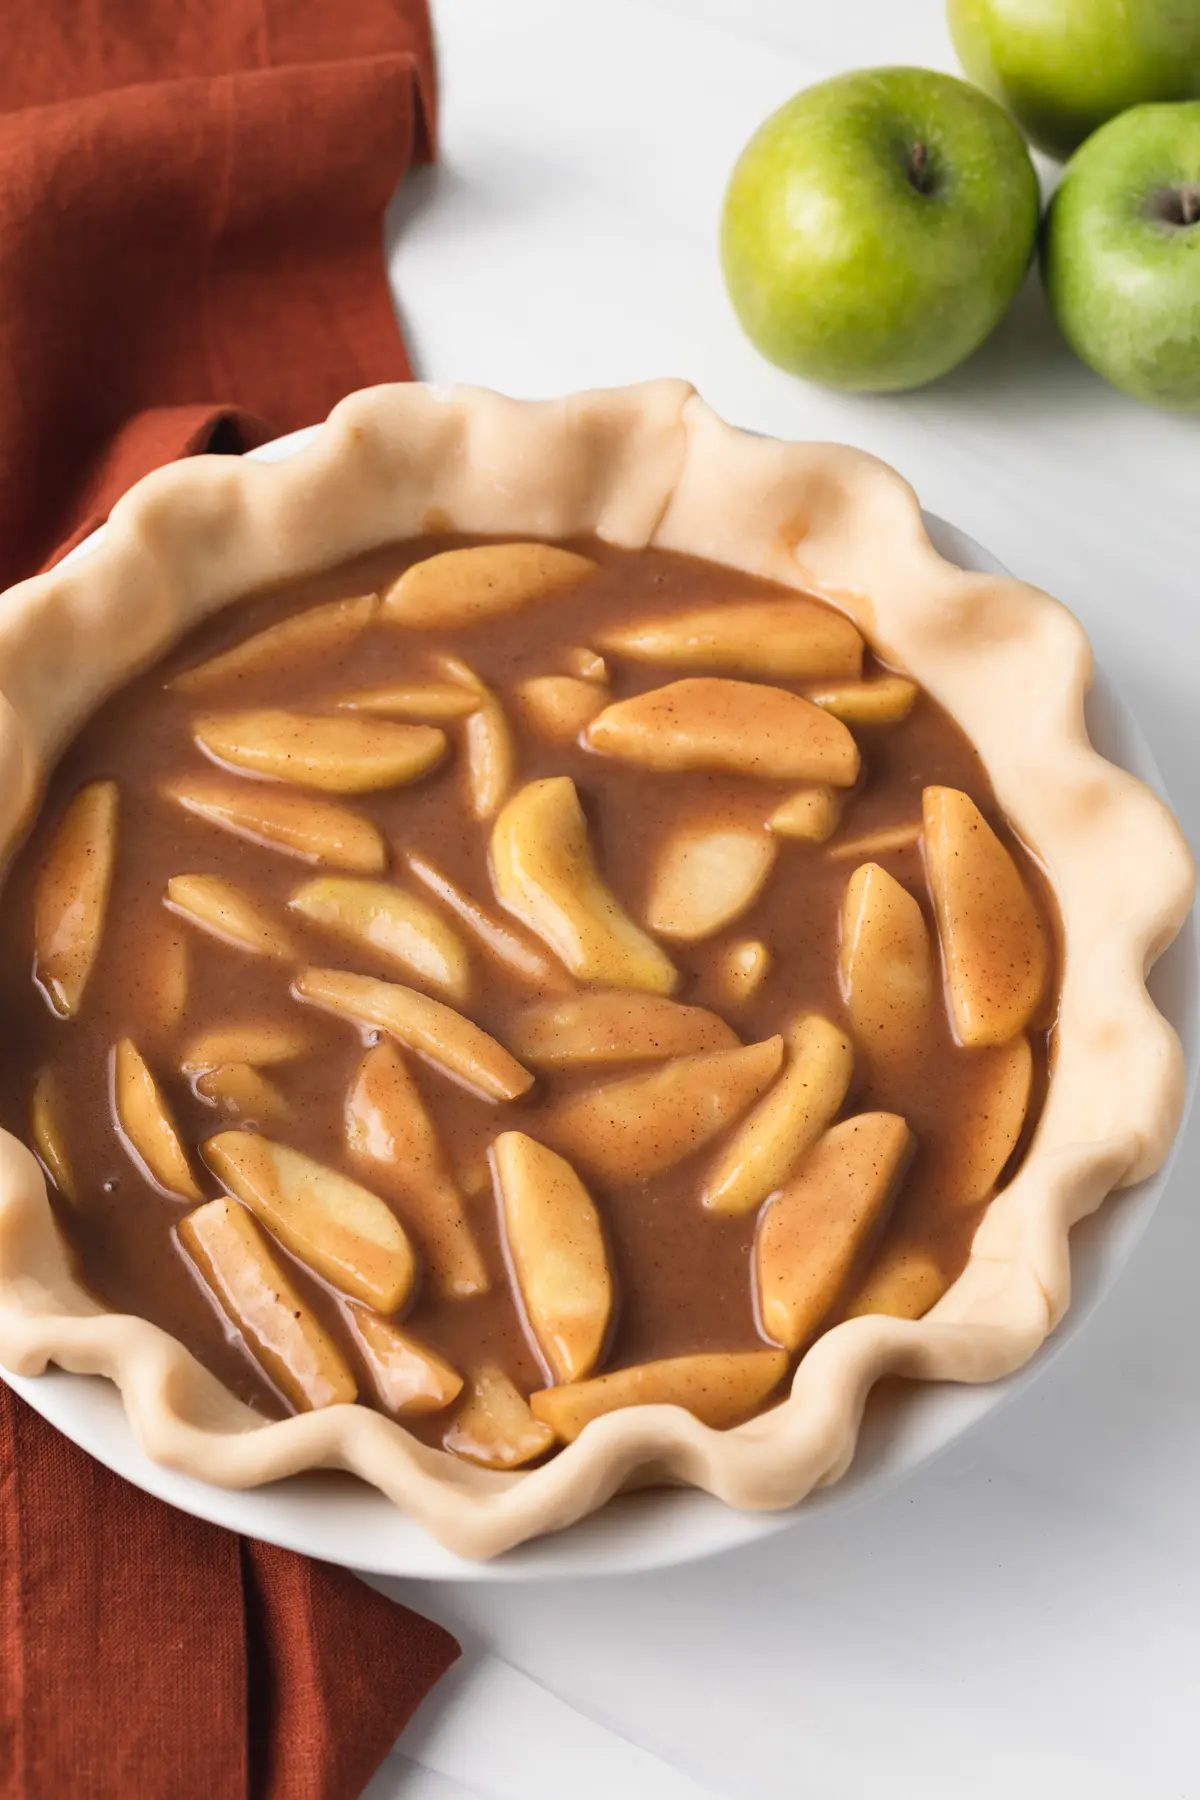
- Preheat the oven to 425°F. Line a 9-inch pie plate with a store-bought or homemade pie crust.
- Pour the apple pie filling into the pie crust. Top with a second pie crust. Flute the edges as desired.
- Bake for 40-45 minutes until the crust is golden brown and the filling is bubbling.
- Remove from the oven and cool completely before serving.
Nutrition
The nutrition information provided is for convenience and as a courtesy only. It is not guaranteed to be accurate because nutrition information can vary for a variety of reasons. For precise nutritional data use your preferred nutrition calculator and input the exact ingredients and brands you used in the recipe.
Wow!! This is the PERFECT Apple 🍏 Pie Filling! It’s delicious right out of the pot! This will be my go-to recipe from now on! SO GOOD thank you!!
So so convenient
I used this recipe to make a tart cherry pie filling. I just changed out the apple cider for water and didn’t use cinnamon. It came out great!
Can you can this like you do jams??
I’m sure you could but I don’t have advice on canning since I’m no canning expert.
Can you freeze in the glass jar?
I don’t recommend freezing in glass jars. To freeze, transfer the cooled filling to a ziptop freezer bag and keep frozen for up to 2 months.
I am going to try this one I will let you know how it turns out, thanks.
I hope you like it!