Strawberry Cheesecake
This post may contain affiliate links. Read the full disclosure here.
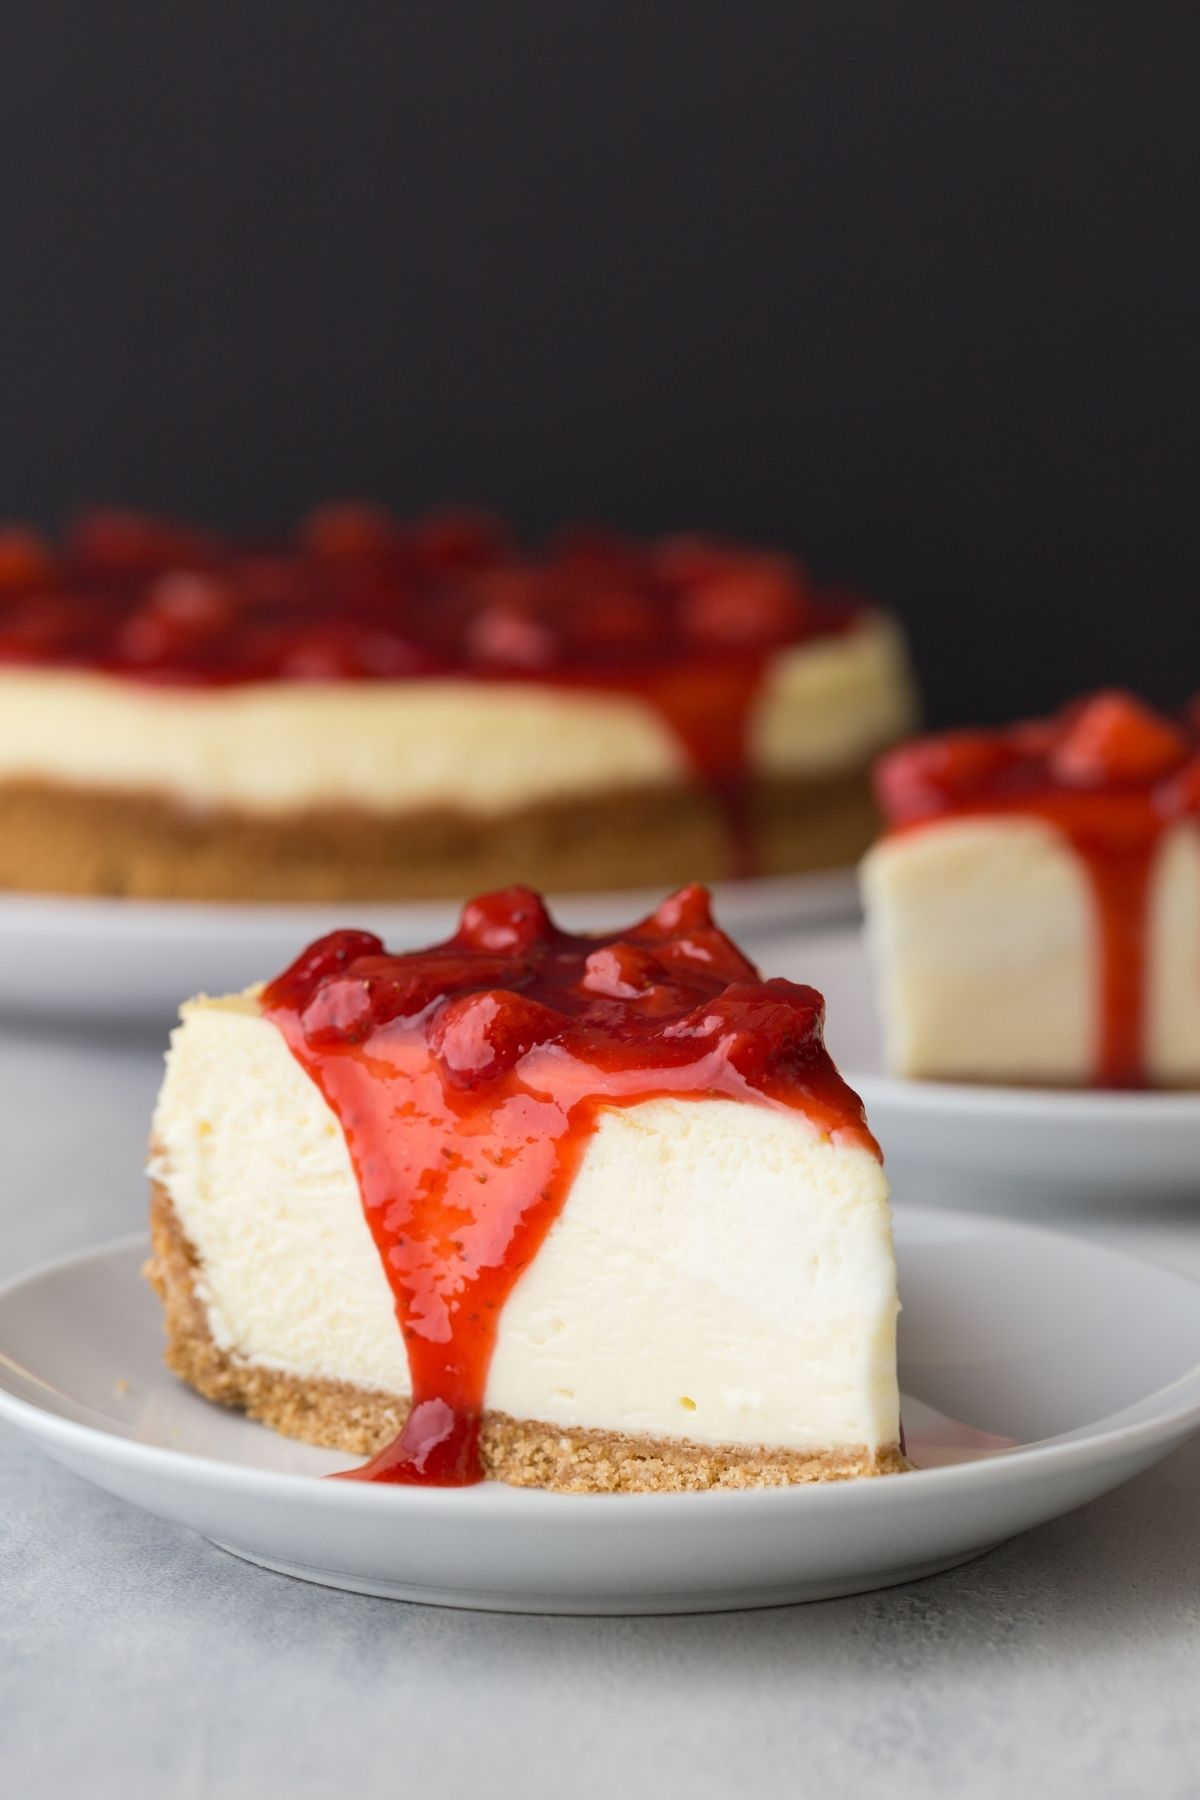
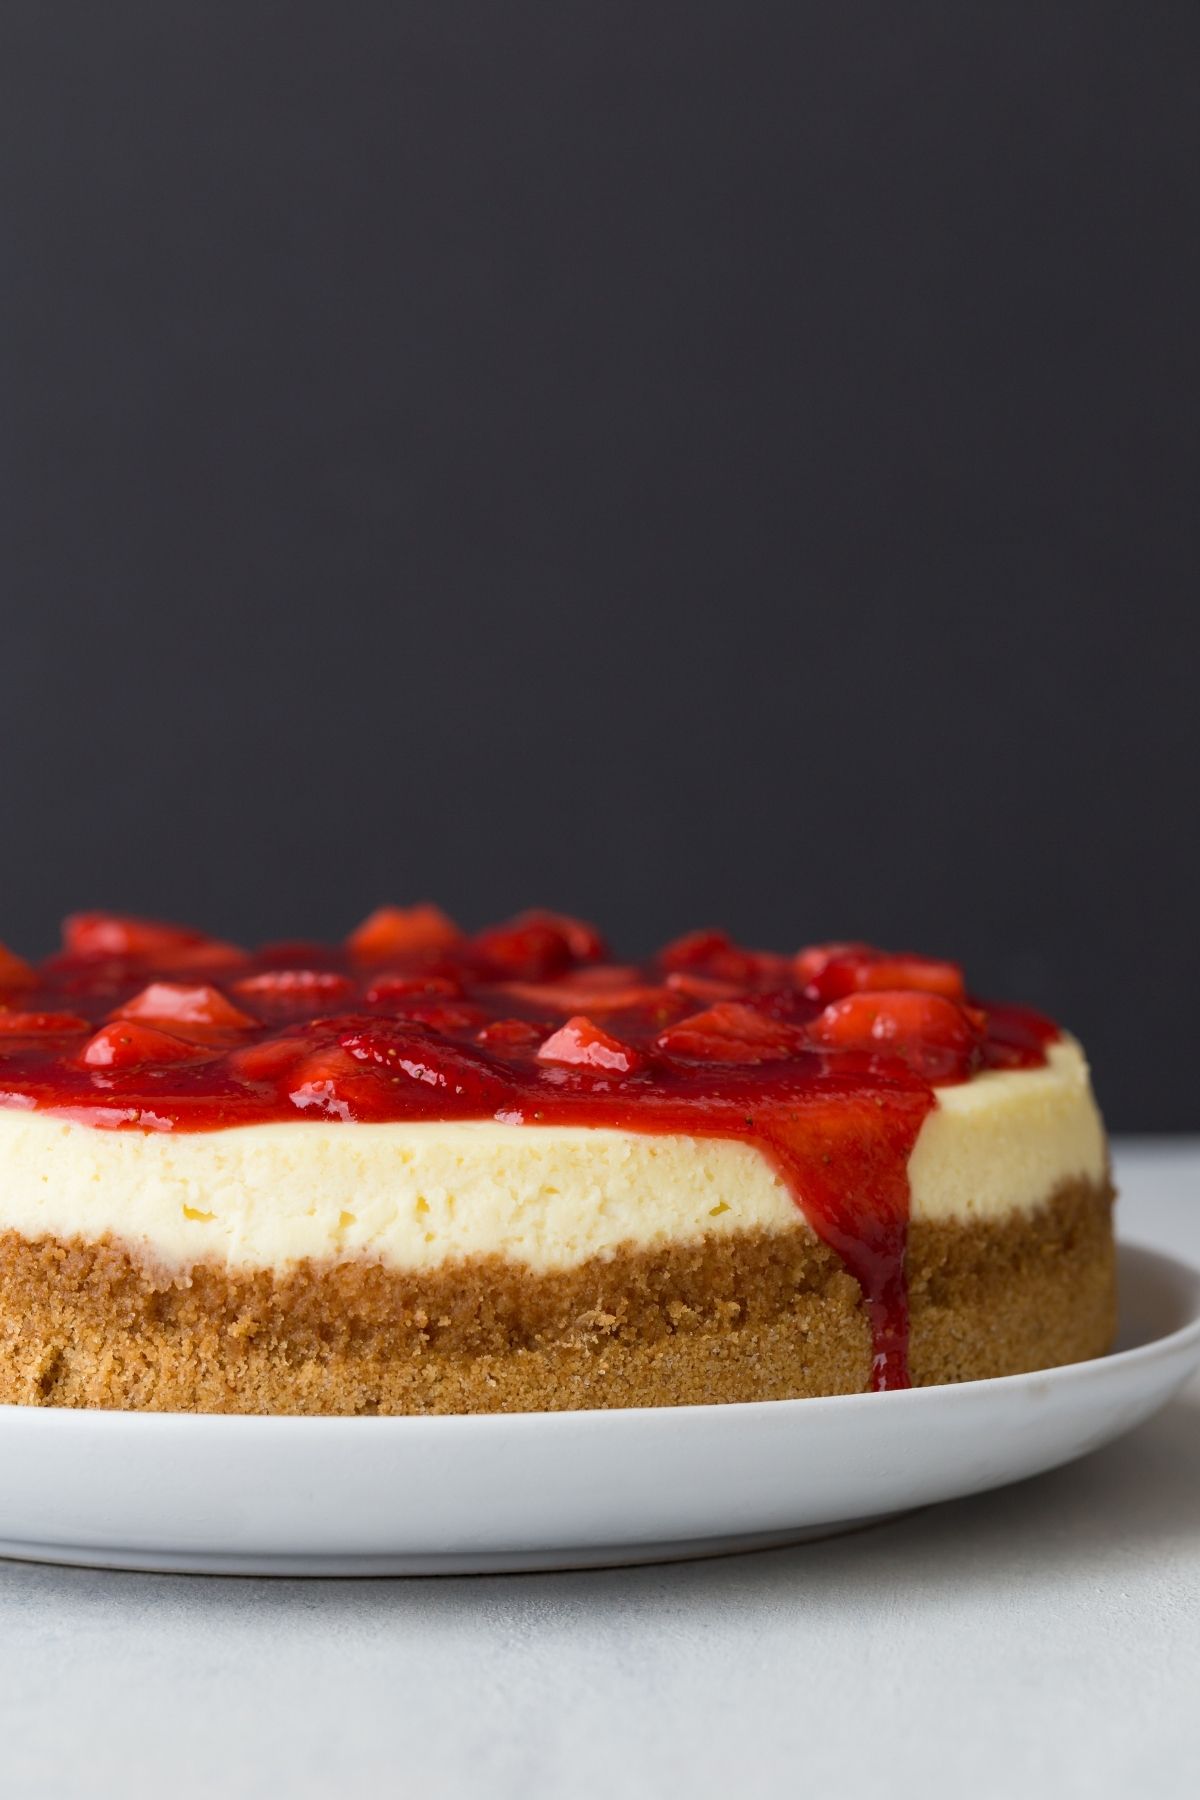
This strawberry cheesecake recipe is amazing! My creamy and light classic cheesecake recipe is finished off with a delightful strawberry topping. The cheesecake is nestled in a simple graham cracker base that adds a touch of texture to each bite. Who needs the Cheesecake Factory?
Recipe Details
- Taste – Rich, vanilla flavored cheesecake with the sweetness of strawberries.
- Texture – Silky smooth and creamy with a crunch from the graham cracker crust.
- Ease – Cheesecakes are quick to assemble but can be temperamental when baking.
- Time – From start to finish, including chilling time, it is about 4 hours 15 minutes.
My Favorite Strawberry Cheesecake
It’s no secret that I love a silky smooth cheesecake. I’ve made several of them over the last few years. One of my secrets is the hot water bath. It keeps the cheesecake top from cracking.
My most popular cheesecake recipe on this site is a luscious Nutella cheesecake and followed by that is my favorite triple chocolate cheesecake. You guys seem to love cheesecakes as much as I do.
Cheesecake is a decadent, delicious and well-loved desserts. It’s impressive and delicious. Don’t be nervous about trying to make this! It’s really not difficult and it is well worth any effort.
Today, with summer around the corner, we’re celebrating my supremely creamy cheesecake which I’ve topped it off with a homemade fresh strawberry topping. This has been my go-to cheesecake recipe for many years now. It’s absolutely delicious.
There’s really nothing fancy with today’s recipe. It’s simple, light, and fresh. Not that I’m suggesting you do this, but you might even be able to enjoy more than one slice without feeling bogged down and heavy.
Depending on where you live, strawberries are coming into season in a matter of days or weeks. Truly, there is no better way to highlight this bright red, juicy summer fruit than to make a strawberry topping for cheesecake.
If it’s too hot to make a baked cheesecake, give this no bake strawberry cheesecake a try! It’s just as delightful. Or if you prefer mini desserts, try these mini strawberry cheesecakes.
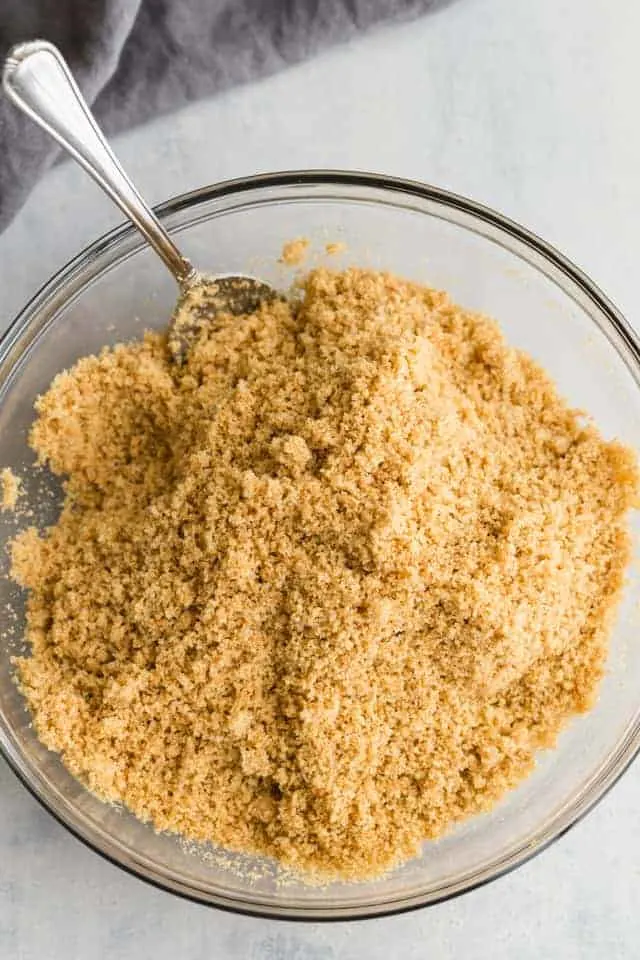
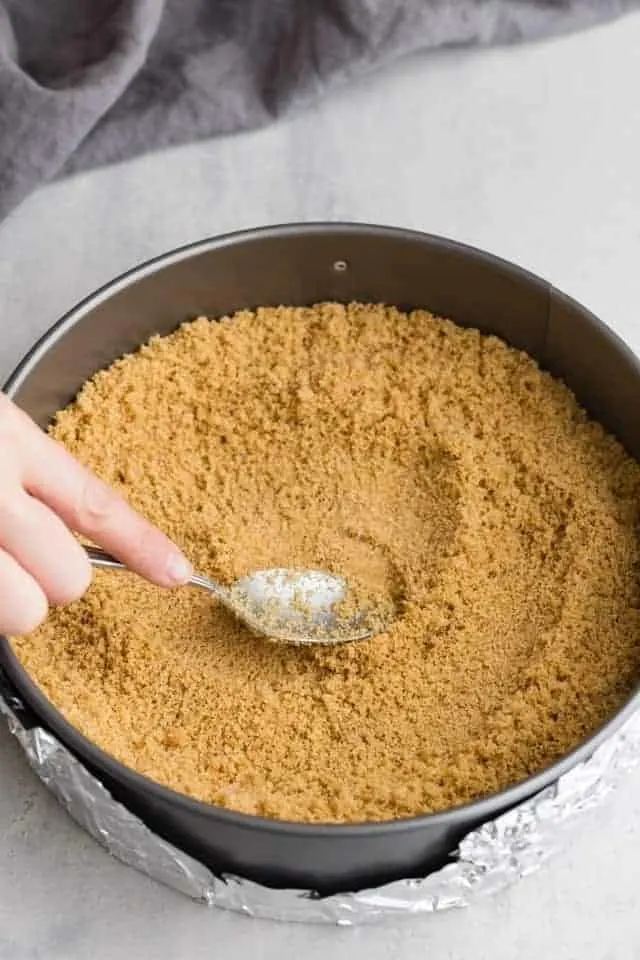
The crust for this strawberry cheesecake is made with graham cracker crumbs, sugar, and melted butter. Mix all this together in a large bowl until the mixture resembles wet sand.
Press the crumb mixture into the bottom and halfway up the sides of a springform cake pan. Bake it in a 350°F oven for 10 minutes then let it cool completely.
Main ingredients for strawberry cheesecake
- Cream cheese – Choose a high-quality, full-fat cream cheese for the best results.
- Sugar – Regular granulated sugar works best for baked cheesecakes.
- Sour Cream – The secret ingredient to light and creamy cheesecakes.
- Strawberries – Pick ripe strawberries to use for the sauce. They’ll taste much better if they are in season!
How to Make Strawberry Cheesecake
Step 1: Make the Graham Cracker Crust Base
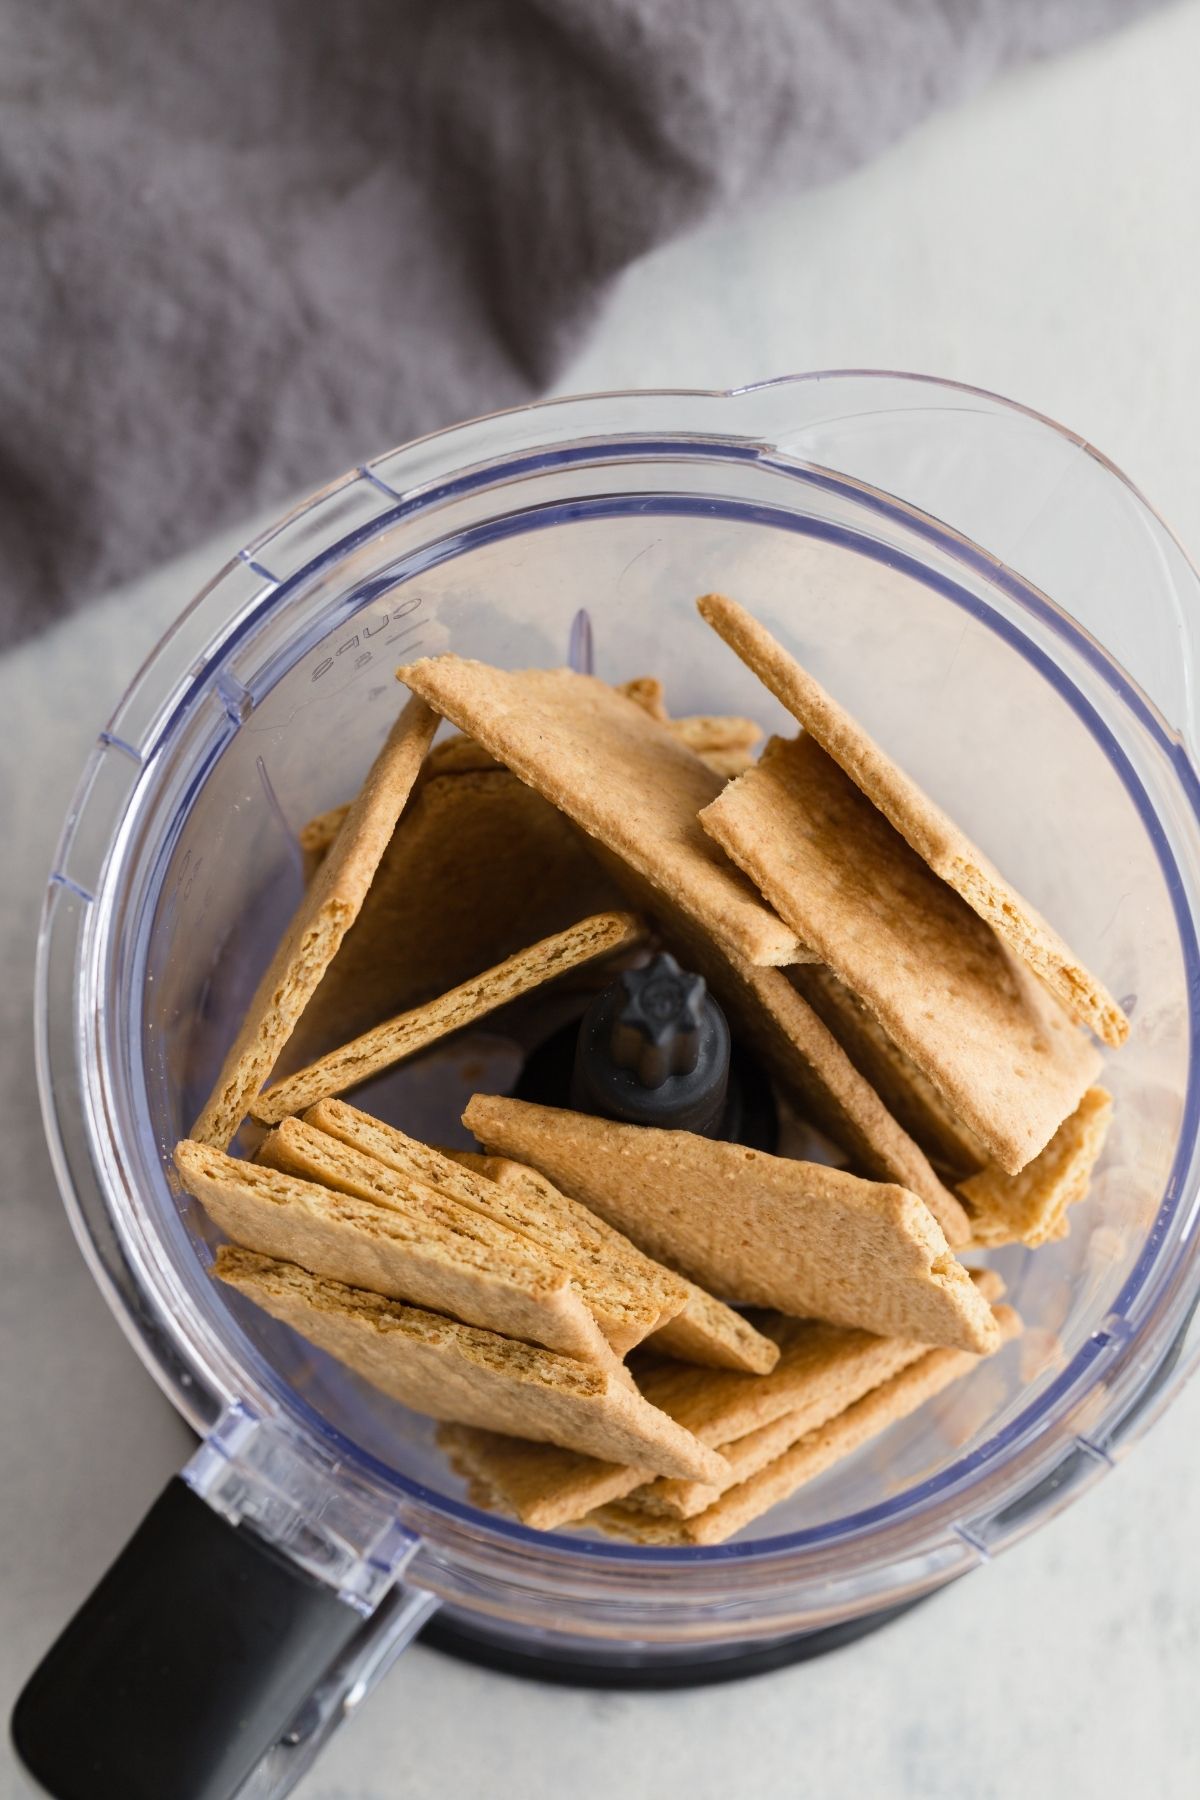
Combine cream cracker crumbs, sugar, and melted butter. Press the crumb mixture in the bottom and up the sides of a 9-inch springform pan. Preheat the oven to 350°F and bake for 10 minutes. Set aside to cool.
Step 2: Make the Creamy Cheesecake Filling
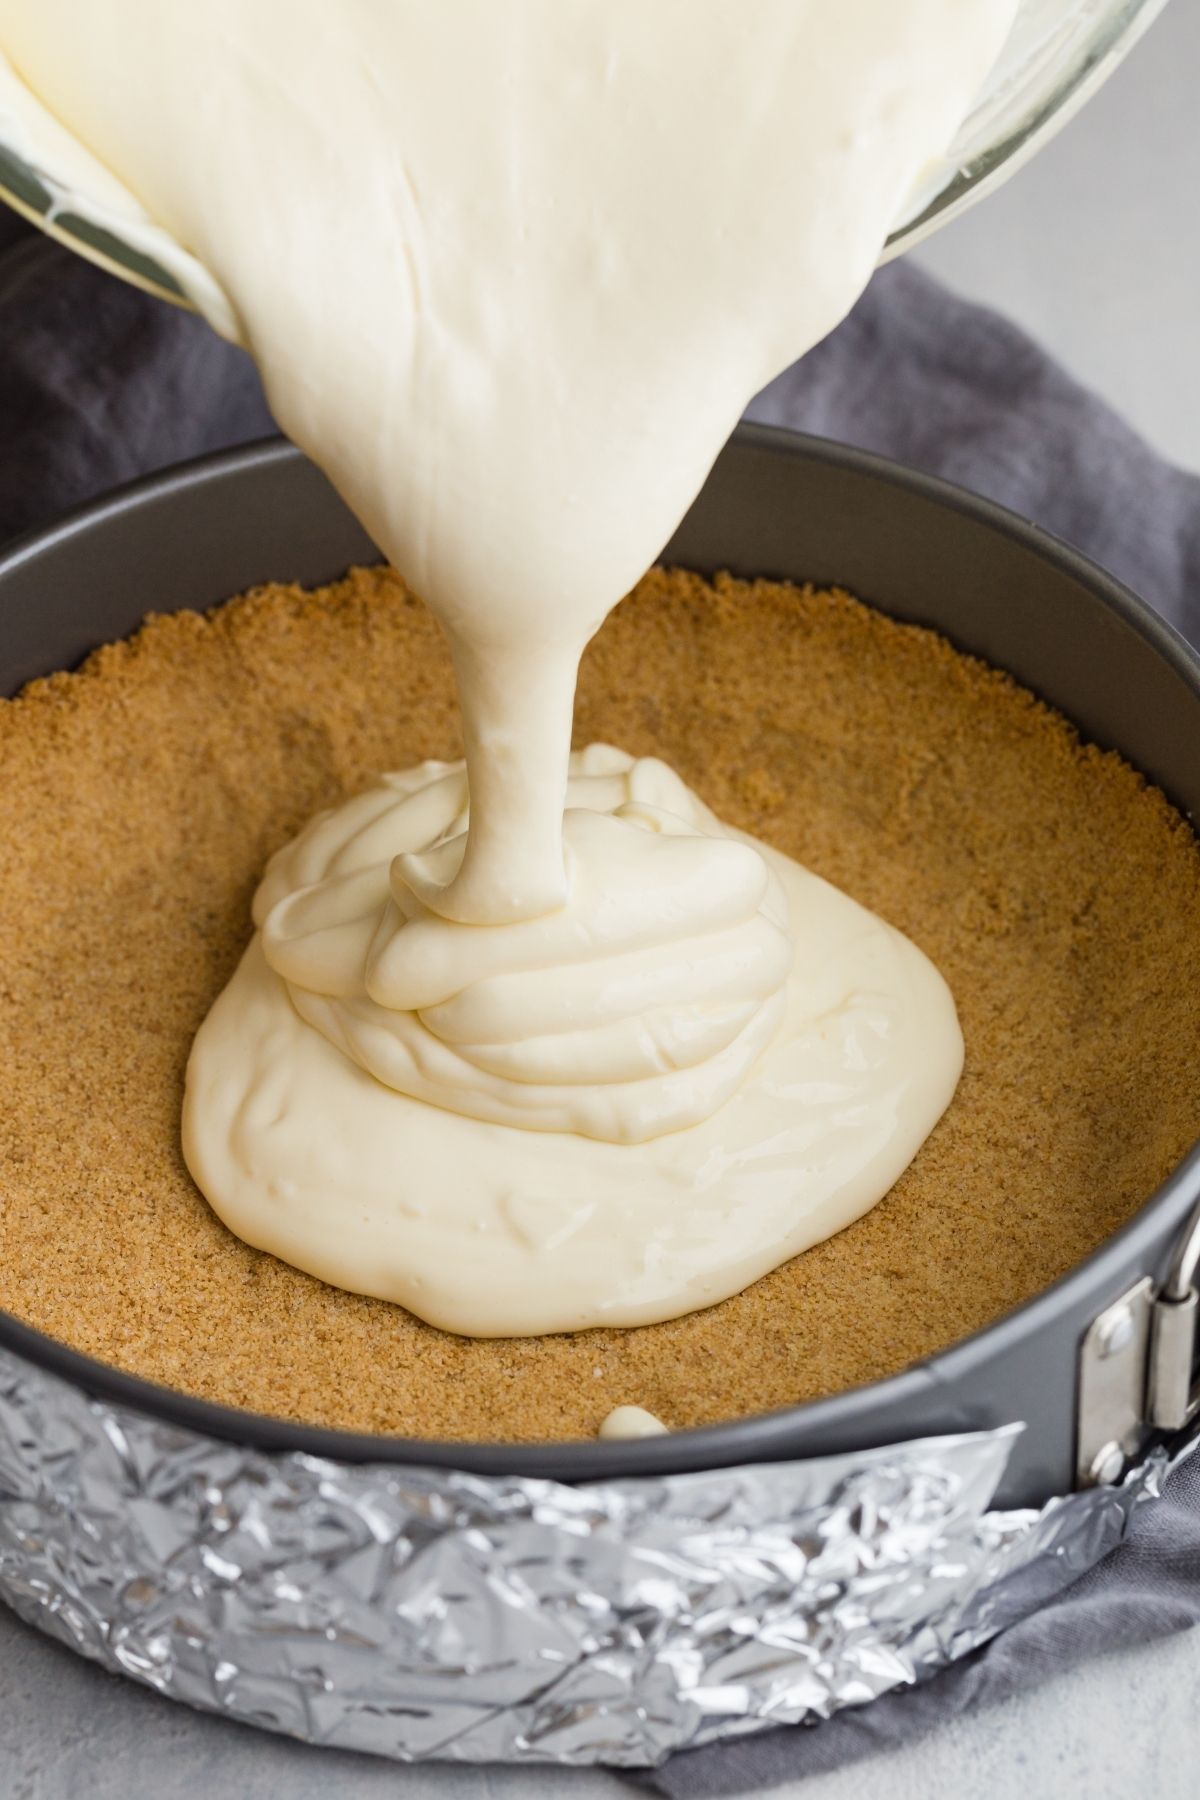
Beat the cream cheese with an electric mixer until smooth and creamy. Beat in the sugar, sour cream, salt, and vanilla extract until well combined. Gently stir in lightly beaten eggs.
Pour the filling over the prepared crust and set it inside a water bath. A water bath is just a pan of water placed in the oven in which you put the cake pan during baking. It ensures the cheesecake bakes at an even temperature and keeps the top of the cheesecake from cracking.
Bake in a 300°F oven for 1 hour then turn the oven off and let the cheesecake sit in the oven for another hour with the door closed.
Remove the cheesecake from the oven and set it on a wire rack to cool completely then refrigerate for 4 at least 4 hours or overnight.
Step 3: Make the Strawberry Topping
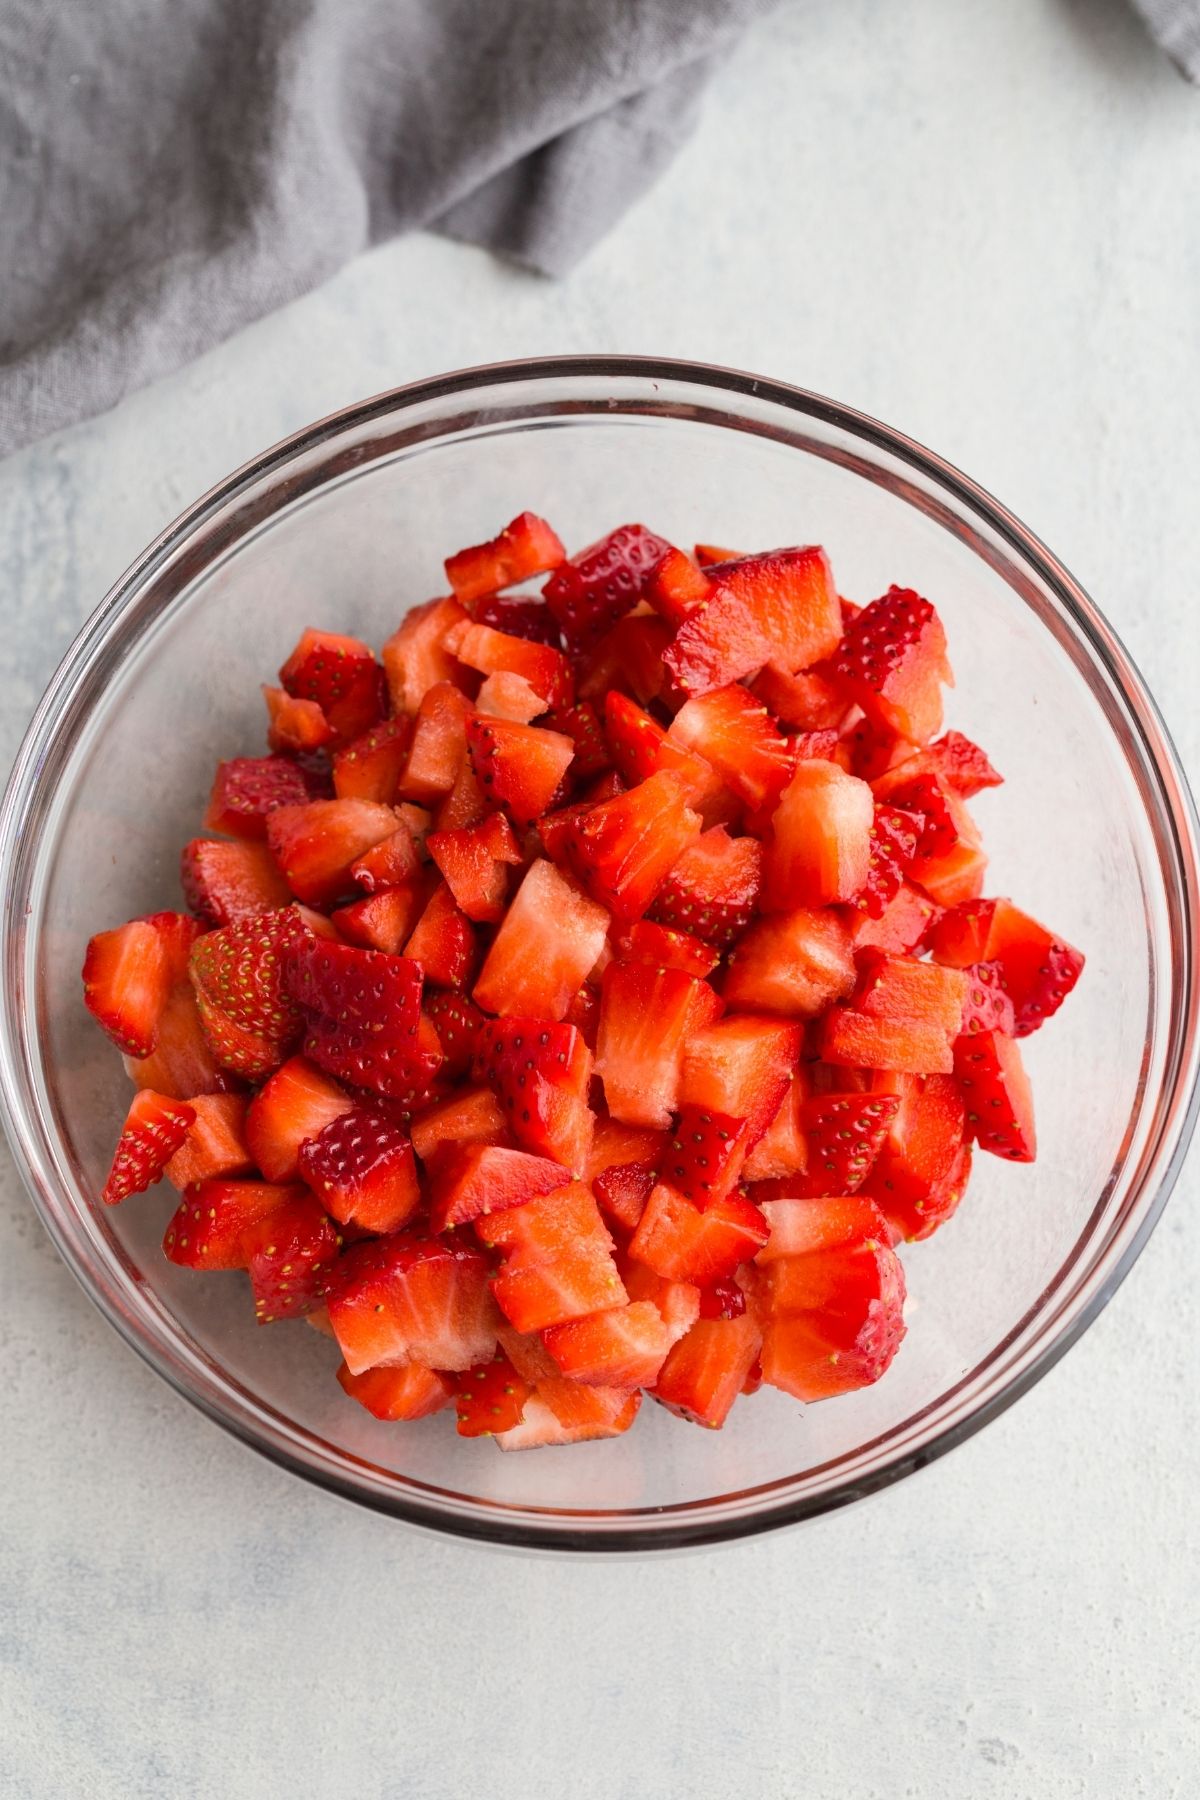
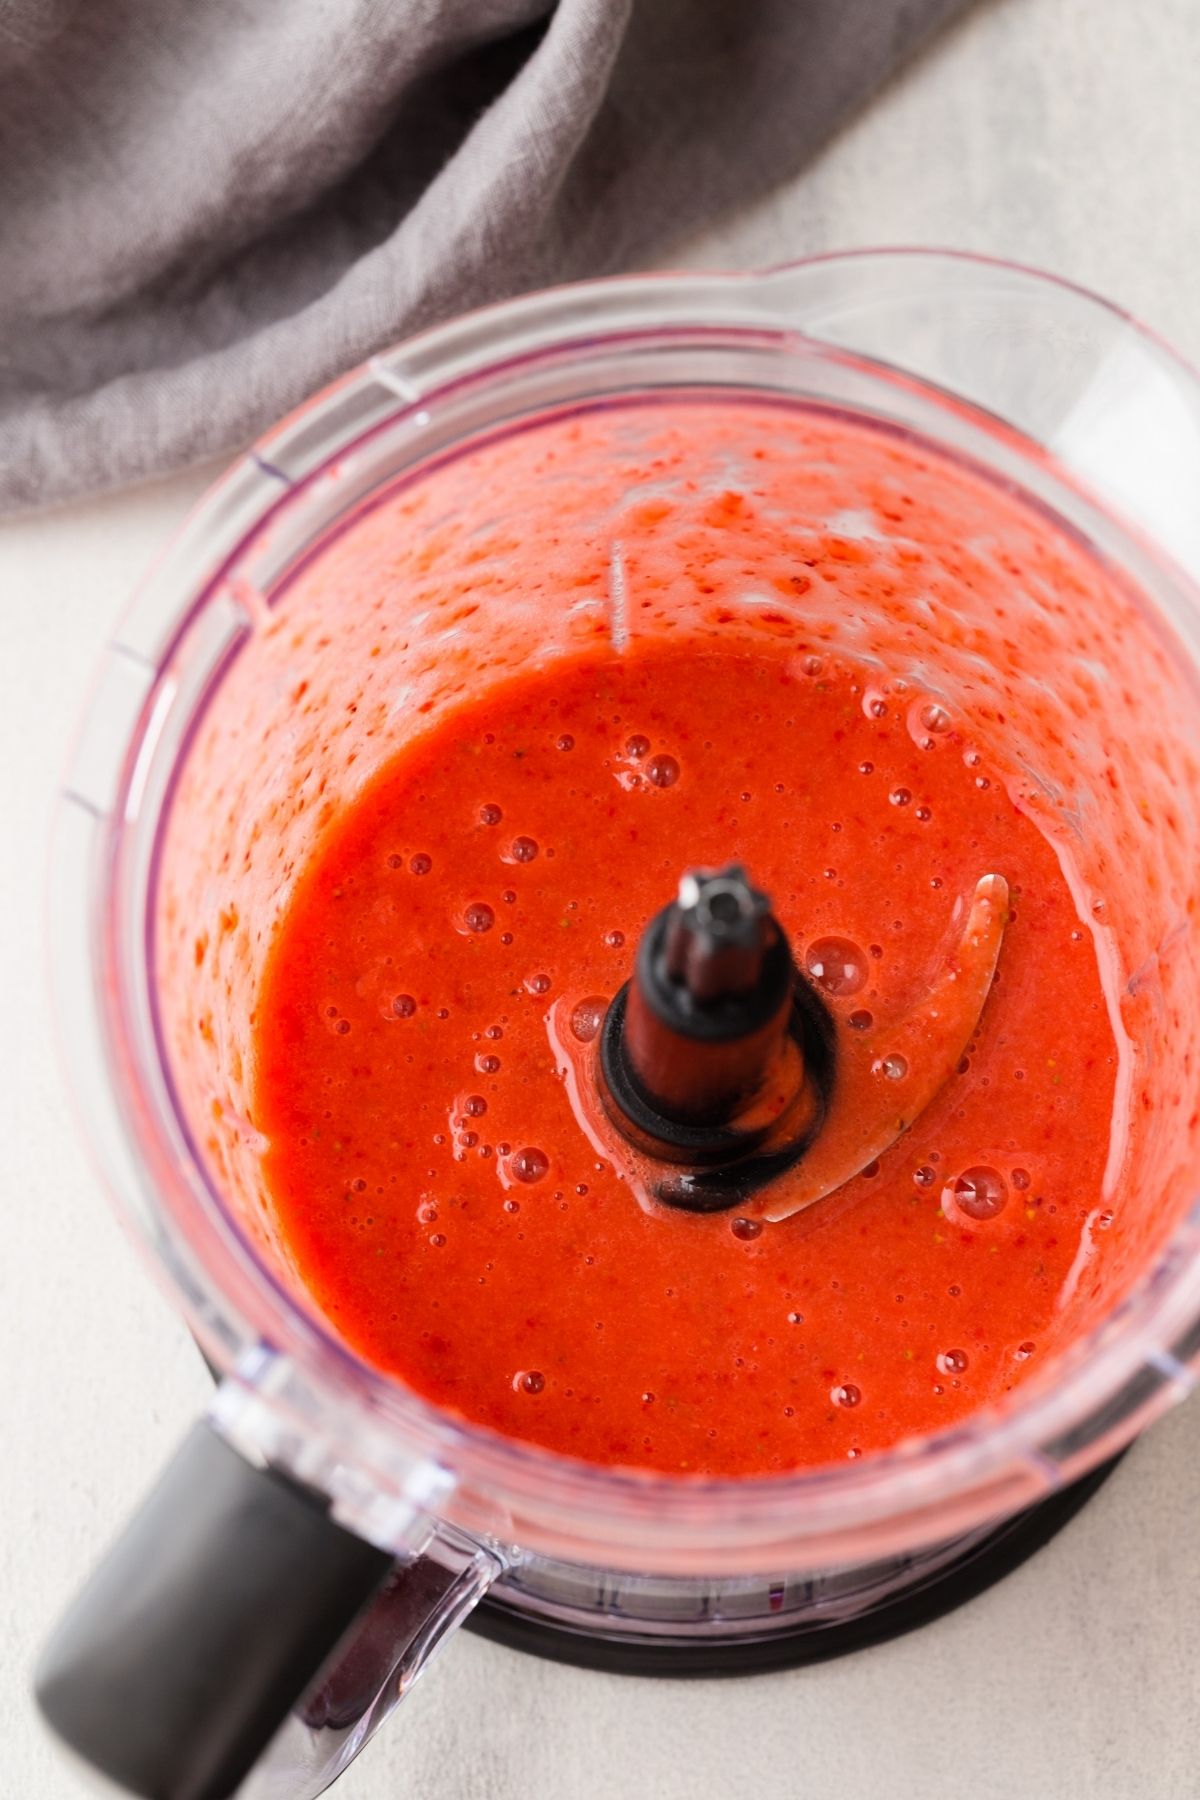
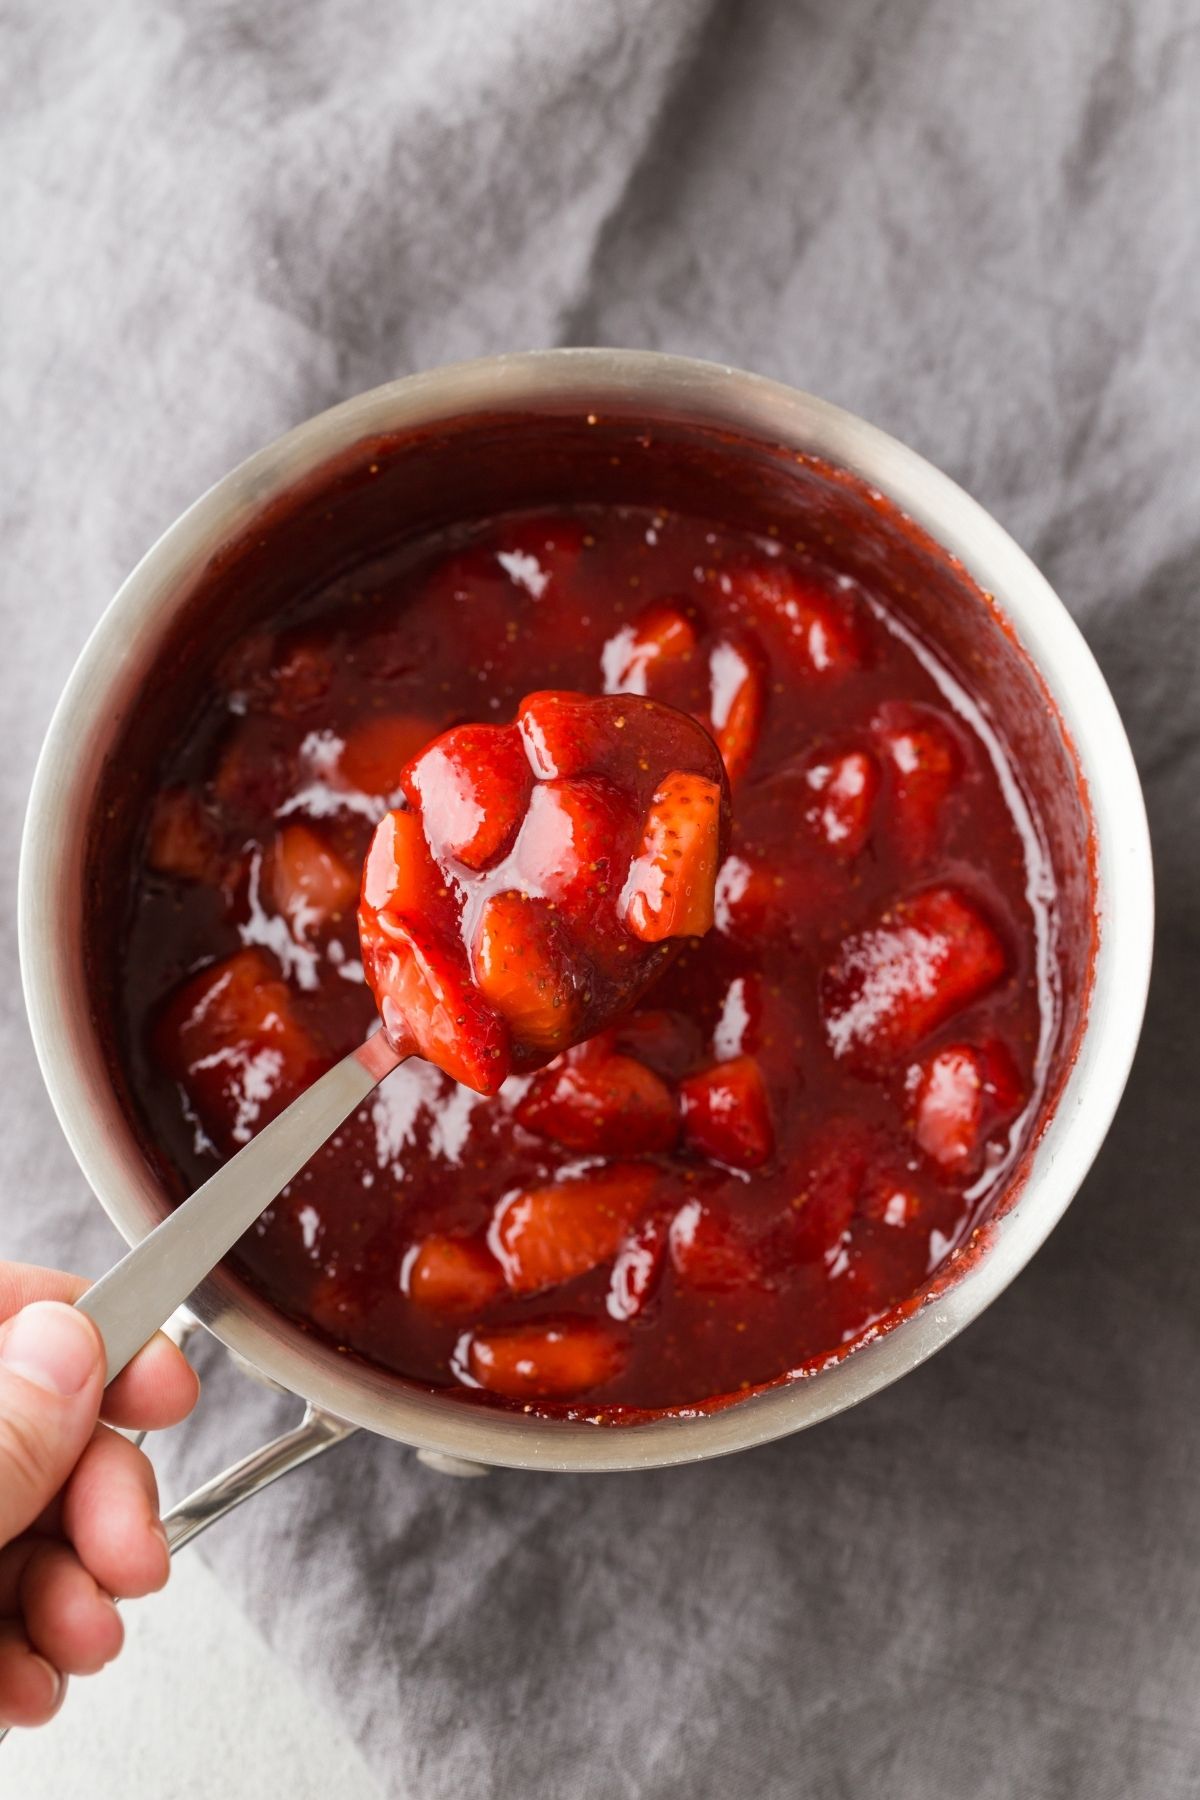
Puree fresh strawberries with cornstarch using a blender or a food processor. Add the puree and sugar to a medium saucepan and cook over medium heat until thickened. This may take anywhere between 10 to 20 minutes.
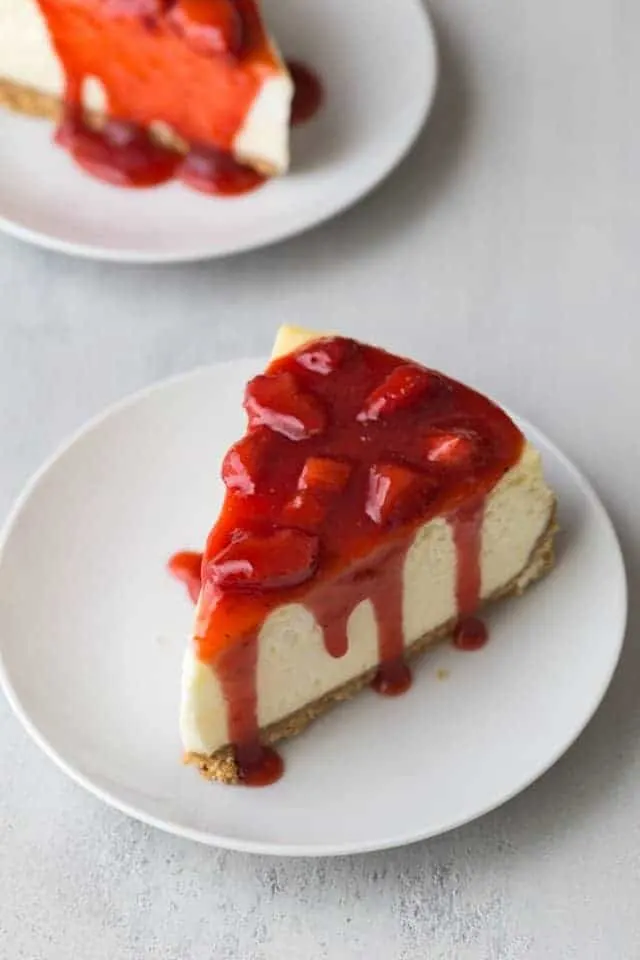
Once thickened, stir in the chopped strawberries and set aside to cool. Top the cheesecake with the strawberry sauce just before serving. You can cover the entire cheesecake with the strawberry topping or you can drizzle it over each piece if you are serving pieces individually.
Tips for The Best Strawberry Cheesecake
- Read my post on how to make the best cheesecake recipe for full details on how to achieve a creamy texture and zero cracks.
- Plan ahead. Cheesecakes take time to prepare and must refrigerate for several hours once finished.
- Don’t overbeat the filling. It can cause cracking.
More Strawberry Recipes
Strawberry Cheesecake
Ingredients
For the crust
- 2 cups (200 g) graham cracker crumbs, about 2 sleeves
- ¼ cup (50 g) granulated sugar
- 6 tablespoons unsalted butter, melted
For the filling
- 32 ounces (904 g) cream cheese, room temperature
- 1 ⅓ cups (226 g) granulated sugar
- 1 cup (227 g) sour cream, room temperature
- 1 tablespoon vanilla extract
- ¼ teaspoon salt
- 4 large eggs, room temperature, lightly beaten
For the sauce
- 16 ounces (400 g) whole strawberries, diced
- 2 tablespoons cornstarch
- 1 cup (200 g) granulated sugar
- 2 teaspoons vanilla extract
- ⅛ teaspoon salt
- 2 cups (334 g) finely chopped strawberries
Instructions
Make the crust
- Move the oven rack to the lower third position and heat the oven to 350°F. Wrap the outer bottom of a 9-inch springform pan tightly with aluminum foil.
- Combine the graham cracker crumbs, sugar, and melted butter. Press the crumb mixture into the bottom and about 2-inches up the sides of the pan. Bake for 10 minutes. Set aside to cool while you make the filling.
Make the filling
- Reduce the oven temperature to 300ºF.
- In a large mixing bowl beat the cream cheese with an electric mixer until smooth and creamy, about 1 minute.
- Add the sugar and sour cream, beat until well combined. Add the vanilla and salt, beat on low speed until smooth.
- Using a silicone spatula, gently stir in the eggs just until combined. Pour the batter over the prepared crust.
- Fill a roasting pan with a few inches of boiling water and place the cheesecake in the center.
- Bake for 1 hour, OR until the edges are set and the center is slightly jiggly. Turn the oven off, leave the cheesecake in the water bath in the oven for another hour.
- Remove the cheesecake from the water bath and place it on a wire rack. Run a small knife around the outer edge of the cheesecake to loosen it from the pan and leave it to cool at room temperature for about 1 ½ hours. Cover and refrigerate for at least 4 hours or overnight. Remove the sides of the pan And transfer the cheesecake to a serving platter.
Make the sauce
- Add the diced strawberries and cornstarch to the bowl of a food processor and process until smooth. Transfer to a medium saucepan and add the sugar.
- Cook over medium heat, stirring constantly until thickened, about 15 minutes.
- Remove from heat and stir in the vanilla, salt, and chopped strawberries. Set aside to cool for about 40 minutes, stirring occasionally.
- Spread the topping evenly over the cheesecake or over individual slices just before serving.
Notes
- Oven temps can vary which means your cheesecake may need more time to bake. You’ll know it is done cooking when the outer edges of the cheesecake feel firm to the touch while the center looks wet and jiggles when shaken. If the cheesecake doesn’t look this way after an hour of cooking, let it cook until it does. Then you can turn the oven off and let the cheesecake rest for another hour in the oven.
- Prevent a soggy cheesecake! Read through my helpful tips on how to prevent the water bath from leaking.
- The cheesecake will keep for up to 4 days covered and stored in the refrigerator.
- The cheesecake can be frozen for up to 3 months. Thaw overnight in the refrigerator.
Nutrition
The nutrition information provided is for convenience and as a courtesy only. It is not guaranteed to be accurate because nutrition information can vary for a variety of reasons. For precise nutritional data use your preferred nutrition calculator and input the exact ingredients and brands you used in the recipe.

Your recipe is perfect. My friend enjoyed it for her birthday. Thanks for sharing!!!!
I’m so happy to hear that. Thanks for sharing!
Holy Cow! I’m not one to leave comments on recipes, but this is amazing! Picking cherries next week and will make this recipe with cherries and cannot wait!
I’m so happy to hear this, Kerrie! Enjoy the cheesecake.
Holy Cow! I’m not one to leave comments on recipes, but this is amazing! Picking cherries next week and will make this recipe with cherries and cannot wait!
All I have is a 10 inch springform pan 🙁 how do you suggest I alter the cooking times? Super excited to try this recipe! It sounds DELICIOUS!
Hi, Cristy. I’ve never baked a 10-inch cheesecake so I’m not too sure how much time it will need. Just keep a close eye on it and once the edges are set but the center is still jiggly, it’s done and you can turn the oven off.
Hi Jen!
This is my first time making cheesecake. We had a little strawberry patch in the backyard so I decided to look for a recipe online. Since yours pop-up first and had all these great positive comments, I picked your recipe. My husband don’t like Graham cracker crust so I substituted the crust with the French tart crust. We love the taste especially my better half since he’s from the east coast and long for a great New York cheesecake. I would say, it was a hit! Not bad for a first time cheesecake. I don’t even have the springfoam pan anymore; I actually used my Hall ceramic 6″ baker from the 60s. I will post my pix on Insta. Thank you for sharing the recipe. It’s the bomb!???
Thanks for sharing, Raqüel! I’m so happy the cheesecake was a success!
Hi.
I am looking forward to making this for my birthday tomorrow. Though, I am confused as to whether it is whole eggs or just the yolkes? It differentiates in the ingredient list and the video. Thank you in advance.
Use whole eggs. The video and ingredient list are the same. The “eggs” in the video are lightly beaten as stated in the recipe instructions.
Great! This is the first time i made a strawberry cheesecake and everyone loved it. I used much less sugar – still turned out delicious!
Great! This is the first time i made a strawberry cheesecake and everyone loved it. I used much less sugar – still turned out delicious!
I got all rave reviews from this recipe! I can’t wait to make it again.
I got all rave reviews from this recipe! I can’t wait to make it again.
This was my first baked cheesecake. It came out amazing. Just like the other reviews – so creamy and smooth. Very light and delicious. Followed directions exactly…give yourself plenty of time, but SO worth it!