Red Velvet Cake
This post may contain affiliate links. Read the full disclosure here.
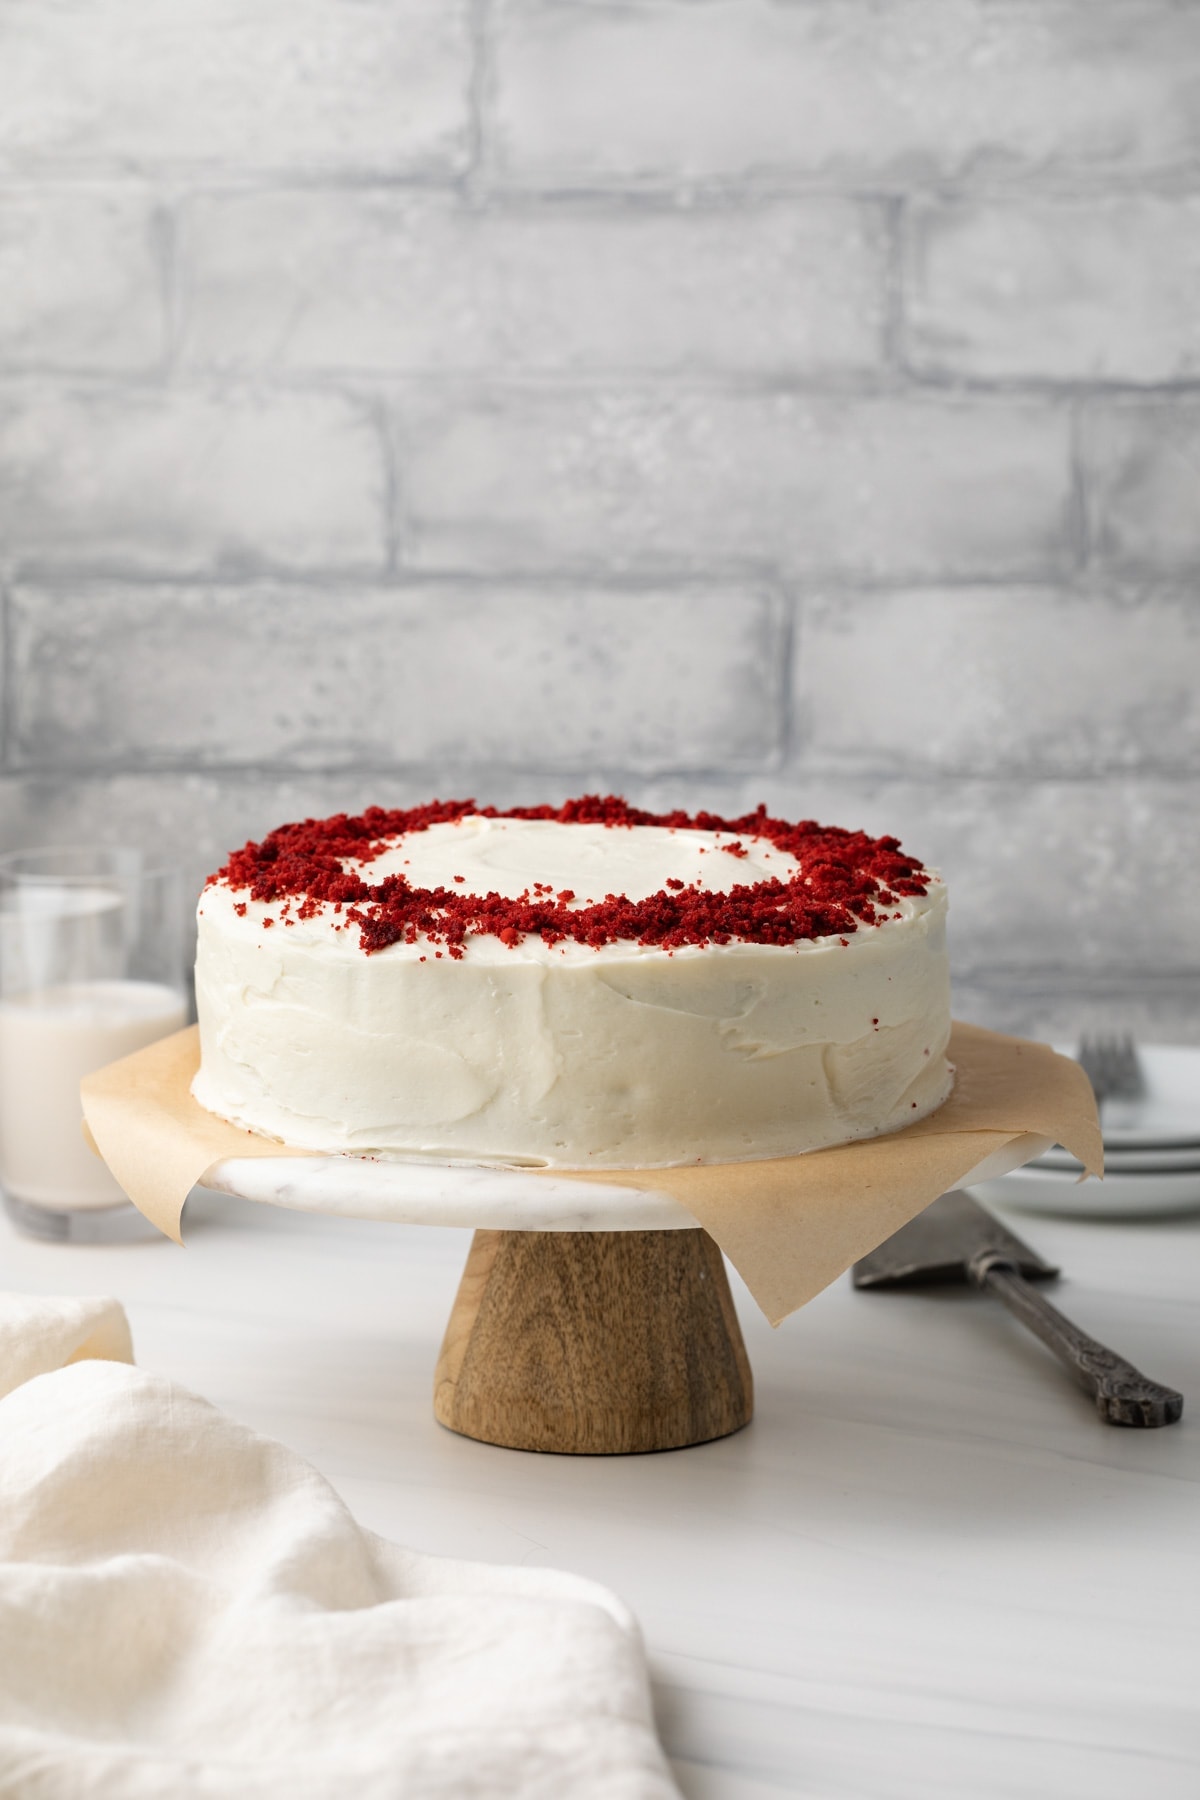
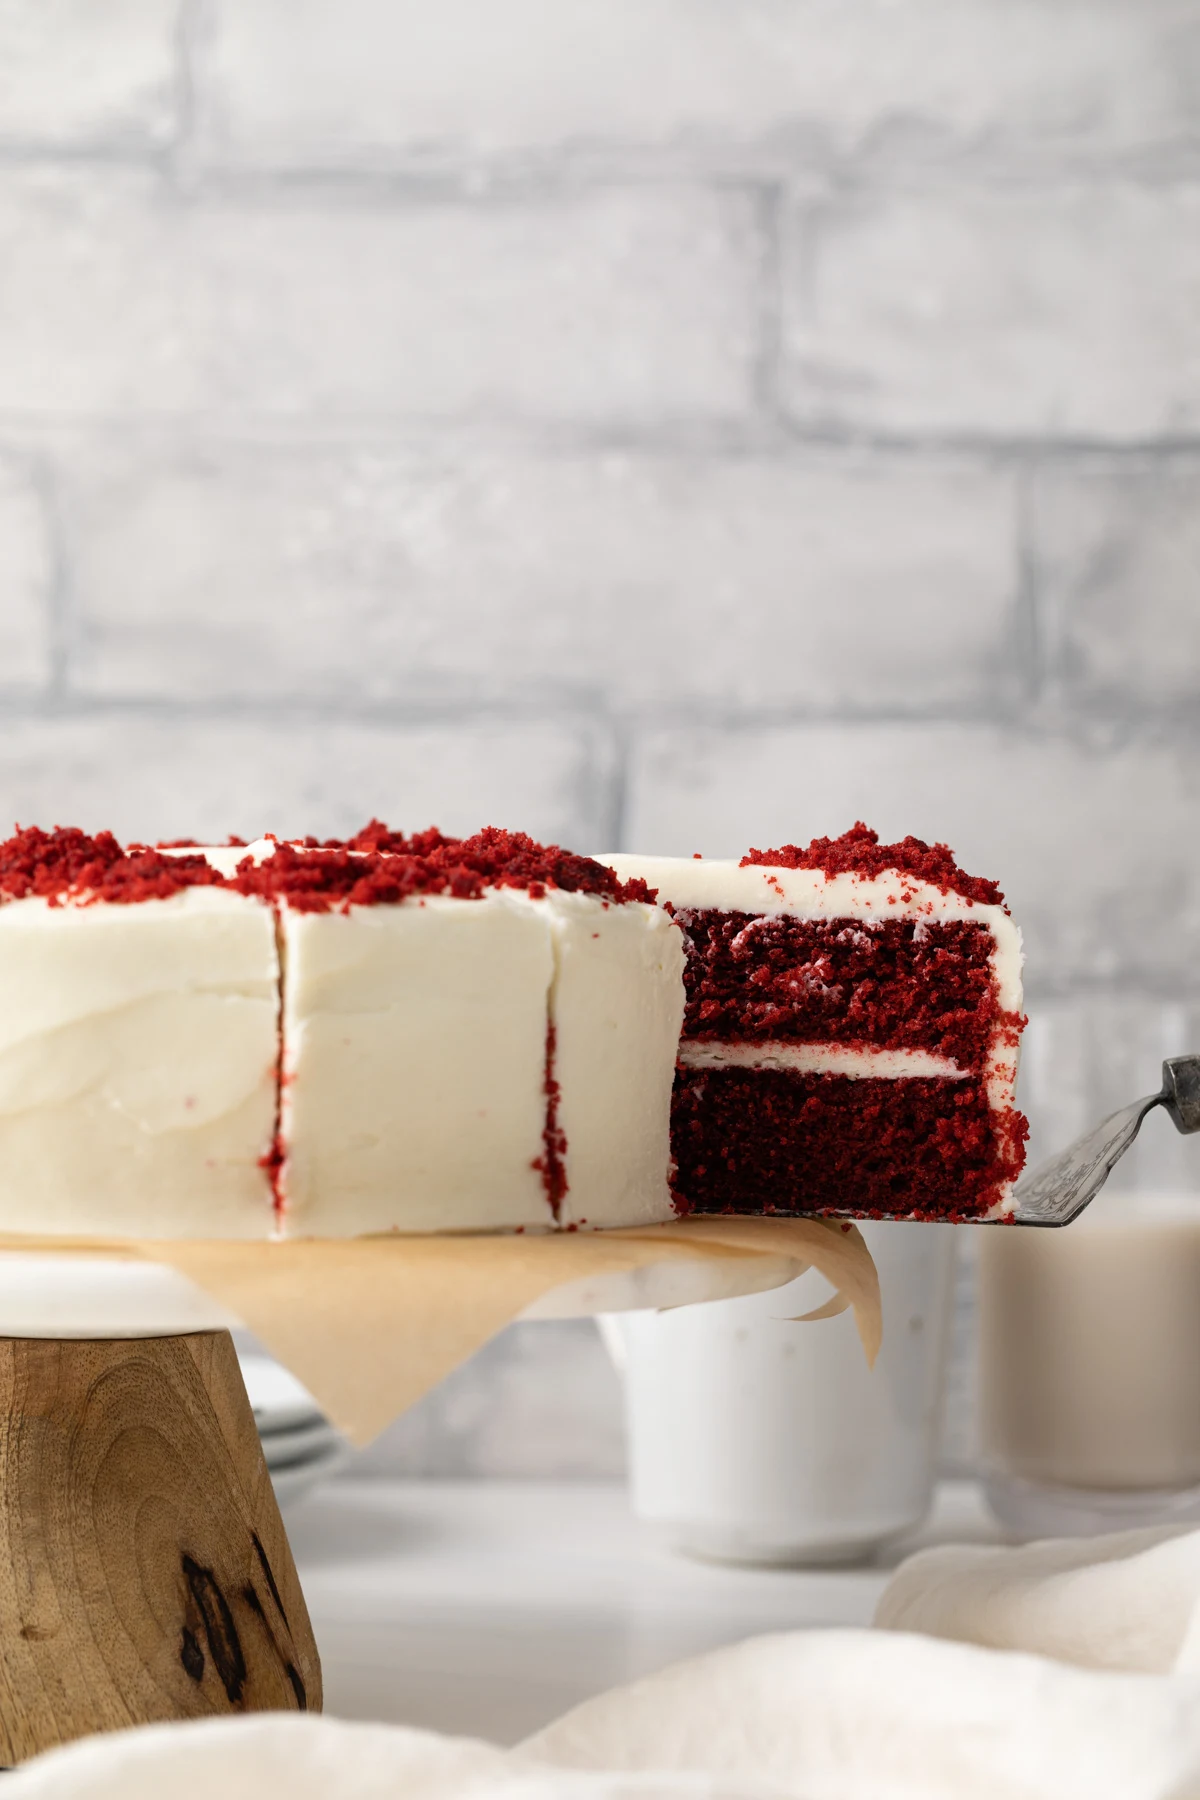
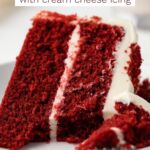
This moist Red Velvet Cake is a classic. It’s such an easy recipe that’s made completely from scratch. It’s soft and velvety with a silky cream cheese frosting to complement the layers.
Want To Save This?
I have a glorious red velvet cupcake recipe and green velvet cupcakes on the site. And with Valentine’s Day approaching, I wanted to make a cake version.
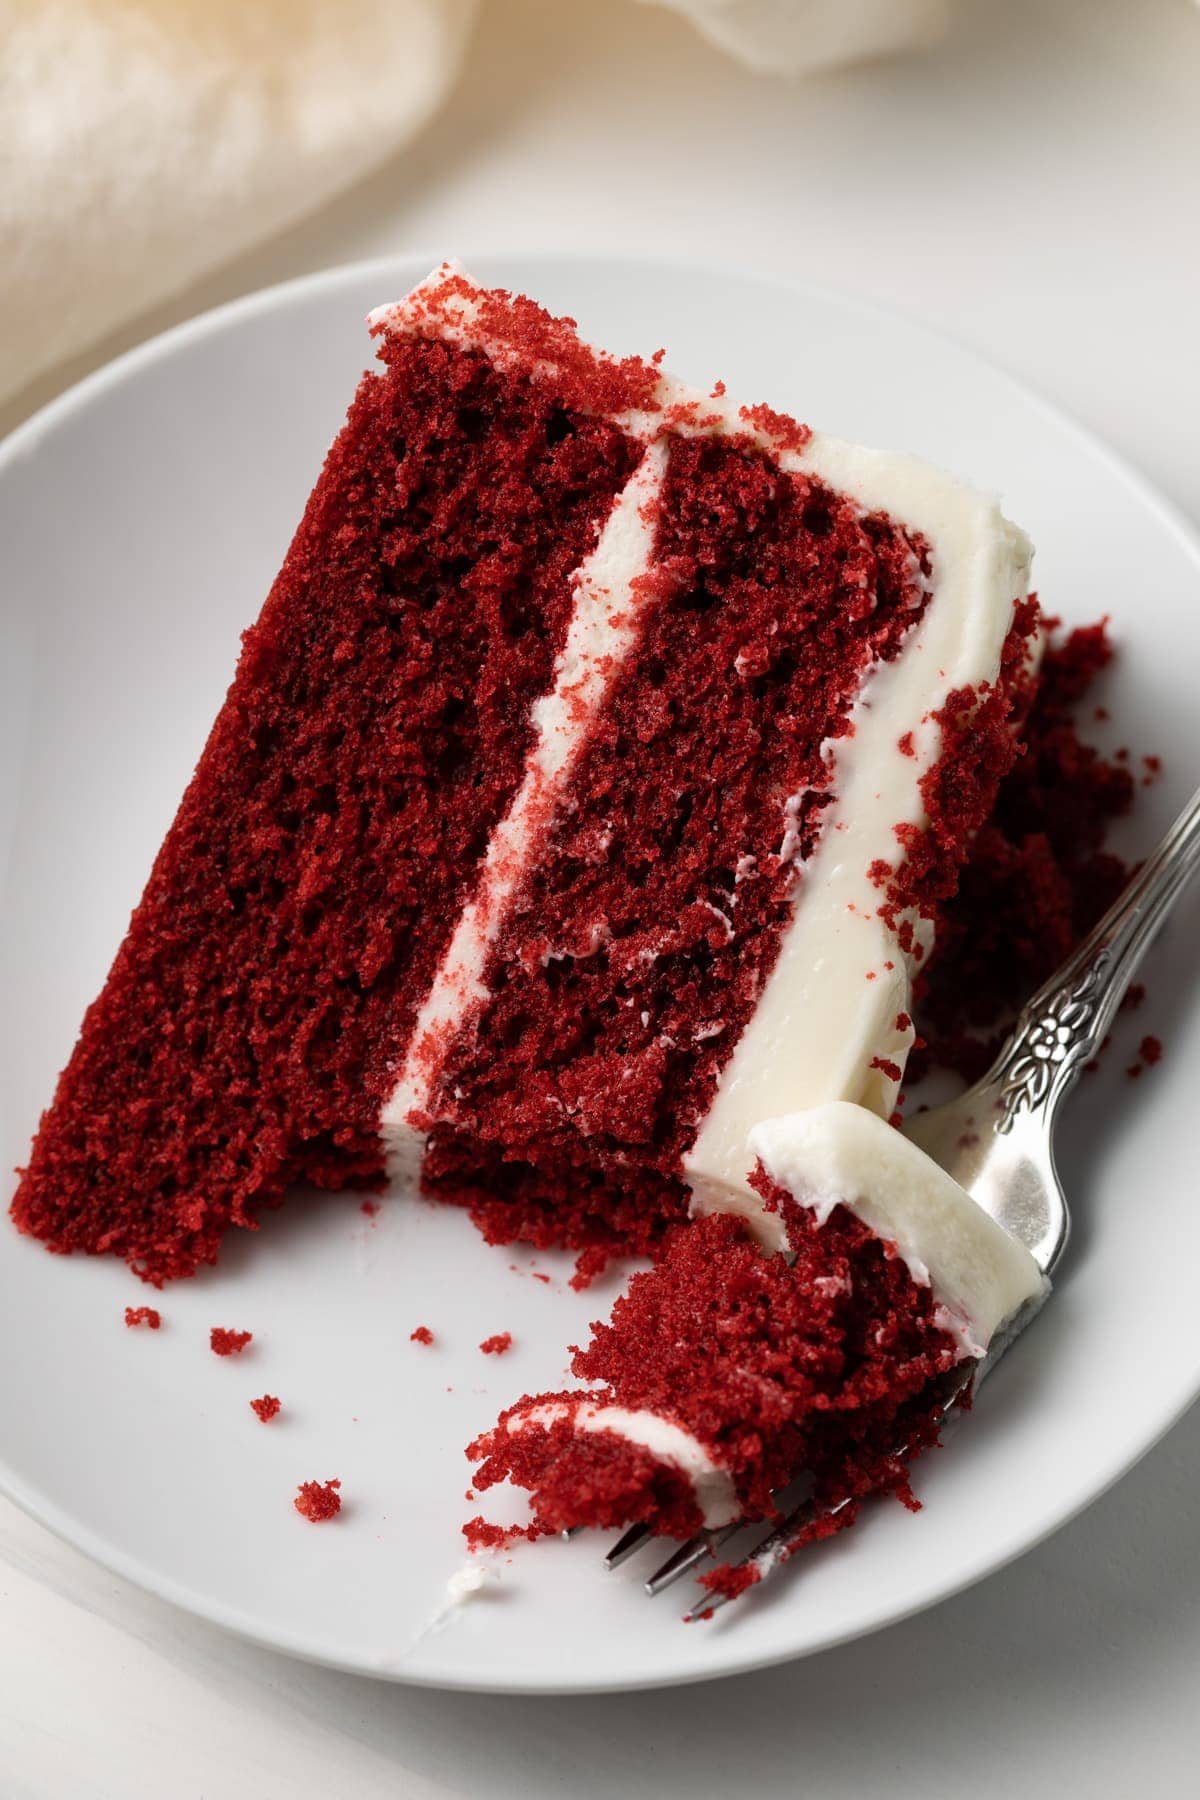
So what is red velvet cake? Basically, it’s an extremely moist cake with soft layers that feel “velvety” in the mouth. The red velvet flavor is like vanilla with only a hint of chocolate.
It took me a few tries to get this one right. I didn’t want the recipe to be exactly like the cupcakes but I did want the results to be the same. A soft, fluffy, moist cake that is in line with traditional velvet cakes.
Classic recipes like this are suitable for any holiday or special occasion and I think you’ll highly enjoy this one. It’s certainly better than the cake you get at grocery stores.
If you’re a cheesecake fan, try my red velvet cheesecake next!
Recipe Details
- Taste – The cake layers are a subtle mix of vanilla and chocolate. The cake is coated in tangy cream cheese frosting.
- Texture – Moist and velvety.
- Ease – This is a simple cake to make. It utilized the creaming method to bring the batter together.
- Time – The cooking time is only 20-25 minutes. The process utilizes the creaming method and comes together in a matter of minutes.
What You’ll Need
For the Velvet Cake
- Wet ingredients – Canola oil, unsalted butter, granulated sugar, red food coloring, vanilla extract, eggs, white vinegar, and buttermilk.
- Dry ingredients – Unsweetened cocoa powder, cake flour, baking soda, and salt.
The cold ingredients need to be at room temperature before use. Set them out on the counter about 1 hour before you plan to make the cake.
For the Cream Cheese Frosting
- Wet ingredients – Cream cheese, unsalted butter, vanilla extract.
- Dry ingredients – Confectioners’ sugar (also known as icing sugar or powdered sugar).
See the recipe card for quantities.
How to Make Red Velvet Cake
This red velvet recipe is fairly simple to bake and assemble. It’s not an original recipe and will look similar to other red velvet cakes. My inspiration comes from America’s Test Kitchen.
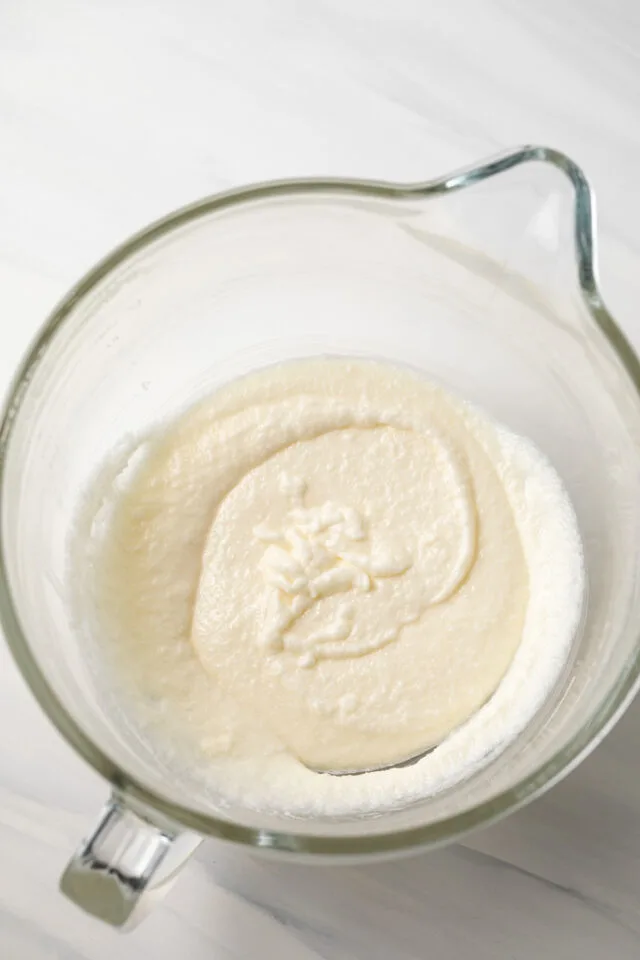
- In a large bowl, cream the butter, oil, and sugar together until pale in color.
- Add the cocoa powder and red dye then mix until well combined.
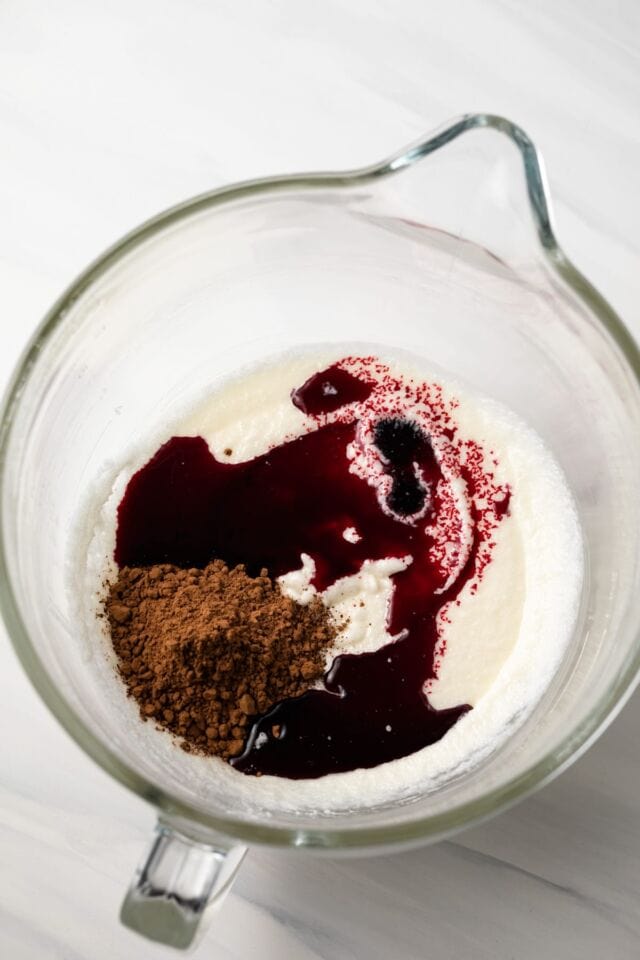
- Combine the remaining dry ingredients and add half to the cocoa mixture.
- Mix in the vinegar and buttermilk, followed by the remaining flour mixture.
- Divide the cake batter between two 9-inch round cake pans and bake at 350°F for 20-25 minutes. Allow the layers to cool completely on a wire rack.
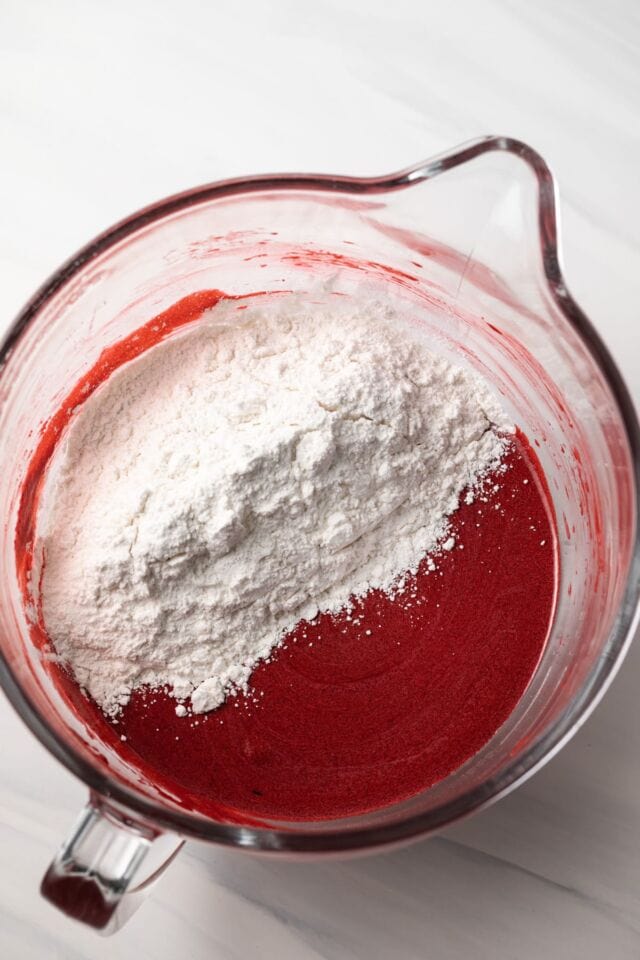
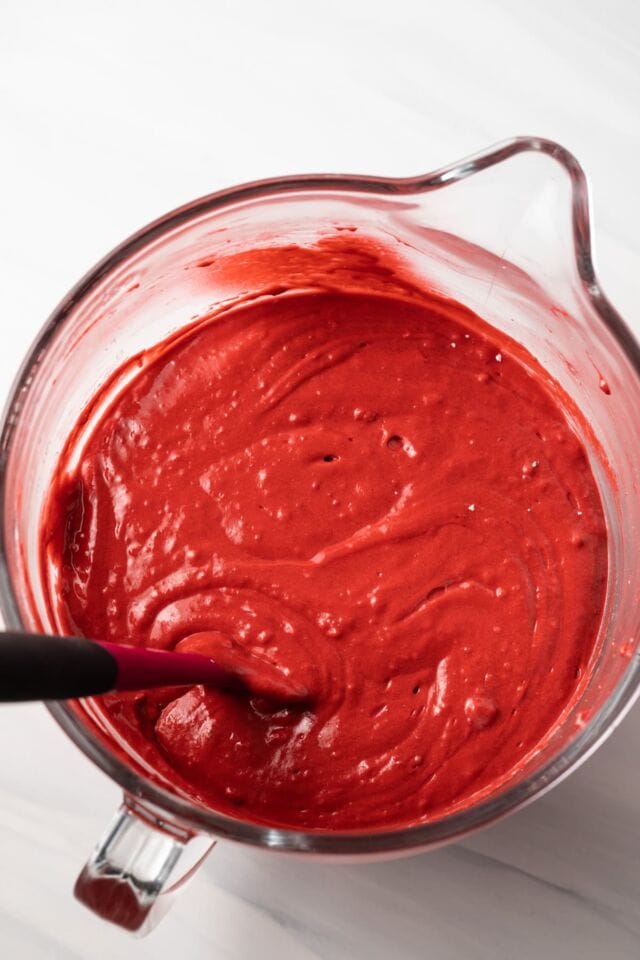
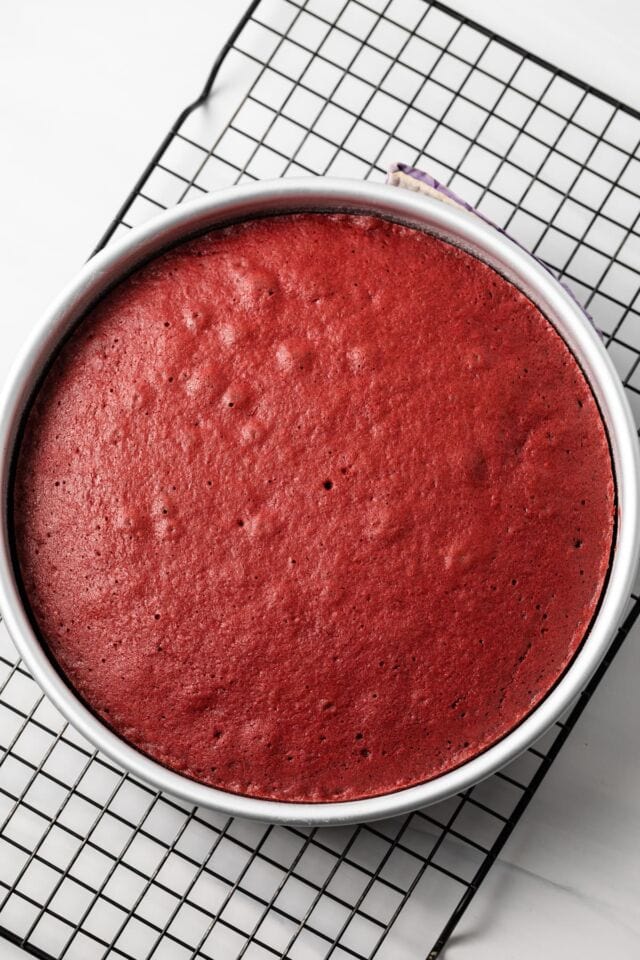
- Beat the cream cheese and butter together until creamy. Add the confectioner’s sugar and vanilla then mix until well combined.
- Spread ⅓ of the frosting over one of the cake layers.
- Top with the second cake layer and continue to frost the top and sides of the cake.
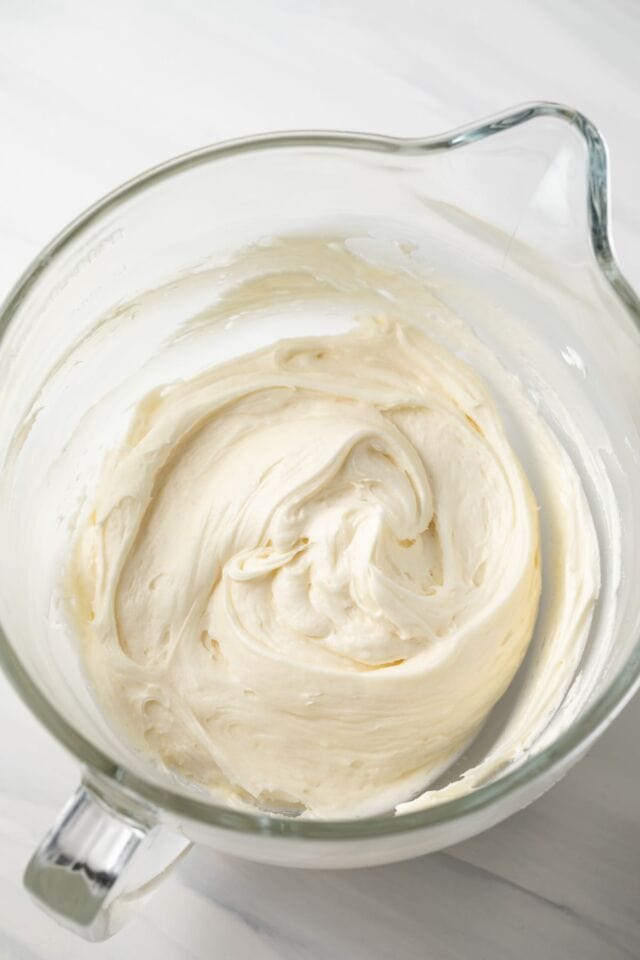
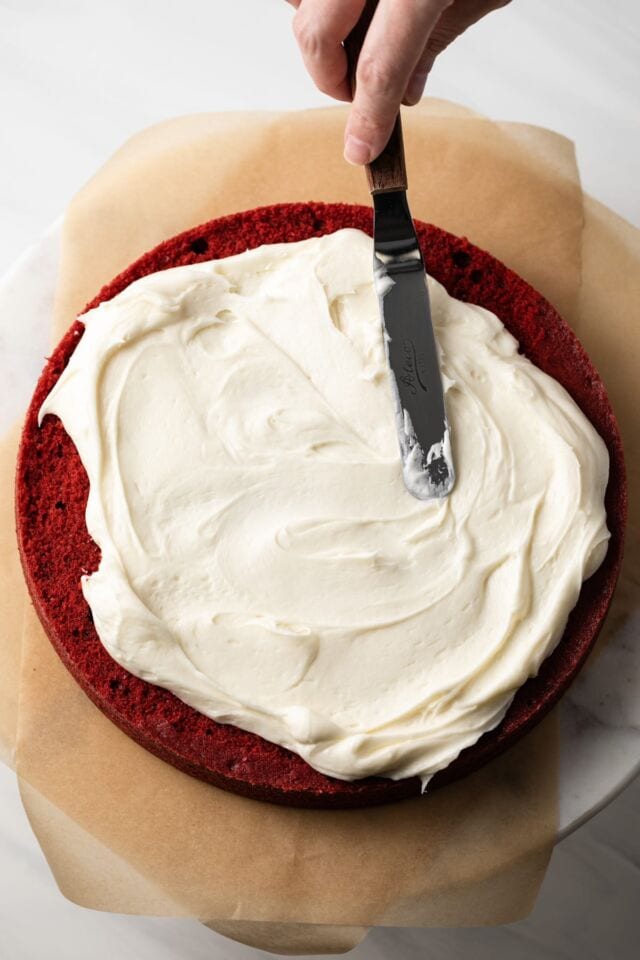
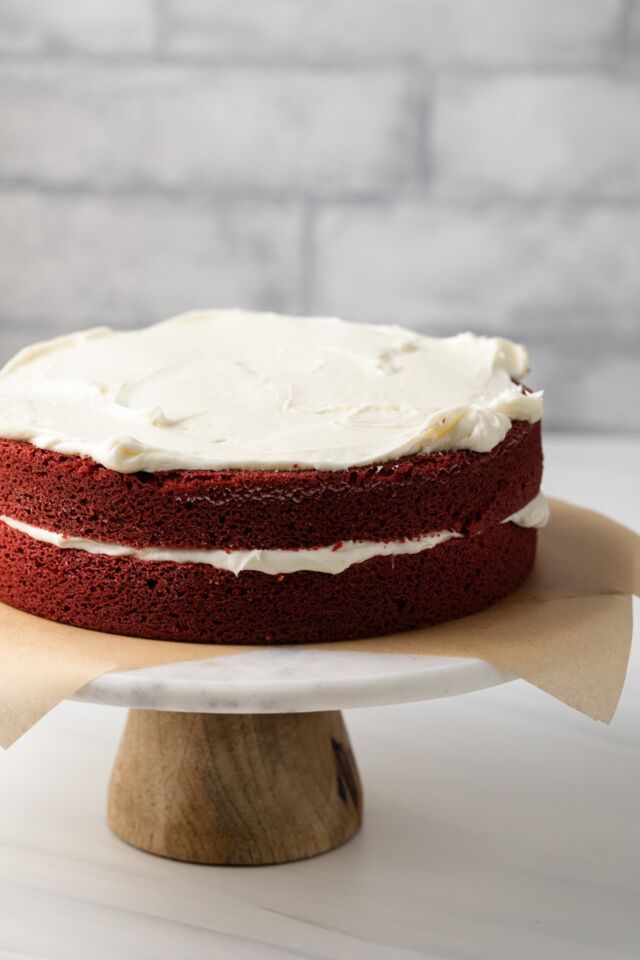
Hint: If needed, use a serrated knife to carefully level the tops of each cake layer.
Tips for the Best Red Velvet Cake
- Bake time: Every oven is different! Check for doneness a few minutes early so you don’t accidentally overbake the cake. Aim for a few moist crumbs on a toothpick.
- Cocoa powder: Dutch-processed cocoa powder will not work with this recipe. Use all-natural unsweetened cocoa.
- Bake even strips: For even layers, try using bake-even strips. They promote even baking so the layers don’t cake come out domed.
Recipe FAQs
No. Oil is an essential ingredient. It keeps the cake moist. without it, the cake will be too try and crumbly.
No. Vinegar, buttermilk, cocoa powder, and baking soda create a chemical reaction that gives the cake rise. If you’re in a pinch, you can use lemon juice.
I don’t recommend using anything other than buttermilk in this recipe. But if you are in a serious pinch, you can try my homemade buttermilk substitute.
I don’t recommend it with this recipe. The cake flour offers a tightly yet tender crumb that you can’t replicate with all purpose.
Storage & Freezing
Once the cake has been assembled, cover it and keep it at room temperature for up to 3 days. Or store it in the refrigerator for up to 5 days. Bring it to room temperature just before serving.
The frosted cake can be frozen for up to 2 months. Thaw it overnight in the refrigerator and let it come to room temperature just before serving
If You Love Cake
We enjoy cake so much that we’ve included a few of our favorite cake recipes here:
Red Velvet Cake
Ingredients
For the cake
- 1 cup (240 ml) canola oil, or vegetable oil
- ½ cup (113 g) unsalted butter, softened to room temperature
- 1 ½ cups (300 g) granulated sugar
- 2 Tablespoons unsweetened cocoa powder
- 2 Tablespoons red food coloring, 1-ounce bottle
- 2 teaspoons vanilla extract
- 2 large eggs, room temperature
- 3 cups (369 g) cake flour, sifted
- 1 ½ teaspoons baking soda
- ½ teaspoon salt
- 1 tablespoon distilled white vinegar
- 1 cup (240 ml) whole buttermilk, room temperature
For the frosting
- 12 ounces (340 g) cream cheese, softened to room temperature
- 1 cup (226 g) unsalted butter, softened to room temperature
- 6 cups (720 g) confectioners' sugar, sifted
- 2 teaspoons vanilla extract
Instructions
Make the cake
- Preheat the oven to 350°F. Grease the inside bottom and sides of two 9-inch round pans. Line the bottom of the pans with parchment paper cut to fit. Lightly grease the parchment paper. Dust the inside bottom and sides of the pan with flour, then tap out any excess. (For more chocolate flavor, you can dust the pans with cocoa powder instead.)
- In a large bowl, beat the oil, butter, and sugar together on medium-high speed until well combined, about 3 minutes. Add the cocoa powder, food coloring, and vanilla. Mix on low speed until well mixed.
- Beat in the eggs, one at a time, mixing for 20 seconds after each addition.
- Combine the flour, baking soda, and salt in a medium bowl. Stir with a whisk and add it all to the cocoa mixture.
- With the mixer on low speed, add the vinegar and buttermilk. Continue to beat on low until just combined. Take care not to over mix.
- Divide the batter evenly between the prepared pans and bake for 25-30 minutes, or until a toothpick inserted into the center comes out with only a few moist crumbs attached.
- Cool in the pans for 10 minutes then transfer to a wire rack and allow to cool completely before frosting.
Make the frosting
- In the bowl of a stand mixer fitted with the paddle attachment, or in a large mixing bowl using an electric mixer, beat the cream cheese on medium speed until smooth. Add the butter and mix for about 1 minute until smooth and creamy
- Add in the powdered sugar and vanilla extract and continue mixing until fully combined, scraping down the sides of the bowl as needed.
Assemble the cake
- Use a serrated knife to carefully level the tops of the cake layers. Save the scrap cake pieces.
- Place one cake layer onto a serving platter, top side up. Spread about ⅓ of the frosting over the top.
- Top with the second cake layer, bottom side up. Cover the top and sides of the cake with the remaining frosting.
- Decorate with leftover cake crumbs if desired.
Notes
- Oil: Oil is important for this recipe because it adds moisture. Canola or vegetable oil work best.
- Cocoa powder: Use natural cocoa powder. Dutch-processed will not work with this recipe.
- Food coloring: Most modern red velvet cake recipes call for food coloring. I used McCormick’s brand in the 1-ounce bottle and have not tested the recipe with natural coloring. If you have an aversion to food dye, simply leave it out.
- Vinegar: Is necessary for the cake to turn out properly. If you don’t have vinegar, lemon juice can be used.
- Buttermilk: Whole buttermilk is required for a moist cake.
- Bake time: Every oven is different! Start checking for doneness about 5 minutes sooner so you don’t accidentally overbake the cake. There should be no wet batter on a toothpick but you do want a few moist crumbs to stick. A clean toothpick means the cake will be dry.
- Once the cake has been assembled, cover and store it at room temperature for up to 3 days. Or store it in the refrigerator for up to 5 days. Bring it to room temperature just before serving.
- The frosted cake can be frozen for up to 2 months. Thaw it overnight in the refrigerator and allow it to come to room temperature just before serving.
- The frosting can be made 1 day in advance. Store in an airtight container in the refrigerator. Allow the frosting to come to room temperature for a couple of hours, then beat it with an electric mixer before using it.
- Wrap baked and cooled cake layers tightly in plastic wrap and store them in the refrigerator. Assemble and frost the cake within 2 days.
- The layers freeze well. Wrap them tightly in two layers of plastic wrap followed by two layers of aluminum foil. Freeze for up to 2 months. Set on the counter to thaw for couple hours before using.
Nutrition
The nutrition information provided is for convenience and as a courtesy only. It is not guaranteed to be accurate because nutrition information can vary for a variety of reasons. For precise nutritional data use your preferred nutrition calculator and input the exact ingredients and brands you used in the recipe.

How much batter will this recipe yield? I plan on using an 8″ hemisphere cake pan by fat daddio’s. thanks. Jackie
I’d say roughly 6 cups.
Hi Jen! I would like to half your recipes (it’s just my hubby & me). So would (1) 9” pan be ok? Because I want to do the same with your Nutella cheesecake recipe.
Yes, one 9-inch pan will work perfectly if you halve the recipe.