No Bake Mini Cheesecakes
This post may contain affiliate links. Read the full disclosure here.
These no-bake mini cheesecakes are rich and creamy – not to mention adorable. The best thing about this cheesecake recipe is that you never have to worry about the tops of the cheesecake cracking. Just mix, prepare, chill and enjoy!
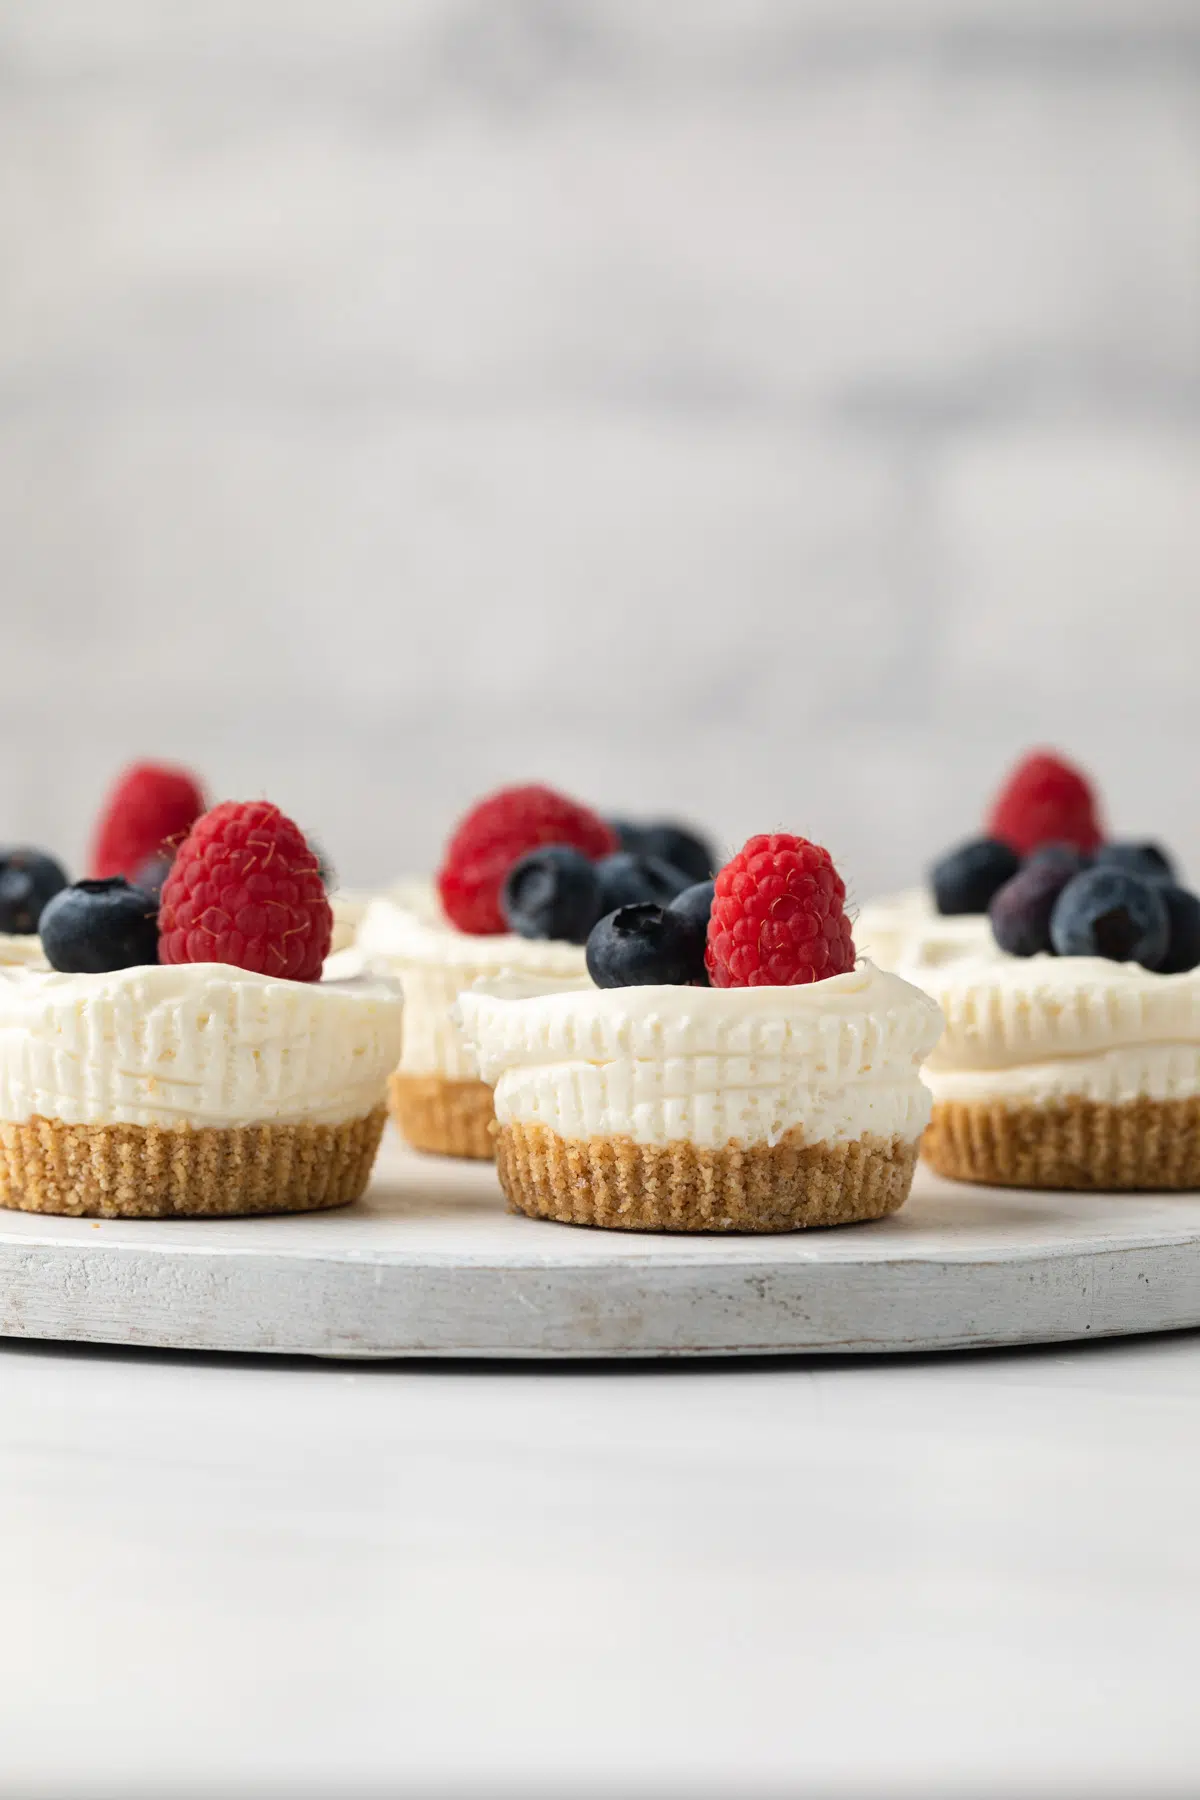
Another cheesecake recipe, you ask? Yes. Another cheesecake recipe. Because I believe you can never have too much cheesecake in your life.
My best ever cheesecake recipe really is is the best ever. But I know that sometimes you want the flavor of cheesecake without the water bath, the baking, the chilling, and so forth. That’s why I created my no bake cheesecake recipe, which I hope you have tried by now.
My mini cheesecakes have been such a hit, and so loved by you all, that I decided to make my no-bake cheesecake in a mini cheesecake form. I’m so glad I did and I think you will be too.
I love easy no bake desserts in the summer. These mini cheesecakes fit the bill – though the crusts do need a quick browning in the oven. They are delicious, they don’t require baking or water baths, and they are perfect to have as a little treat throughout the day, or to bring to a back to school potluck as a dessert offering.
These don’t have the light fluffy texture cheesecakes which have been baked get, but they are creamy and smooth from the cream cheese and the heavy cream. And as you might expect, totally delicious.
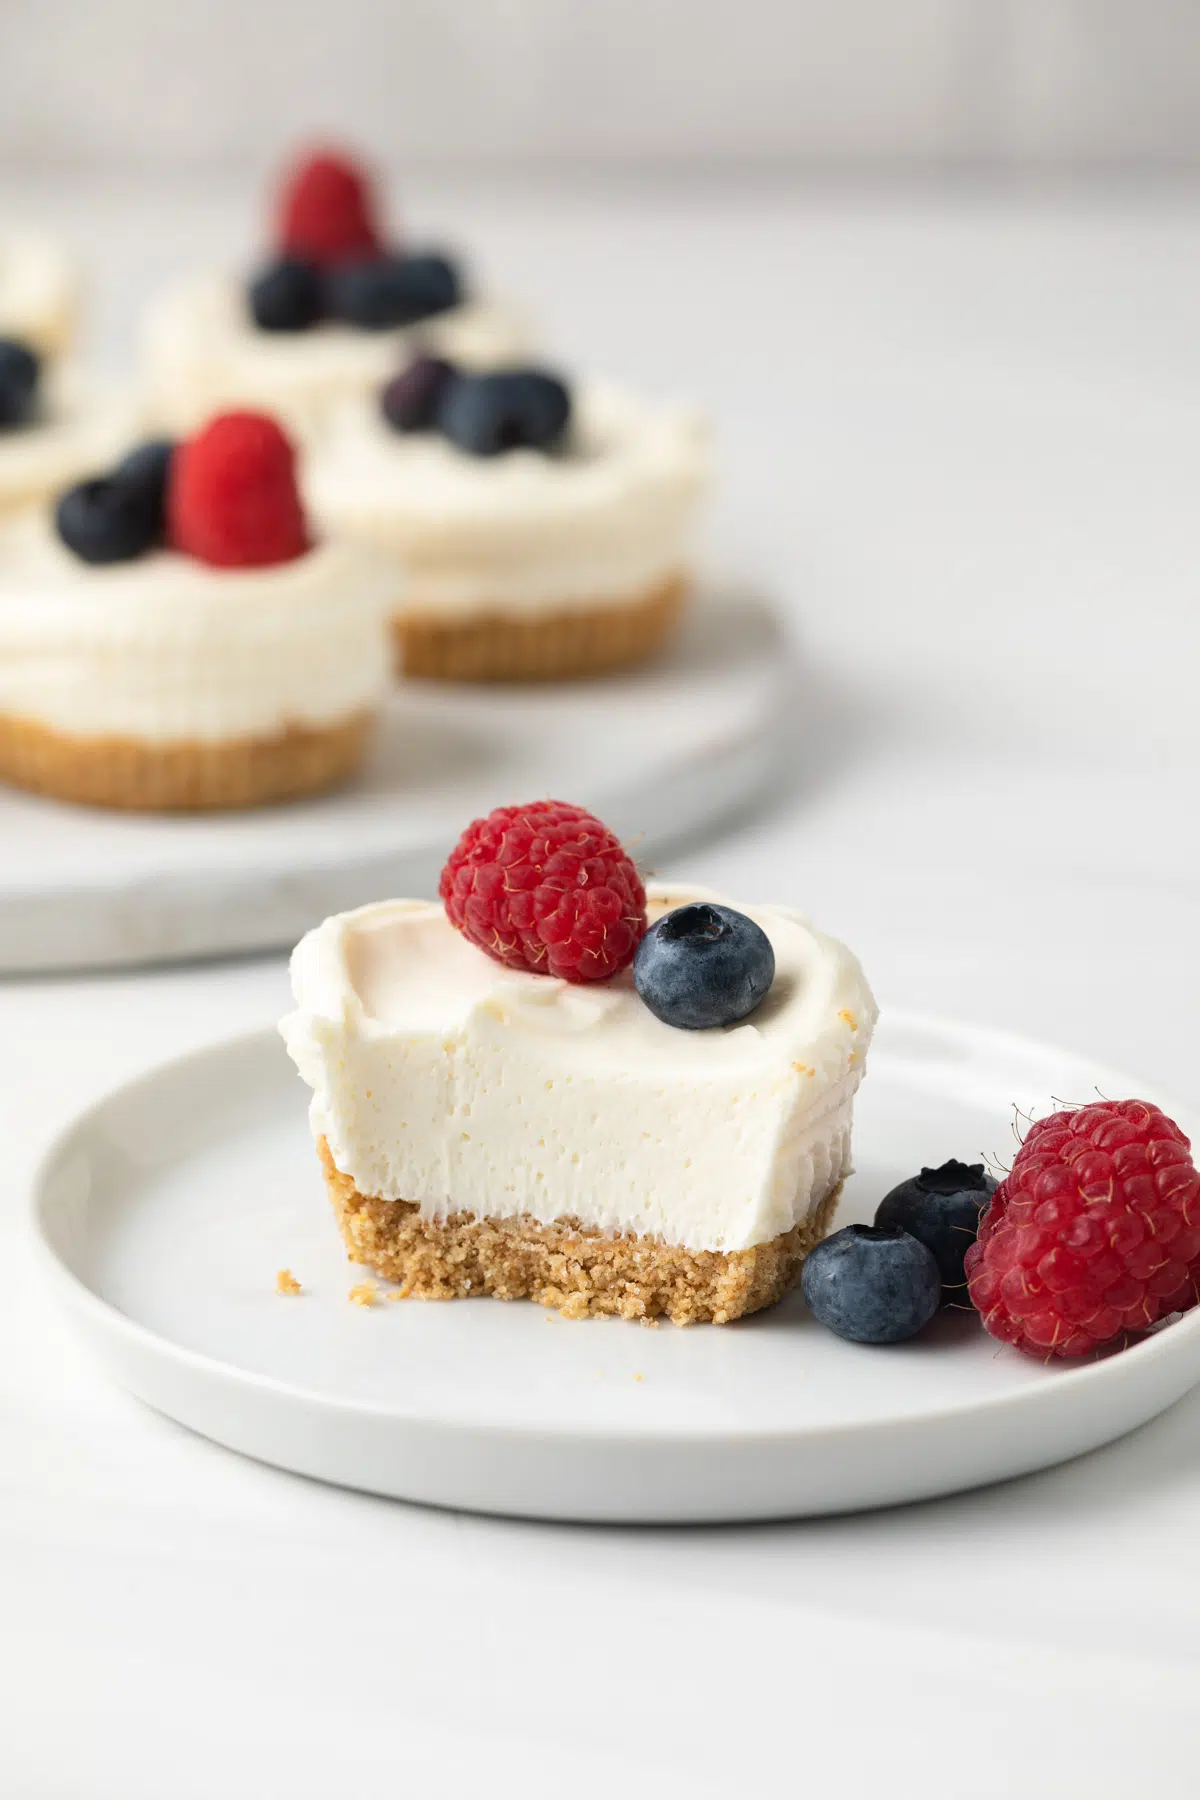
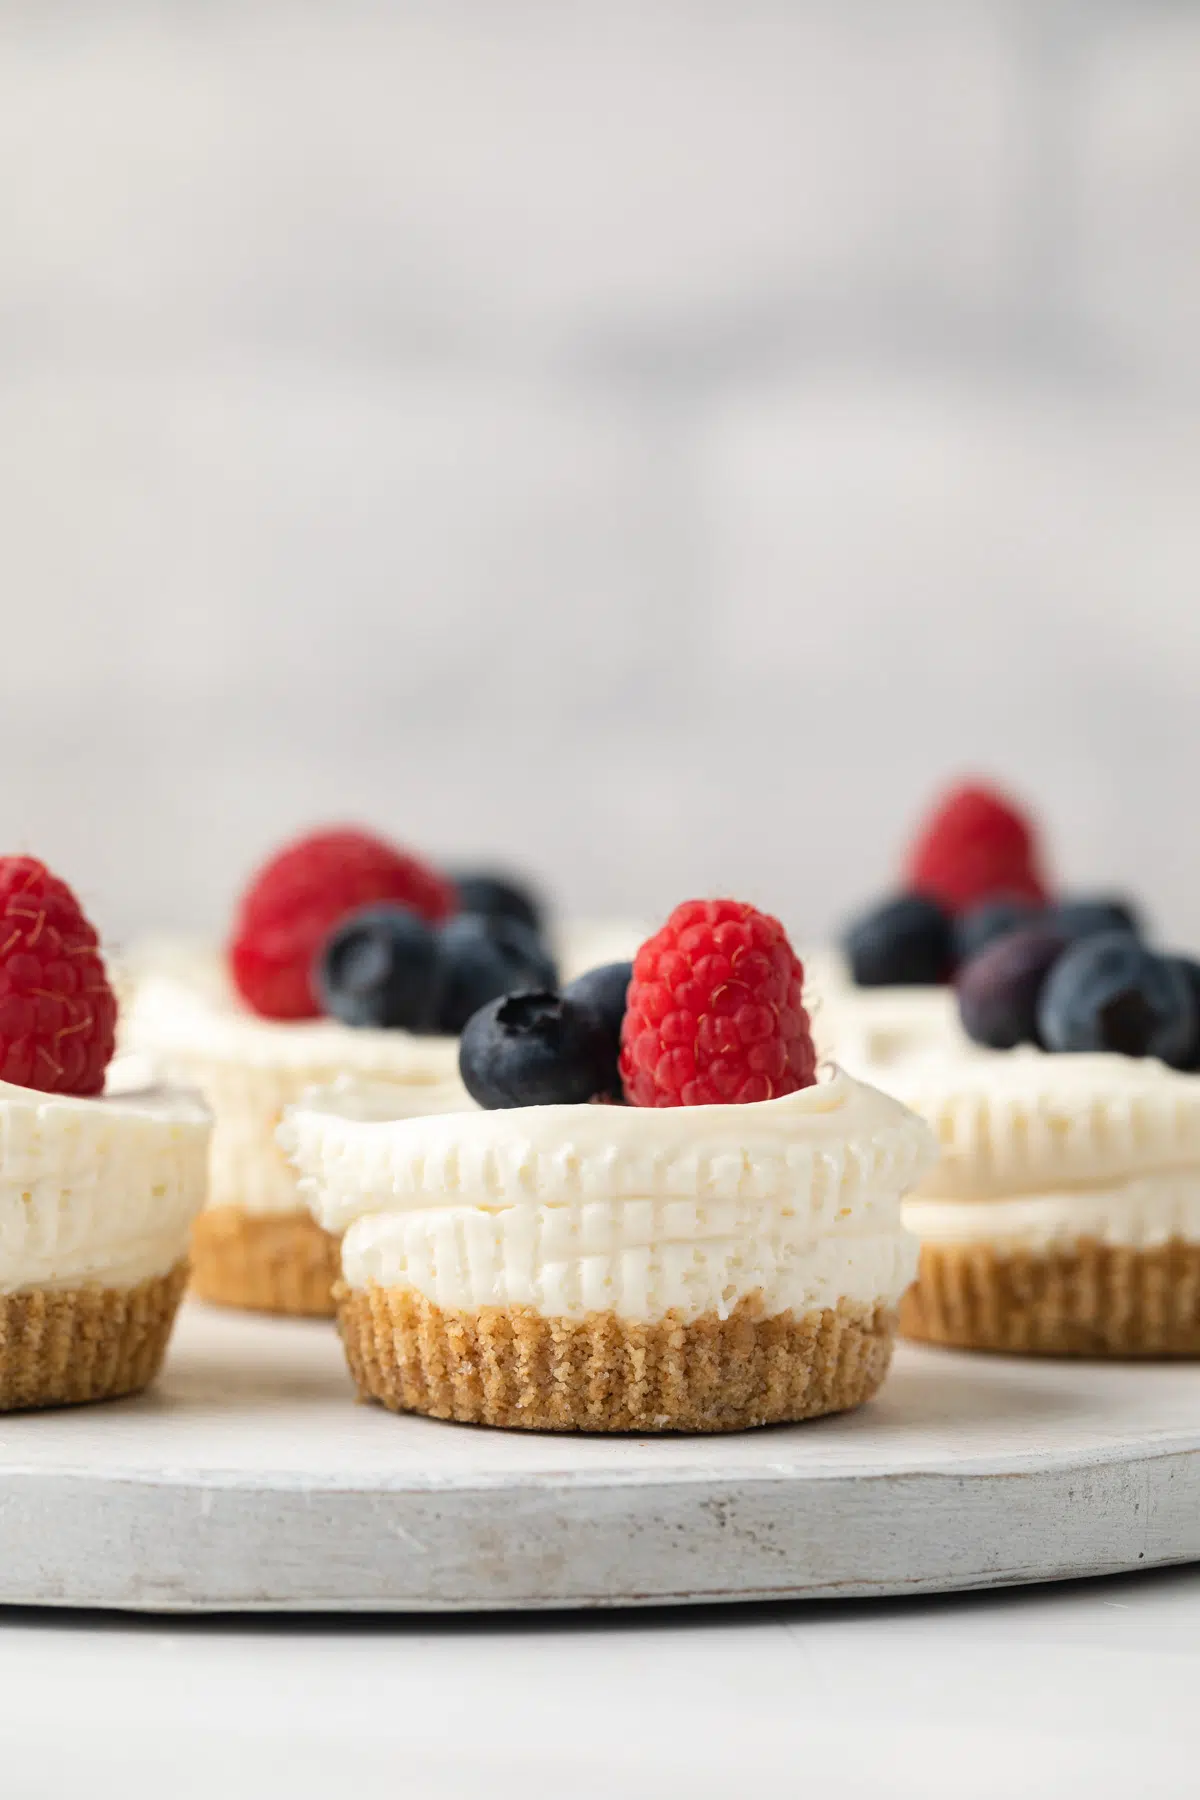
These cheesecakes are flavored with just a bit of vanilla. They’re sweet, tangy and creamy. I like to top them with a few berries and a dollop of whipped cream before I serve them.
But these cheesecakes are so versatile, you could drizzle them with chocolate or caramel sauce, sprinkle with chopped up toffee, or even pieces of chopped up Snickers bars if you really wanted something decadent.
Recipe Snapshot
- TASTE: Rich, tangy, and delicious.
- TEXTURE: Creamy cheesecake and crumbly crust
- EASE: Easy!
- TIME: 20 minutes prep / 8 hours chilling
What You Need
These no bake mini cheesecakes require all the standard cheesecake ingredients – graham cracker crumbs, cream cheese, and sugar.
- Graham cracker crumbs – grind 1 and ½ sleeves until you have a fine crumb – or you can use store-bought graham cracker crumbs.
- Butter – Always unsalted butter when baking, this will be melted to bind the crumb crust together!
- Sugar – I use granulated sugar in the crust and confectioners sugar in the actual cheesecake.
- Cream cheese – Full fat block style cream cheese, please. Not the whipped kind.
- Heavy cream – This gives richness and creaminess to the cheesecake.
- Vanilla extract – Try making your own homemade vanilla.
How to Make No Bake Mini Cheesecakes
This mini cheesecake recipe makes the most delightful and delicious little treats. Be sure to plan ahead though. While they are super easy to assemble, they are best when they sit in the fridge for up to 9 hours to set.
Be sure to check out the full recipe and ingredient list below
Make the crust
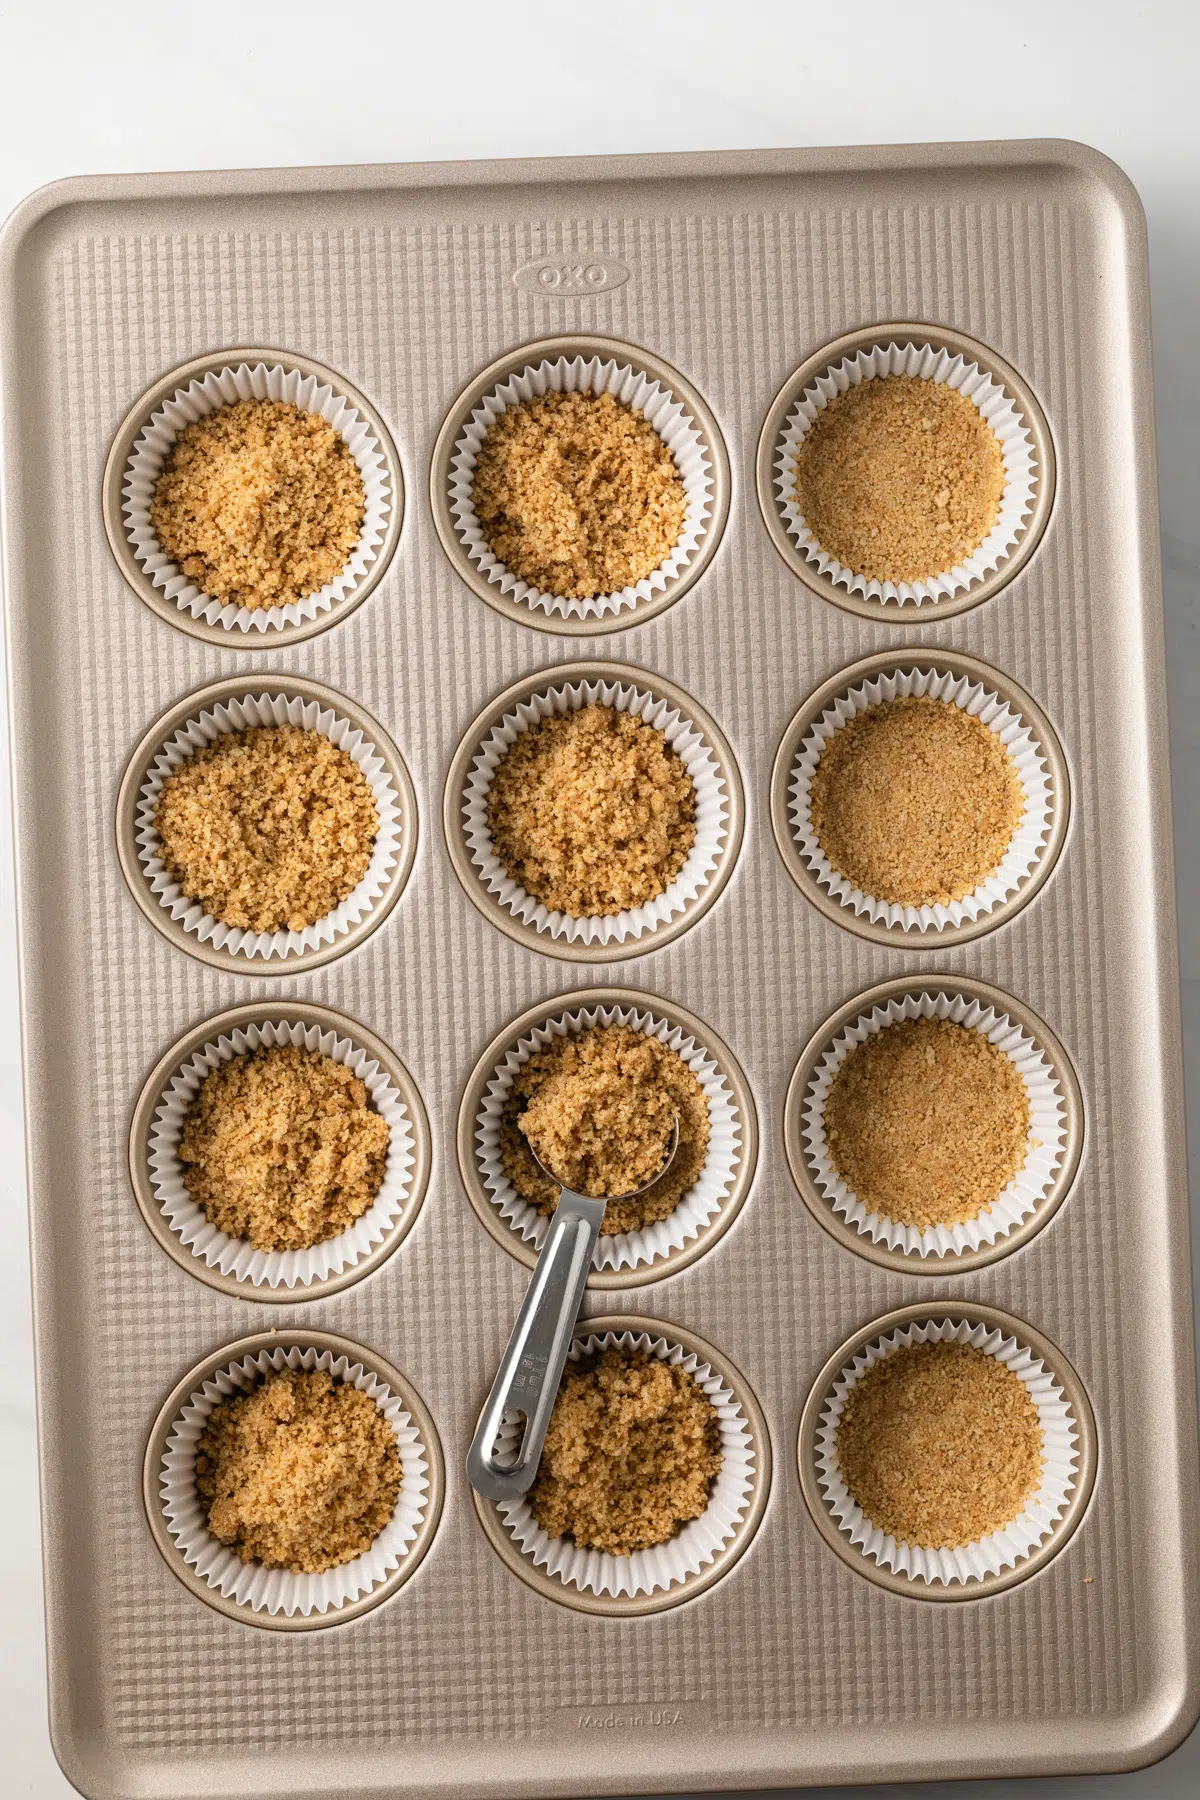
- Move the oven rack to the lower third position and heat the oven to 325°F. Line a 12-cup muffin pan with paper liners.
- Combine the graham cracker crumbs, sugar, and melted butter.
- Evenly distribute about 1.5 tablespoons of the mixture in each of the 12 liners. Use a small measuring cup or glass to press the cheesecake crust into one even layer.
- Bake for 5 minutes. Set aside for the crusts to cool while you make the filling, and turn off the oven – you won’t need it anymore!
Make the filling
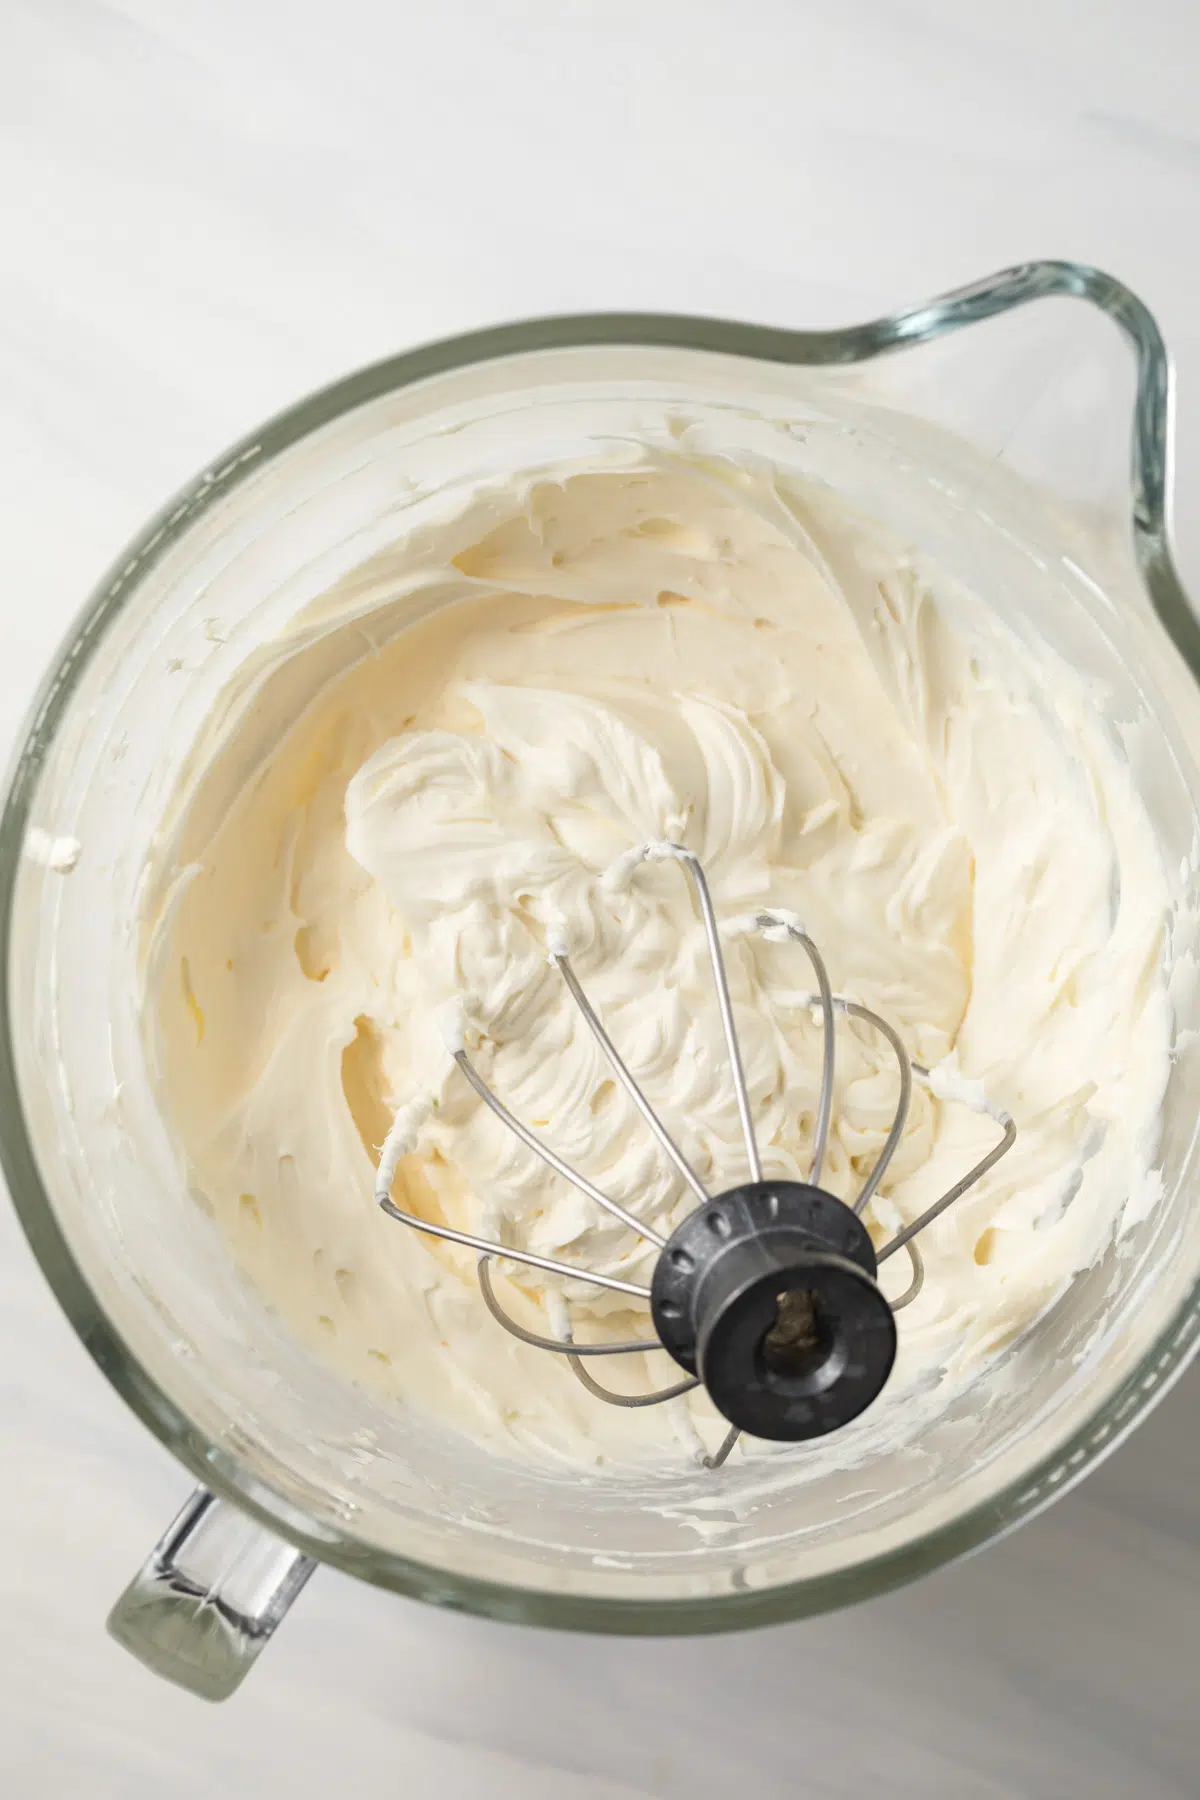
- In a large bowl of a stand mixer fitted with the paddle attachment or with a hand mixer, beat the cream cheese on medium speed until smooth and creamy, about 3 minutes.
- Add the confectioners’ sugar and mix on low speed until the sugar is moistened. Then turn the speed up to medium and continue mixing until well combined, about 2 minutes. Add the vanilla and mix on medium speed until well incorporated, about 1 minute.
- Add the heavy cream. Beat on low speed until the cream is well mixed in. Turn the speed on high and beat until the batter becomes thick and stiff.
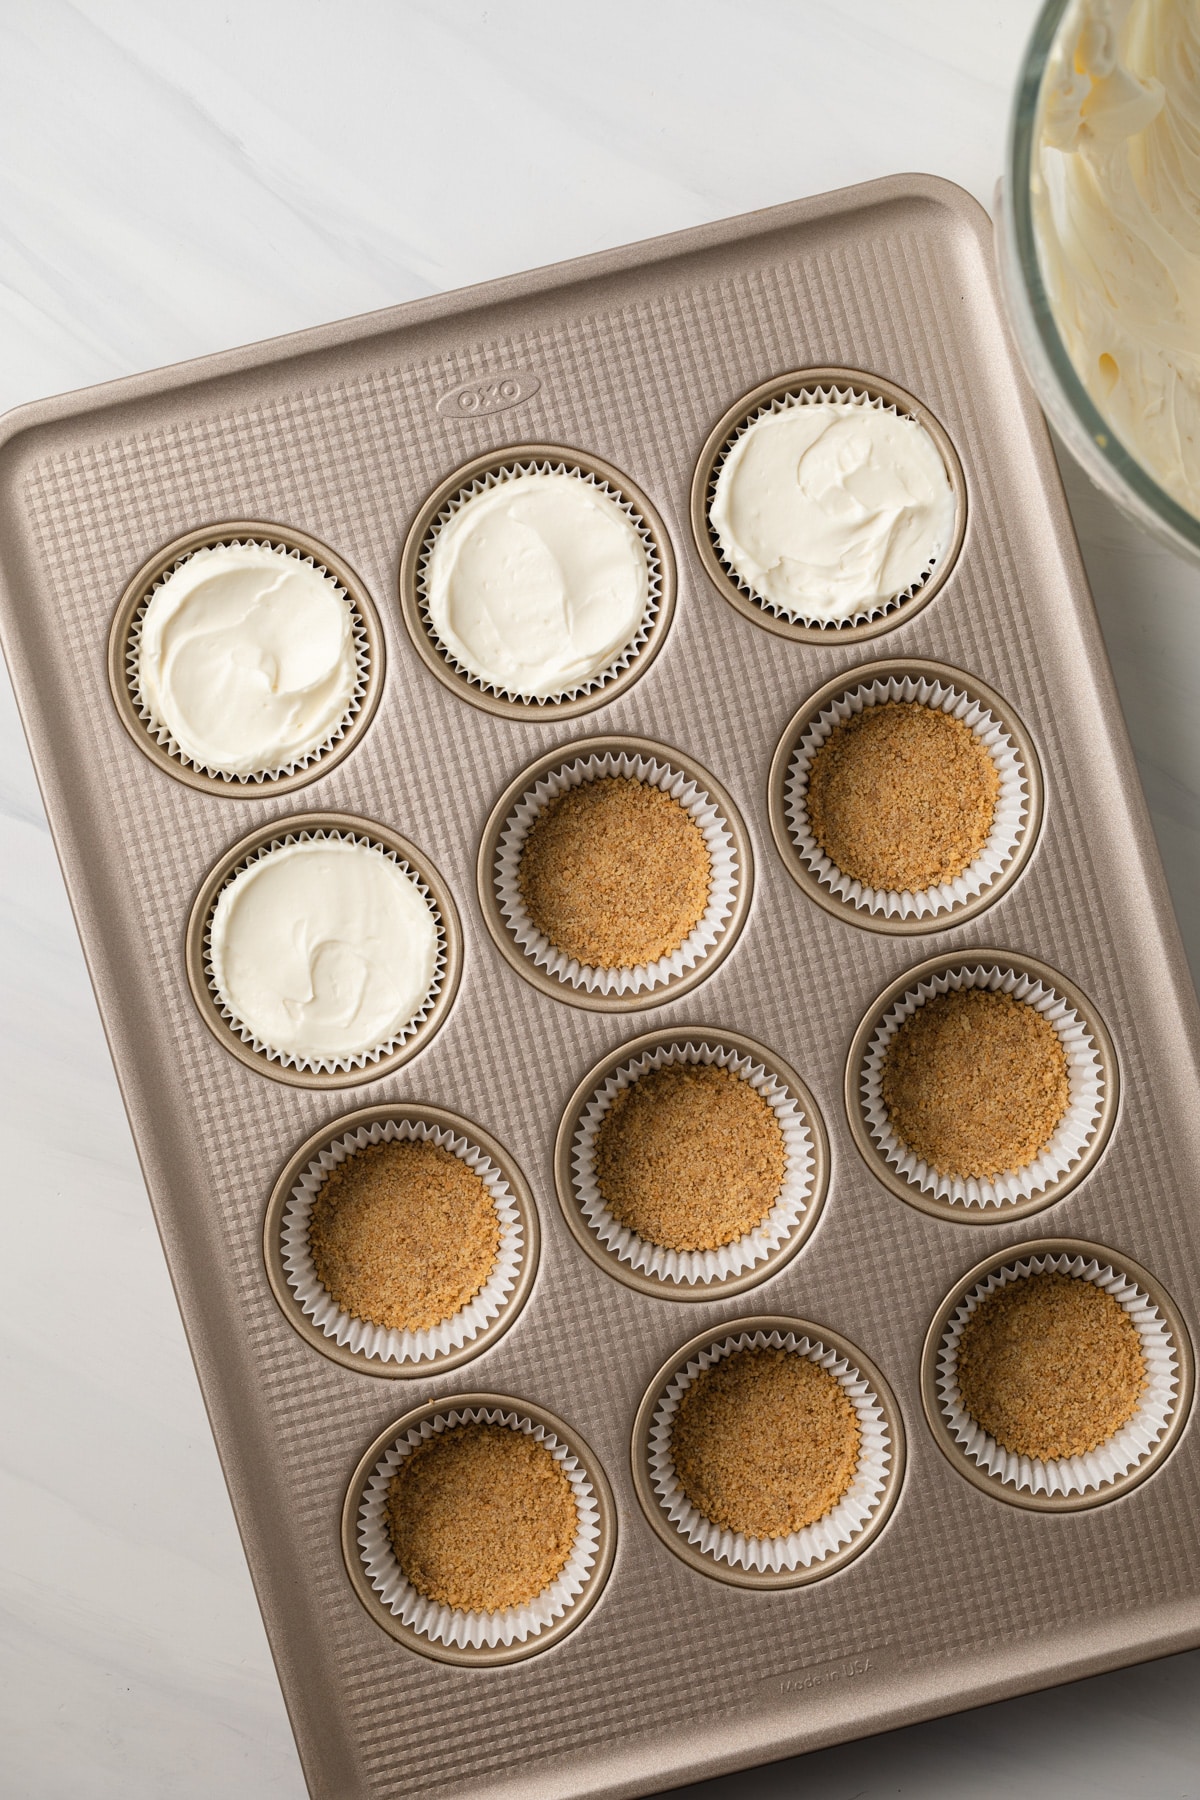
- Divide the cheesecake filling between the prepared graham cracker crusts and smooth over the tops. Refrigerate for at least 8 hours. Top with whipped cream and fresh berries or fruit preserves just before serving.
Handy tip:
You can use a mini cheesecake pan for this recipe. However, since the cavities are a little smaller than a muffin pan, I recommend making 16 instead of 12. If you are bringing these to a potluck I suggest using cupcake liners in the muffin pan so that they are easier for guests to handle.

Tips For Success
- Baking the crust: While it’s not necessary I find that baking the crust helps it to remain sturdy. If you choose not to bake the crust, it will be slightly crumbly.
- Graham crackers: To make this recipe a little easier, you can use store-bought graham cracker crumbs. You can also try your favorite cookie in place of graham crackers.
- Cream cheese: Make sure to use brick-style cream cheese and not cream cheese spread in a tub. I recommend using full-fat cream cheese for the best results.
Storage & Freezing
- Store mini cheesecakes in an airtight container in the refrigerator for up to 4 days.
- Mini cheesecakes will freeze well for up to 3 months, thaw overnight in the refrigerator.
No Bake Mini Cheesecakes
Ingredients
For the crust
- 1 cup (120 g) graham cracker crumbs, about 8 full-sheets
- 2 tablespoons granulated sugar
- 3 tablespoons unsalted butter, melted
For the filling
- 16 ounces (452 g) cream cheese, softened to room temperature
- 1 cup (120 g) confectioners' sugar
- 1 ½ teaspoon vanilla extract
- ¾ cup (180 ml) heavy cream, cold
Instructions
Make the crust
- Move the oven rack to the lower third position (1 notch below the center of the oven) and heat the oven to 325°F. Line a 12-cup muffin pan with paper liners.
- Combine the graham cracker crumbs, sugar, and melted butter.
- Evenly distribute the mixture between all 12 liners, about 1.5 tablespoons in each cup. Use a ¼-cup measuring cup or small glass to firmly press it down into one even layer.
- Bake for 5 minutes. Set aside to cool while you make the filling.
Make the filling
- In the bowl of a stand mixer fitted with the paddle attachment or with a handheld electric mixer, beat the cream cheese on medium speed until smooth and creamy, about 3 minutes.
- Add the confectioners' sugar and mix on low speed until the sugar is moistened. Then turn the speed up to medium and continue mixing until well combined, about 2 minutes.
- Add the vanilla and mix on medium speed until well incorporated, about 1 minute.
- If using a stand mixer with the paddle attachment, switch to the whisk attachment and add the heavy cream. Beat on low speed until the cream is well mixed in. Turn the speed up to high and beat until the batter becomes thick and stiff.
- Divide the filling between the prepared crusts and smooth over the tops. Refrigerate for at least 8 hours.
- Top with whipped cream and fresh berries or fruit preserves just before serving.
Notes
- Baking the crust: While it’s not necessary I find that baking the crust helps it to remain sturdy. If you choose not to bake the crust, it will be slightly crumbly.
- Graham crackers: To make this recipe a little easier, you can use store-bought graham cracker crumbs. You can also try your favorite cookie in place of graham crackers.
- Cream cheese: Make sure to use brick-style cream cheese and not cream cheese spread in a tub. I recommend using full-fat cream cheese for the best results.
- Mini cheesecake pan: You can use a mini cheesecake pan for this recipe. However, since the cavities are a little smaller than a muffin pan, I recommend making 16 instead of 12.
- Store mini cheesecakes in an airtight container in the refrigerator for up to 4 days.
- Mini cheesecakes will freeze well for up to 3 months, thaw overnight in the refrigerator.
Nutrition
The nutrition information provided is for convenience and as a courtesy only. It is not guaranteed to be accurate because nutrition information can vary for a variety of reasons. For precise nutritional data use your preferred nutrition calculator and input the exact ingredients and brands you used in the recipe.

Will it work if I add pumpkin for a fall flair or will it mess with the consistency? How would you go about making a fall version?
I’ve not tested this recipe with pumpkin so I can’t offer advice here.
Will it be still tasty if I don’t put vanilla extract? My parents doesn’t like vanilla extract and I am going to make it for Mother’s Day.
It will be fine to leave it out.
This recipe is so easy to make and it’s phenomenal! I make it for my nieces and sister all the time and they love it! ❤️