Mini Cheesecakes
This post may contain affiliate links. Read the full disclosure here.
These versatile, mini cheesecakes feel like a luxury dessert at home.
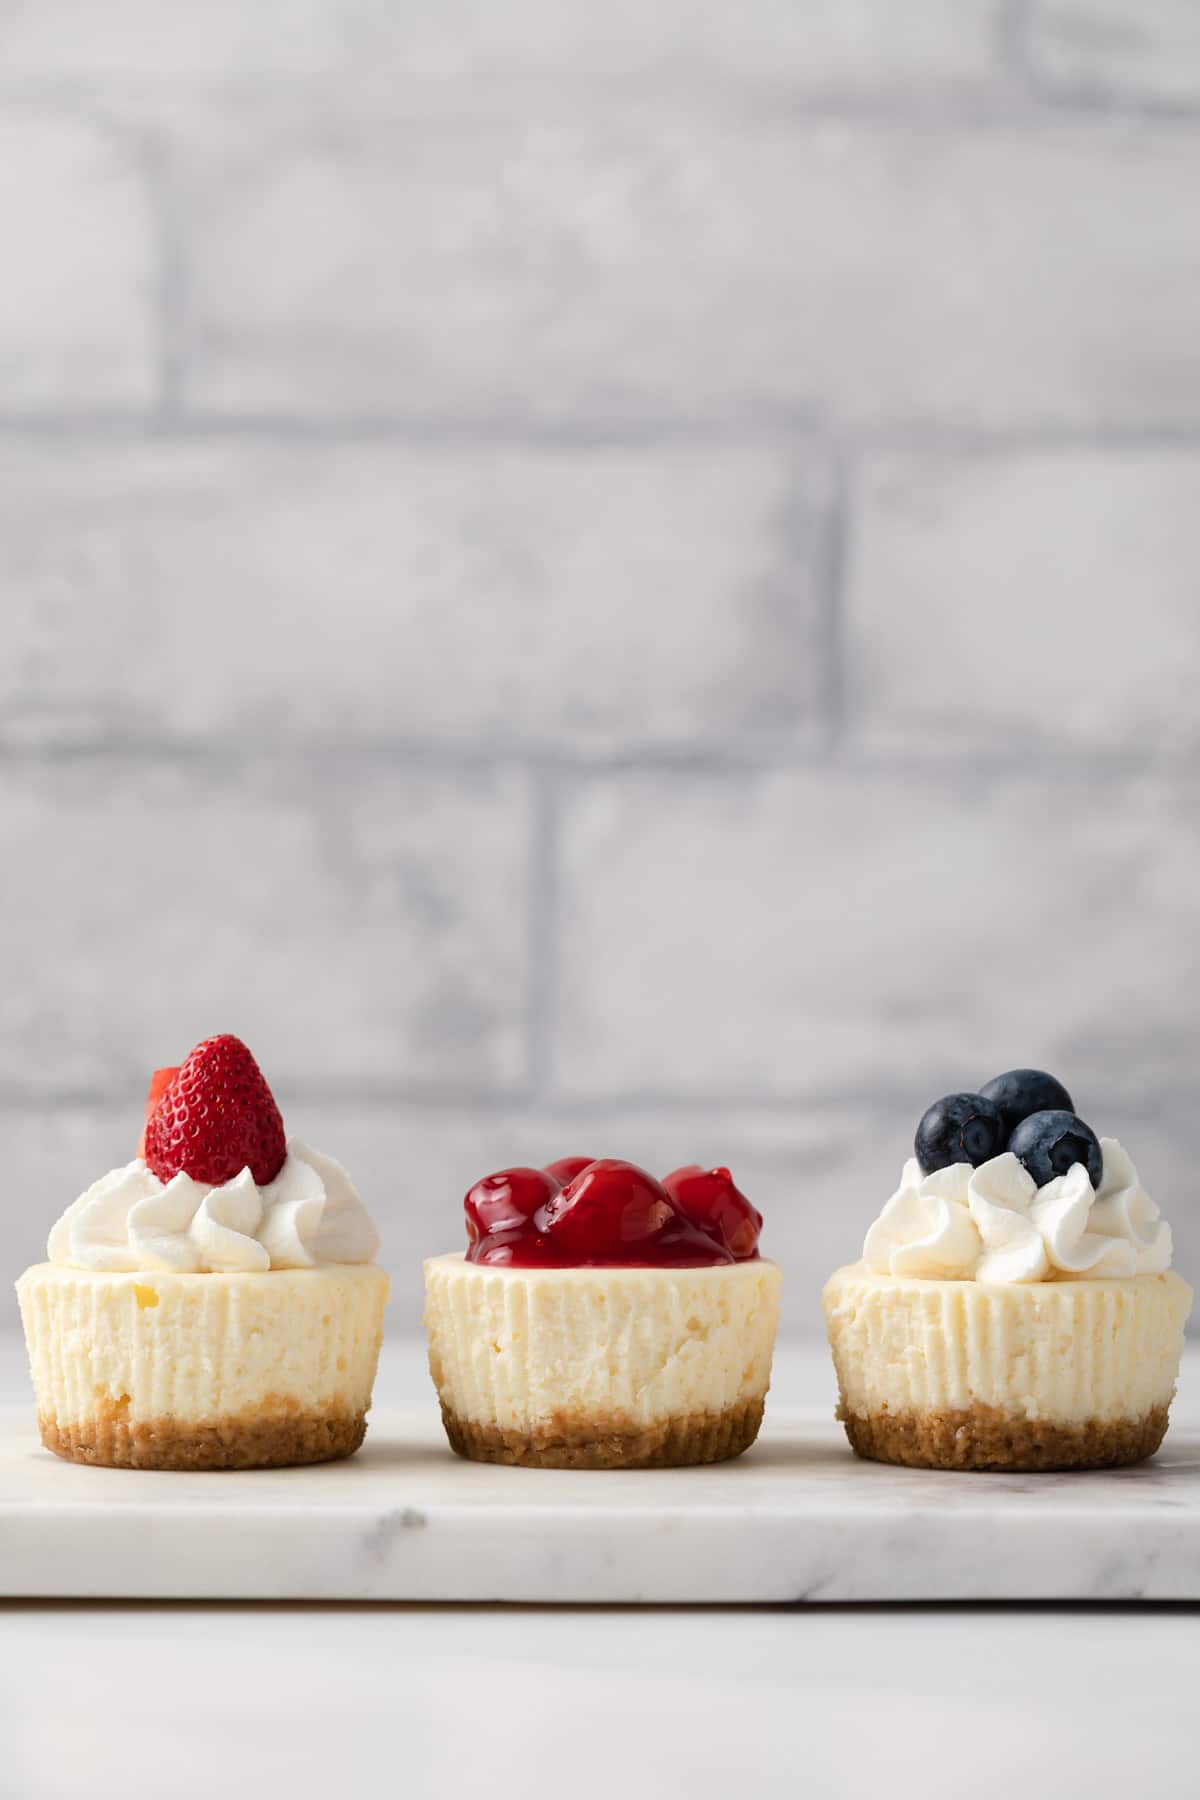
Is there anything more enchanting than fresh, melt-in-your-mouth cheesecake? These are the best mini cheesecake bites for your next celebration. They are perfectly petite!
And if you prefer no-bake desserts, I’ve got you covered with a no-bake mini cheesecakes recipe!
The adjustable nature of these homemade mini cheesecakes is unmatched. Impress your friends and family with a variety of decorating methods. You could even create a mini cheesecake topping bar for your loved ones to decorate their own individual servings.
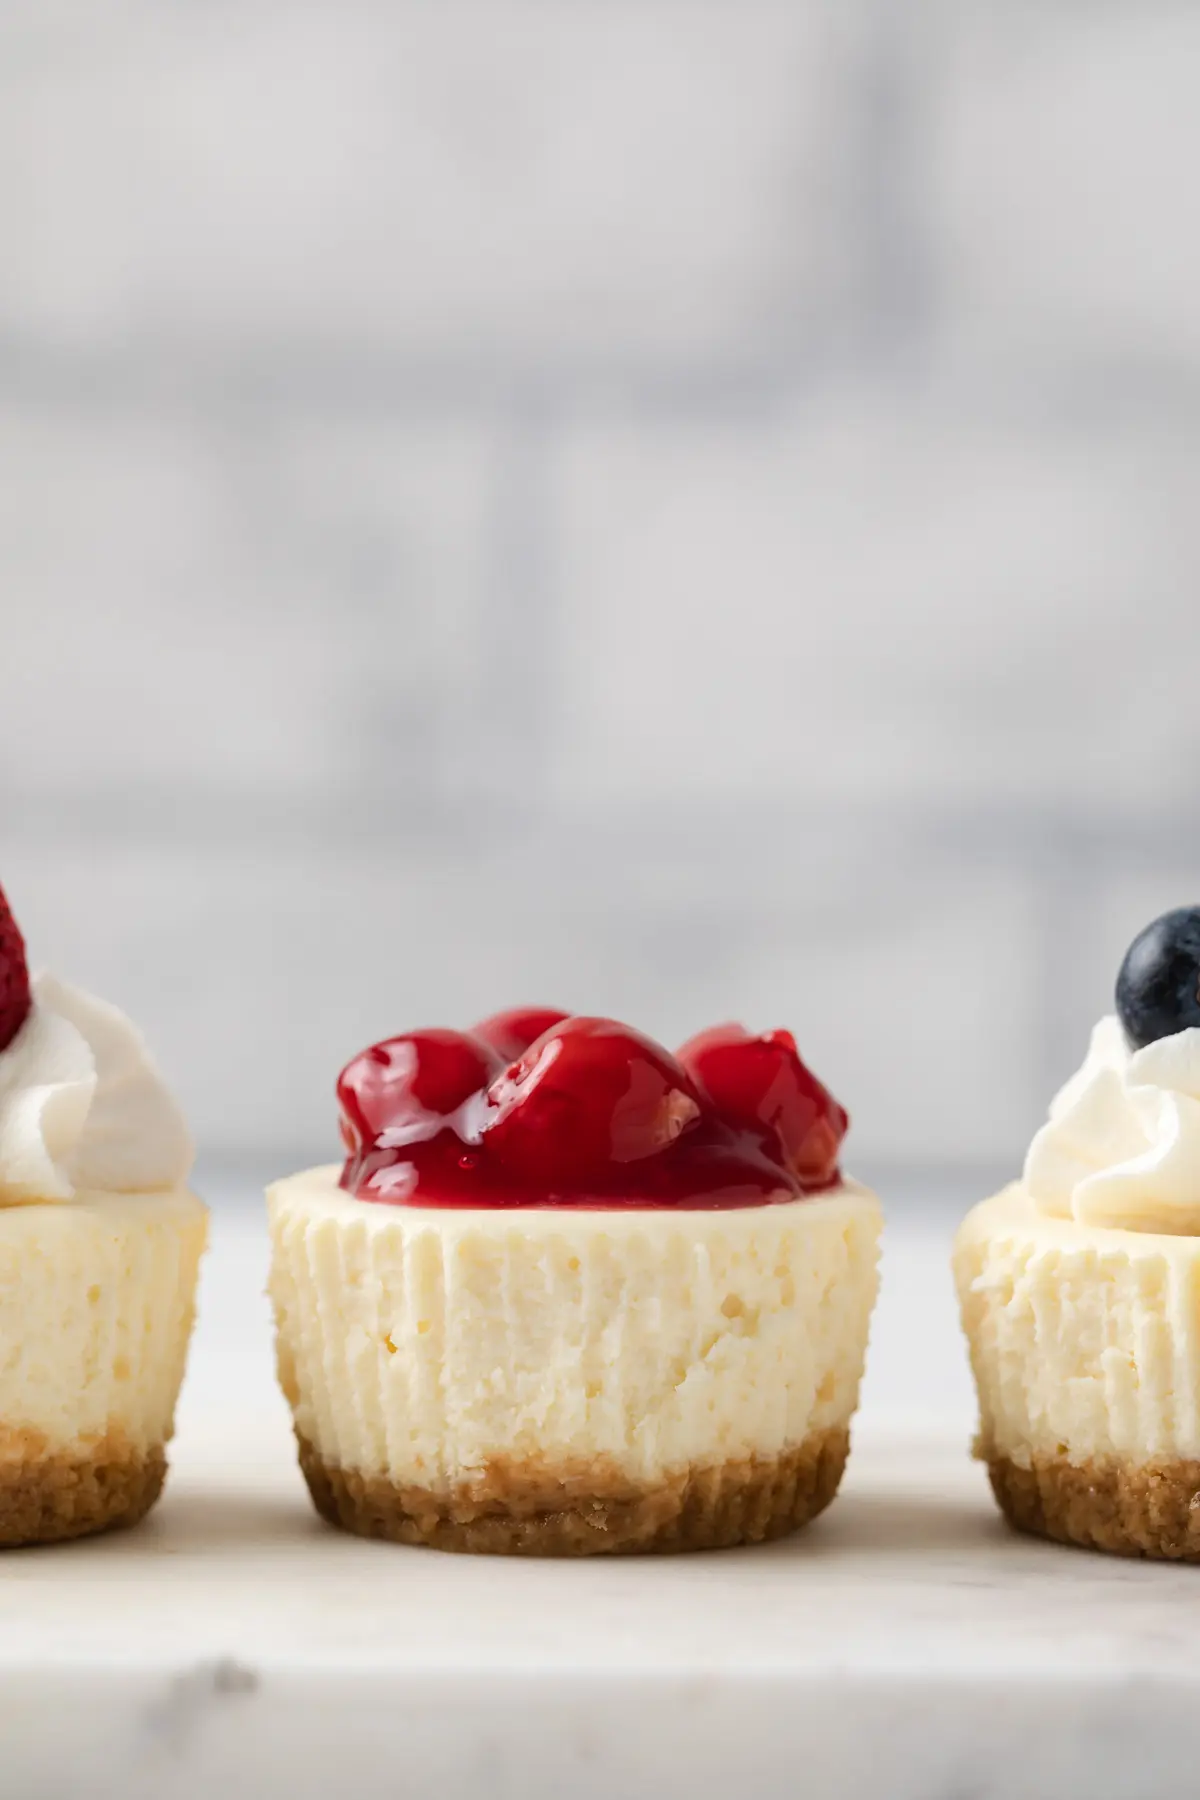
Love cherries? Pile on the cherry pie filling. Maybe you’re craving chocolate? Top with a decadent chocolate ganache.
In addition, caramel sauce and whipped cream perfectly pair with these cheesecakes, as well. Feel free to sprinkle mini chocolate chips on top of the whipped cream before drizzling with caramel sauce. You could also try fruit preserves or even lemon curd.
For those looking for a lighter dessert, sometimes it is more about portion size than cutting out flavor and richness. These are the perfect size for treating yourself without throwing off your well-balanced diet. You can also freeze leftovers and thaw one at a time overnight in your refrigerator. There is no pressure to eat them all in a short time frame.
I know some people are becoming more conscious of gluten consumption. Or you may need to follow a gluten-free diet for medical reasons. That doesn’t mean you have to miss out on these delicious cheesecake bites. Try crumbling your favorite gluten-free cookie in place of the standard graham cracker to create the crusts.
Try my mini strawberry cheesecakes if you want something extra sweet and fruity!
Why this recipe works
- I adapted these little delights from my best cheesecake recipe. It’s one of my favorite dessert recipes on the blog. I modified the ingredients to make enough crust and batter for 12 minis.
- This recipe calls for the cold ingredients to be brought to room temperature before you start the recipe. Set your ingredients out for at least an hour. If you use cold cream cheese, the filling will not have that smooth texture that we all know and love.
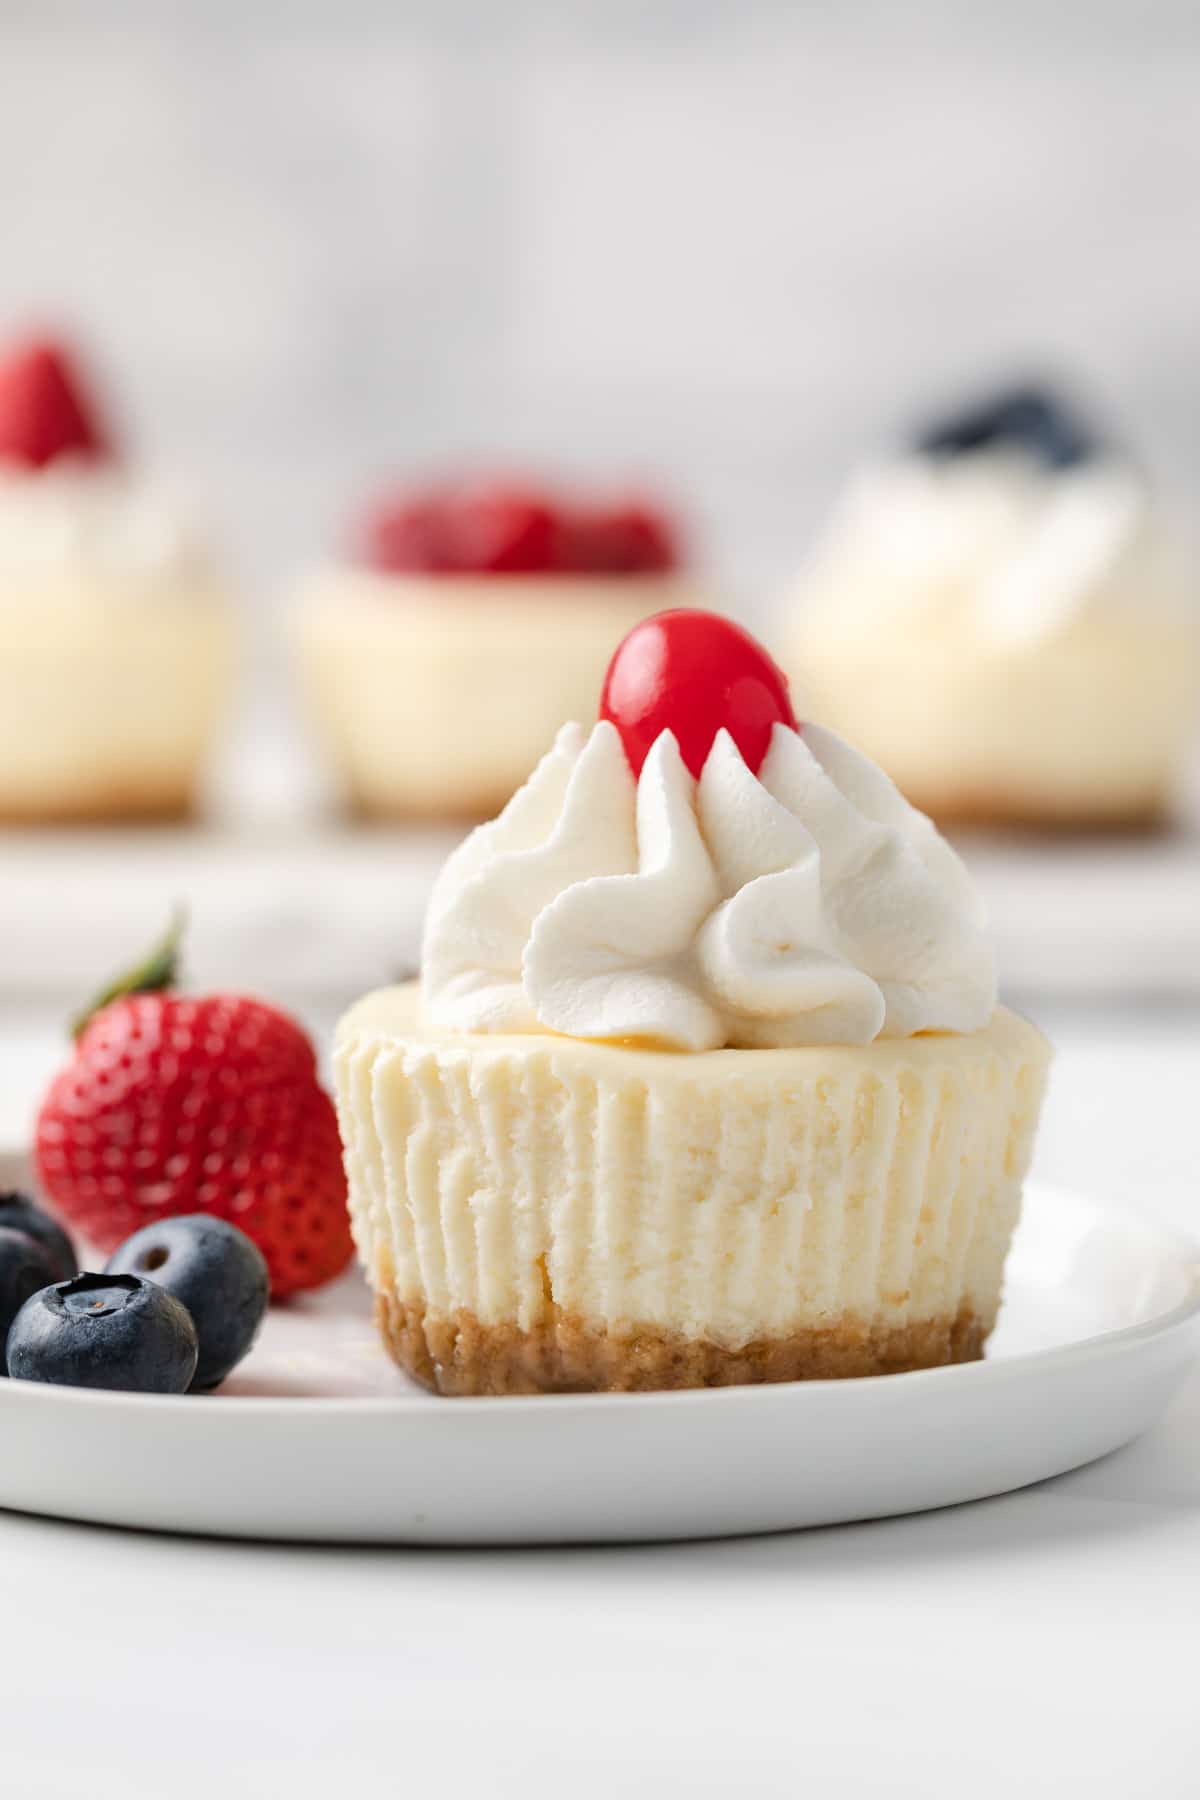
Mini Cheesecake recipe details
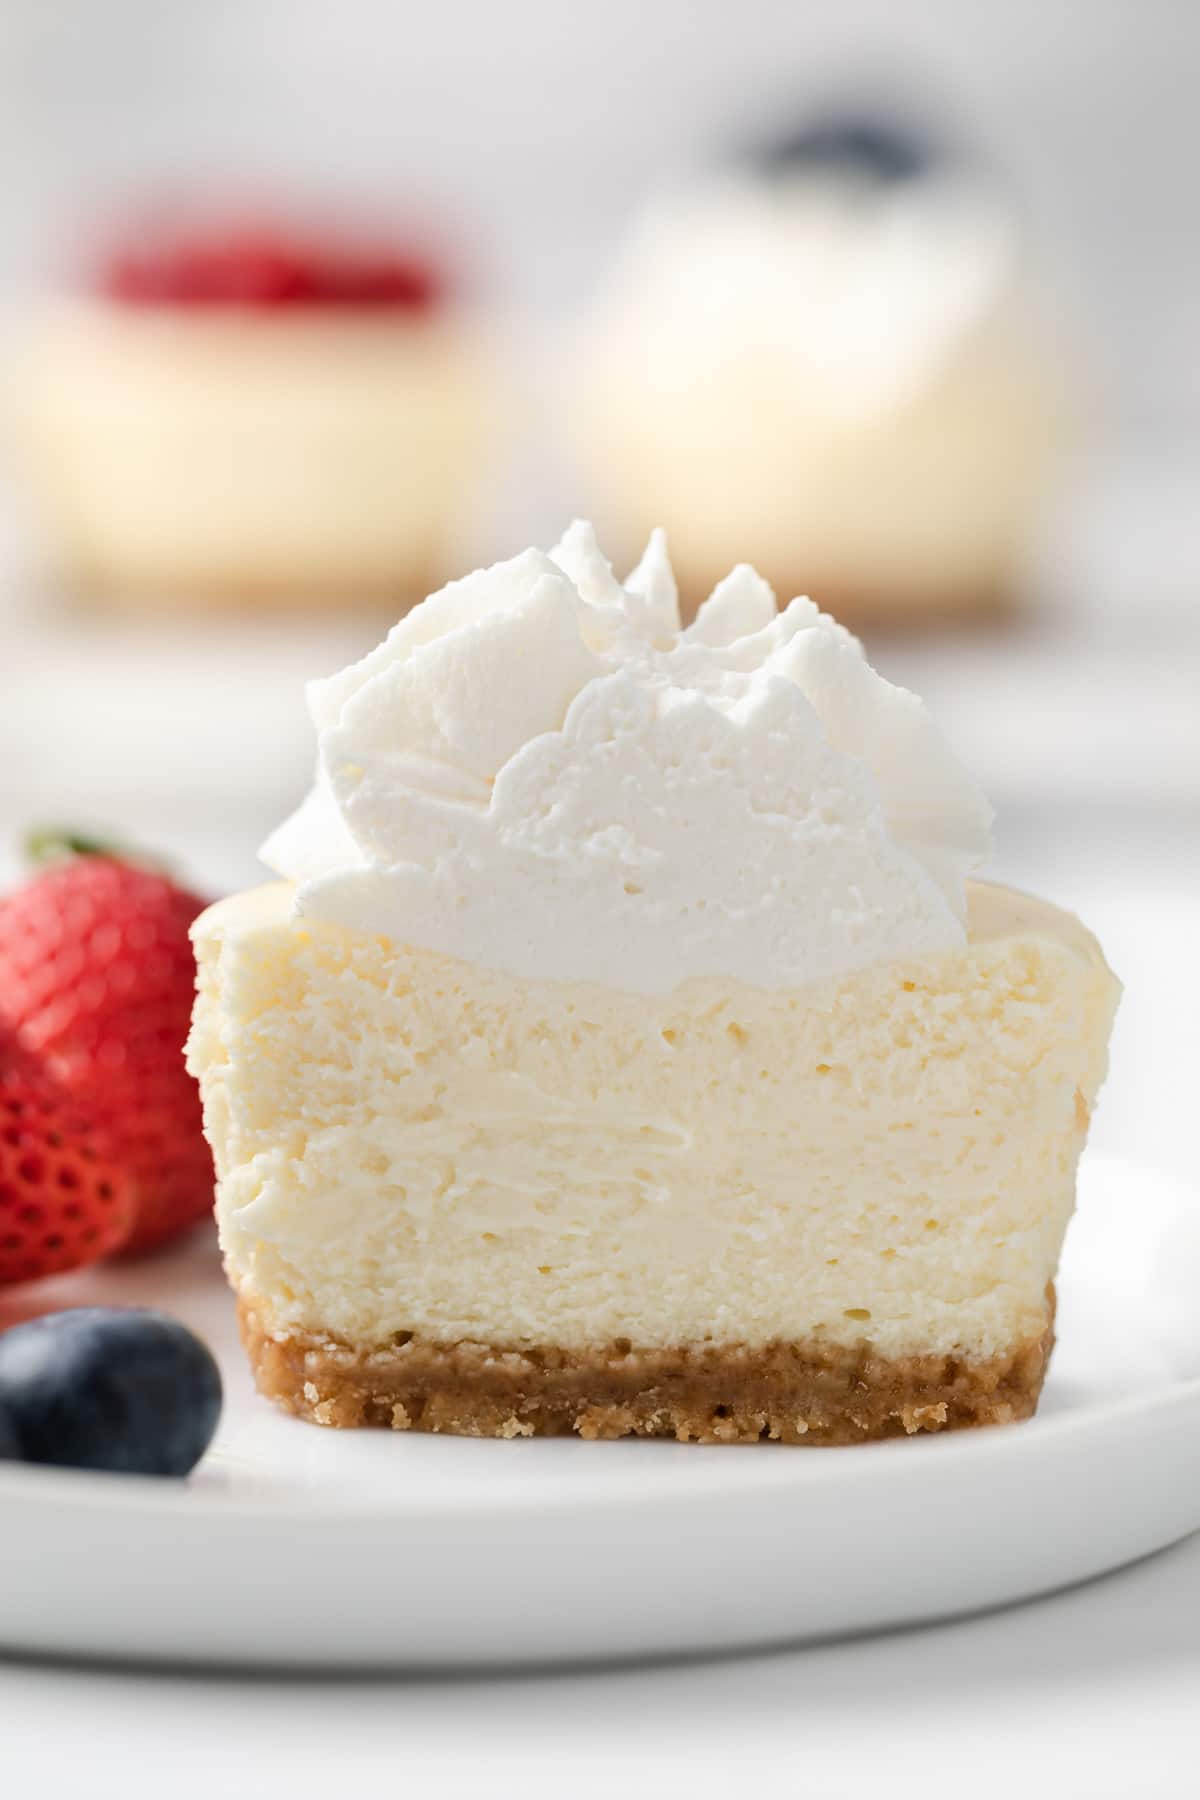
My mini cheesecakes feature a wonderfully, creamy texture. This results from selecting the “right” cream cheese. You always want to select the brick-style cream cheese, not the stuff in the tub, for this recipe.
Equally important, I recommend using a full-fat cream cheese for the best results. Reduced fat products take away from the luxurious feeling of this dessert.
While most may not consider this an important step, you should always sit out your cold ingredients in advance. I would recommend sitting them out at least an hour before using.
You can slice the cream cheese into cubes to help with this process. If the cream cheese is still cold when you start, the texture of the filling will not be smooth and creamy.
Ingredients
- Graham crackers: Crumbs compose the crust. You can crumble about 8 full sheets to create 1 cup of crumbs. However, using store-bought graham cracker crumbs will be faster. Crumbling your favorite cookie makes for a fun and delicious substitute!
- Sugar: This ingredient adds that pop of sweetness to the dessert.
- Butter: The butter acts as an edible glue for the crust. It keeps the graham cracker crumbs as a solid unit. This prevents rogue crumbs from straying into the cheesecake filling, as well.
- Cream cheese: Make sure to buy the brick-style cream cheese at the store. You don’t want the stuff that comes in a tub. When selecting your cream cheese brick, look for the full-fat variety. I find it gives the best results.
- Sour cream: As with the cream cheese, full-fat sour cream works best for this recipe. However, plain Greek yogurt may be used in equal amounts.
- Vanilla: This acts as a flavor enhancer. It makes the other ingredients blossom into a melodious symphony for your taste buds.
- Eggs: Eggs function as natural emulsifiers. As a result, the cheesecake filling has a smooth texture. They also help with thickening the filling to the texture you expect from cheesecake.
Equipment
- Electric mixer: You will need an electric hand mixer with a large bowl. You could also use a stand mixer fitted with a paddle attachment. Either of these tools is essential to blending the ingredients and reaching the desired consistency.
- Muffin pan: A muffin pan works best with this recipe. If you have a mini cheesecake pan, you can use that, as well. However, the cavities are smaller in the mini cheesecake pan than in the muffin pan. For the best results with a mini cheesecake pan, I would recommend making 16 instead of 12 minis.
How to make mini cheesecakes
This recipe is so easy and fun to make. The small serving sizes make it perfect for feeding a crowd or cooking for yourself and freezing the rest for later. Creating the mini cheesecakes takes only three simple steps.
The Crust – To start, line your muffin pan with paper liners. Combine the crumbs, sugar and melted butter to form the crust layer. Press the graham cracker crust into the liners in the muffin cups. Bake for 5 minutes at 325°F, then set aside.
The Filling – Grab your electric mixer with a large bowl or stand mixer with a paddle attachment. Beat the (room temperature!) cream cheese and sugar. Then, add sour cream and vanilla.
Finally, using a silicone spatula, gently stir in the eggs. Make sure to evenly distribute the filling between all 12 cavities in the muffin pan.
The Oven – Turn your oven temperature down to 300°F. Bake for 15-20 minutes or until edges look puffy and set. Cheesecake is done when it looks slightly undone.
Then, remove from oven and let cool in pan for 1 hour. Finally, refrigerate the minis in an airtight container for at least 4 hours. However, overnight refrigeration is preferred for this recipe.
Step 1: Make the crust
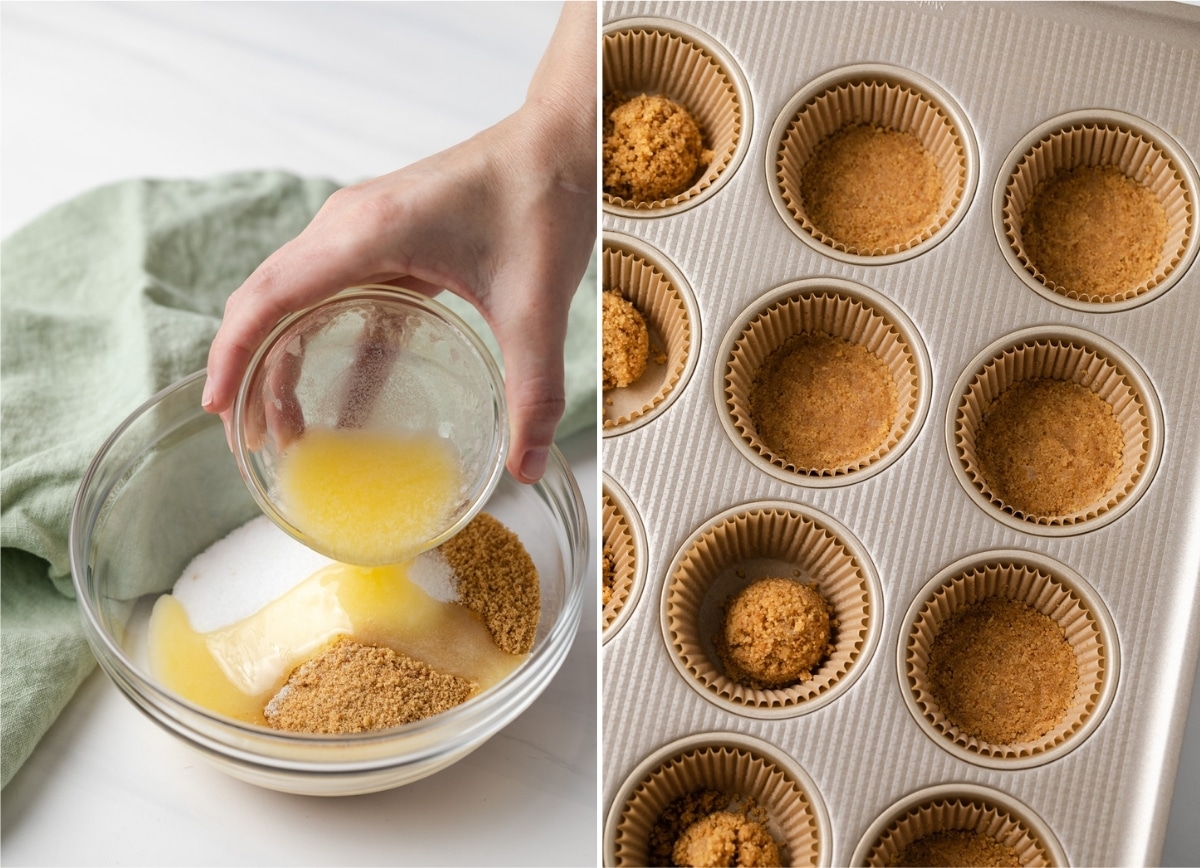
Before preheating, adjust your oven rack to the third lower position. This is typically one notch below the center of the oven. Preheat your oven to 325°F. Take a moment to line your 12-cup muffin pan with paper liners.
Next, combine the graham cracker crumbs, sugar and melted butter. Then, evenly distribute this combination between all 12 liners. You should be using approximately 1.5 tablespoons in each liner. Take a ¼-cup measuring cup or a small glass to firmly press the mixture into an even layer.
Then, bake for 5 minutes. Remove from oven and set aside to cool while you create the filling.
Step 2: Make the filling
Start by reducing your oven temperature from 325°F to 300°F. Grab your stand mixer with a paddle attachment or a large mixing bowl with an electric hand mixer.
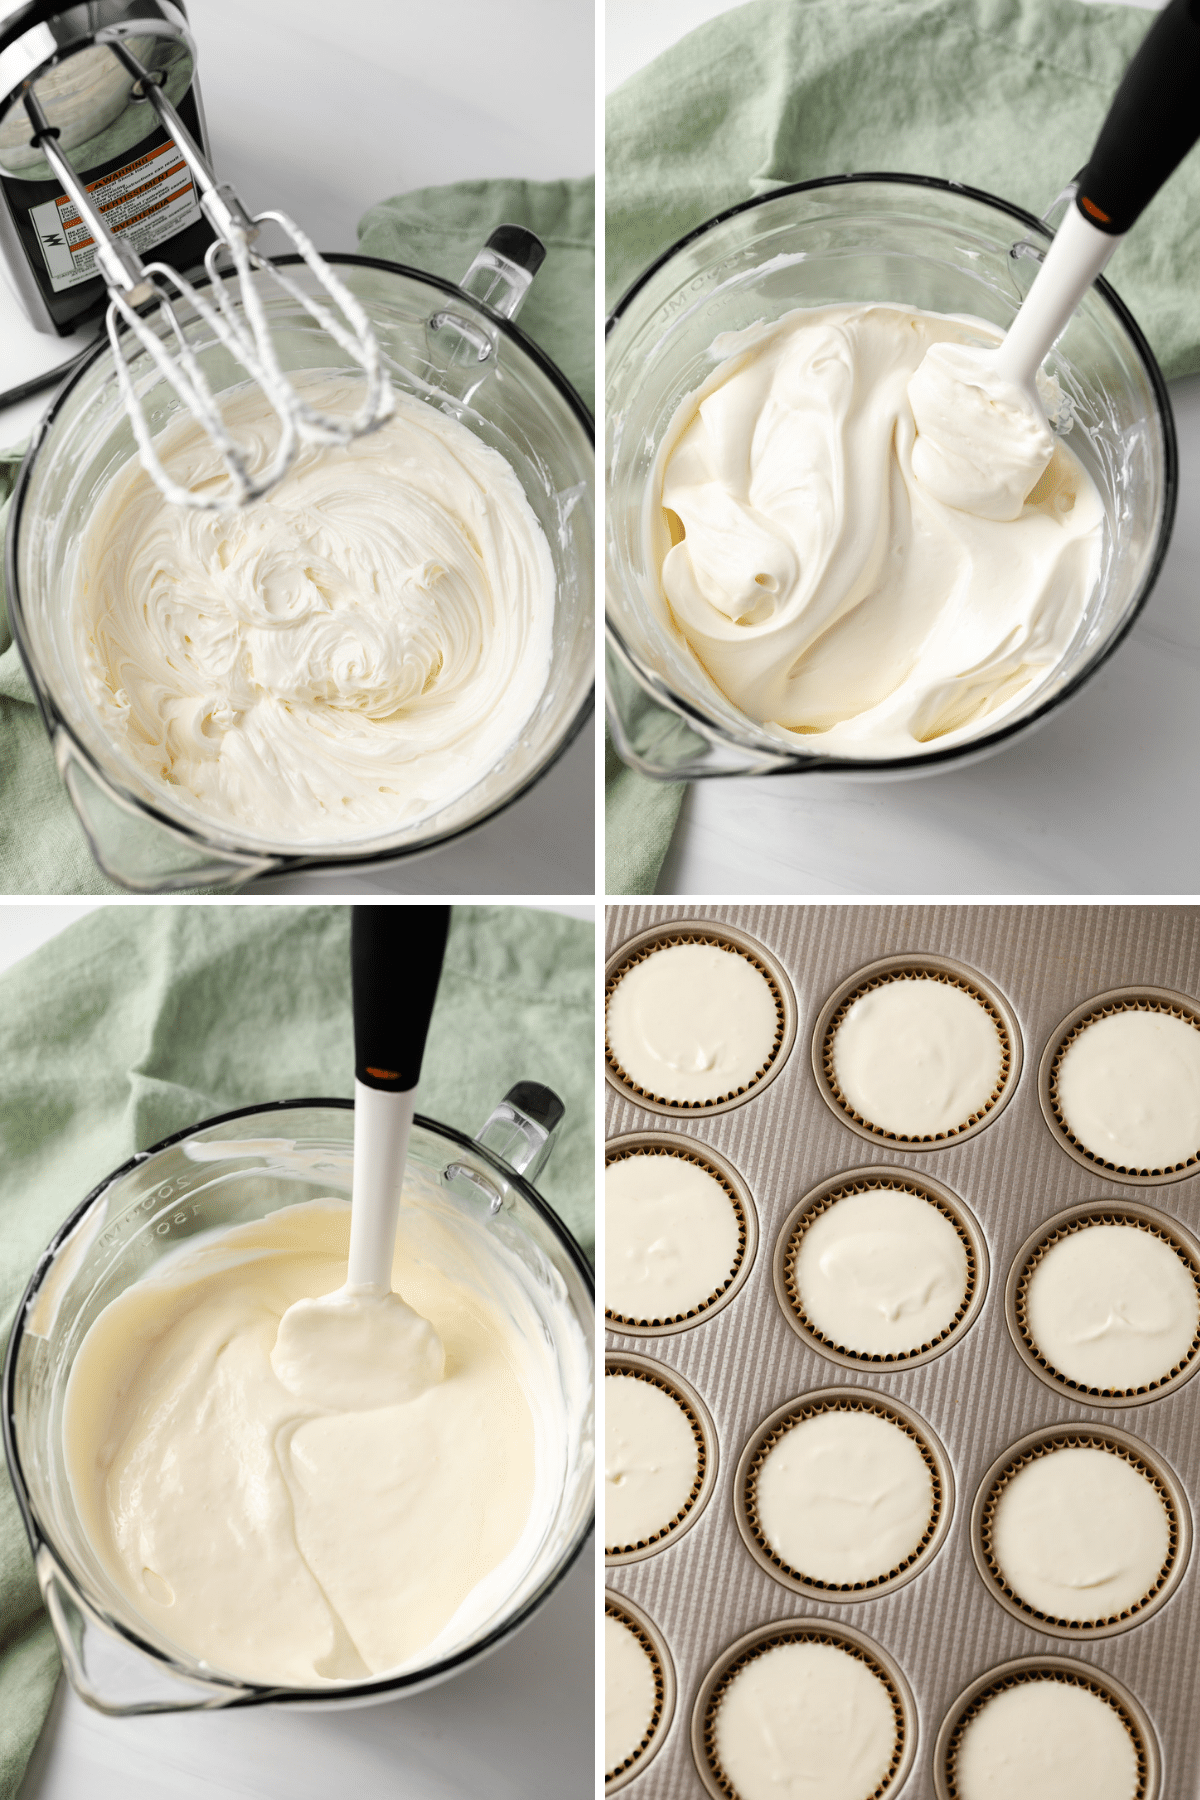
Beat the cream cheese and sugar together. This should take approximately 3 minutes to reach a completely smooth and creamy texture.
After that, add the sour cream and vanilla by beating on low speed until smooth. Add the eggs one at a time. Grab a silicone spatula and use it to gently stir in the eggs until just combined.
Then, take the filling and evenly distribute among the 12 liners in the muffin pan. Each liner should be filled almost to the top.
Step 3: Bake
Finally, it’s time to bake. Place in the oven for 15-20 minutes or until the mini cheesecakes’ tops appear puffed up and look set. Look closely at the edges. They should be completely set, while the center may still be slightly jiggly when lightly shaken.
When they apppear as described above, remove them from the oven. Allow the cheesecakes to remain in the pan to cool for 1 hour.
After that, carefully remove each one from the pan. Refrigerate in an airtight container for at least 4 hours, or preferably for overnight.
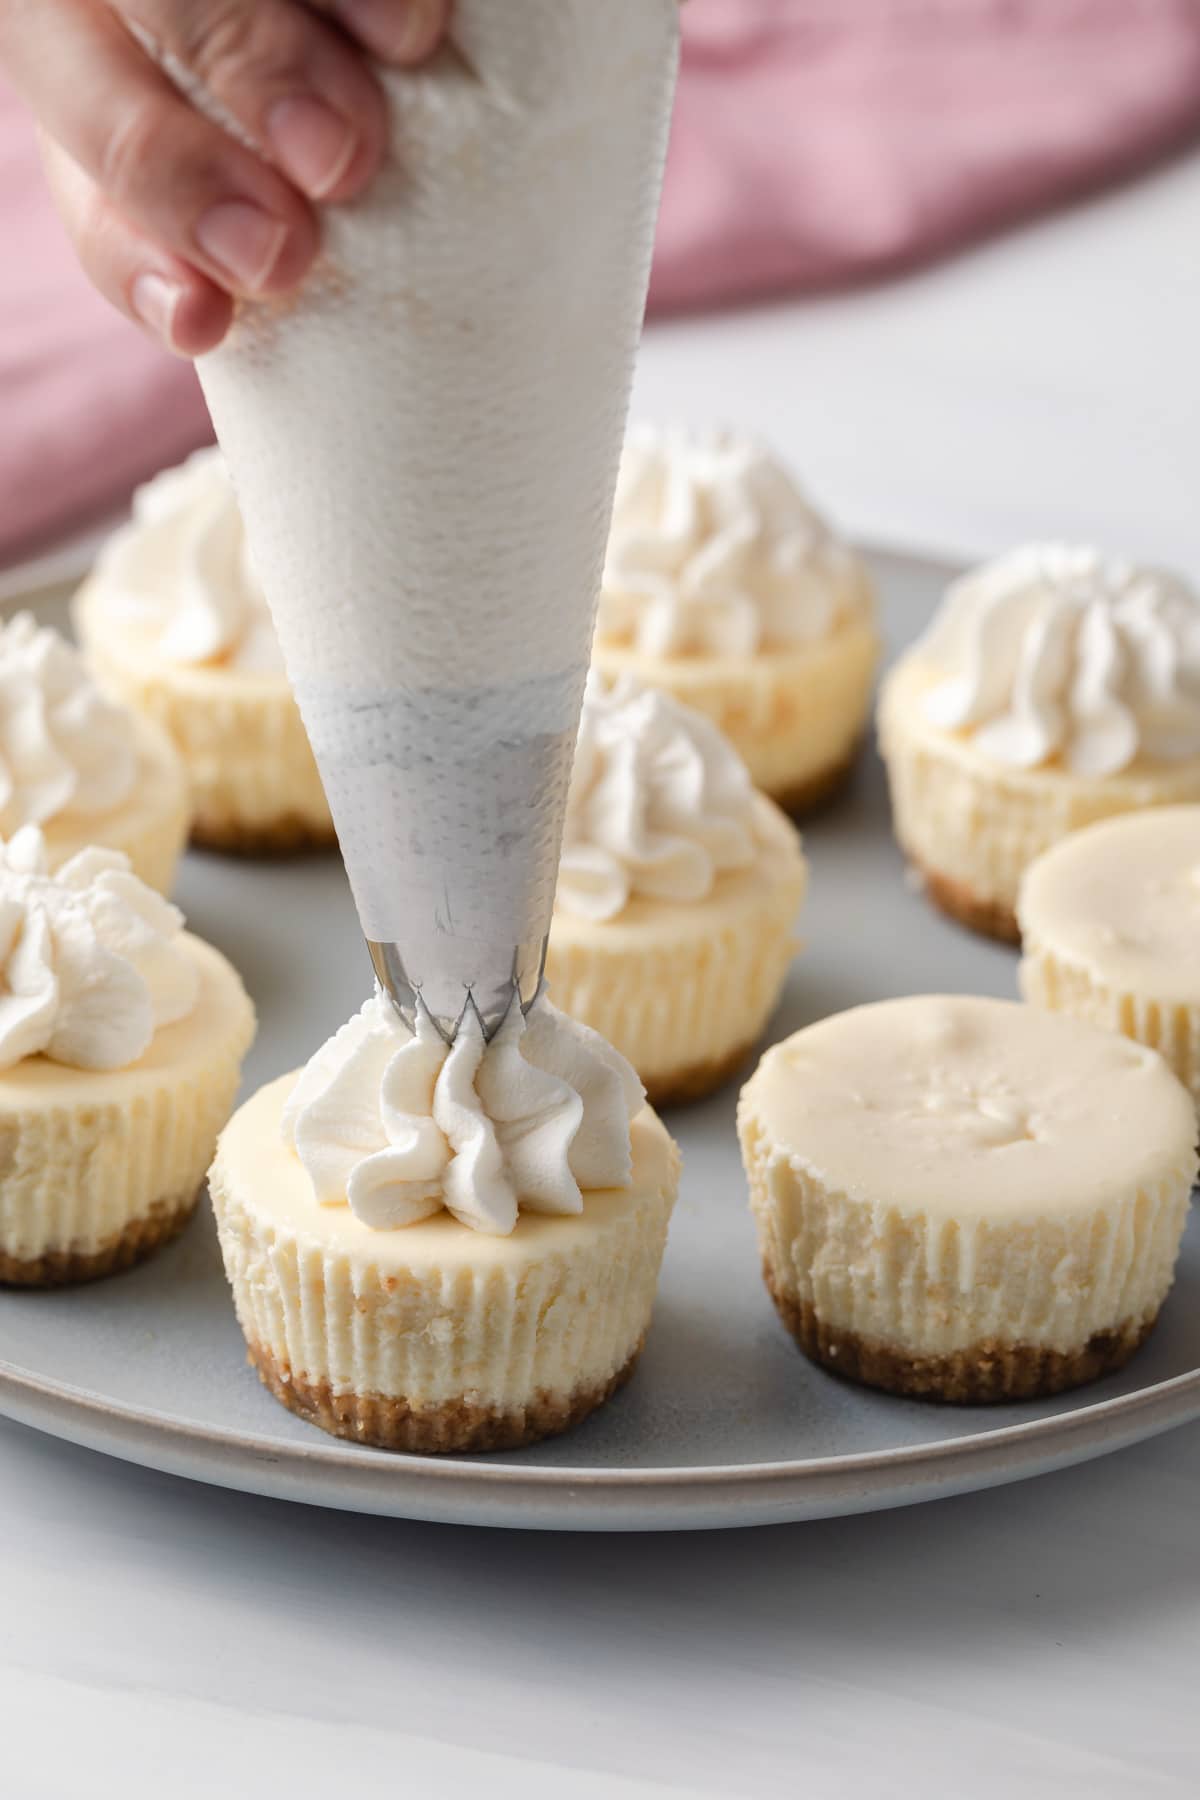
Just prior to serving, top with whipped cream and fresh berries or your favorite fruit preserves.
Tips for Success
- Move your oven rack to the third lower position. This is typically one notch below the center of the oven. It’s important to have equipment on the correct settings when baking. Little things, like oven rack placement, can change the overall quality of your baked goods.
- Resist the urge to overbake the minis. Cheesecake is done when it looks slightly underdone. You’ll see the edges set, while the centers appear jiggly. As it cools, the cheesecake will continue to set.
- Bring cold ingredients to room temperature. Give them at least an hour to sit out before you plan to start the recipe. Doing this helps develop the smooth texture you expect from cheesecake. Cold cream cheese will not blend as well.
- Slice your cream cheese brick into individual cubes when bringing to room temperature. This technique assists in bringing the cream cheese to the correct temperature for making the recipe.
Storing & Freezing
To store: When you have leftovers, place them in an airtight container. They may be stored for up to 4 days in your refrigerator.
To Freeze: Place them in an airtight container and store in your freezer for up to 3 months. These mini cheesecakes are a perfect make-ahead dessert.
When you are ready to use them, thaw overnight in the refrigerator. You can even thaw them in small groups or one at a time.
After giving this recipe a try, you may also want to try my absolute favorite sopapilla cheesecake! It’s perfect for potlucks or gatherings.
Mini Cheesecakes
Ingredients
For the crust
- 1 cup (120 g) graham cracker crumbs, about 8 full-sheets
- 2 tablespoons granulated sugar
- 3 tablespoons unsalted butter, melted
For the filling
- 16 ounces (452 g) cream cheese, softened
- ½ cup (100 g) granulated sugar
- ½ cup (113 g) sour cream, room temperature
- 1 ½ teaspoon vanilla extract
- 2 large eggs, room temperature, lightly beaten
Instructions
Make the crust
- Move the oven rack to the lower third position (1 notch below the center of the oven) and heat the oven to 325°F. Line a 12-cup muffin pan with paper liners.
- Combine the graham cracker crumbs, sugar, and melted butter.
- Evenly distribute the mixture between all 12 liners, about 1.5 tablespoons in each cup. Use a ¼-cup measuring cup or small glass to firmly press it down into one even layer.
- Bake for 5 minutes. Set aside to cool while you make the filling.
Make the filling
- Reduce the oven temperature to 300°F.
- In the bowl of a stand mixer fitted with the paddle attachment, or in a large mixing bowl using an electric hand mixer beat the cream cheese and sugar together until completely smooth and creamy, about 3 minutes. Add the sour cream and vanilla, beat on low speed until smooth. Using a silicone spatula, gently stir in the eggs just until combined.
- Evenly distribute the batter between all 12 liners in the muffin pan, filling each one almost all the way to the top.
- Bake for 15-20, or until the tops of the cheesecakes puff up and look set. The edges should be completely set, but the center will still be just a little bit jiggly when shaken. If they look too underdone, continue baking 5-10 minutes longer.
- Remove the cheesecakes from the oven and cool in the pan for 1 hour. Carefully remove from the pan and refrigerate in an airtight container for at least 4 hours, preferably overnight.
- Top with whipped cream and fresh berries or fruit preserves just before serving.
Notes
- Graham crackers: To make this recipe a little easier, you can use store-bought graham cracker crumbs. You can also try your favorite cookie in place of graham crackers.
- Cream cheese: Make sure to use brick-style cream cheese and not cream cheese spread in a tub. I recommend using full-fat cream cheese for the best results.
- Sour cream: Full-fat sour cream works best in this recipe. You may use an equal amount of plain Greek yogurt instead.
- Room temperature ingredients: Make sure the cold ingredients are brought to room temperature. Set everything out at least 1 hour before using. Remove the cream cheese from the package and slice it into cubes. If the cream cheese is still cold, the fill will not be smooth.
- How to tell mini cheesecakes are done baking: Set edges and jiggly centers are signs of perfectly cooked cheesecakes. They will continue to set up as they cool and chill in the refrigerator.
- Mini cheesecake pan: You can use a mini cheesecake pan for this recipe. However, since the cavities are a little smaller than a muffin pan, I recommend making 16 instead of 12.
- Store mini cheesecakes in an airtight container in the refrigerator for up to 4 days.
- Mini cheesecakes will freeze well for up to 3 months, thaw overnight in the refrigerator.
Nutrition
The nutrition information provided is for convenience and as a courtesy only. It is not guaranteed to be accurate because nutrition information can vary for a variety of reasons. For precise nutritional data use your preferred nutrition calculator and input the exact ingredients and brands you used in the recipe.

Excellent!!! Delicious and your recipe makes it much easier. Thanks
Can you double this recipe?
That should be fine!
Great and easy recipe thanks