Graham Cracker Crust
This post may contain affiliate links. Read the full disclosure here.
Make a fast and easy graham cracker crust at home. Use with your favorite bake and no-bake desserts.
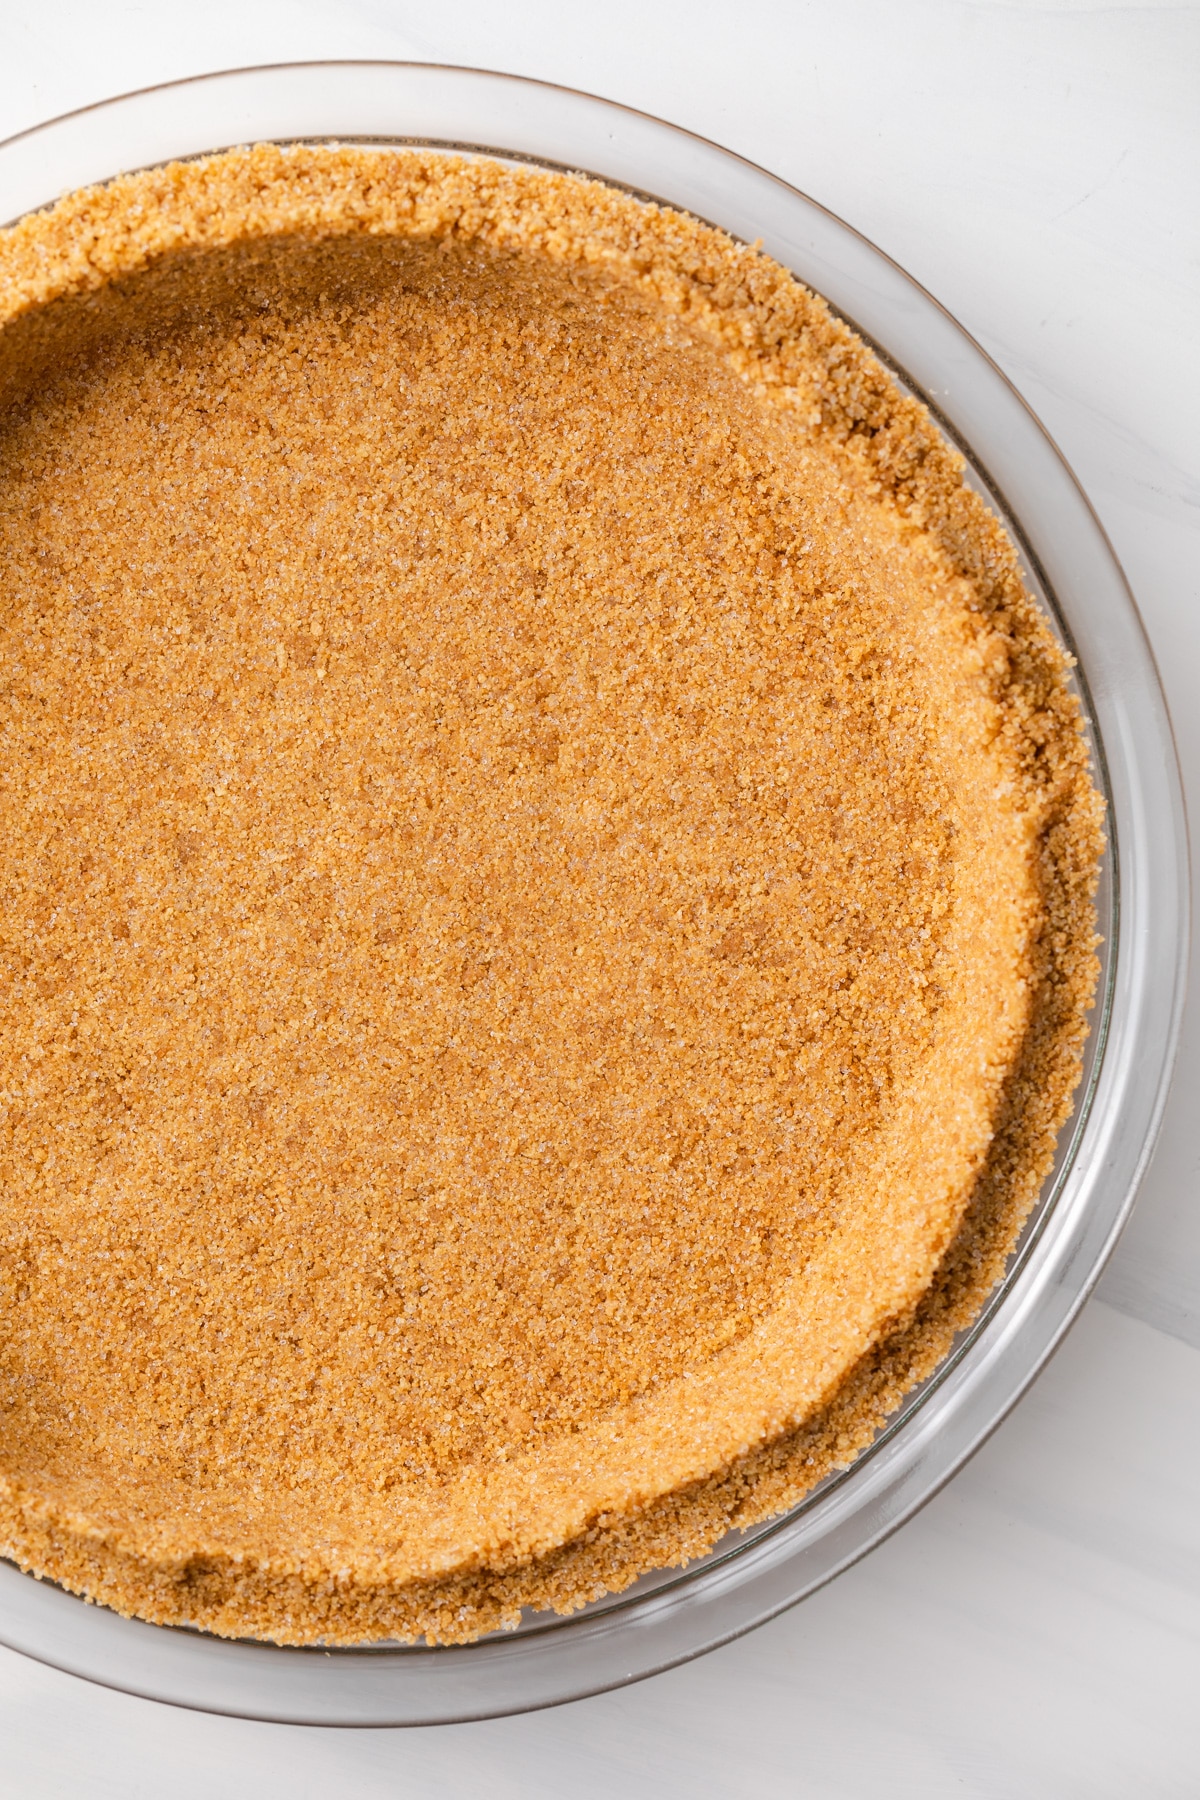
There is nothing better than a classic graham cracker crust. Those sweet American crackers create the perfect base for so many bake and no-bake pie fillings.
This recipe uses the perfect ratio of crumbs, sugar and butter. Baking the crust melts the sugar, which makes the crust sturdy.
However, chilling the crust in this recipe solidifies the butter, so that it remains sturdy when cooled. Then, it will soften when served at room temperature.
Check out the variations listed below to personalize the crust to your tastes.
Why this recipe works
- The perfect ratio of sugar and butter to graham cracker crumbs ensures the crust is perfectly moist and doesn’t crumble when sliced.
- The flavor is simple yet delicious and can be adapted to pair best with any filling. See the recipe notes down below for ideas!
- The crust slices neatly every time! But this will only happen if you take the time to firmly press the crust into the pan.
This is the perfect, simple graham cracker crust for all of your favorite bake and no-bake pie fillings.
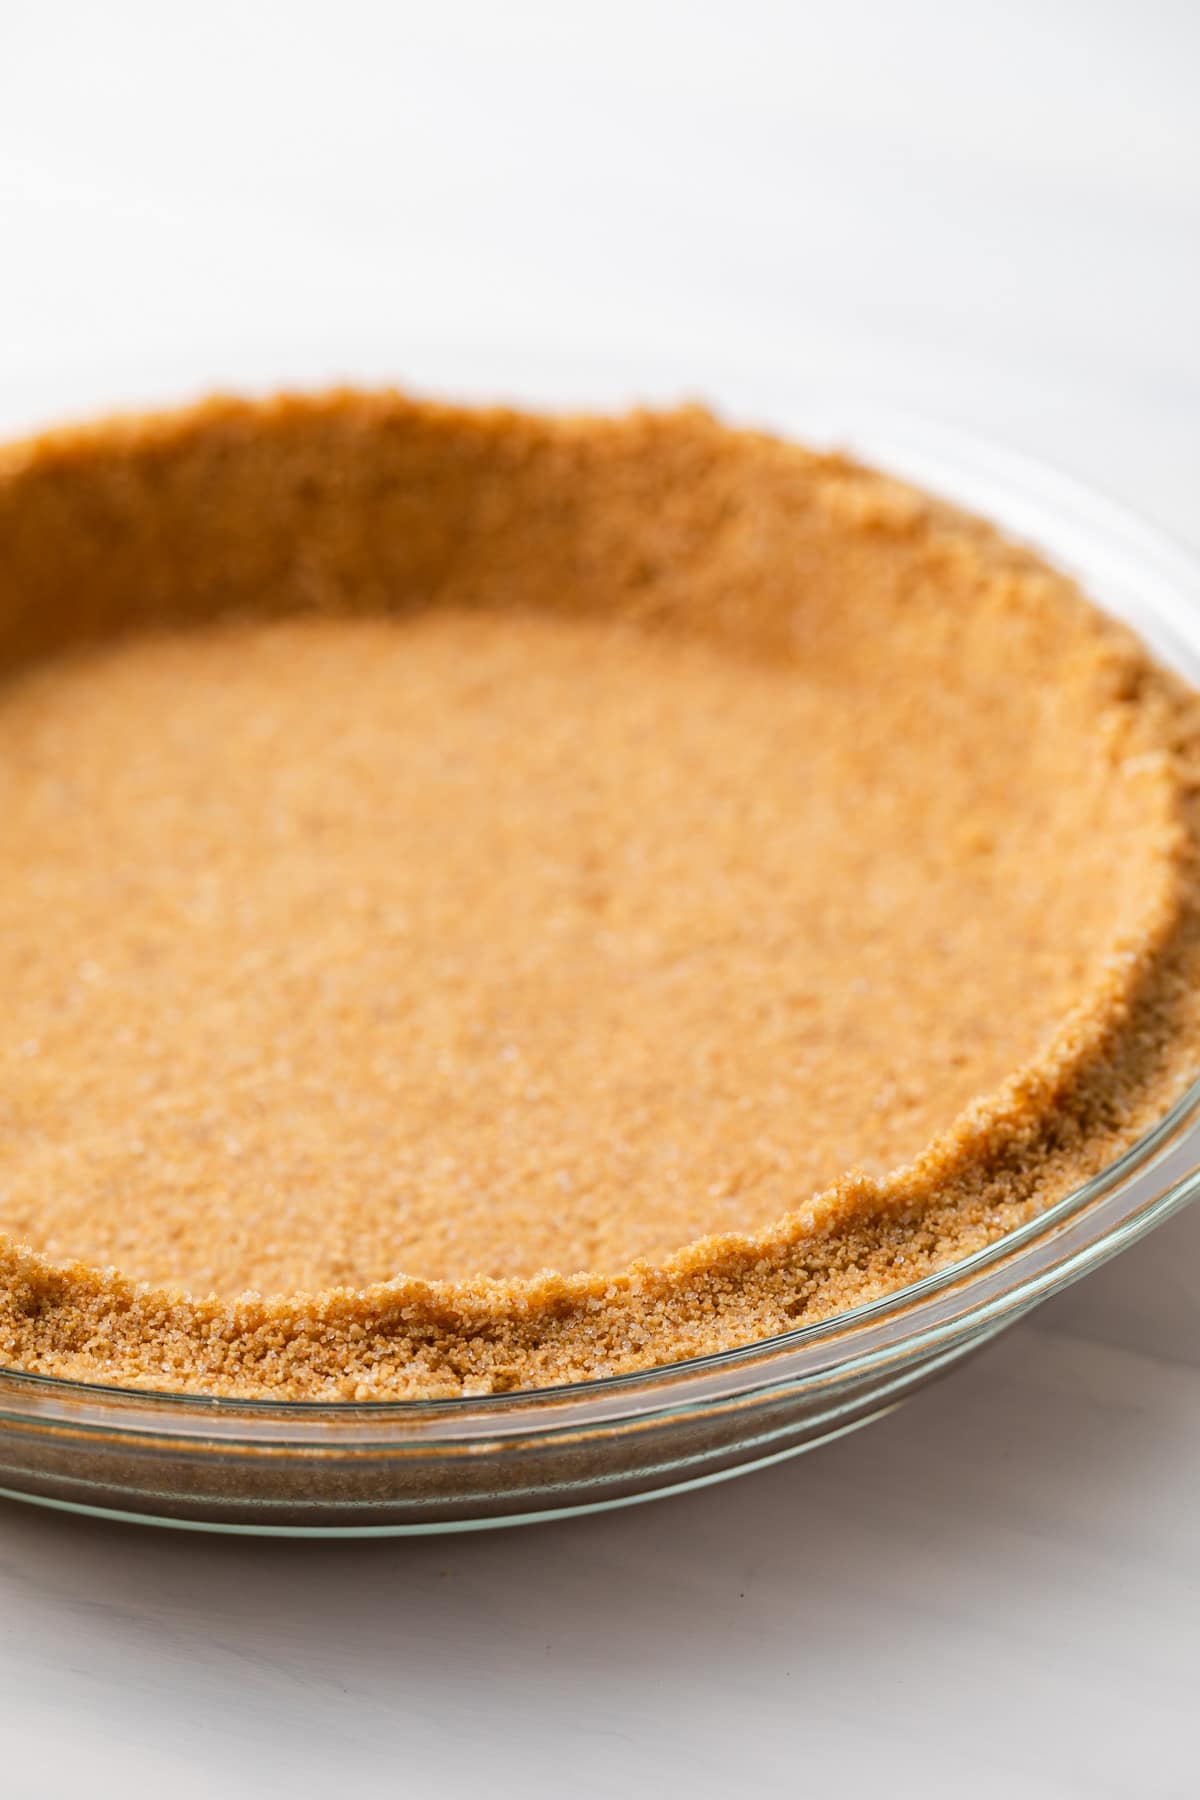
What you need to make it
This crust recipe is so simple to make with limited ingredients found in your home. Let’s discuss just a few of the key ingredients:
Ingredients
This is a short overview of the ingredients I used and why I chose them. The full recipe can be found at the bottom of the post!
- Graham crackers: You will need to use an entire plastic bag of graham crackers (9 full sheets). You could also use honey, cinnamon sugar, or chocolate flavors.
- Sugar: You can use granulated sugar, brown sugar, or a combo of the two. However, brown sugar adds more flavor.
- Butter: I would recommend using unsalted butter for this recipe because salted butter can make the crust taste too salty.
Equipment
This is a list of tools I used to make the recipe. Some of the links are affiliate links.
- Food processor: A food processor or blender works great for crushing the graham crackers into crumbs.
- Pie dish: A regular 9-inch pie dish is what you’ll need for this recipe.
- Springform pan: A 9 or 10-inch springform pan will work also.
- Square pan: Or you can use an 8 or 9-inch square pan.
How to make graham cracker crust
1. Crush the graham crackers
First, finely grind the graham cracker crumbs.
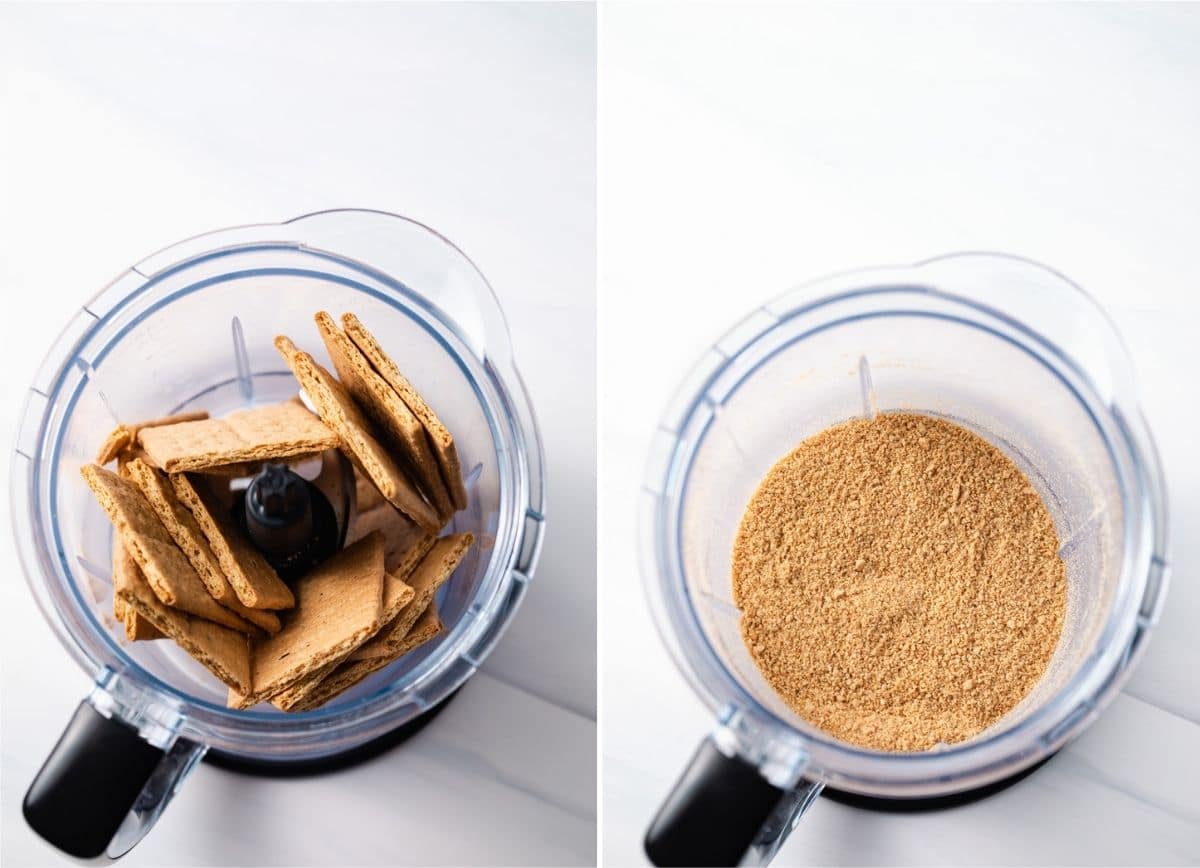
- Grab a food processor.
- Then, add broken graham crackers to it.
- Pulse the food processor until finely ground.
2. Combine ingredients
Then, you’ll combine the dry ingredients and add butter to them.
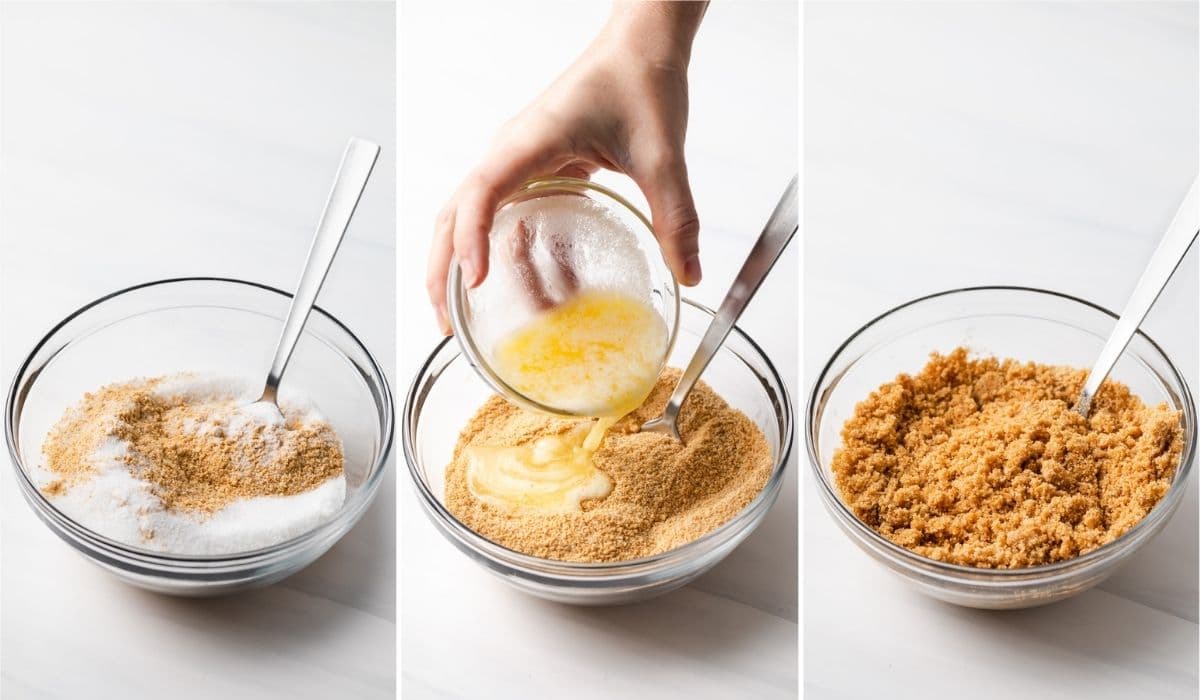
- Grab a medium mixing bowl from your kitchen.
- Combine graham cracker crumbs and sugar until well blended.
- After that, drizzle melted butter over the mixture.
- Stir with a fork until crumbs are evenly moistened.
3. No-bake or bake
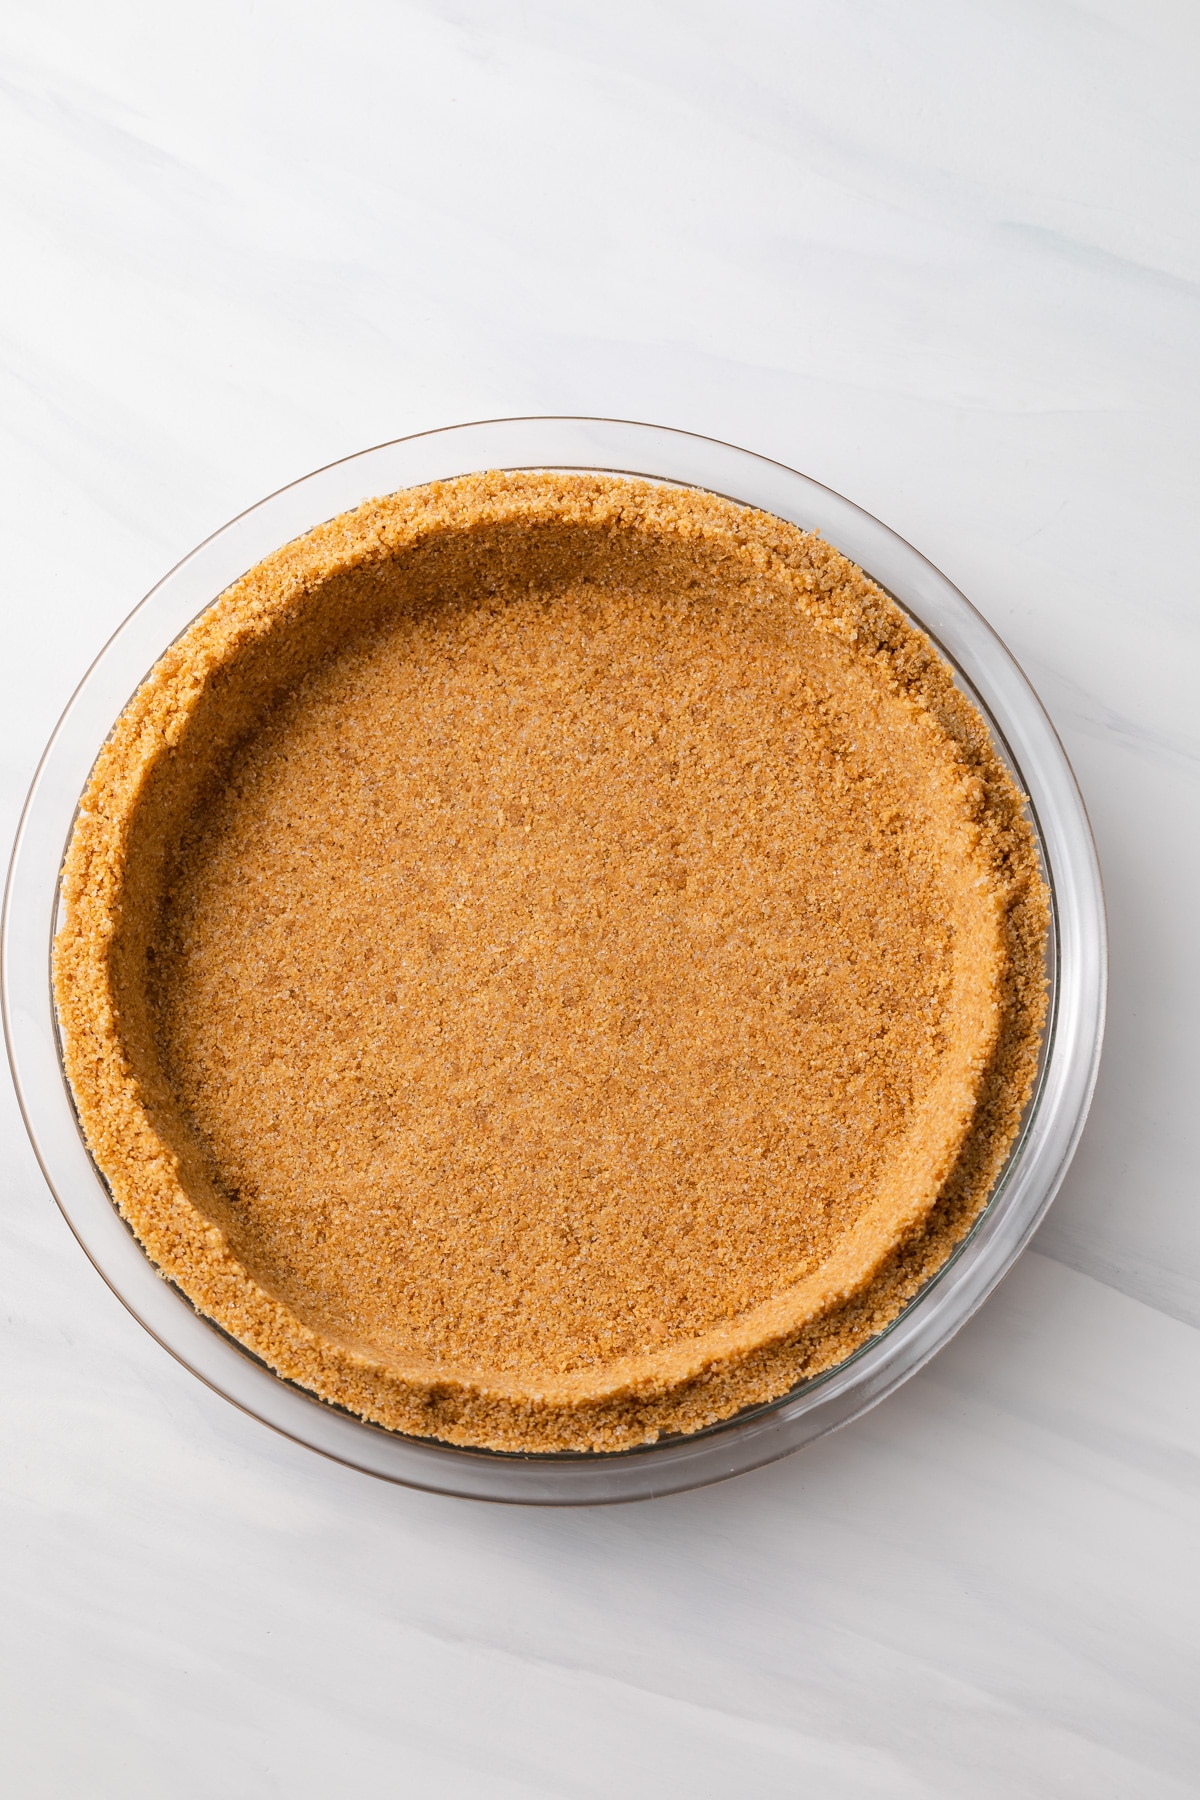
Finally, fit the crumb mixture into the pie pan. Either bake or refrigerate for your filling selection.
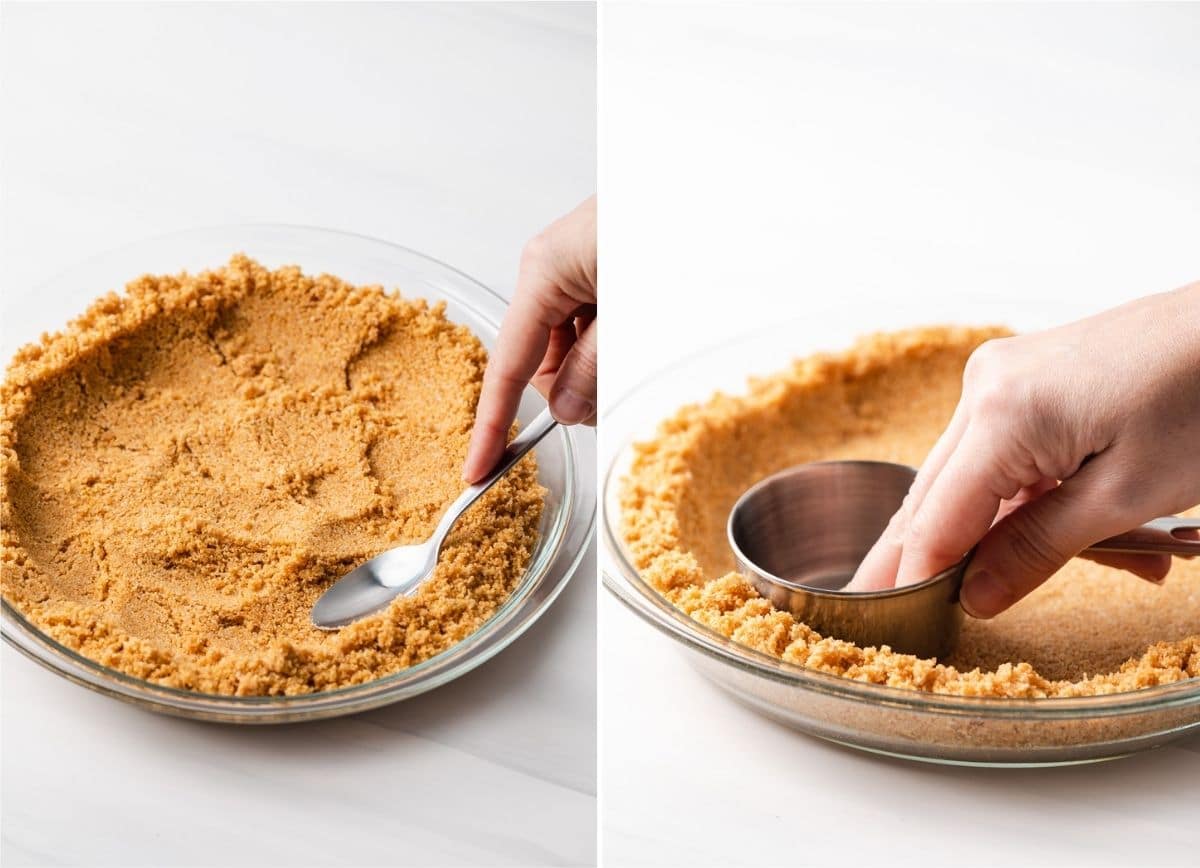
- Tightly press the mixture up the sides and in the bottom of the pan.
- I use the bottom of a measuring cup to pack it in tight because it will crumble without being compressed.
- For no bake desserts, refrigerate the crust for at least 30 minutes prior to filling.
- For baked desserts, you should be baking the crust at 350oF for 10 minutes, and then, letting it cool before filling.
Variations
While the ingredient list is short, there are a few ways to change up the flavor.
- There are so many dry cookies you could use in this graham cracker crust recipe. Try any graham cracker flavor, Teddy Grahams, digestive biscuits, vanilla wafers, etc.
- Spice up the crust with the seasoning of your choice, including cinnamon, cardamom, nutmeg, or ginger. Use anything that complements the filling.
- Adding citrus zest to the crust enhances the flavor profile.
- Depending on the filling, you could also add ½ teaspoon of vanilla extract or almond extract.
Storing & freezing
To store: You can keep a prepared crust in the fridge for no more than 3 days.
To freeze: The unbaked pie crusts freeze so well. Freeze for no more than 3 months. Prior to use, thaw in the fridge.
Recipes using graham cracker crust:
Depending on the season, and also your personal flavor preferences, any of the pies below would pair well with this recipe.
Graham Cracker Crust
Ingredients
- 1 ½ cups (150 g) graham cracker crumbs, about 9 whole crackers or 1 full sleeve
- ⅓ cup (66 g) granulated sugar
- 6 tablespoons unsalted butter, melted
Instructions
- Add graham crackers to a food processor and pulse until finely ground.
- In a medium mixing bowl, combine the graham cracker crumbs and sugar until well blended.
- Drizzle the butter over the crumbs, and then, stir with a fork until the crumbs are evenly moistened.
- Tightly press the crumb mixture into the bottom and up the sides of the pan of your choice (see recipe notes below). The bottom of a clean measuring cup works best for this. Packing it tight will make sure it holds together and doesn’t crumble when sliced!
- For no-bake desserts – Refrigerate the crust for at least 30 minutes before filling.
- For baked desserts – Bake at 350°F for 10 minutes. Allow the crust to cool before adding the filling.
Notes
- Graham crackers: Use an entire plastic sleeve, it contains 9 full sheets of crackers. You can use any flavor of graham cracker you wish – honey, cinnamon sugar, chocolate, etc. Other dry cookies such as digestive biscuits or will also work.
- Sugar: Granulated sugar, brown sugar, or a combination of both can be used. Brown sugar offers added flavor. The sugar will mix with the butter and act as glue to hold the crust together. Baking the crust will melt the sugar forming a stronger, sturdier crust. Chilling the crust will solidify the butter so the crust holds shape but will soften and crumble at room temperature.
- Butter: I prefer to use unsalted butter for graham cracker crusts. Salted butter can make the crust taste too salty. You may add ⅛ teaspoon of salt if you wish. I don’t recommend vegan butter, butter alternatives, or oils as they can make the crust too oily.
- Pie pan or springform: The crust is enough to line a 9-inch pie pan, 9 or 10-inch springform, 8 or 9-inch square pan, or double the recipe for a 9×13-inch pan.
- Press tightly: The crust mixture needs to be tightly pressed into the pan of your choice. This will help it bind together and hold shape. Use the bottom of a clean glass or measuring cup to firmly press the crust into the pan until the crust is flat and smooth.
- Use any dry cookie! Try any flavor of graham cracker, teddy grahams, digestive biscuits, vanilla wafers, etc.
- Add a pinch of spice! You can up the flavor of the crust by including cinnamon, cardamom, nutmeg, ginger, or anything that will complement the filling flavor.
- Citrus zest is another great way to jazz up the crust.
- ½ teaspoon of vanilla or almond extract also works beautifully depending on the filling.
- The prepared crust can be kept refrigerated for up to 3 days before use.
- Unbaked graham cracker crusts freeze well for up to 3 months. Thaw in the refrigerator before using it in your recipe.
Nutrition
The nutrition information provided is for convenience and as a courtesy only. It is not guaranteed to be accurate because nutrition information can vary for a variety of reasons. For precise nutritional data use your preferred nutrition calculator and input the exact ingredients and brands you used in the recipe.
