Flourless Chocolate Cake
This post may contain affiliate links. Read the full disclosure here.
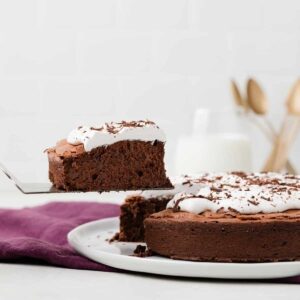
This decadent flourless chocolate cake recipe is simply the best. Made with a handful of basic ingredients and absolutely no flour, you’ll have an elegant dessert suitable for any occasion.
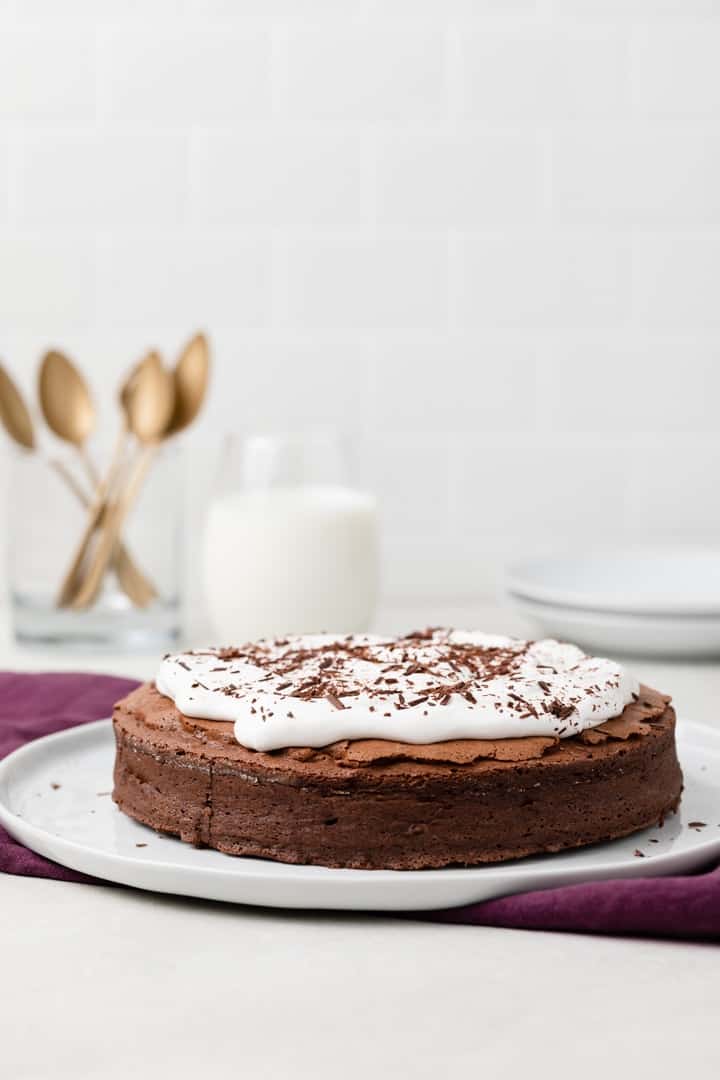
This flourless chocolate cake is pure decadence. It’s fudgy and loaded with rich chocolate flavor.
The best part is it’s completely gluten-free! That means you can make it for your friend or loved one who is sensitive to gluten. But it’s tasty enough for everyone to enjoy!
I always feel bad when I make a chocolate cake but someone close to me can’t eat it due to gluten intolerance. This is why I thought it was so important to include a gluten-free version on my site.
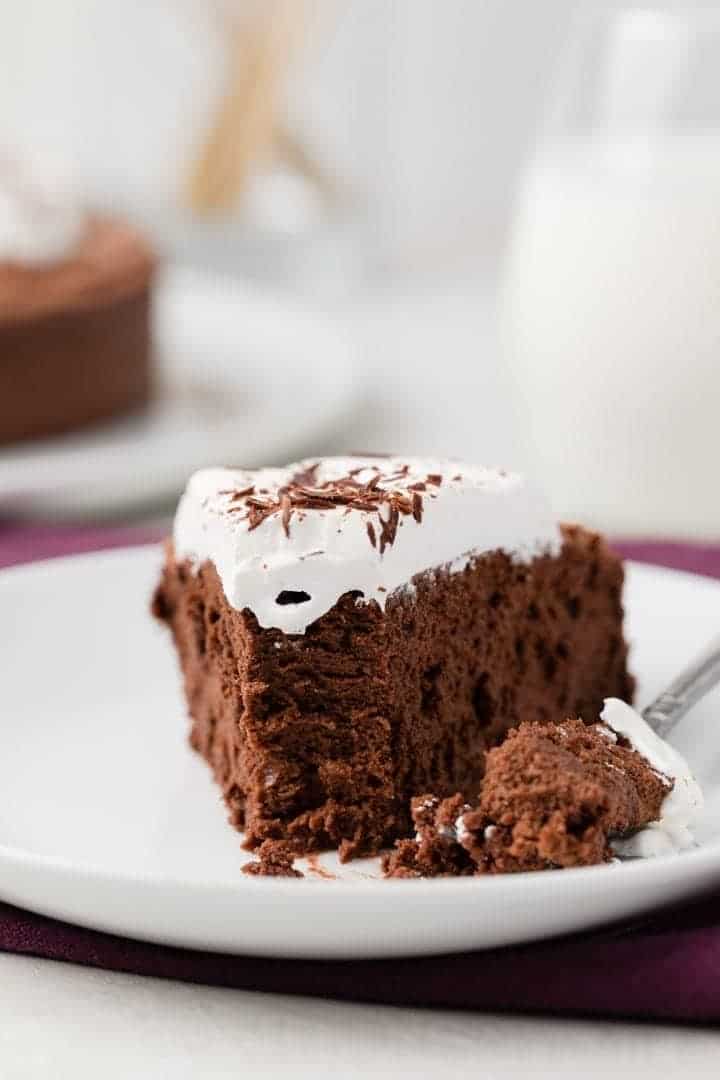
It bakes up so decadent and fudgy. It’s much like a brownie but the texture is in its own class.
I’m sure you’ll think this is the best flourless chocolate ever once you taste it. And you’ll never be able to tell it’s gluten-free!
Why this recipe works
- The right ratio of egg to chocolate is key here. I found that using 8 ounces of chocolate with 5 eggs gave the best “cake-like” texture.
- The cake is baked in a humid oven. I tested every way to bake it and a pan of hot water on the lowest rack provided the best cake texture.
- Confectioners’ sugar is used so the cake doesn’t feel gritty. There’s nothing worse than feeling gritty sugar in bites of chocolate cake.
Ingredients
This gluten-free chocolate cake is pure chocolate decadence! It’s for the serious chocolate lover in your life! It’s gluten-free and made with only 6 ingredients.
- Eggs: You need 5 whole eggs that are separated. Make sure they are at room temperature for the best results.
- Vanilla extract: Pure vanilla extract* of good quality is going to taste the best.
- Butter: Unsalted sweet cream butter is truly the best for baking. Let it come to room temperature before using.
- Chocolate: Choose your favorite chocolate! I’ve made this cake with bittersweet* and semisweet chocolate*. The darker the chocolate, the richer the cake will taste.
- Cream of tartar: This is completely optional but it helps stabilize the egg whites so they whip up nicely.
- Confectioners’ sugar: Most confectioners’ sugar* contains cornstarch which is a gluten-free ingredient. It’s always best to read the label and use a certified gluten-free product if you are making this cake for someone with an intolerance.
To bake this cake you’ll need:
- Stand mixer: A stand mixer* is more powerful and whips the egg whites easily.
- You can also use an electric hand mixer* but it may take longer to whip the egg whites to stiff peaks.
- Springform pan: I developed this recipe using an 8-inch springform pan*.
How to make flourless chocolate cake
It’s so easy to make a chocolate cake without flour! It requires a few steps but the process is pretty simple. You melt chocolate, whip egg whites, and combine all the ingredients together.
The Batter – The cake batter is thick and lush like chocolate mousse. Handle it with care so you don’t deflate the egg whites while mixing.
Step 1: Melt the chocolate
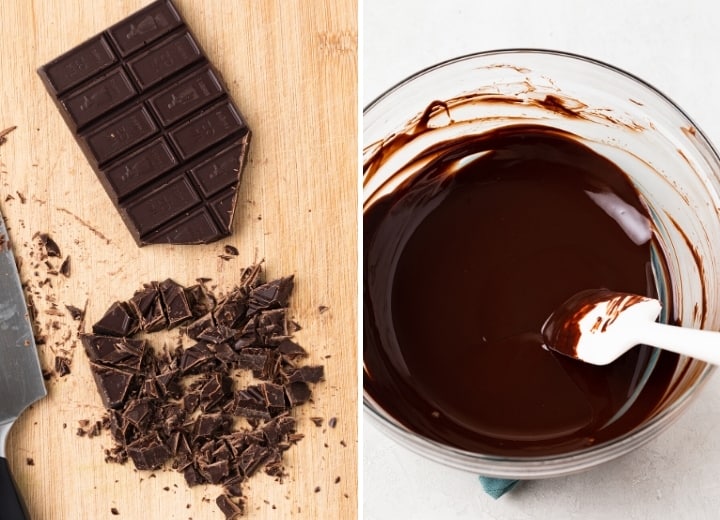
Choose the chocolate you prefer to use. Make sure it’s baking chocolate and not chocolate chips.
Chop the chocolate coarsely and add it to a heatproof bowl with butter.
Set the bowl over a pot of barely simmering water and stir constantly until the chocolate is melted and smooth.
Remove the bowl from the heat and set it aside while you work on the next step.
Step 2: Mix the eggs
Make sure you are working with room temperature eggs. If you are in a pinch and need to warm them quickly, set the whole eggs in a bowl and let warm tap water run over them for about 5 minutes.
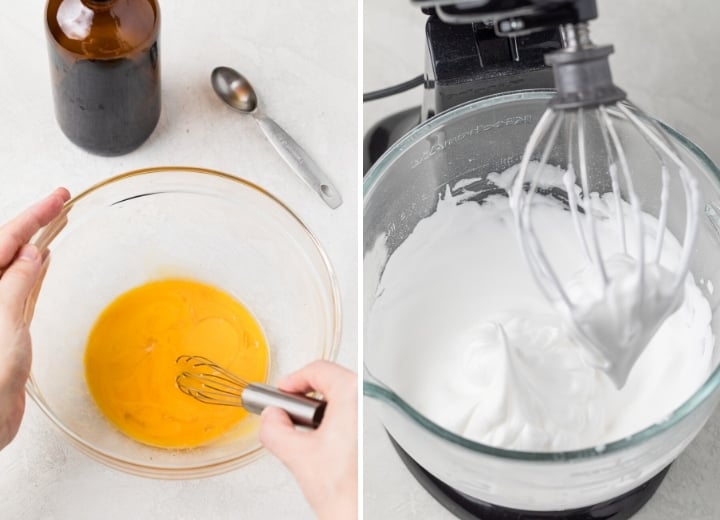
Separate the eggs, placing the yolks in a medium bowl and the whites in the bowl of a stand mixer.
Add vanilla extract to the yolks, whisk to combine, and set aside.
Add cream of tartar to the egg whites and beat on medium-low speed until they turn foamy. Turn the speed up to medium-high and beat until the whites develop soft peaks.
Gradually add the confectioners’ sugar and continue beating on medium-high speed until stiff peaks form.
Step 3: Combine egg whites with chocolate
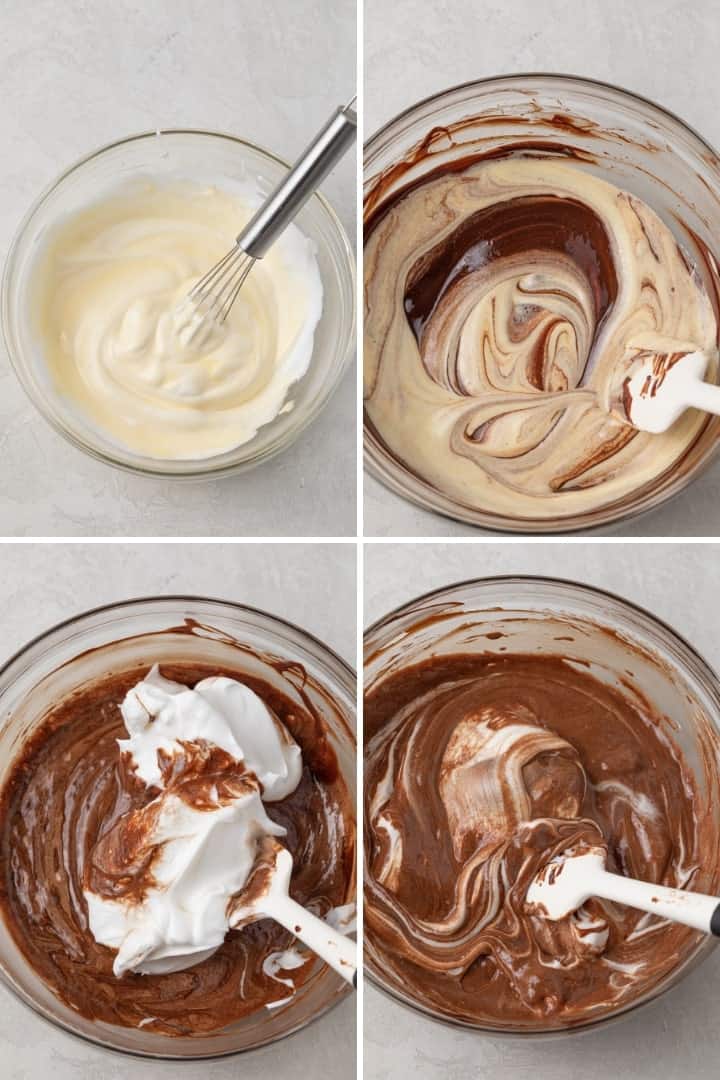
Transfer ¼ of the beaten egg whites to the bowl with the yolks. Gently whisk them in to lighten the yolks.
Pour the yolk mixture into the melted chocolate and fold with a rubber spatula until almost fully combined. Gently fold in the remaining egg whites in two additions.
The batter will resemble mousse in texture.
Step 4: Bake the cake
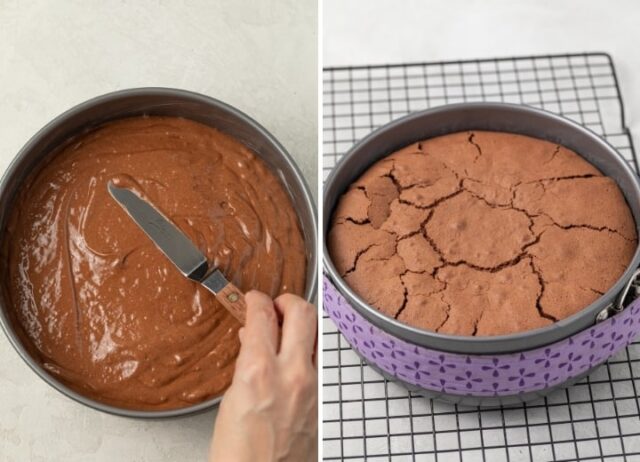
Spread the batter in an 8-inch springform pan that has been greased and lined with parchment paper. Wrap the pan with a wet baking strip*.
Set a large roasting pan on the lowest rack of the oven and very carefully fill it with boiling water.
Place the springform on the rack above and bake for 30-40 minutes until the cake is set but looks moist between the cracks. An instant thermometer inserted into the center should read 180°F.
Step 5: Cool and garnish
Set the pan on a wire rack and allow the cake to cool completely. The cake will deflate some.
If the cake doesn’t come loose from the sides of the pan, run a knife around the outer edge to loosen it. Carefully remove the outer ring. You can leave the cake on the base or very carefully slide it off. The cake is delicate and may crumble.
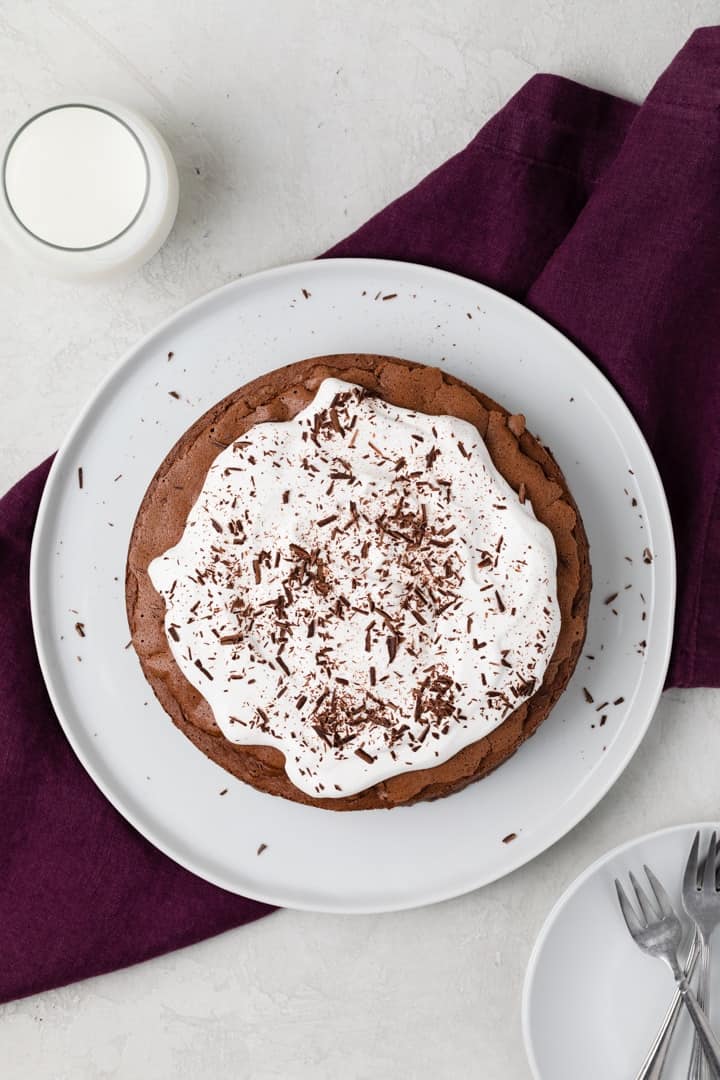
Spread sweetened whipped cream over the top and garnish with chocolate shavings.
You can also choose to dust it with powdered sugar instead and serve with fresh berries.
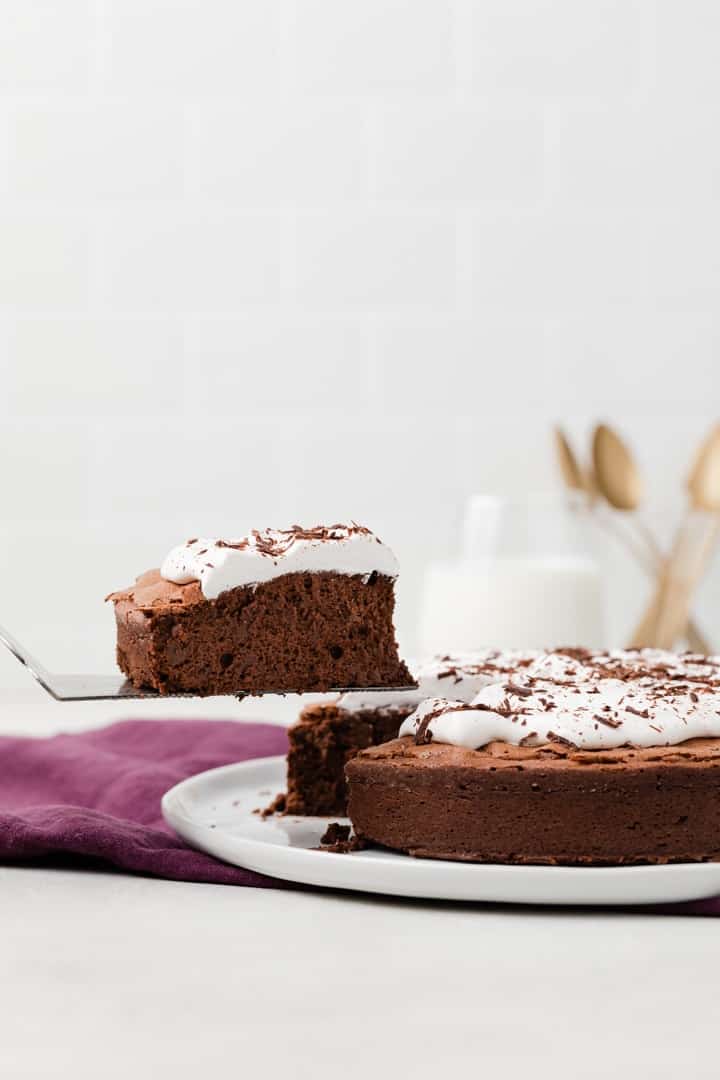
This is truly the best flourless chocolate cake recipe. It’s so chocolaty and perfect for any time of year.
How to store
My gluten-free chocolate cake is best when stored in the refrigerator. It will keep for up to 3 days wrapped tightly or in an airtight container.
Or the cake will keep for up to 3 months stored in the freezer. Wrap slices tightly in plastic wrap and place in an airtight freezer-safe container. Thaw overnight in the refrigerator before serving.
If you like chocolate, you’ll love these other tasty chocolate recipes:
Flourless Chocolate Cake
Ingredients
- 5 large eggs, separated and at room temperature
- 1 teaspoon vanilla extract
- ½ cup (113 g) unsalted butter, room temperature
- 8 ounces (226 g) semisweet chocolate, coarsely chopped
- ½ teaspoon cream of tartar
- ½ cup (60 g) confectioners' sugar
Instructions
- Set the top oven rack to the lower third position and move the bottom rack to the lowest position. Preheat the oven to 350°F. Lightly grease and flour the bottom and sides of an 8-inch springform pan. Place a piece of parchment paper, cut to fit, in the bottom. Lightly grease and flour the parchment paper. Set aside.
- Place the egg yolks in a medium bowl with the vanilla extract. Whisk to combine. Cover the bowl with plastic wrap and set aside.
- In a large bowl set over a pot of barely simmering water, melt the butter and chocolate. Stir continuously with a silicone spatula. Once melted, remove the bowl from the pot and set aside.
- Using a stand mixer fitted with the whisk attachment or a large bowl and hand-held electric mixer, combine the egg whites and cream of tartar. Beat on medium-low speed until foamy. Turn the speed up to medium-high and beat until soft peaks form.
- Gradually add in the sugar and continue beating until stiff peaks form.
- Using a whisk, stir in ¼ of the beaten egg whites into the egg yolk mixture to lighten it up.
- Use a silicone spatula to scrape the egg yolk mixture into the chocolate mixture. Gently fold together until almost fully incorporated.
- Carefully fold in the remaining beaten egg whites in two additions.
- Pour the batter into the prepared pan. Use an offset spatula to smooth the top.
- Wrap the pan with a wet baking strip. Set a large roasting pan on the lowest rack of the oven and very carefully fill it with boiling water. Place the cake on the rack above.
- Bake for 30-40 minutes, until the cake is set but looks a little moist between the cracks. An instant thermometer should read 180°F.
- Set the pan on a wire rack to cool completely. The cake will slightly collapse in the center as it cools.
- Run a knife around the outer edge of the cake to loosen it from the pan. Remove the sides of the springform pan. You can leave the cake on the base or very carefully slide it onto a serving platter. The cake will be fragile so handle with care.
- Dust with confectioners sugar and serve with whipped cream.
Notes
- Refrain from using chocolate chips. They have less cocoa butter in them so they’ll keep their shape during baking. This makes them difficult to melt and they have less flavor than baking bars.
- The cake can be made in a 9-inch springform pan but you’ll need to increase the ingredients by 1.25.
- The cake will keep for up to 3 months stored in the freezer. Wrap slices tightly in plastic wrap and place in an airtight freezer-safe container. Thaw overnight in the refrigerator before serving.
- Or the cake will keep for up to 3 months stored in the freezer. Wrap slices tightly in plastic wrap and place in an airtight freezer-safe container. Thaw overnight in the refrigerator before serving.
Nutrition
The nutrition information provided is for convenience and as a courtesy only. It is not guaranteed to be accurate because nutrition information can vary for a variety of reasons. For precise nutritional data use your preferred nutrition calculator and input the exact ingredients and brands you used in the recipe.

Please excuse my ignorance but I am unsure how to increase the ingredients 1.25 to fit my 9” springform
Although I do have an 8” round pan if that might work?
If you have an 8-inch pan then I highly recommend you stick to the recipe. That’s the only way to guarantee the cake will turn out properly. But to increase by 1.25, just multiply each ingredient amount by 1.25. For instance, 113 grams of butter times 1.25 equals 141.25 grams.
I don’t have a springform pan. What size of square or rectangle pan would the recipe fit in?
I haven’t tried making this in a square pan before but I imagine a 9-inch pan would be okay.
Hey what can I use instead of cream of tarter ?
The cream of tartar is used to help stabilize the egg whites. There isn’t a substitute but you can omit it.
What is the problem with using chocolate chips instead of baking chocolate in this recipe?
Chocolate chips have less cocoa butter in them so they keep their shape during baking, making them more difficult to melt and they have less flavor than bars.