
Stabilized Whipped Cream
This post may contain affiliate links. Read the full disclosure here.
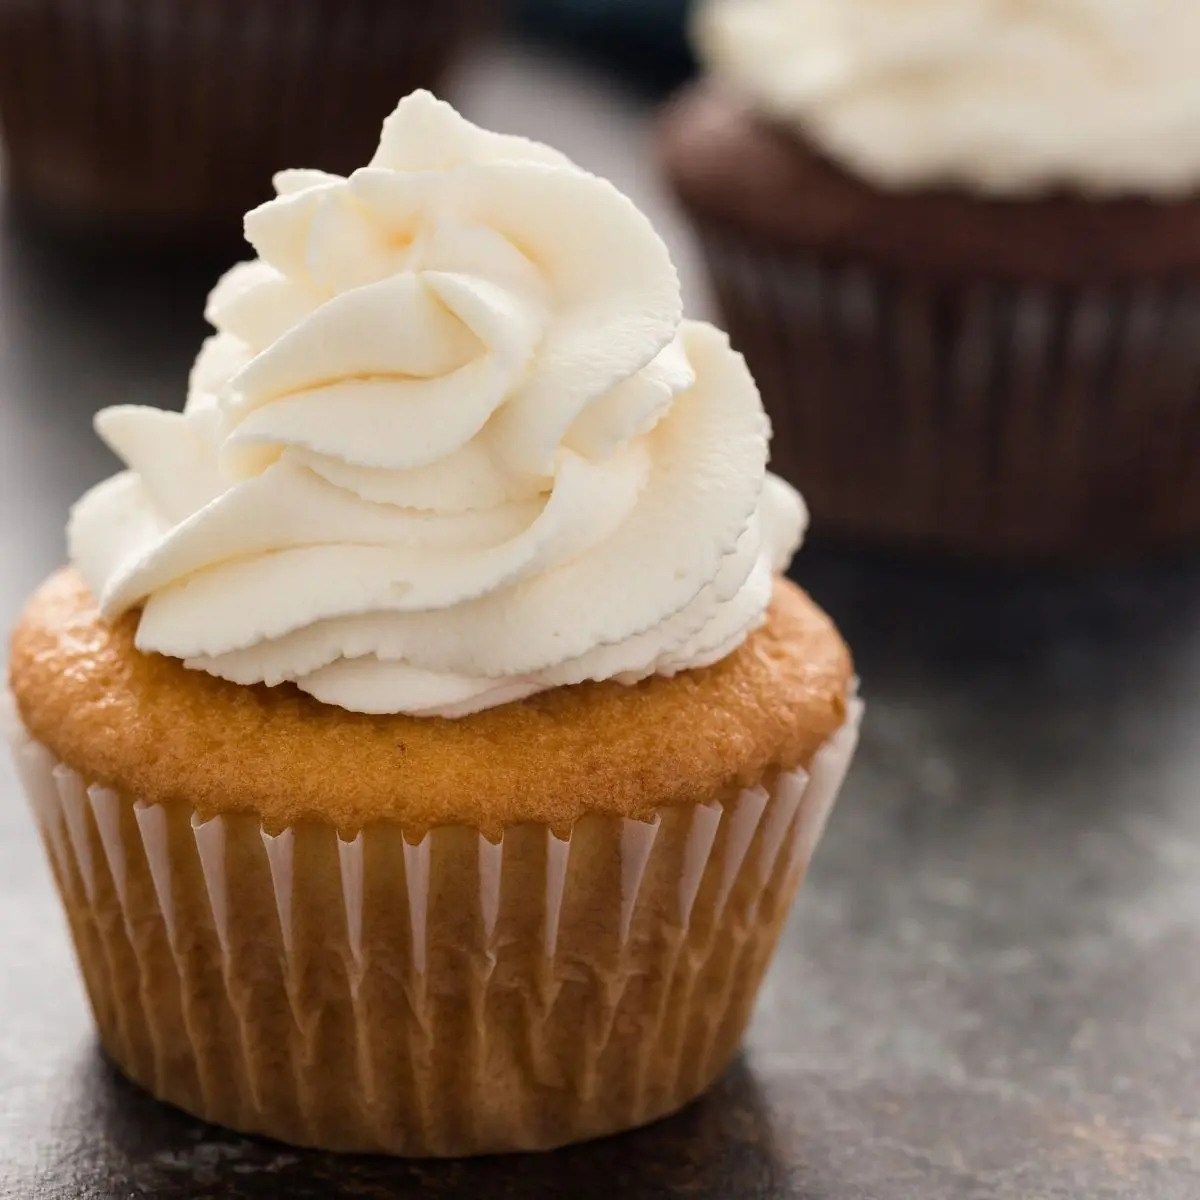
This is the perfect, easy stabilized whipped cream to make for all your cakes, cupcakes, and pies. It holds up longer and makes a great alternative to frosting.

While using unflavored gelatin is a popular option, it can leave clumps throughout the whipped cream. You’ll find that using piping gel is smooth.
This version is basically foolproof for any baker. You’ll find that the piping gel mixes in so easily.
I have found that this recipe can hold its shape for up to a week in the fridge! I wouldn’t recommend keeping it that long, but the staying power is real.
You’ll be so impressed you’ll want to tell all your friends how to make stabilized whipped cream with my recipe!
Why this recipe works
- Piping gel preserves homemade whipped cream for future use.
- The texture of the piping gel mixes in smoothly without leaving clumps.
My recipe is so easy and foolproof. It’ll become your go-to frosting alternative.

What you need
The piping gel is the star of the show creating a smooth and easy finished product. Let’s discuss just a few of the key ingredients:
Ingredients
This is a short overview of the ingredients I used and why I chose them. The full recipe can be found at the bottom of the post!
- Heavy whipping cream: This ingredient is the main character of this recipe. Make sure to use it cold.
- Powdered sugar: This adds sweetness to the recipe.
- Vanilla extract: You’ll notice that this adds a sweet, woody flavor and aroma to the whipped cream.
- Piping gel: This is the key to preserving the whipped cream and creating a clump-free texture.
Equipment
This is a list of tools I used to make the recipe. Some of the links are affiliate links.
- Mixer: You’ll need an electric mixer to whip up this tasty topping.
How to make stabilized whipped cream
1. Whip Until Frothy
Combine the main ingredients and whip until just foamy.

- Whip together cream, confectioners’ sugar, piping gel and vanilla with an electric mixer in a mixing bowl.
- Then, continue on medium-low speed until just foamy.
2. Whip To Stiff Peaks
You’ll continue mixing the ingredients until stiff peaks form in it.


- Turn up your electric mixer to medium-high speed.
- Then, continue to whip until cream forms medium to stiff peaks.
- When it starts to thicken, avoid overmixing. It can make the cream become lumpy and butter-like.
- Use immediately on your favorite dessert or frost a cake. Make sure to put your dessert in the fridge until ready to serve.
Jen’s Best tips
- Chill a stainless steel bowl in the freezer for 30 minutes before whipping the cream in it. This results in full, fluffy whipped cream.
- Don’t overbeat the whipping cream. It may develop a lumpy, butter-like texture.
- I would recommend storing it in the fridge. However, it can hold up at room temperature for a couple of hours.
- Tint the whipped cream by mixing food coloring into the gel before adding it to the cream.

Different ways to use this recipe
I absolutely adore this recipe as a replacement for frosting. These are some of my favorite recipes to use it on.
Stabilized Whipped Cream
Ingredients
- 1 cup (240 ml) heavy whipping cream, cold
- 4 tablespoons confectioners’ sugar
- 1 ½ teaspoons clear piping gel
- 1 teaspoon vanilla extract
Instructions
- In a medium bowl, whip cream, confectioners’ sugar, piping gel, and vanilla with an electric mixer on medium-low speed just until foamy.
- Turn the speed up to medium-high and continue to whip until the cream forms medium to stiff peaks. Make sure not to overbeat, the cream will become lumpy and butter-like.
- Use immediately on your favorite dessert and keep your dessert refrigerated until ready to serve.
Notes
- Vanilla extract: Instead, use an equal amount of vanilla bean paste if you wish to have more vanilla flavor.
- Use a stainless steel bowl that has been chilled in the freezer for 30 minutes to whip the cream in. This ensures the cream will whip up full and fluffy.
- You can double, triple, or quadruple this recipe with no issue.
- You can tint the whipped cream by adding food coloring to the gel before mixing it in.
- Stabilized whipped cream will hold up at room temperature for a couple of hours, but it’s best to keep it refrigerated.
- In the refrigerator, it will keep for 3-5 days.
- I do not recommend freezing it.
Nutrition
The nutrition information provided is for convenience and as a courtesy only. It is not guaranteed to be accurate because nutrition information can vary for a variety of reasons. For precise nutritional data use your preferred nutrition calculator and input the exact ingredients and brands you used in the recipe.
Works like a charm. I couldn’t find clear, but I subbed in white and it was perfect
Works like a charm. I couldn’t find clear, but I subbed in white and it was perfect
thank you for the tutorial – can skimmed milk powder or corn flour be added instead of the piping gel?
I’ve actually never used skimmed milk powder or corn flour to stabilize whipped cream so I have no idea how it will work.
@Jen Sobjack, I have used milk powder, and yes, it DOES work, but I don’t like to use it because it has a texture that is slightly grainy and unpleasant. I am looking forward to trying the gel!!
Hi I am wondering if I use pink piping gel to stabilize will it tint the frosting, I would like pink for her cupcakes..Thanks
Can I use whipped cream as a filling with fresh strawberries and frost the cake with buttercream.
That should work just fine. Don’t add sugar to the strawberries or they’ll weep too much and cause a mess.
thank you so much for your reply also can I put fondant over it do you think it would still hold up good
This look amazing!
This look amazing!
Mmmmm piping gel! how come no body thought of that before? all the time made with gelatin and once I saw someone on Utube stabilizing whipping cream with sour cream.
Thank you,
It’s just too easy!
I LOVE this tutorial, Jen! Stabilized whipped cream is one of my favorite frostings to use for cupcakes and yours looks absolutely PERFECT!
It love it so much!