Dulce de Leche
This post may contain affiliate links. Read the full disclosure here.
Homemade dulce de leche is so easy to make. You only need one ingredient to create a delicious confection for your pies, cookies and cakes.
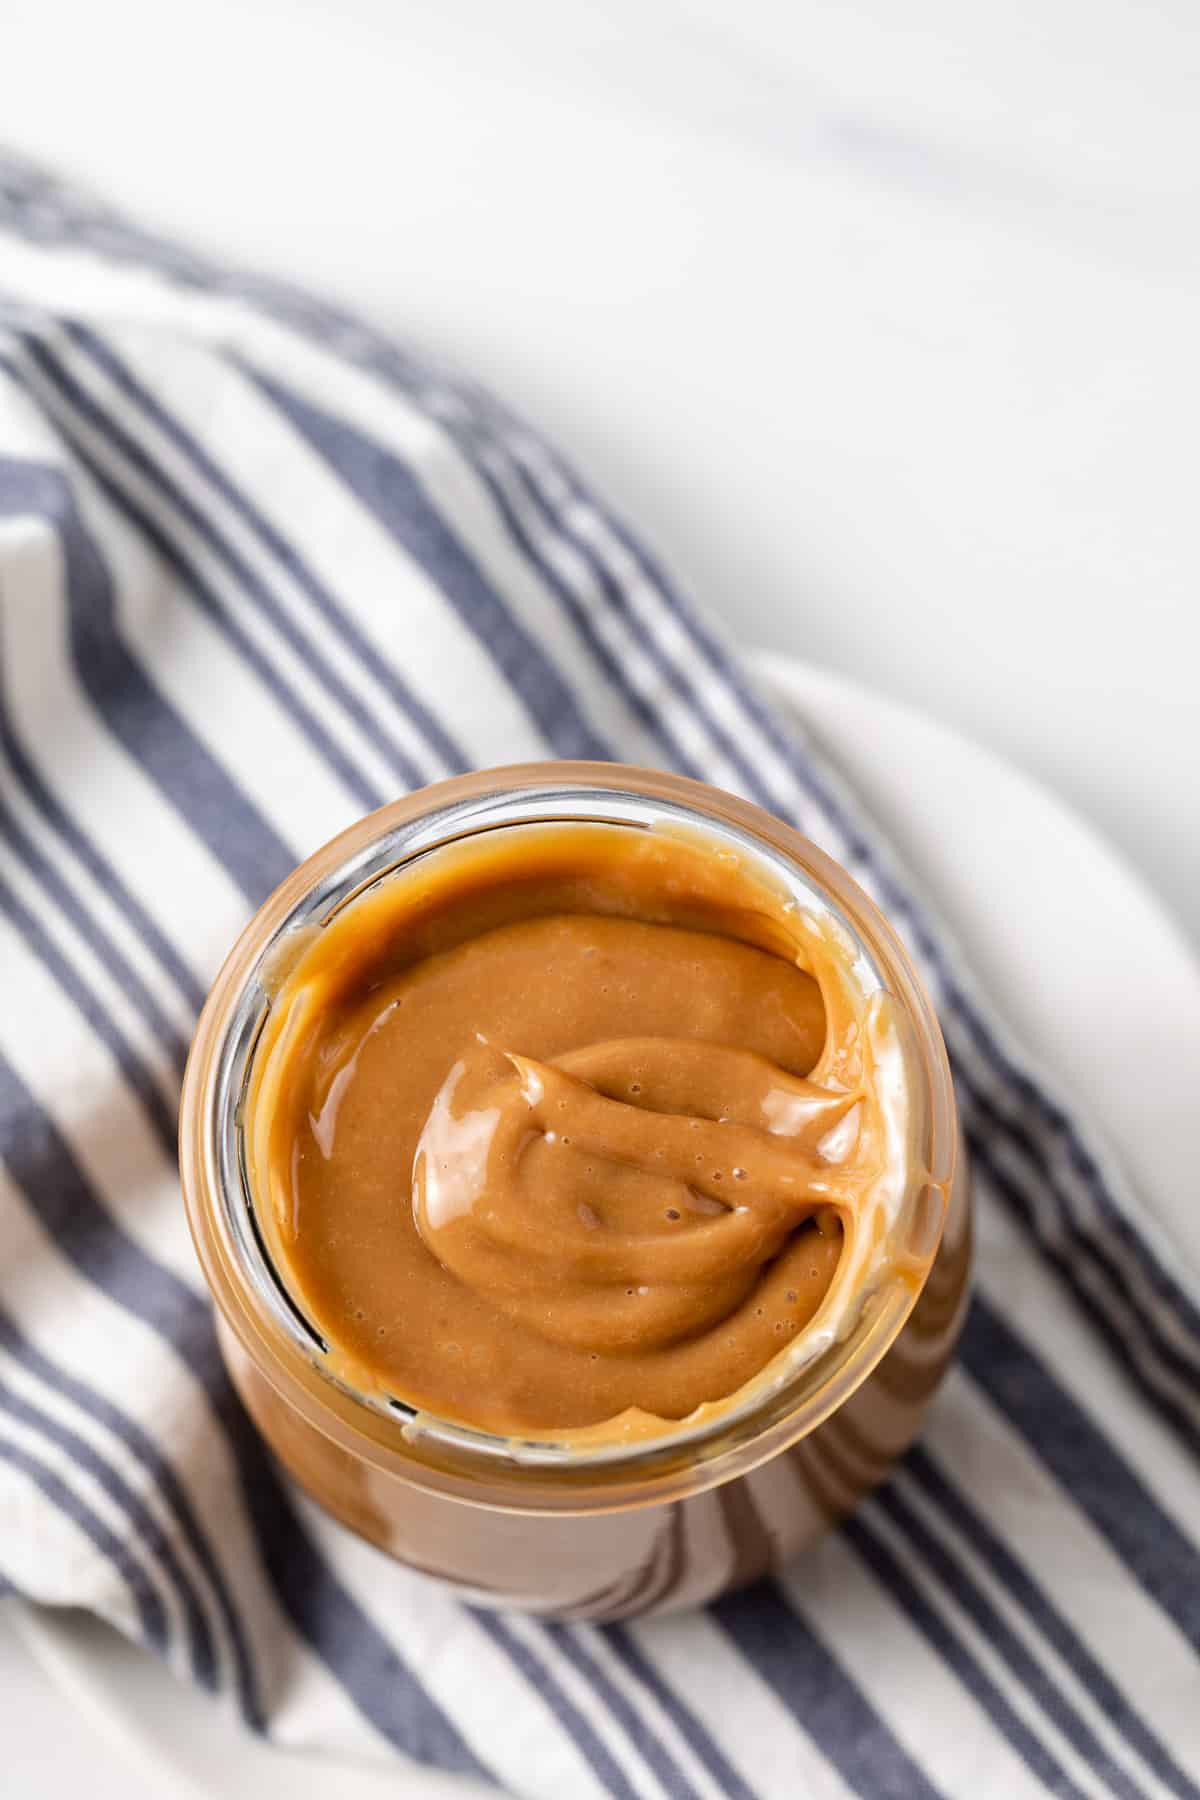
What is dulce de leche? It’s typically considered a classic sweet topping or filling from Latin America.
It translates in Spanish to “candy (made) of milk.” And, it really does live up to its name!
It pairs so perfectly with almost any dessert as a topping or even a filling.
It’s sometimes made with milk and sugar. Let me teach you how to make dulce de leche from condensed milk!
It’s so easy and saves you a trip to the grocery store.
Why this recipe works
- This recipe uses a water bath to evenly distribute heat through the sweetened condensed milk.
- You only need one ingredient for this recipe, which makes it incredibly simple.
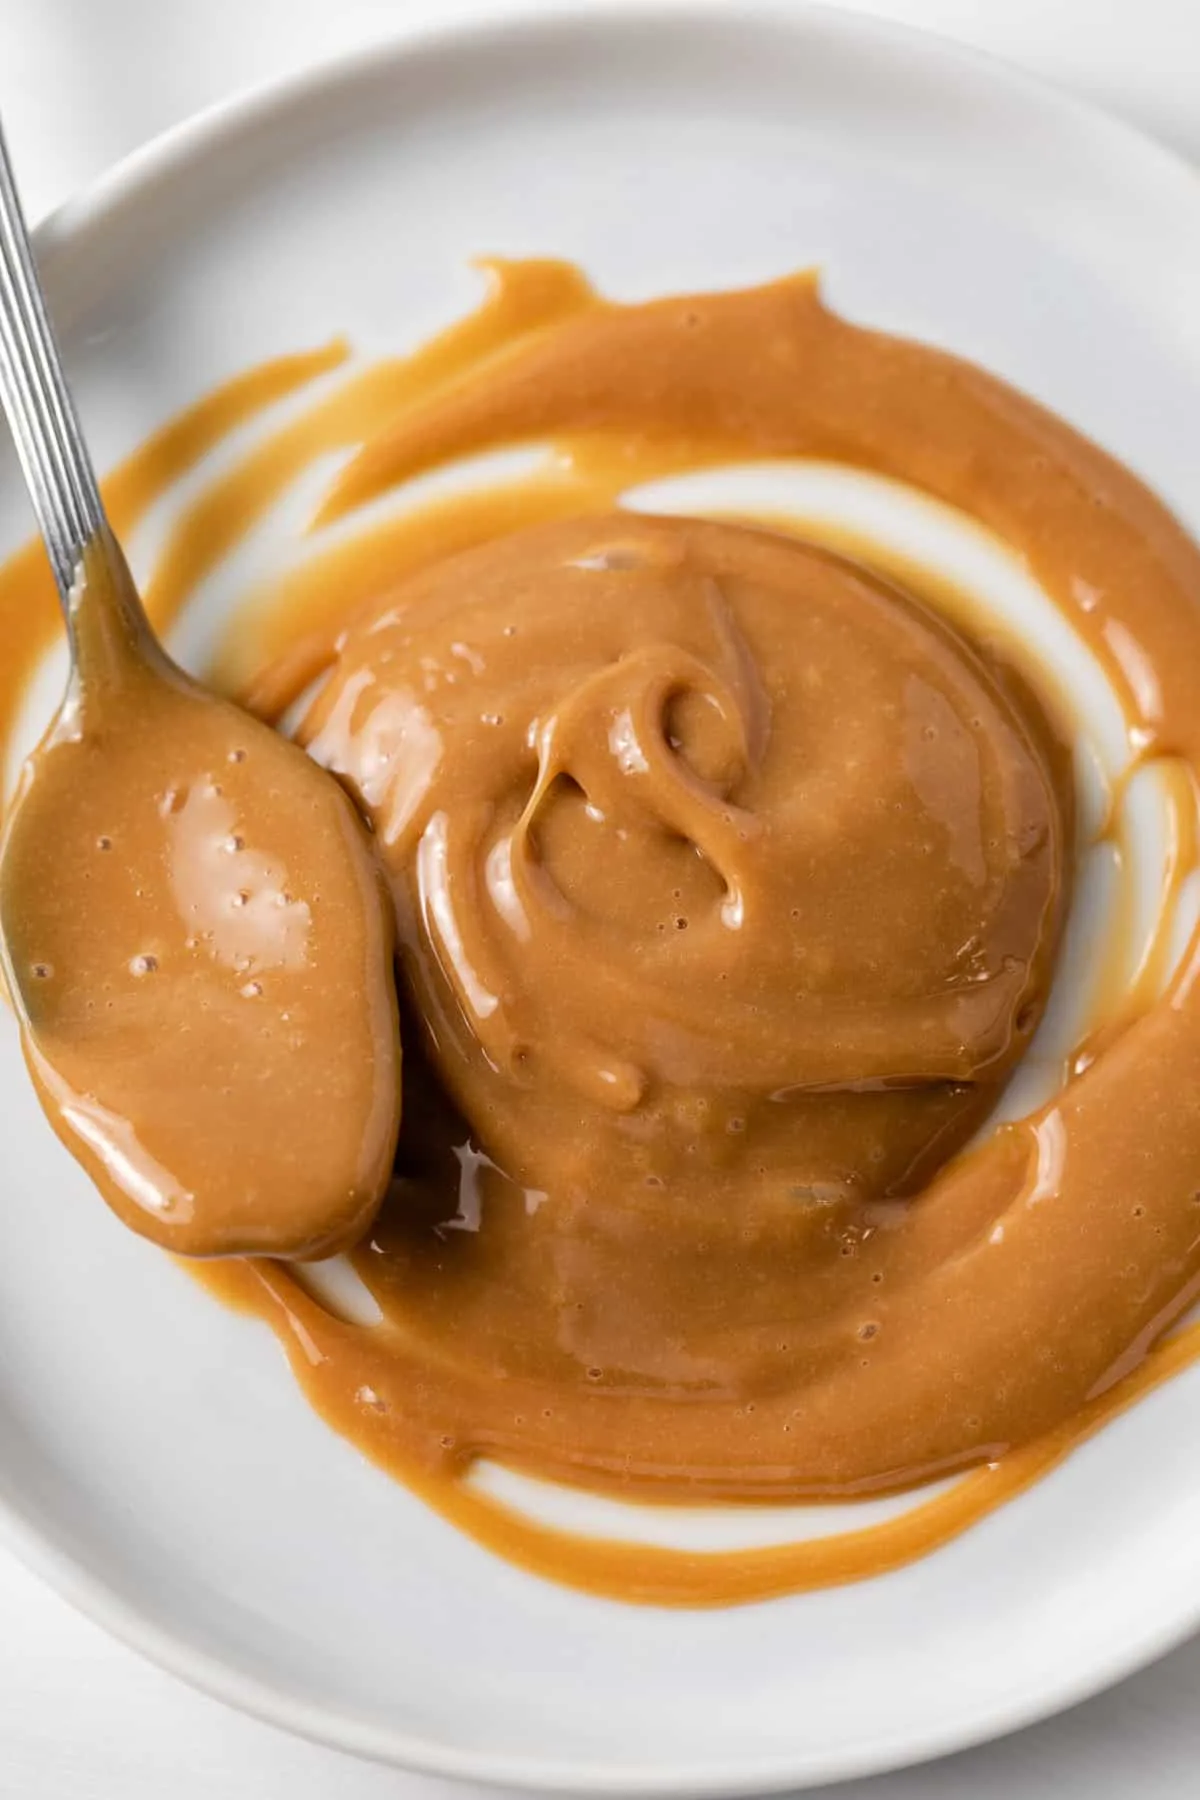
This perfect, golden confection is perfect for all your pies, cookies, cakes. It works well with ice cream and coffee, too!
What you need
This super easy dulce de leche recipe only requires one ingredient. Let’s discuss the key ingredient:
Ingredient
The full recipe can be found at the bottom of the post!
- Sweetened condensed milk: This ingredient will be slow-cooked to create a caramel-like confection.
Equipment
This is a list of tools I used to make the recipe.
- Pie dish: A 9-inch deep-dish pie pan works best for slow cooking the sweetened condensed milk.
- Roasting pan: You’ll place water in the roasting pan to create a water bath.
How to make dulce de leche
1. Slow cook the condensed milk
You’ll slow cook the sweetened condensed milk in a water bath in your oven.
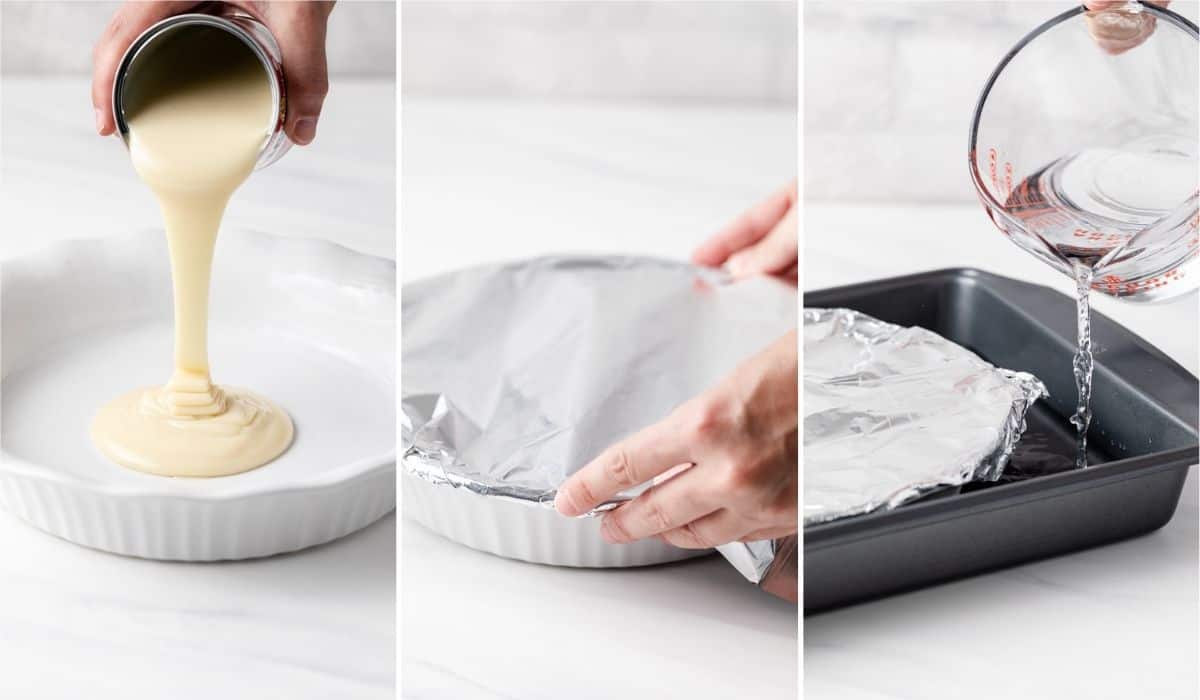
- Start by moving your oven rack to the center. Preheat oven to 425oF.
- Then, pour the milk into the pie pan. Cover tightly with foil.
- Place pie pan in roasting pan. Create a water bath by adding enough hot water to reach halfway up the pie pan.
- Then, bake for 45 minutes.
- Continue to monitor water level. Add additional water if necessary.
- Finally, bake for an additional 45 minutes, or until milk is thick and brown.
2. Let cool
Remove it from the oven and follow steps to properly cool.
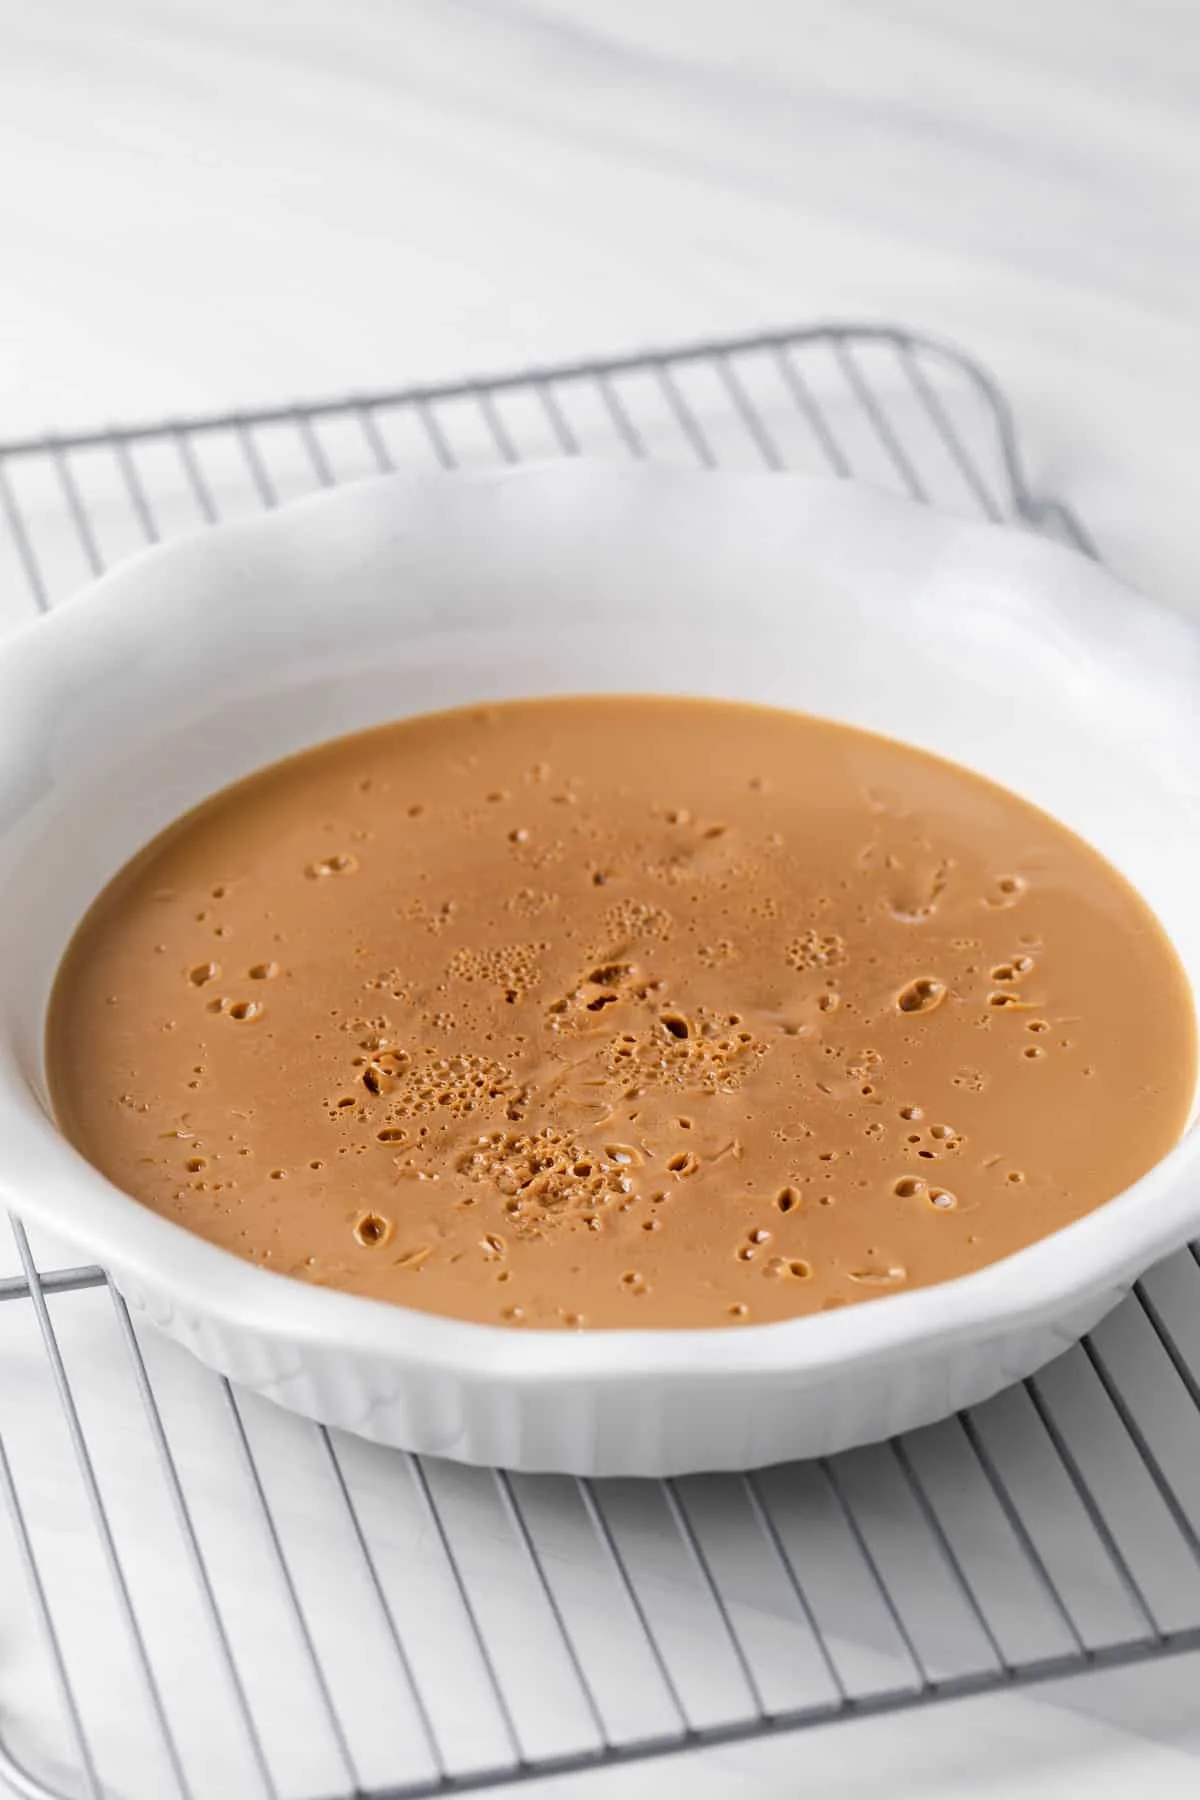
- Remove the pie pan from the water bath.
- Then, whisk the cooked mixture vigorously to work out any clumps.
- Finally, allow it to cool completely, uncovered at room temperature.
Jen’s Best tips
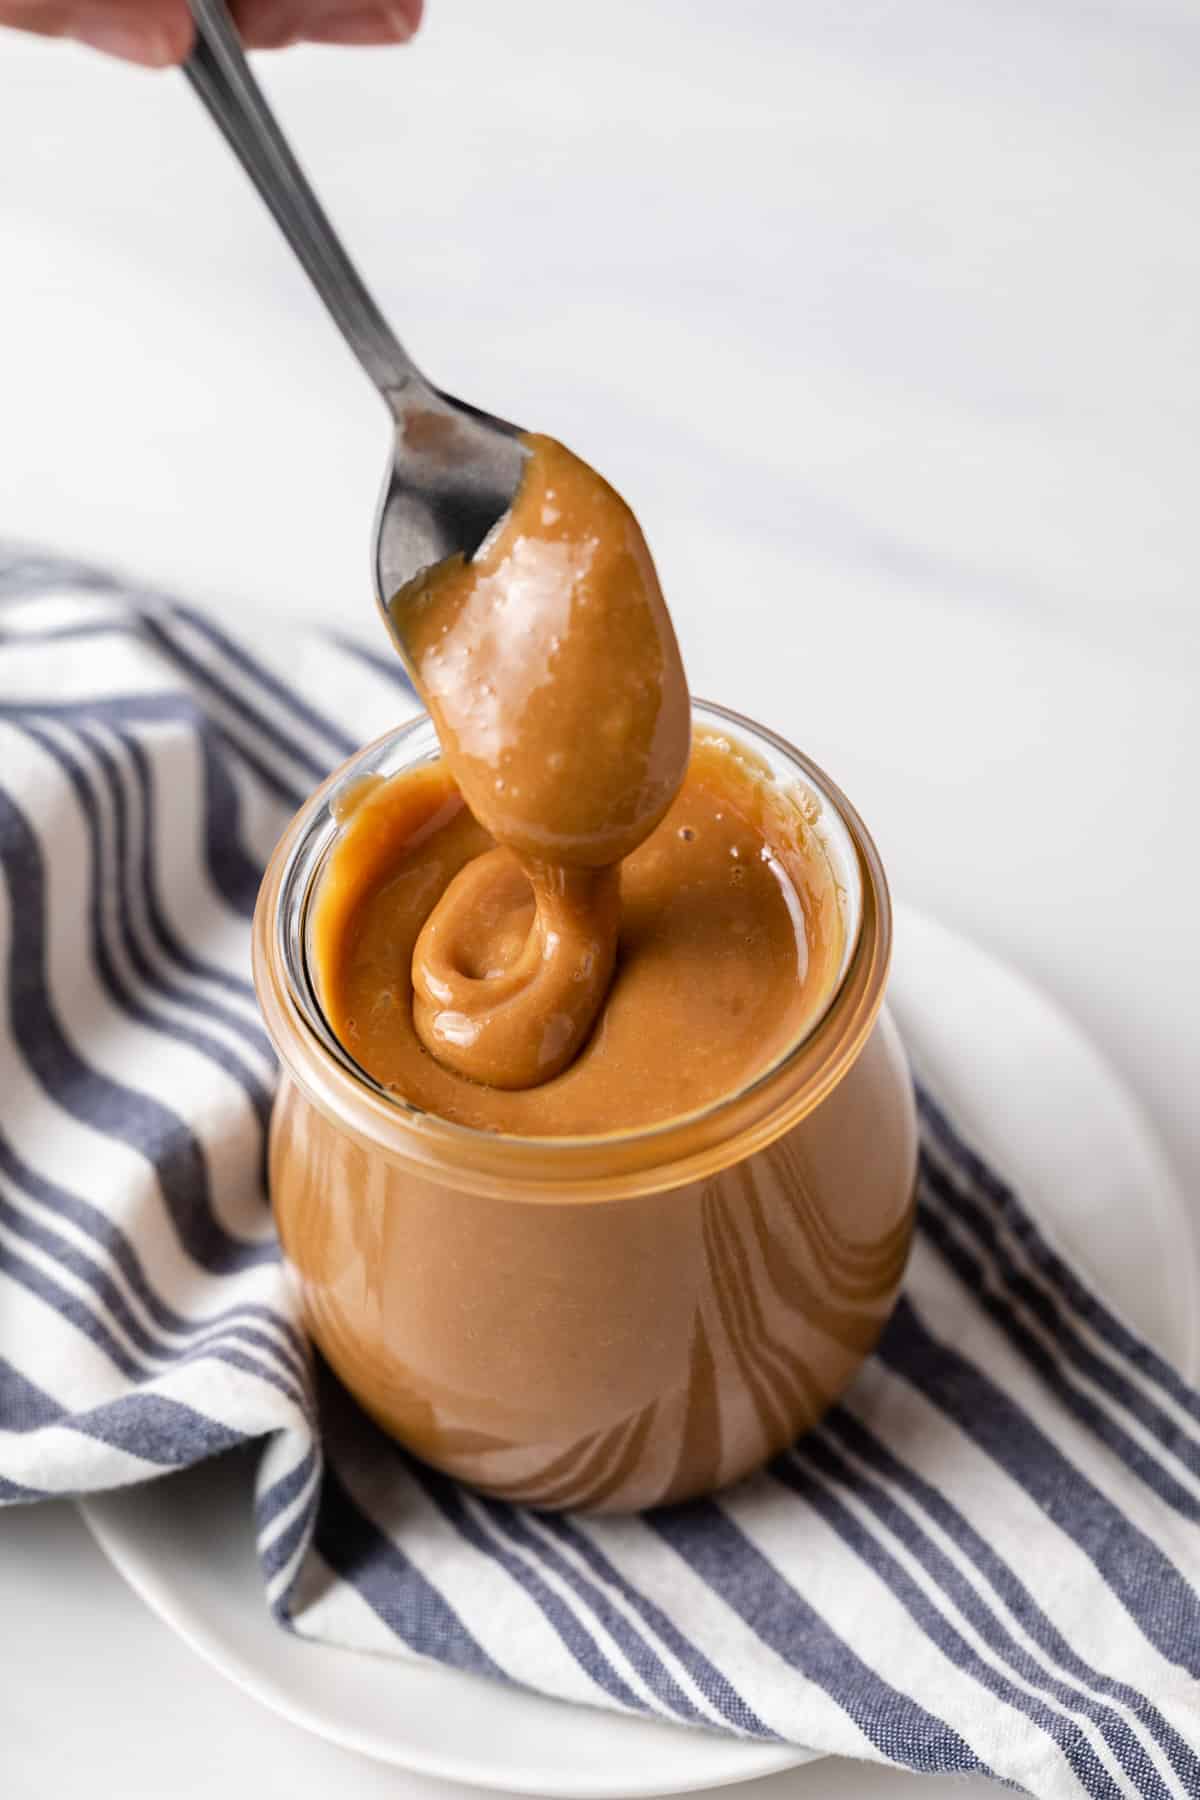
- It becomes thick as it cools or is refrigerated. To make it thinner, you may need to warm it slightly.
- To ensure best results, use enough water to create a proper water bath.
Storing & Freezing
To store: Store it in an airtight jar or container in the fridge. Store this way for no more than 2 weeks.
To Freeze: Transfer it to an airtight, freezer-safe container. Freeze for no more than 2 months. To use, thaw overnight in the fridge.
Ways to use dulce de leche
This is the perfect topping or filling for the following recipes:
- Drop it in the center of thumbprint cookies
- Make layered pumpkin bars
- Add it to tres leches cake
- Use it to make banoffee pie
Dulce de Leche
Ingredients
- 14 ounce can sweetened condensed milk
Instructions
- Position the oven rack to the center and heat to 425°F.
- Pour the sweetened condensed milk into a 9-inch deep-dish pie pan and cover tightly with foil.
- Set the pie pan in a roasting pan and add enough hot water to reach halfway up the pie pan. This creates a water bath
- Bake for 45 minutes. Check water level and add additional, if necessary, then continue to bake 45 minutes more, or until milk is thick and brown.
- Remove pie plate from water bath and whisk the cooked mixture vigorously to work out any clumps.
- Allow the dulce de leche to cool completely, uncovered.
Notes
- As the dulce de leche cools it will become quite thick, like peanut butter. If you are using it straight from the refrigerator, you may wish to warm it slightly so it’s not as thick.
- Keep the dulce de leche in an airtight jar or container and store in the refrigerator for up to 2 weeks.
- Or transfer to an airtight freezer-safe container and freeze for up to 2 months. Thaw in the refrigerator overnight.
Nutrition
The nutrition information provided is for convenience and as a courtesy only. It is not guaranteed to be accurate because nutrition information can vary for a variety of reasons. For precise nutritional data use your preferred nutrition calculator and input the exact ingredients and brands you used in the recipe.

In Chile we normally just remove the wrapping from the can and boil it in a pot for 2 hours, once it begins to boil. Let cool and use.