Brownie Cookies
This post may contain affiliate links. Read the full disclosure here.
It’s easy to learn how to make brownie cookies. They are loaded with rich chocolate flavor and have a luscious, soft interior along with a crispy exterior.
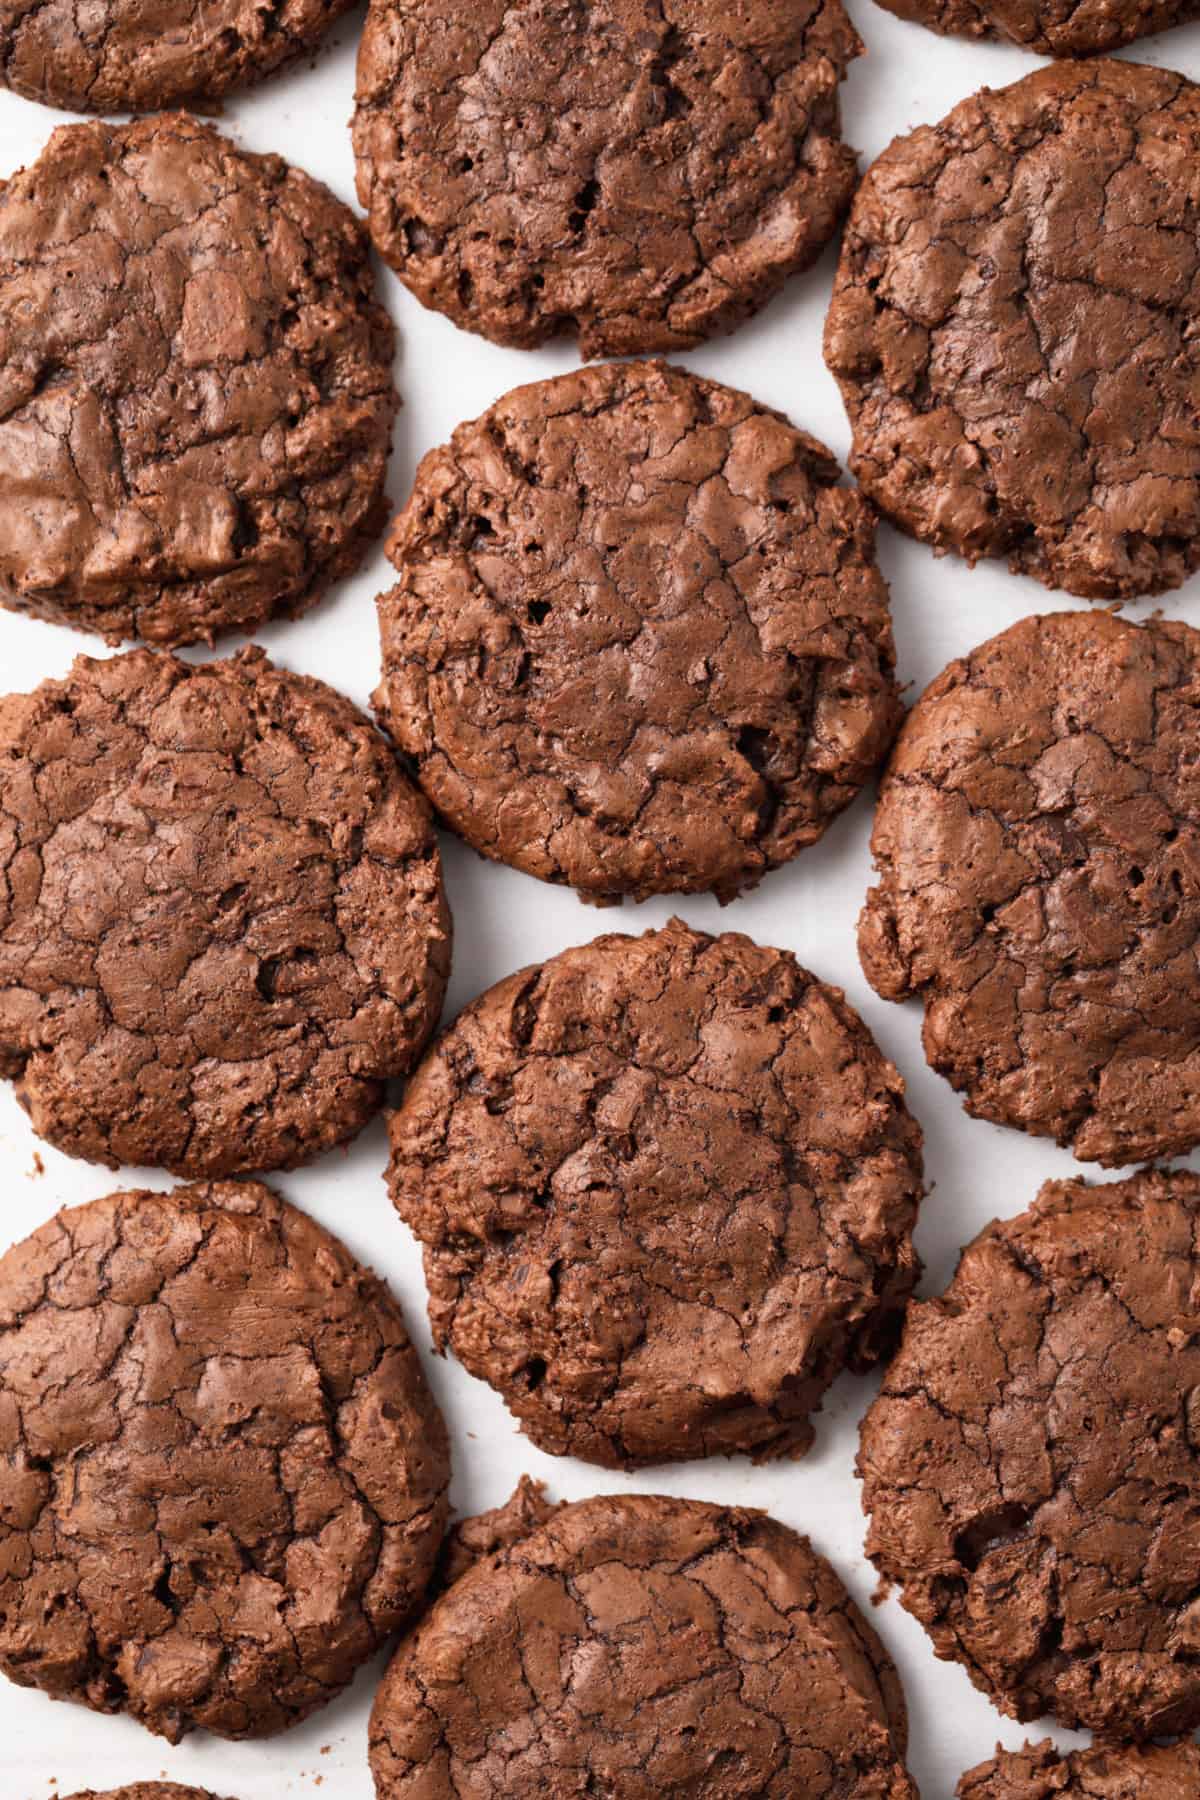
This brownie cookie recipe is so rich and decadent. The cookies have soft centers with crisp, chewy edges.
The shiny, crackly tops on the cookies make this great recipe stand out. The technique of whipping the eggs and the sugar together places air into the batter, which forms the tops
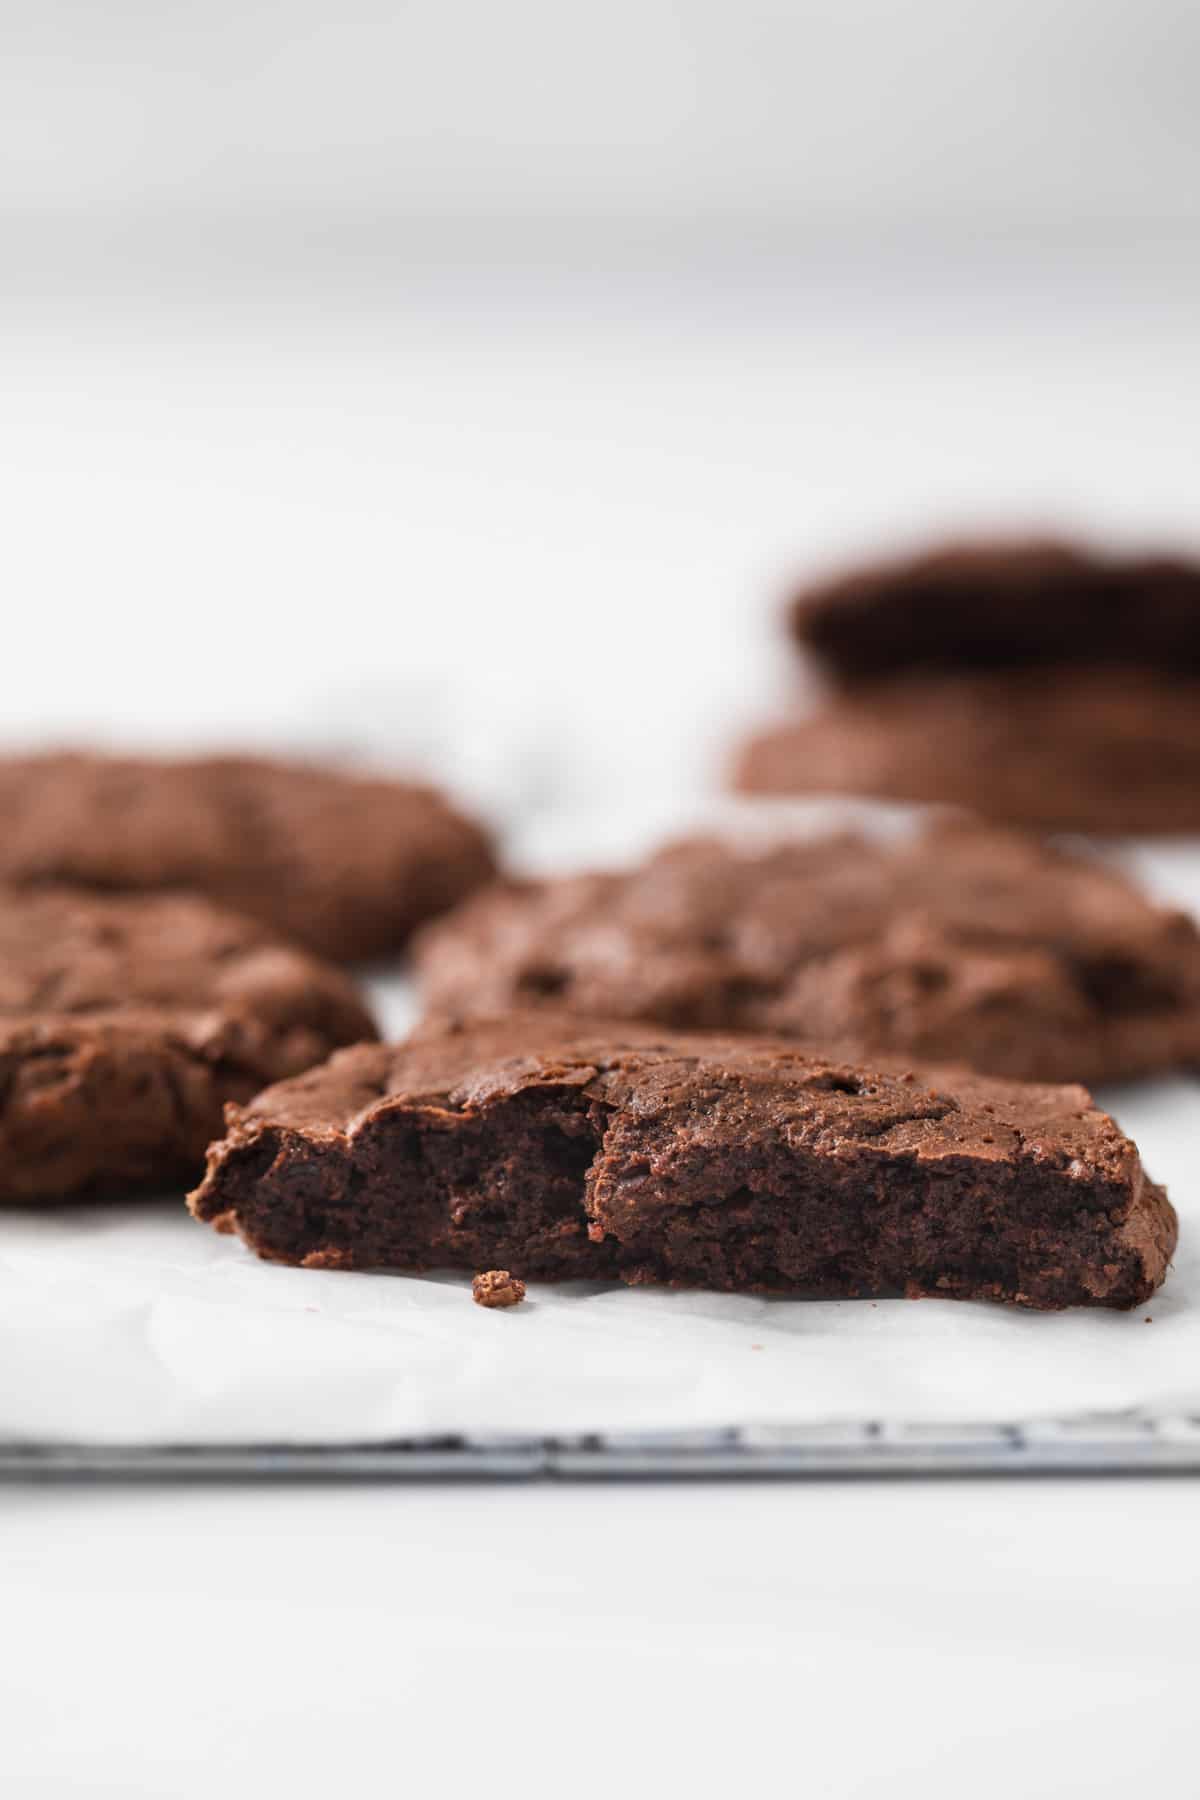
The interior of these cookies is so soft and delicate. It has the fudgy goodness of a brownie in the convenient shape of a cookie. It’s similar to the texture of my chocolate crinkle cookies.
If you love chocolate and caramel together, try out my salted caramel brownie cookies! My family loves these.
They pair well with this recipe. Put them on a platter together for your next event.
Why this recipe works
- The recipe calls for whipping the eggs and sugar together to introduce air to the batter, which creates textured tops on the cookies.
- Additional chocolate is folded in at the end. This leaves pockets of warm, melty chocolate in every bite.
- The baking powder gives the interior of the cookies a super soft texture.
These chocolate brownie cookies will overload your taste buds with their soft texture and chocolatey flavor.
What you need
You’ll find this easy fudge brownie cookies recipe has the perfect ingredients for making a delightful dessert. Let’s discuss just a few of the key ingredients:
Ingredients
This is a short overview of the ingredients I used and why I chose them. The full recipe can be found at the bottom of the post!
- Flour: I used all-purpose flour in this recipe. It provides structure to the cookies.
- Chocolate & cocoa: Semisweet or bittersweet chocolate works best along with unsweetened natural or Dutch-processed cocoa powder.
- Salt & vanilla extract: The salt balances the sweetness in the recipe. Meanwhile, the vanilla enhances the flavors and adds a sweet aroma.
- Baking powder: This ingredient makes the interior of the cookies so soft.
- Butter: I prefer unsalted butter for this recipe because there is salt added individually.
- Eggs: The eggs help add air and structure to the finished product.
- Sugar: I use granulated sugar in this recipe to add the right amount of sweetness. Brown sugar or a combination of both will also work.
Equipment
This is a list of tools I used to make the recipe.
- Mixer: You’ll need a stand mixer with a paddle attachment or an electric hand mixer to blend the ingredients for this recipe.
- Baking sheet: This recipe requires two baking sheets to properly bake the cookies.
How to make brownie cookies
1. Make the cookie dough
Combine ingredients to create the brownie cookies batter.
- Move oven rack to the center position. Heat oven to 325°F.
- Prepare 2 baking sheets with parchment paper.
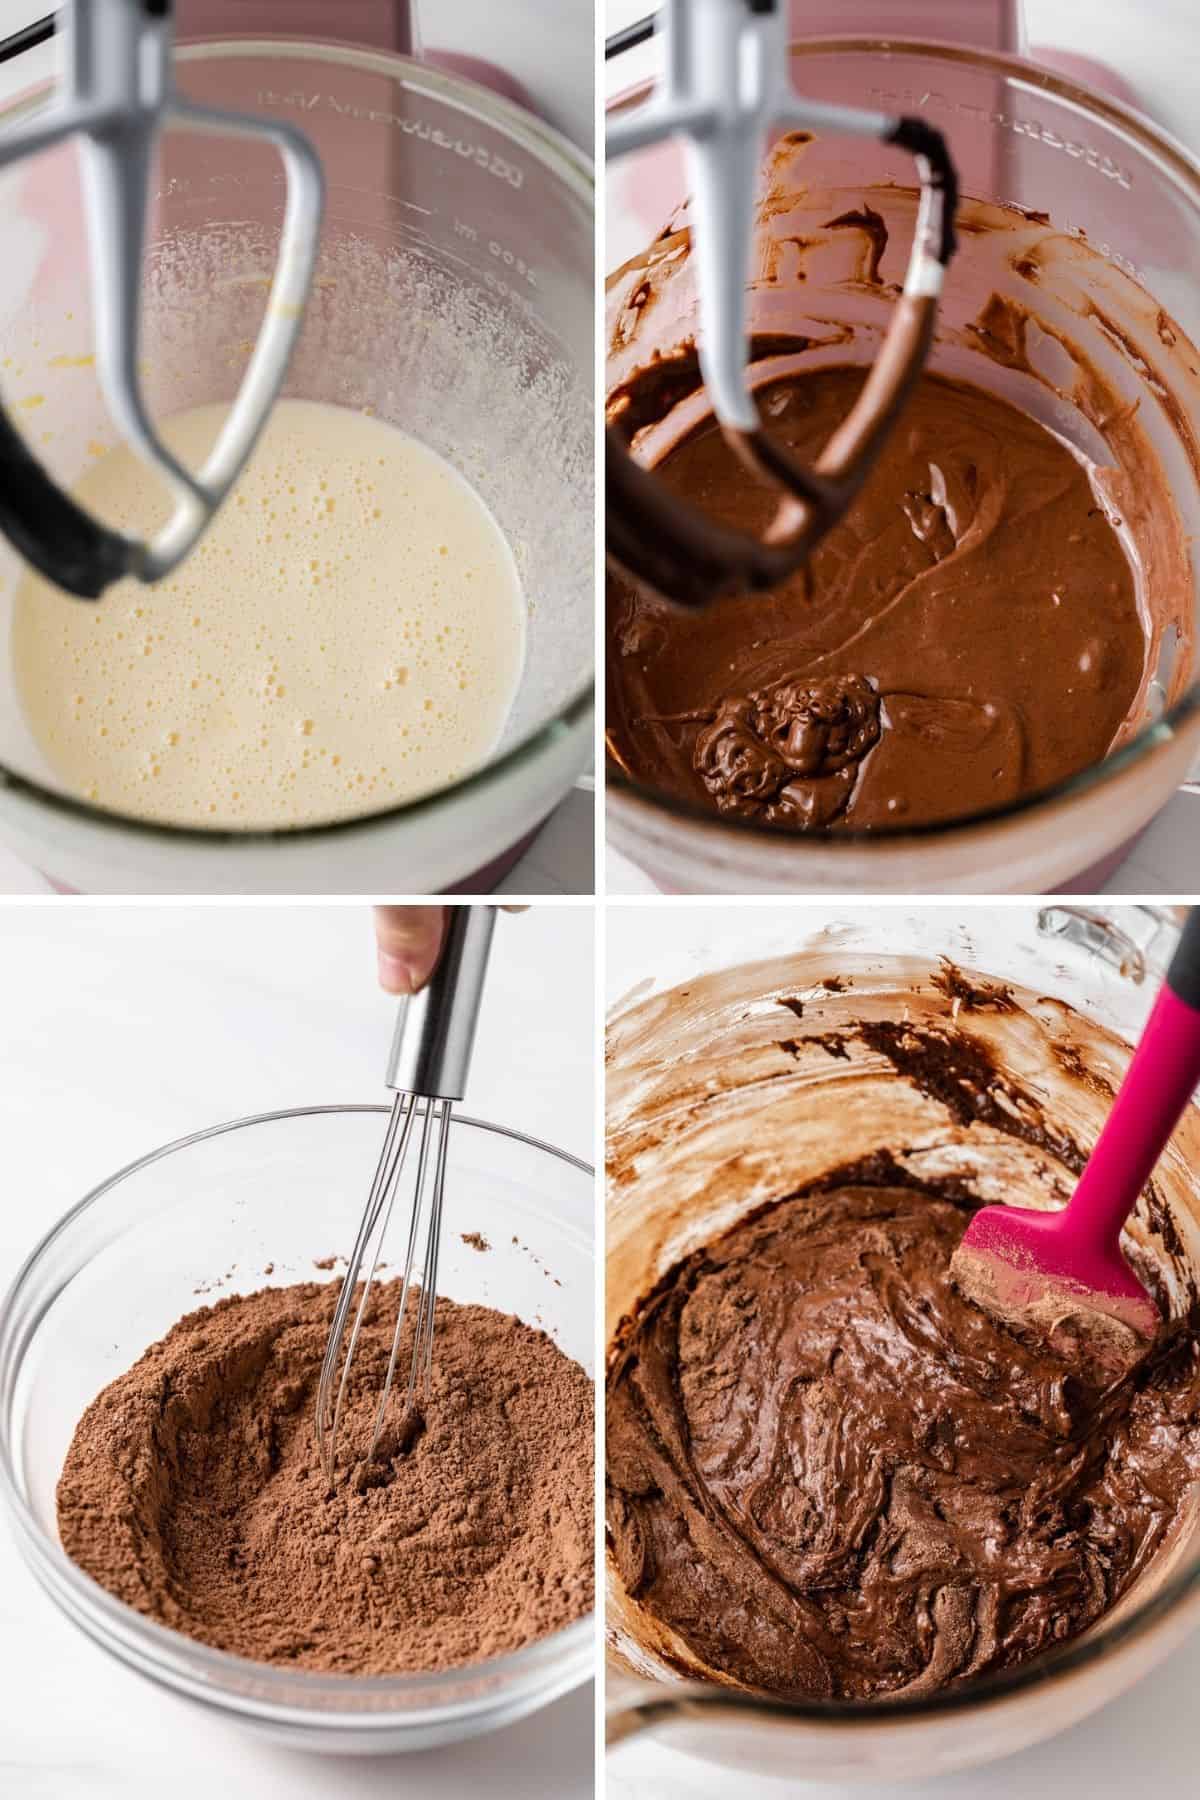
- Grab a small bowl. Whisk together flour, cocoa, salt and baking powder.
- In a medium heatproof bowl, add the butter and 8 ounces of bittersweet chocolate. Set bowl over a pot filled with 1-inch of barely simmering water.
- Then, stir constantly to promote melting the chocolate. Continue until completely melted.
- Use a stand mixer with the paddle attachment or a handheld electric mixer. Mix the eggs and sugar together at medium-high speed until pale.
- Then, beat in the vanilla. Reduce speed to low and add the chocolate mixture. Blend until fully mixed.
- Finally, use a silicone spatula to fold in the flour mixture. Be gentle.
2. Fold in remaining chocolate
Add the extra kick of chocolate to the cookies!
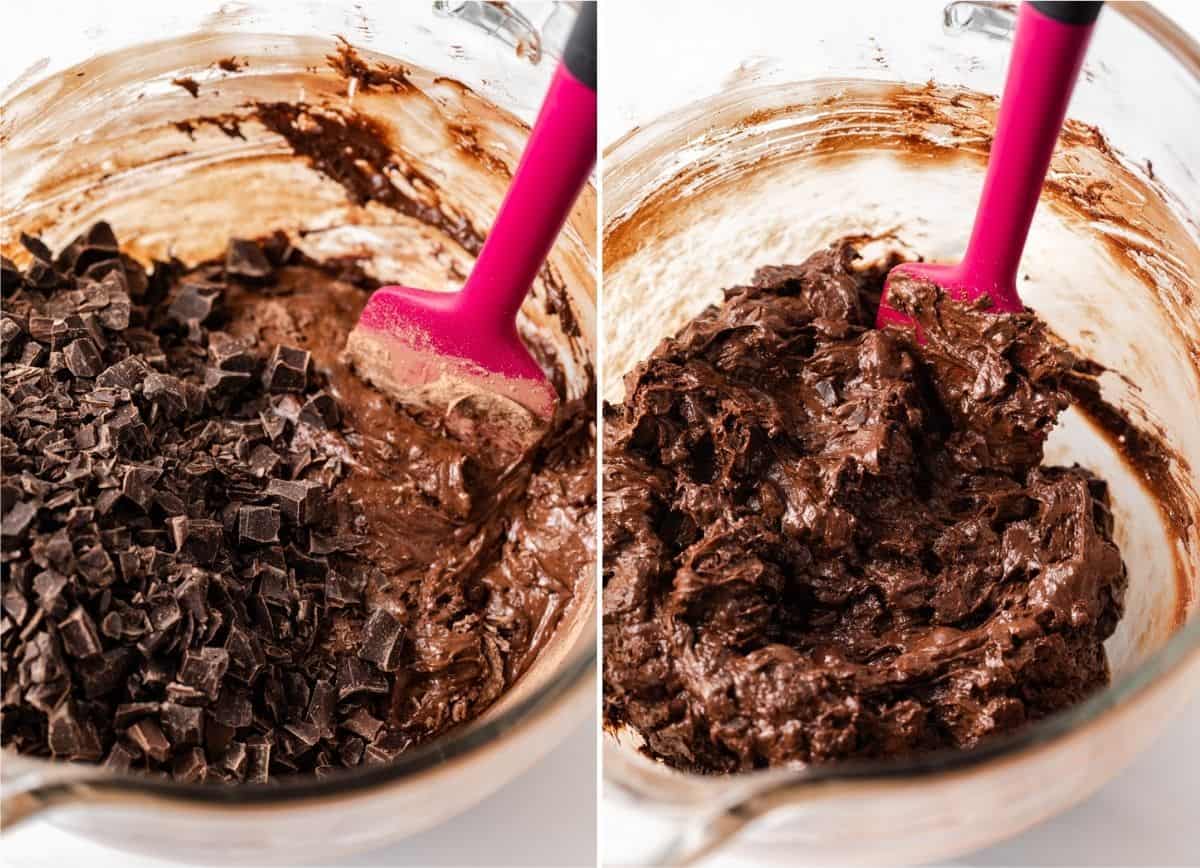
- After almost fully blending the dry ingredients, add the remaining bittersweet chocolate and milk chocolate.
- Fold gently until mixed in.
3. Portion and bake
Divide the batter into brownie cookies. Bake and enjoy!
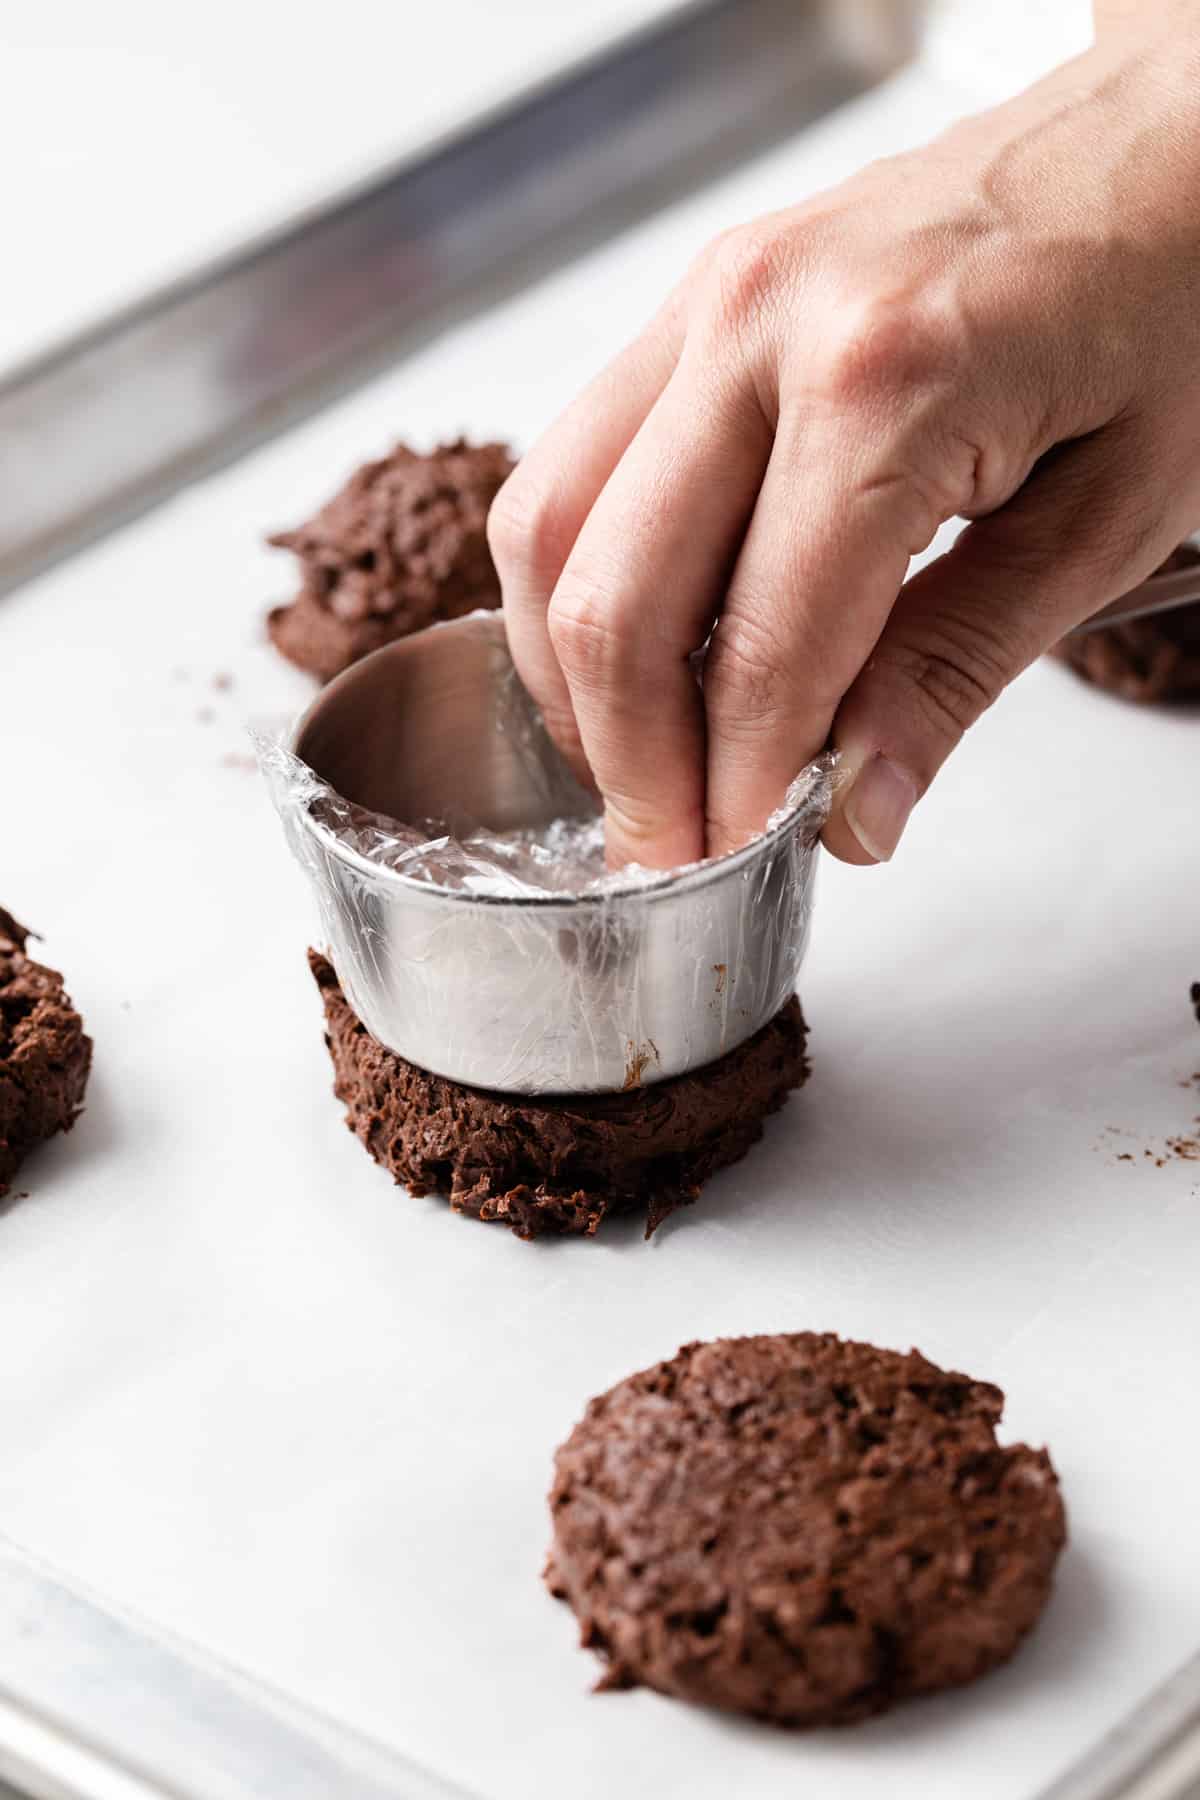
- Using a large cookie scoop (3-tablespoons), scoop out level portions of dough on the prepared baking sheets. Place 2 inches apart.
- Create dough mounds resembling a hockey puck. Use the bottom of a glass wrapped in plastic wrap to carefully press the dough mounds into pucks.
- Bake only one sheet at a time. Cookies will bake for 10-12 minutes.
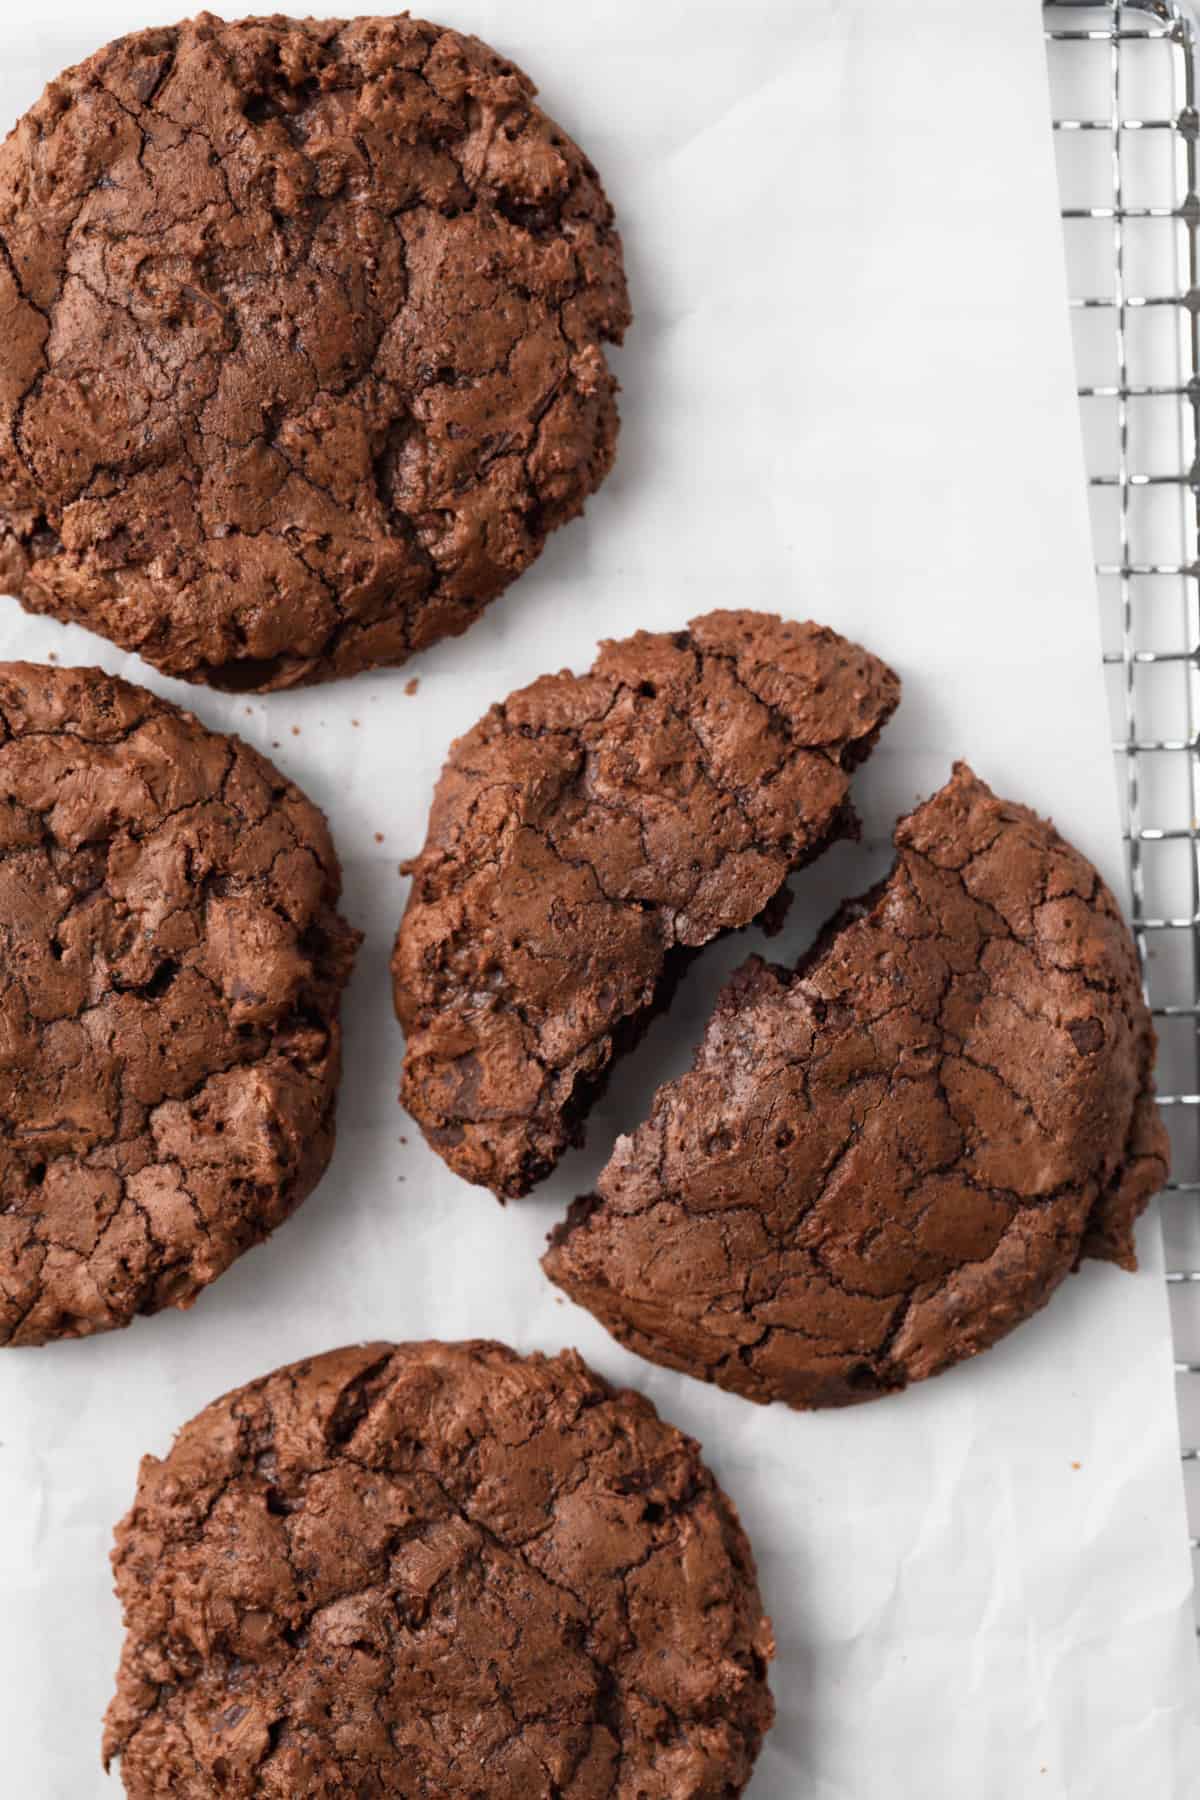
- Watch for the tops to crack and mostly dry, but the centers will remain wet looking and underbaked. Cookies will be very soft.
- Cool the cookies on the baking sheet over a wire rack for 15 minutes. These are best enjoyed the day they are made.
Jen’s best tips
- No Dutch-processed cocoa? Try using natural cocoa instead.
- You can use salted butter for this recipe if you omit the additional salt listed in the recipe.
- You can create perfectly round cookies! As soon as the cookies come out of the oven, place a slightly larger cookie-cutter over the hot cookie. Swirl it in a circular motion. The cookies edges should come in contact with the cutter.
Storing & Freezing
To store: Store in an airtight container at room temperature for no more than 2 days.
To Freeze: You can store baked cookies for up to 2 months in the freezer.
Make sure to wrap them in plastic wrap and place inside a freezer-safe zip-top bag.
Additionally, flattened pucks of dough can be stored in the freezer for no more than 2 months.
To use, set out at room temperature while you preheat the oven. Then, bake as directed.
More chocolate favorites
Can’t get enough chocolate? Try out these recipes on the blog.
- Today’s cookies remind me so much of my favorite brownie recipe.
- Double Chocolate Nutella Cookies
- Double Chocolate Brownies
Brownie Cookies
Ingredients
- ½ cup (65 g) all-purpose flour
- ¼ cup (21 g) unsweetened Dutch-processed cocoa powder
- ½ teaspoon salt
- ¼ teaspoon baking powder
- ¼ cup (56 g) unsalted butter
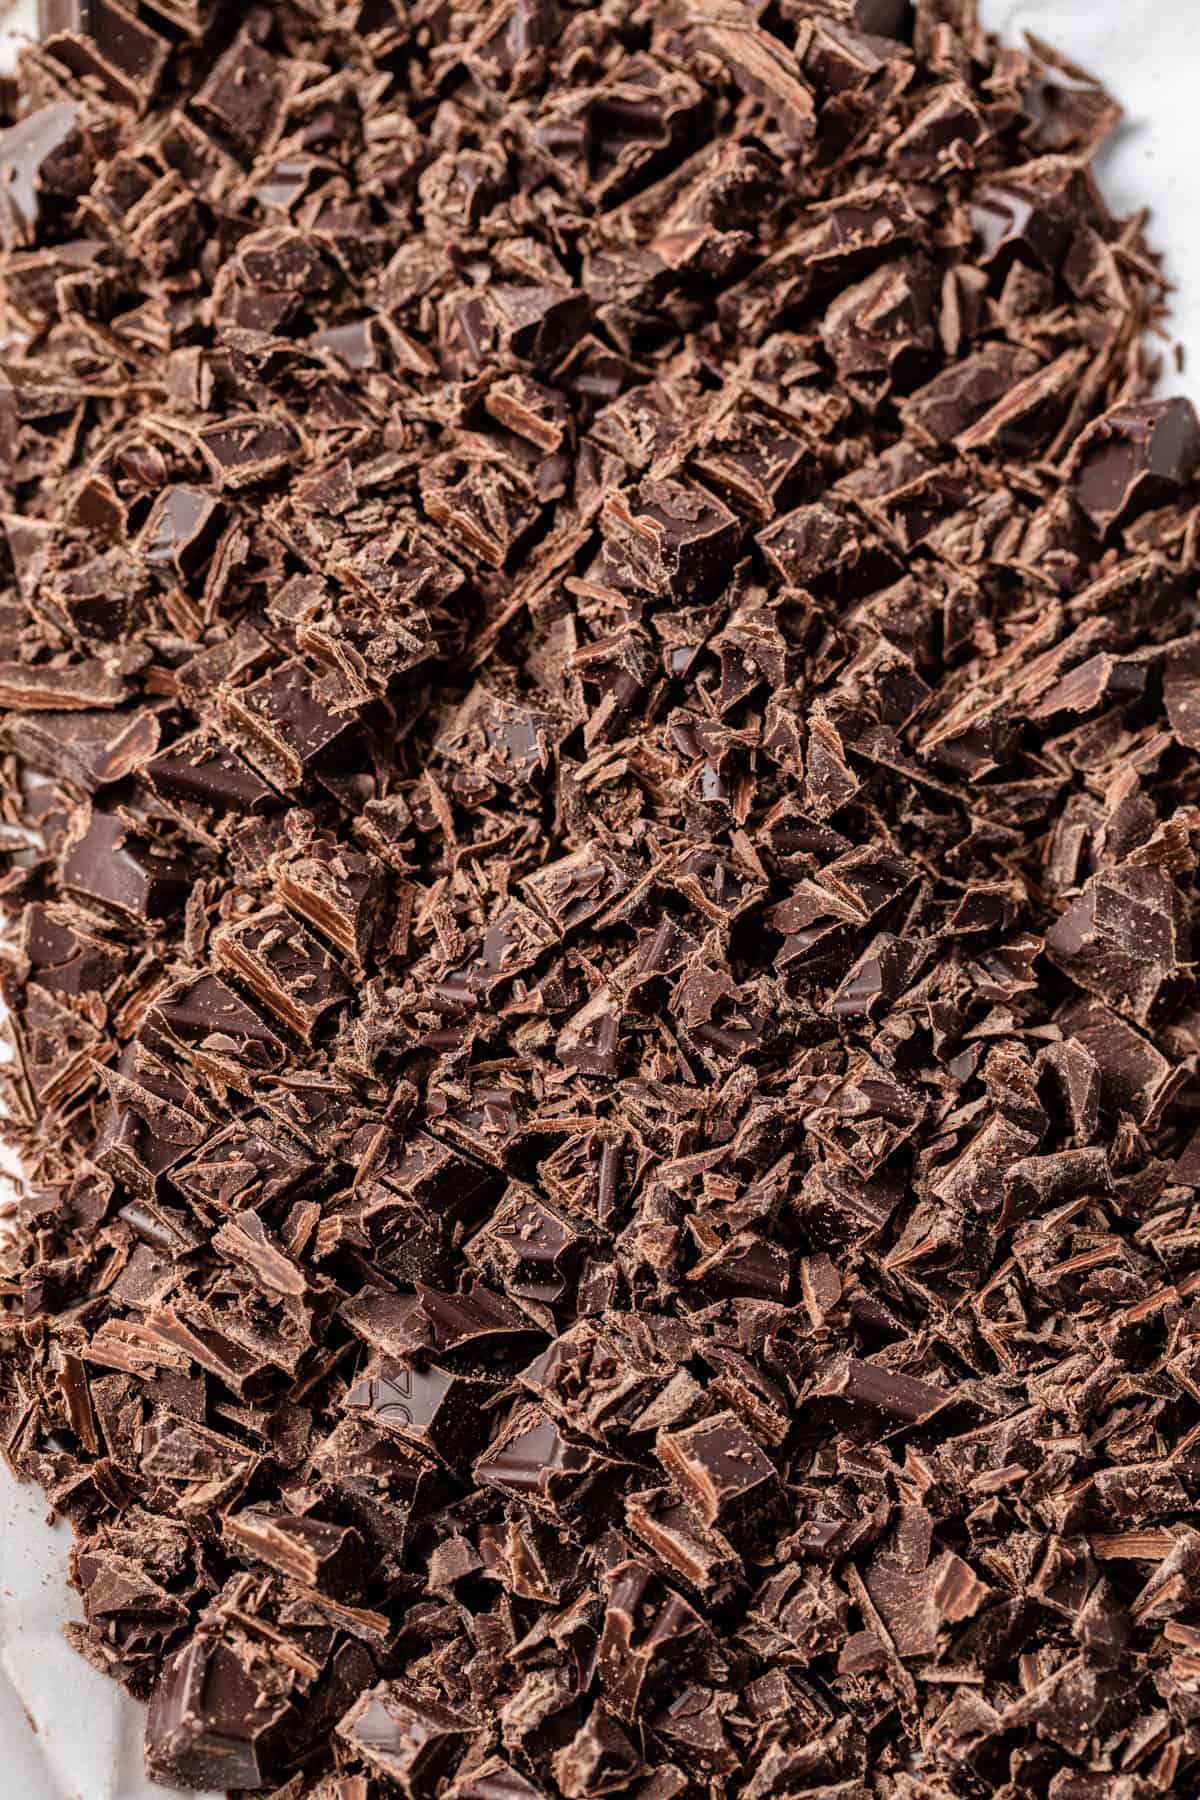
- 12 ounces (339 g) bittersweet chocolate, coarsely chopped, divided
- 2 large eggs, room temperature
- 1 cup (200 g) granulated sugar
- 1 teaspoon vanilla extract
- 4 ounces (113 g) milk chocolate, coarsely chopped
Instructions
- Position the oven rack to the center and heat the oven to 325°F. Line 2 baking sheets with parchment paper and set aside.
- In a small bowl, whisk the flour, cocoa, salt, and baking powder together.
- Add the butter and 8 ounces of the bittersweet chocolate to a medium heatproof bowl. Set the bowl over a pot filled with 1-inch of barely simmering water. Stir constantly until chocolate is fully melted and smooth.
- In the bowl of a stand mixer fitted with the paddle attachment or with a handheld electric mixer, mix the eggs and sugar together on medium-high speed until pale, about 5 minutes. Beat in the vanilla.
- Reduce the speed to low, and add the melted chocolate mixture. Mix until fully incorporated.
- Using a silicone spatula, fold in the flour mixture. Be very gentle with this step.
When the dry ingredients are almost fully incorporated, add the remaining bittersweet chocolate and milk chocolate. Fold gently just until they're mixed in. - Use a large cookie scoop (3-tablespoons) to scoop out level portions of dough onto the baking sheet, placing them 2-inches apart.
- Use the bottom of a glass wrapped in plastic wrap to carefully press the mounds into a disk resembling a hockey puck.
- Bake one sheet at a time for 10-12 minutes until the tops crack and are mostly dry but the centers look wet and underbaked. The cookies will still be very soft.
- Allow the cookies to cool on the baking sheet set over a wire rack for 15 minutes. These cookies tasted best the day they are made.
Notes
- Cocoa powder: If you don’t have Dutch-processed cocoa, you can use natural.
- Butter: Salted butter can be used for this recipe. Omit the additional salt called for.
- Chocolate: Bittersweet or semisweet chocolate can be used.
- Perfectly round cookies: If you don’t like the uneven edges of the baked cookie, you can fix that after baking. As soon as the cookies come out of the oven (they must be hot or this tip won’t work) place a cookie-cutter, slightly larger than the cookie, over the cookie and swirl in a circular motion so the edges of the cookie comes in contact with the cutter. Your cookie will now be perfectly round.
- Store in an airtight container at room temperature for up to 2 days. Baked cookies can also be frozen for up to 2 months. Be sure to wrap them well with plastic wrap and place them in a freezer-safe zip-top bag.
- Flattened pucks of dough can be stored in the freezer for up to 2 months. Set out at room temperature while you preheat the oven then bake as directed.
Nutrition
The nutrition information provided is for convenience and as a courtesy only. It is not guaranteed to be accurate because nutrition information can vary for a variety of reasons. For precise nutritional data use your preferred nutrition calculator and input the exact ingredients and brands you used in the recipe.

Can this recipe be doubled?
I recommend making two separate batches to ensure there are no errors instead of adjusting the ingredients.