
Coconut Cream Pie
This post may contain affiliate links. Read the full disclosure here.
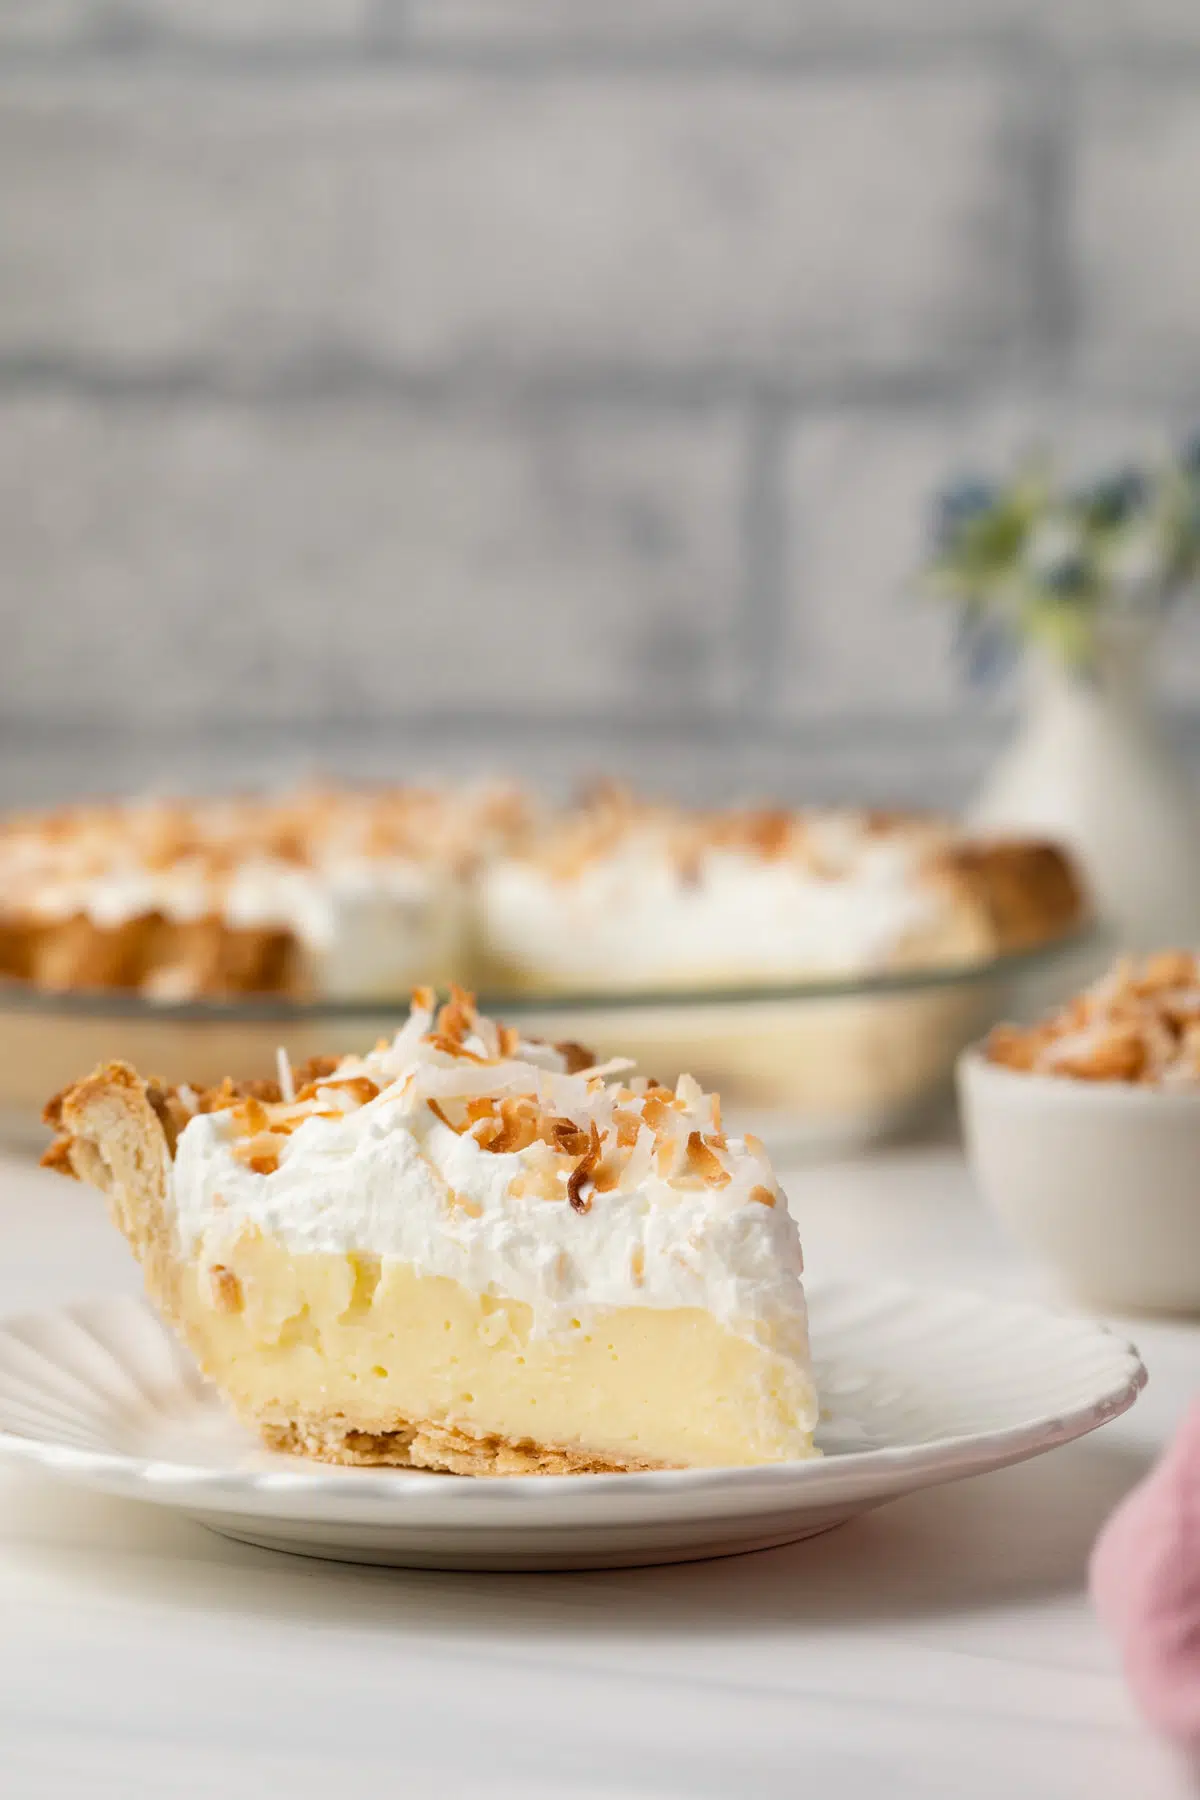
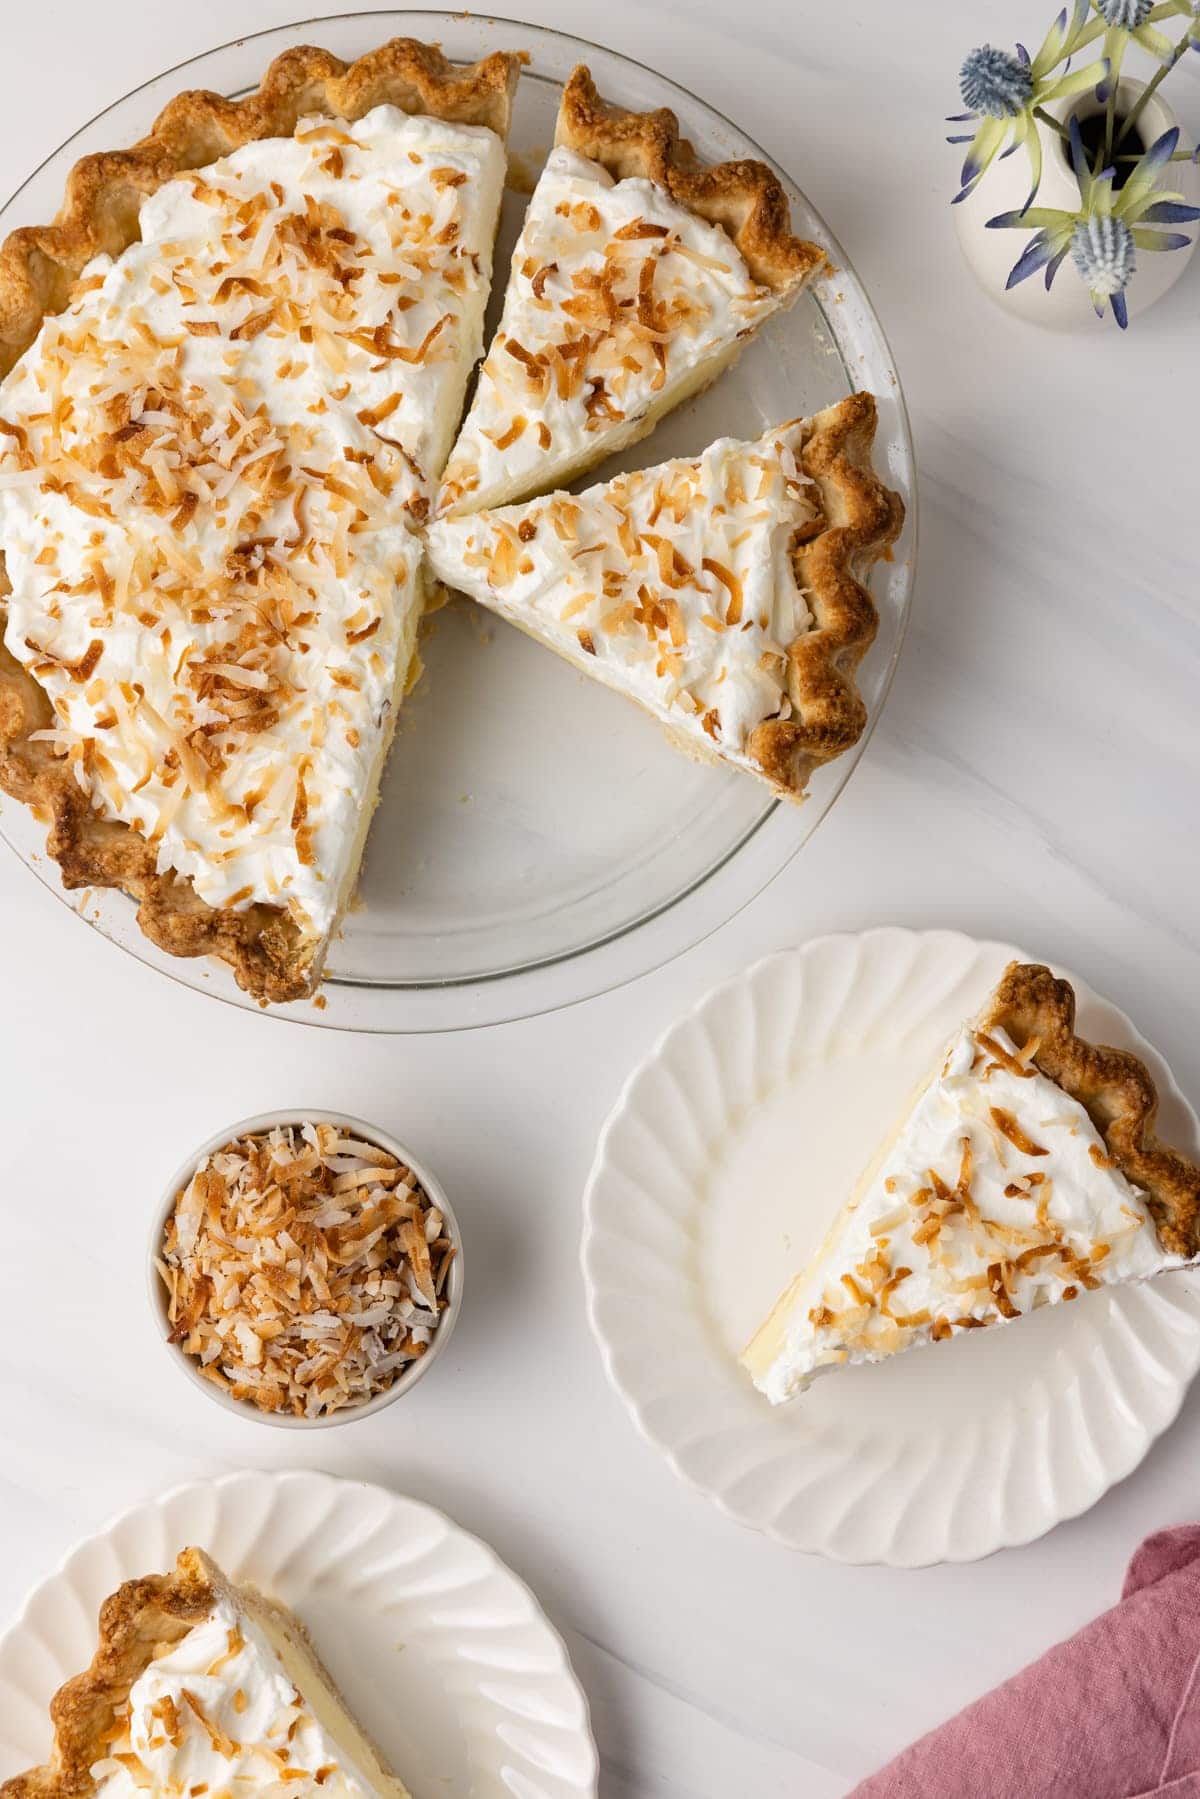
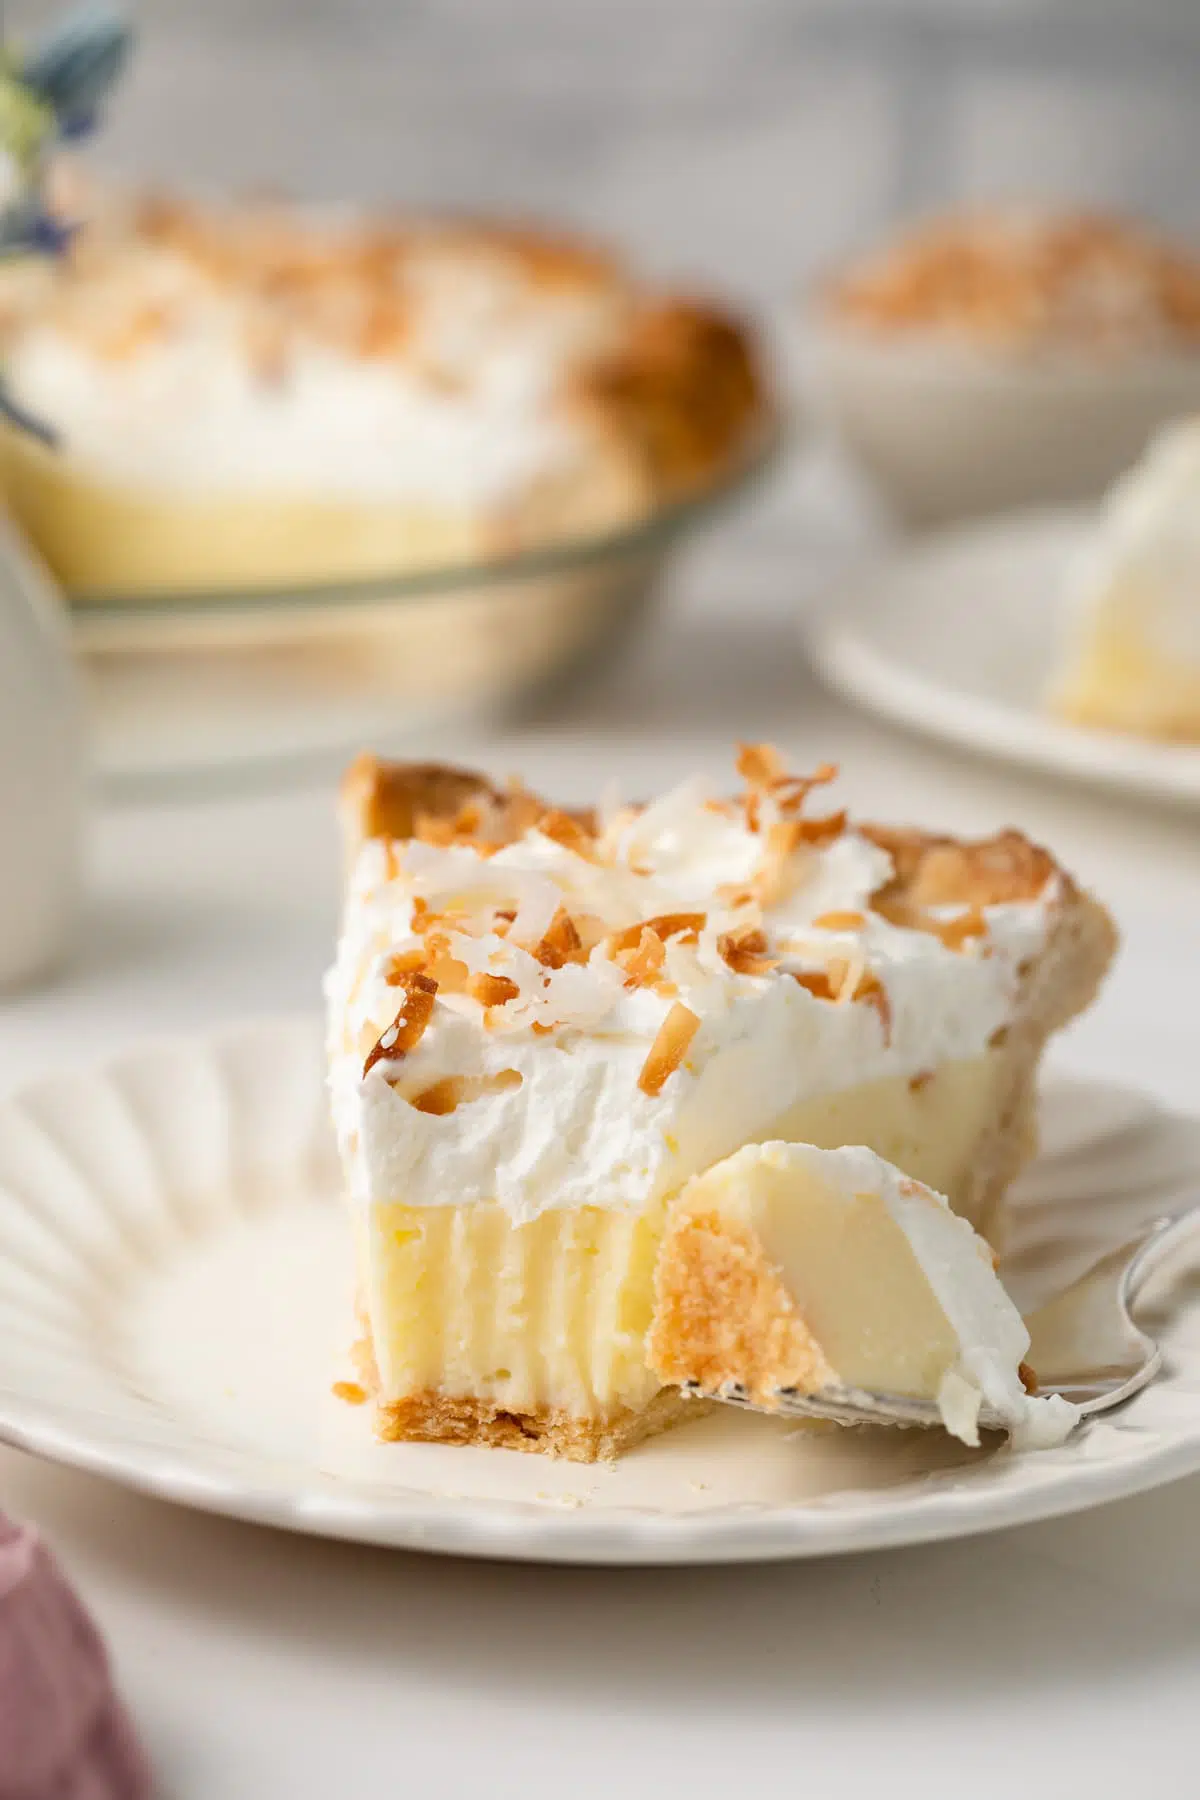
This coconut cream pie recipe really could be called a coconut DREAM pie… it’s just that good. A silky coconut flavored pudding is chilled in a flaky homemade pie crust and topped with sweetened whipped cream and toasted coconut. It’s a contrast of flavors and textures that will leave you dreaming of more.
There are pie people, and there are cake people. One of my favorite cream pie recipes is this chocolate chai cream pie. But this coconut cream pie may take the lead.
It’s no secret around here – I’m a fan of both. But even if you’re not a pie person, you are going to love this coconut pie recipe. The silky coconut filling, the flaky pie crust, the cool and creamy whipped topping and the crunchy toasted coconut all come together for a flavor sensation.
This pie does take some time so you will need to plan ahead, but it’s actually pretty easy. Make a homemade flaky pie crust (if you want to use a premade shell or a store-bought crust you can do that to make it even easier), add a yummy coconut pudding, chill it and top with whipped cream (homemade or store-bought, your choice) and toasted coconut.
I love tropical desserts. They just taste like a vacation to me. But you don’t need to pack a suitcase to enjoy a momentary escape from reality. For other summery, delicious tropical treats, try my pineapple coconut cake. Or – if you are a fan of chocolate and coconut – and if you’re not, please explain why as I do not understand – this chocolate coconut cake with a scoop of coconut gelato is beyond amazing!
Recipe Details
- Taste – Just the right amount of coconut flavors this rich pudding filling.
- Texture – Creamy and silky pudding against a flaky crust and a cool whipped cream topping.
- Ease – There is nothing difficult about this recipe, but it does take a little time.
- Time – This requires 4-6 hours of chilling time, so plan on about 7 hours from start to finish.
What You’ll Need
Ingredients
- All-purpose flour
- Granulated sugar – I like to add a touch of sugar to my pie crusts but you can omit this. It’s definitely needed for the filling, though.
- Salt – Balances all the sweetness.
- Unsalted butter – Butter adds a lovely rich flavor to the crust and makes the filling feel extra silky.
- Vegetable shortening – Shortening produces a light and flaky crust.
- Ice water – It’s important to use ice water to prevent the butter from softening before baking.
- Whole milk – Whole milk makes the filling richer than low-fat milk.
- Canned coconut milk – Infuses the filling with delightful coconut flavor. Use the full-fat version – it adds to the creaminess.
- Heavy Cream – This is a pudding filling, after all.
- Egg yolks – Provides structure and helps to thicken the filling, while creating a rich, creamy texture.
- Cornstarch – Works as the thickening agent.
- Coconut Extract – This adds an extra coconut burst of flavor to the pie. You can leave it out if you don’t have any.
- Whipped cream – I recommend using homemade whipped cream, though store-bought will work in a pinch.
- Toasted coconut – For garnish – follow my instructions here.
You can leave it out – it will make the coconut flavor of the pie mild but it will still be delicious.
You need one 13-ounce can of full-fat coconut milk. Do not use refrigerated carton coconut milk – you need the full-fat version in a can to make the pudding creamy.
Recommended tools
This recipe is fairly easy and requires little by way of equipment.
- Pie plate: You’ll need a pie plate – if you don’t have one, this glass pie plate is my go-to.
- Pie weights: I love using pie weights when I make my golden brown pie crusts.
How to Make Coconut Cream Pie
If you have made any of my pie recipes before, you’ll be familiar with this pie crust recipe. Add to it a creamy, dreamy coconut pudding pie filling and either store-bought or homemade whipped cream, and you’ll be in business!
Make the pie crust
- Make the crust dough. Whisk together the flour, sugar, and salt. Cut in the butter and shortening. Drizzle ice water over the flour to moisten it and toss with a fork to combine.
- Knead the dough. Gently knead the dough on a work surface, flatten it into a disc, and refrigerate for 30 minutes.
- Roll the dough into a 12-inch circle, then gently place in a 9-inch pie pan. Trim the edges so there’s a 1-inch overhang. Refrigerate for an hour.
- Bake. Prick the bottom with the tines of a fork and line with parchment paper. Use pie weights, uncooked rice, or dried beans to weigh the pie down. Bake for 15 minutes. Remove the pie weights and bake for an additional 15 minutes. Set on a wire rack to cool completely.
Make the pie filling.
- Heat the milk mixture. In a medium saucepan, combine ½ cup (100 g) of the sugar, milk, and coconut milk. Heat over medium heat, stirring to dissolve the sugar. Add the heavy cream and bring to a boil.
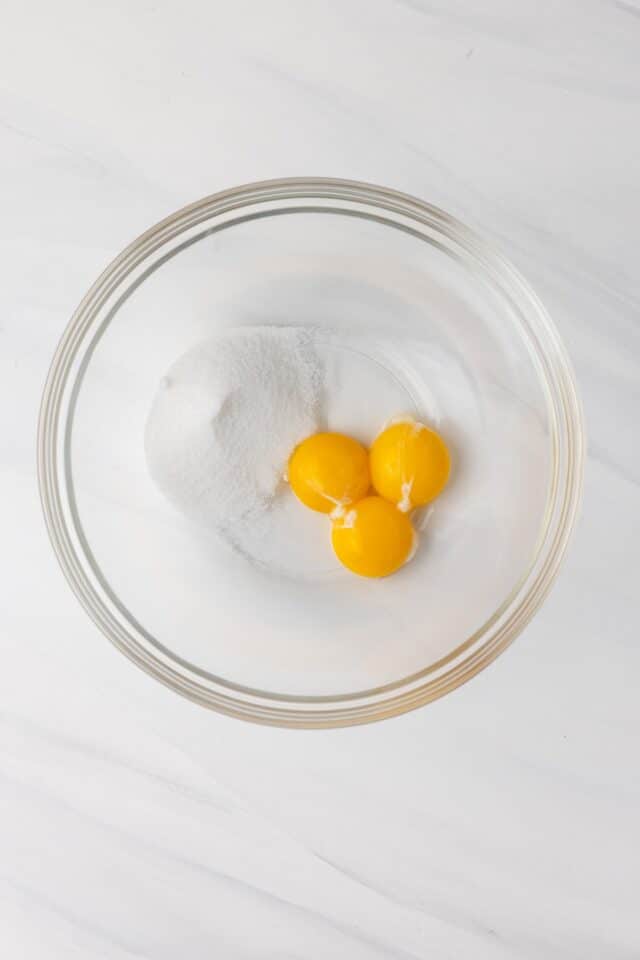
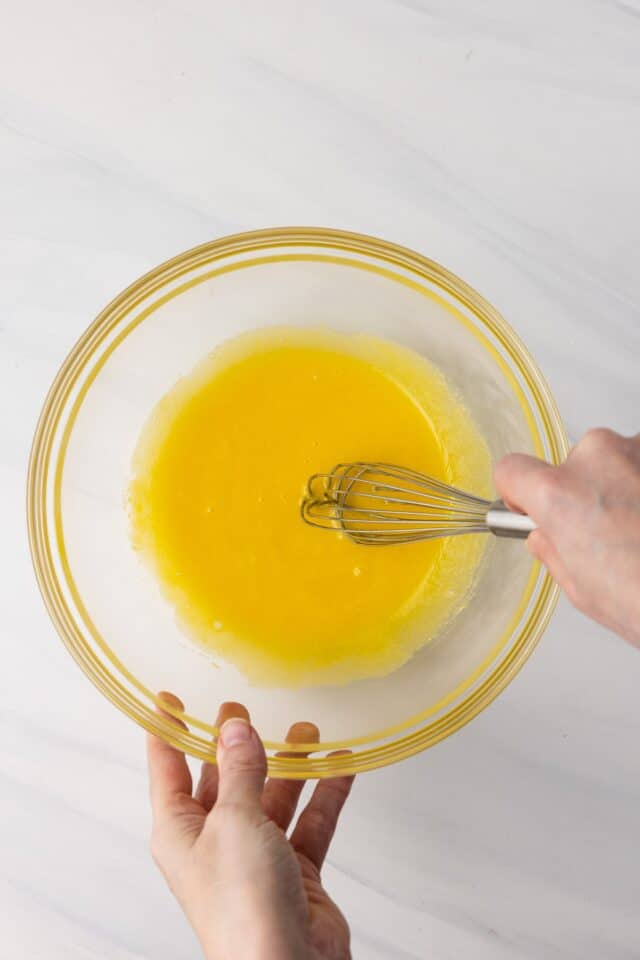
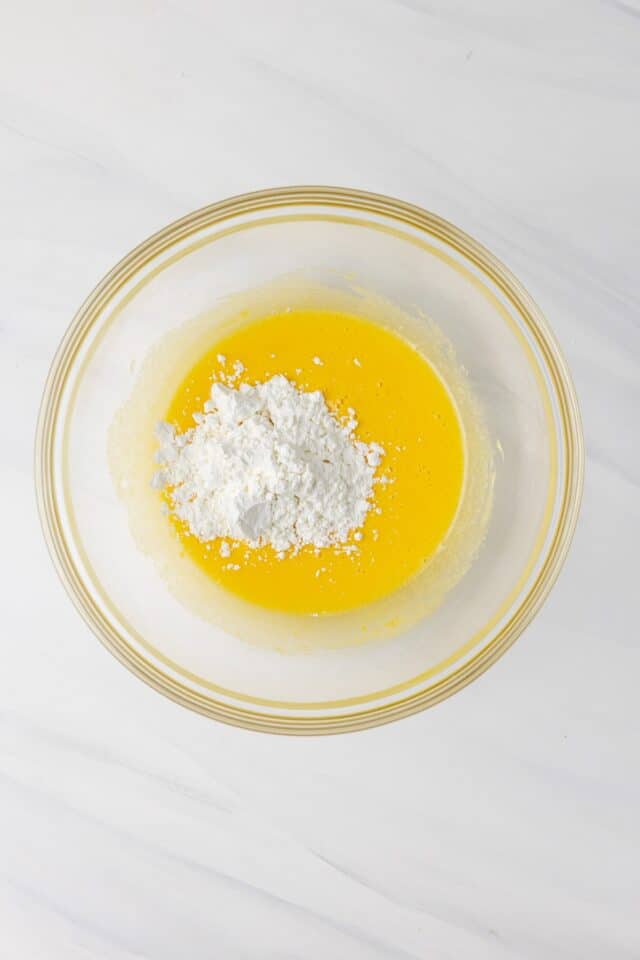
- Whisk the eggs. Whisk the remaining ¼ cup (50 g) sugar and egg yolks together in a small bowl. Add the cornstarch and whisk until smooth.
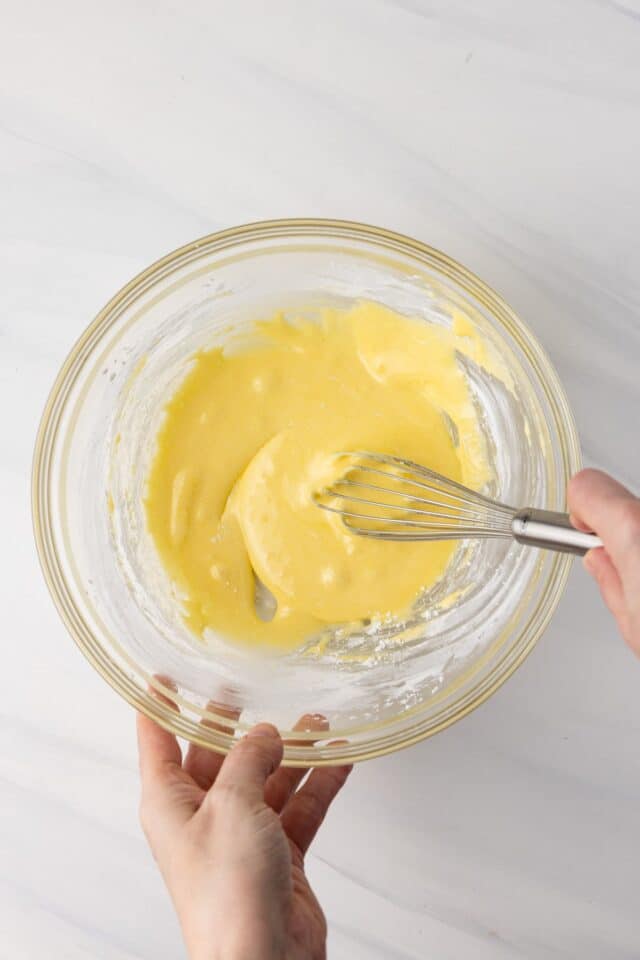
- Combine. Gradually add the hot milk mixture to the egg mixture while whisking continuously. Stir the warm egg mixture back into the pot and return to a boil, stirring constantly until bubbly and thick. Remove from heat and stir in the butter and coconut extract.
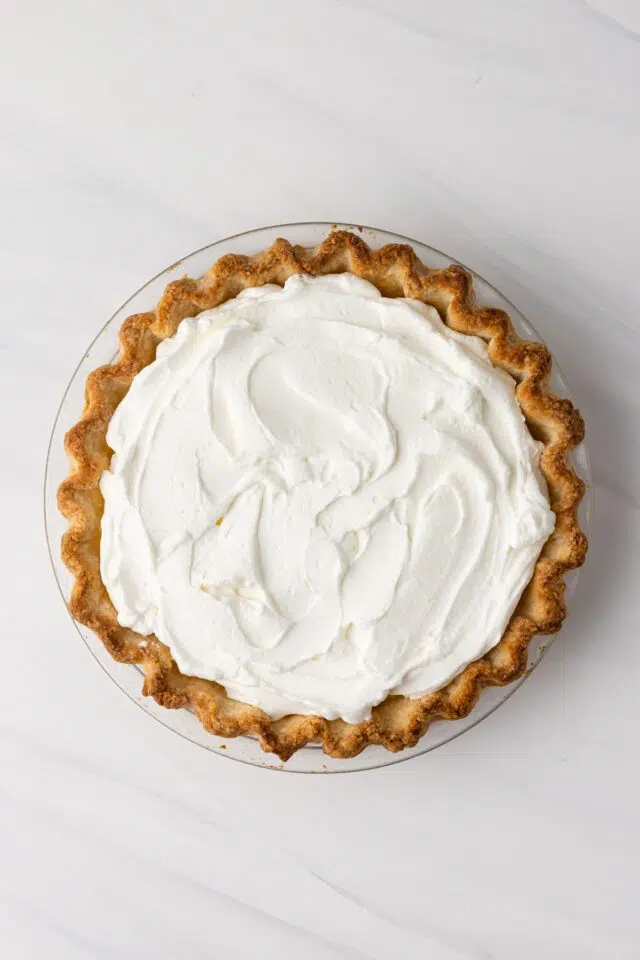
- Pour the filling into the cooled pie shell. Cover and chill 4-6 hours until filling is set.
- Just before serving, top with whipped cream and toasted coconut.


Tips For Success
- I always use my homemade pie crust recipe and homemade sweetened whipped cream, but if you want to use store-bought, you definitely can.
- My preference is unsweetened shredded coconut for the toasted coconut topping, but if you want to use the sweetened version, you can, just shake well before toasting.
- It is important to use canned coconut milk here – not the coconut milk in a box in the dairy section – as it won’t have the same fat content or flavor. Also, coconut milk is not the same as cream of coconut. Cream of coconut won’t do the same thing in this pudding, so be sure you’re using coconut milk.
Storage & Freezing
Cover and store in the refrigerator for up to 5 days
The pie dough can be prepared ahead of time and stored in the refrigerator for up to 5 days or in the freezer for up to 3 months.
You can freeze the pie after step 5 of “make the filling”. Cool the filling is completely inside the pie shell prior to freezing. Cover with a double layer of plastic wrap before freezing. Freeze for up to 3 months. Thaw in the refrigerator or on the counter prior to topping with whipped cream.
Coconut Cream Pie

Ingredients
For the crust
- 1 ½ cups (195 g) all-purpose flour
- 2 tablespoons granulated sugar
- ¼ teaspoon salt
- 5 tablespoons unsalted butter, cold & cut into pieces
- 4 tablespoons vegetable shortening, cold & cut into pieces
- 5 tablespoons ice water
For the filling
- ¾ cup (150 g) granulated sugar, divided
- 1 ⅓ cup (320 ml) whole milk
- ½ cup (120 ml) canned coconut milk
- ¾ cup (180 ml) heavy cream
- 3 egg yolks
- ⅓ cup (37 g) cornstarch
- 3 tablespoons unsalted butter
- 1 teaspoon coconut extract
For the topping
- homemade whipped cream, or store-bought
- toasted coconut
Instructions
Make the crust
- Combine the flour, sugar, and salt in a large mixing bowl. Stir with a whisk until well mixed.Using a pastry cutter or two knives cut the butter and shortening into the flour mixture just until lentil-sized crumbs form. A few larger bits are perfectly okay.
- Drizzle just enough ice water over the flour to moisten it. Toss the mixture together with a fork to combine. You will know you have enough liquid when you can squeeze the mixture and it holds together.
- Turn the dough out onto a work surface and gently knead until the dough comes together. Flatten the dough into a disk, wrap tightly in plastic wrap, and refrigerate for at least 30 minutes.
- When ready to use, roll the dough into a circle that's about 4-inches larger than the diameter of your pie pan. Gently place it in the pie pan without stretching it. Trim the edge so there's a 1-inch overhang over the sides of the pie pan. Fold the excess dough under so it sits up on the rim of the pan and flute as desired. Refrigerate for 1 hour.
- Meanwhile, adjust the oven rack to the lower-third position and preheat to 400°F.
- Remove the crust from the refrigerator and line the shell with parchment paper. Make sure the parchment paper is large enough that it's easy to pick up by the ends once it's time to remove the pie weights. Don't use wax paper, it smokes.
- Fill the lined shell with pie weights, uncooked rice, or dried beans. You won't be able to cook the rice and beans later but they can be saved and reused for future pies. Make sure the weights are evenly distributed in the shell and some are pressed up the sides.
- Bake the crust for 15 minutes, until it starts to turn lightly golden. Carefully remove the pie weights and return the crust to the oven to continue baking for another 15 minutes, until golden brown and matte looking instead of shiny. If the edges of the crust begin to brown too much, cover with an aluminum ring or pie shield.
- Remove from oven and cool on a wire rack while making the filling.
Make the filling
- In a medium saucepan, combine ½ cup (100 g) of the sugar, milk, and coconut milk. Heat over medium heat, stirring to dissolve the sugar. Add the heavy cream and bring to a boil.
- Meanwhile, whisk the remaining ¼ cup (50 g) sugar and egg yolks together in a small bowl. Add the cornstarch and whisk until smooth.
- Gradually add the hot milk mixture to the egg mixture while whisking continuously. Stir the warm egg mixture back into the pot and return to a boil, whisking constantly.
- Continue to whisk vigorously until bubbly and thick, about 2 minutes. Remove from heat and stir in the butter and coconut extract.
- Pour the filling into the cooled pie shell. Cover and chill 4-6 hours until filling is set.
- Just before serving, top with whipped cream and toasted coconut.
Notes
- Pie Crust: I always use my homemade crust but you can use store-bought if desired.
- Coconut Milk: You need one 13-ounce can of full-fat coconut milk. Do not use refrigerated carton coconut milk.
- Coconut Topping: I used unsweetened shredded coconut, but you can use sweetened coconut flakes. Be sure to shake the can vigorously before using.
- Coconut extract: If you don’t have it, leave it out. The coconut flavor will be mild.
- Cover and store in the refrigerator for up to 5 days.
- The pie dough can be prepared ahead of time and stored in the refrigerator for up to 5 days or in the freezer for up to 3 months.
- You can freeze the pie after step 5 of “make the filling”. Cool the filling is completely inside the pie shell prior to freezing. Cover with a double layer of plastic wrap before freezing. Freeze for up to 3 months. Thaw in the refrigerator or on the counter prior to topping with whipped cream.
Nutrition
The nutrition information provided is for convenience and as a courtesy only. It is not guaranteed to be accurate because nutrition information can vary for a variety of reasons. For precise nutritional data use your preferred nutrition calculator and input the exact ingredients and brands you used in the recipe.