The Best Cheesecake Recipe
This post may contain affiliate links. Read the full disclosure here.
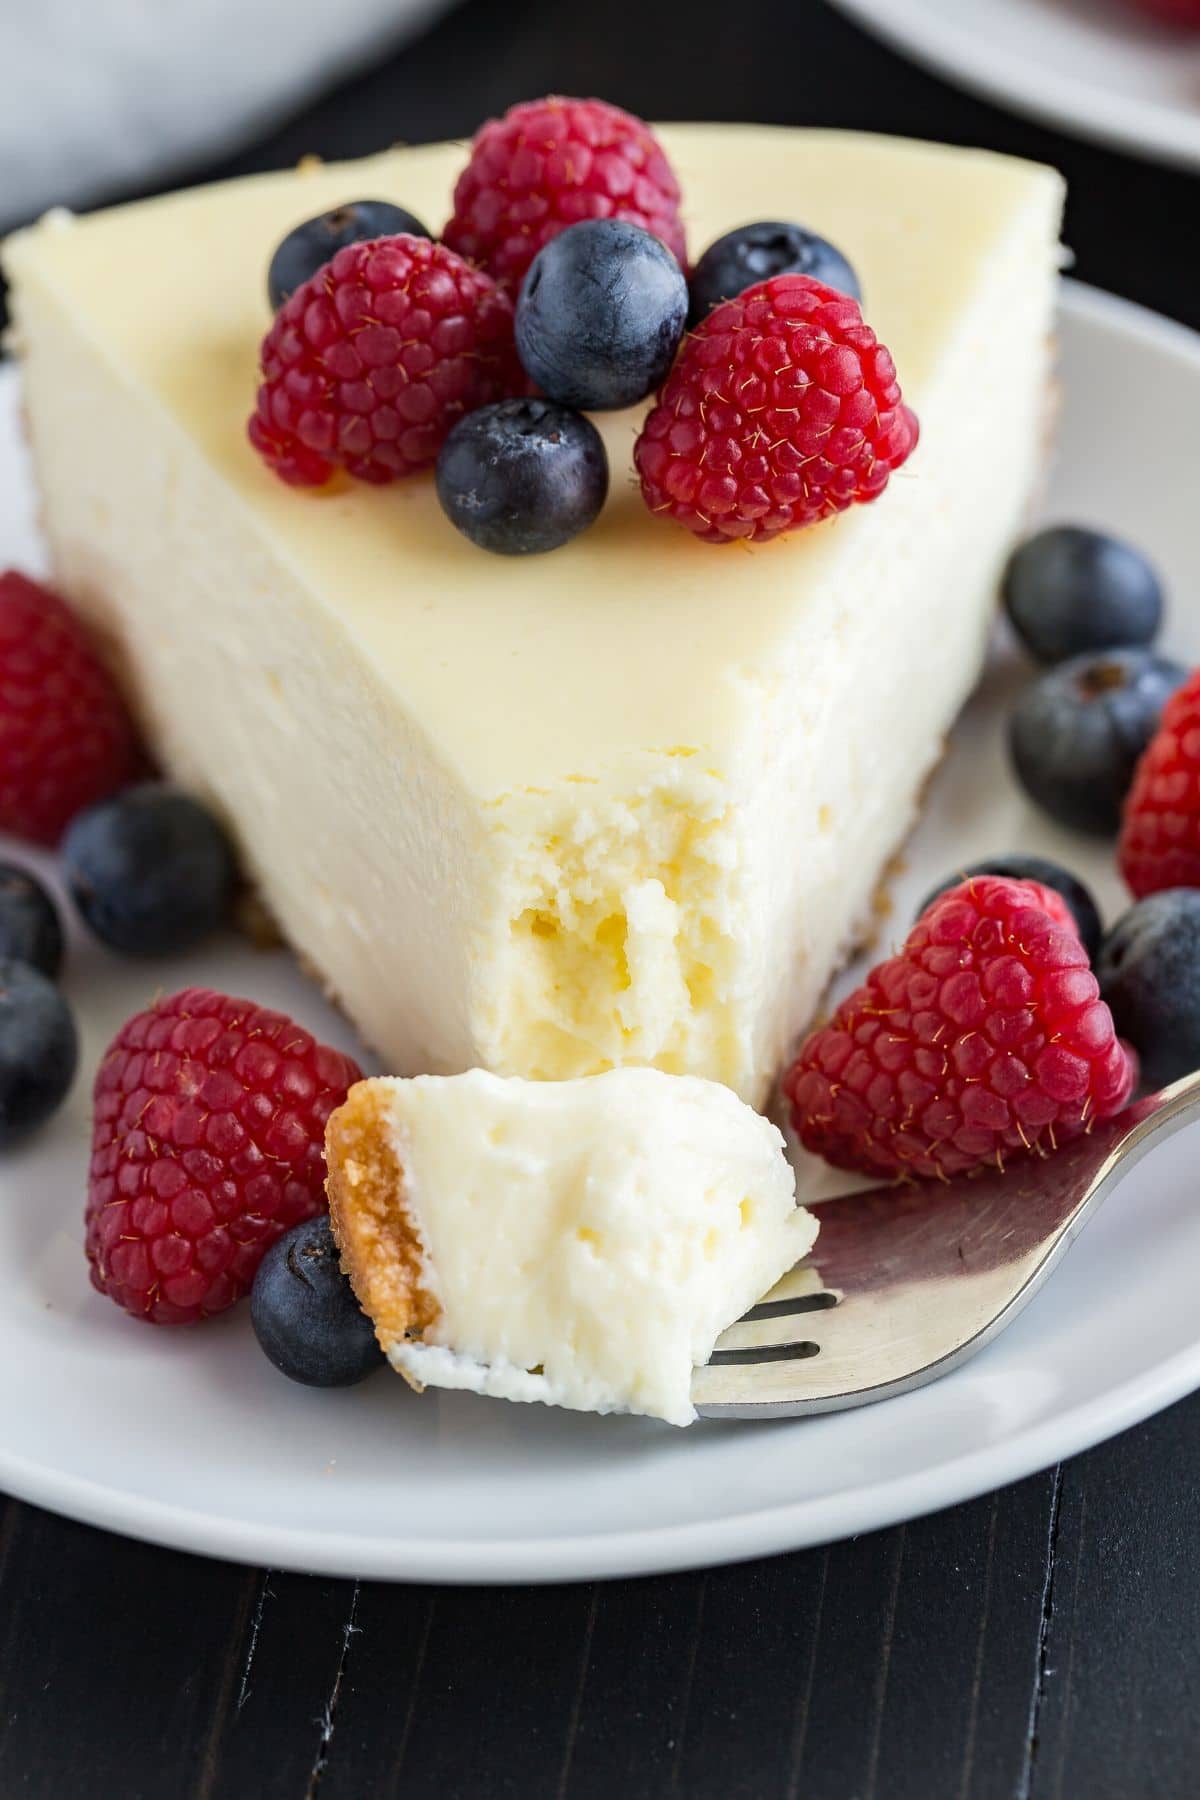
Learn how to make the best cheesecake with this melt in your mouth recipe! Follow these simple tips to ensure your cheesecake turns out light, creamy, and free of cracks every single time.
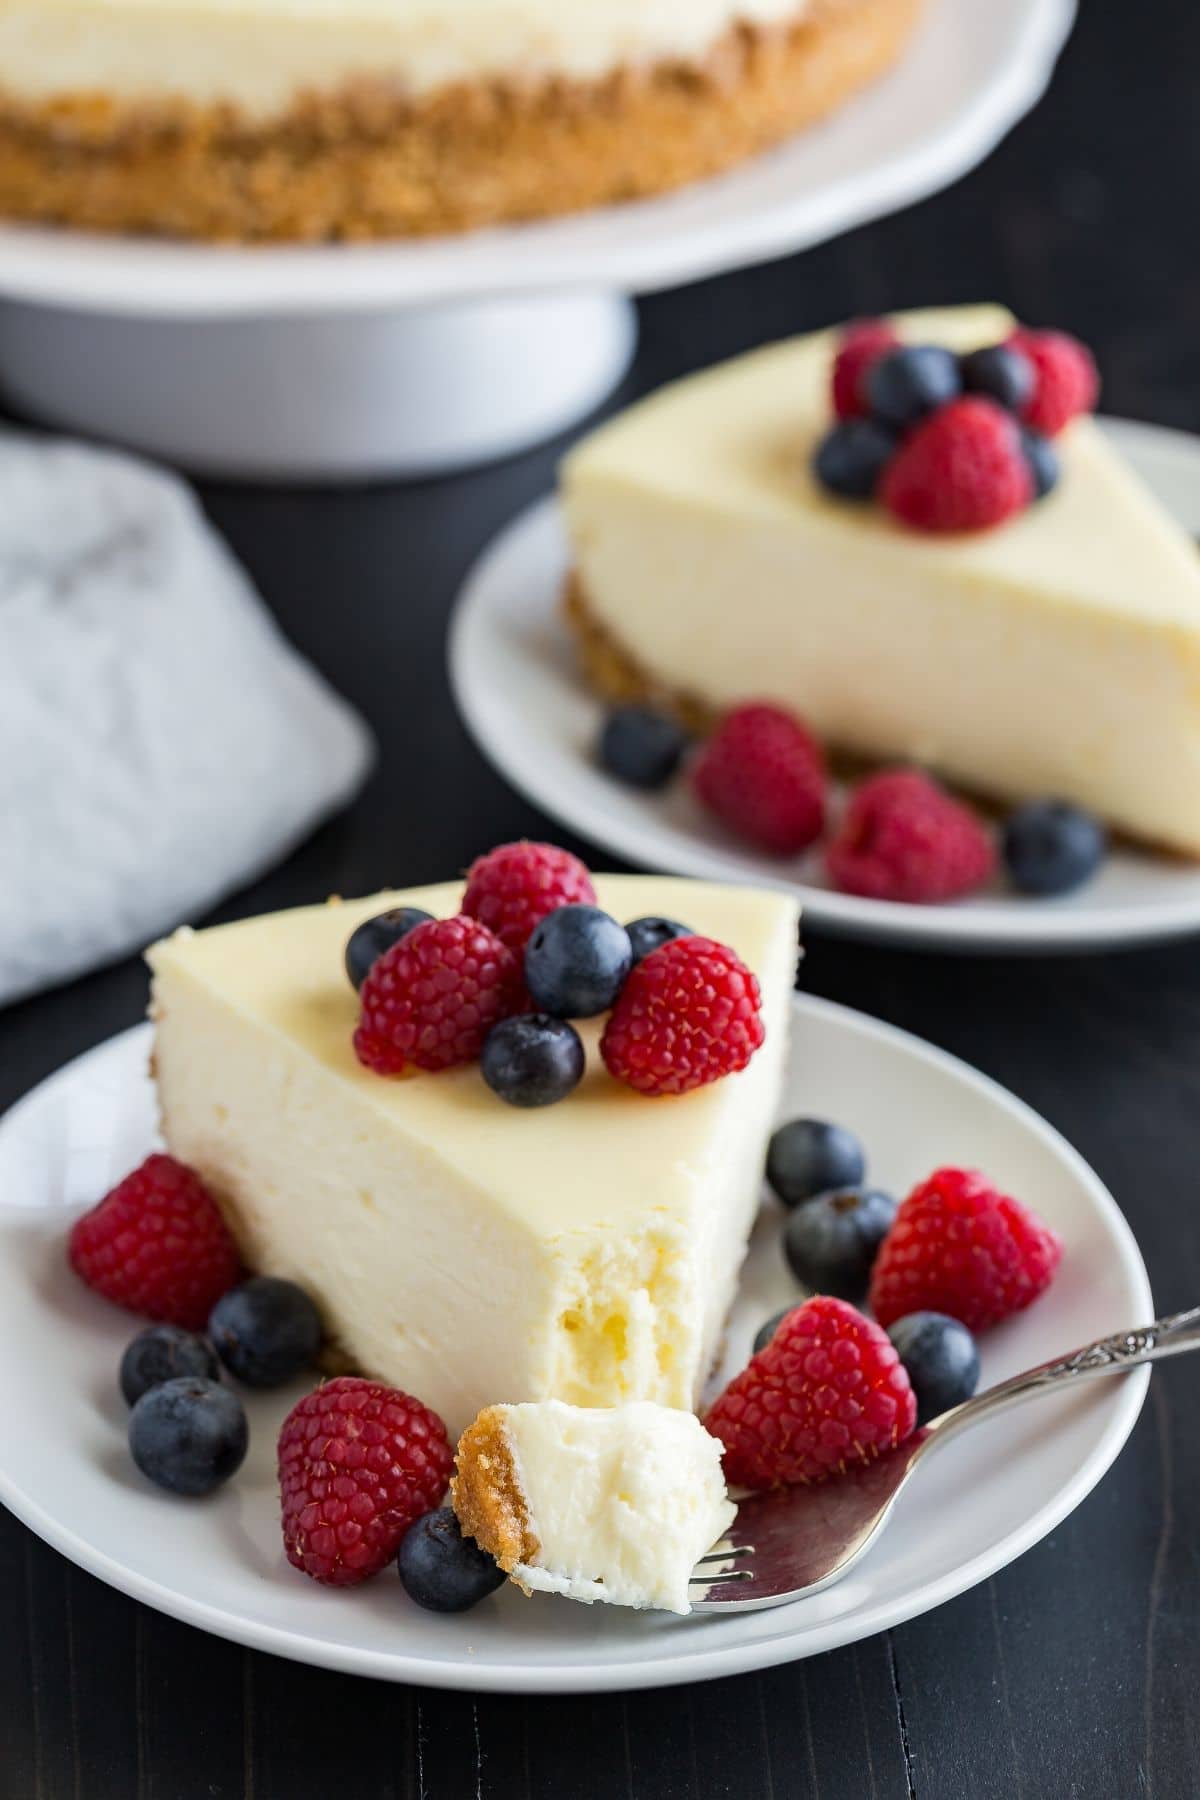
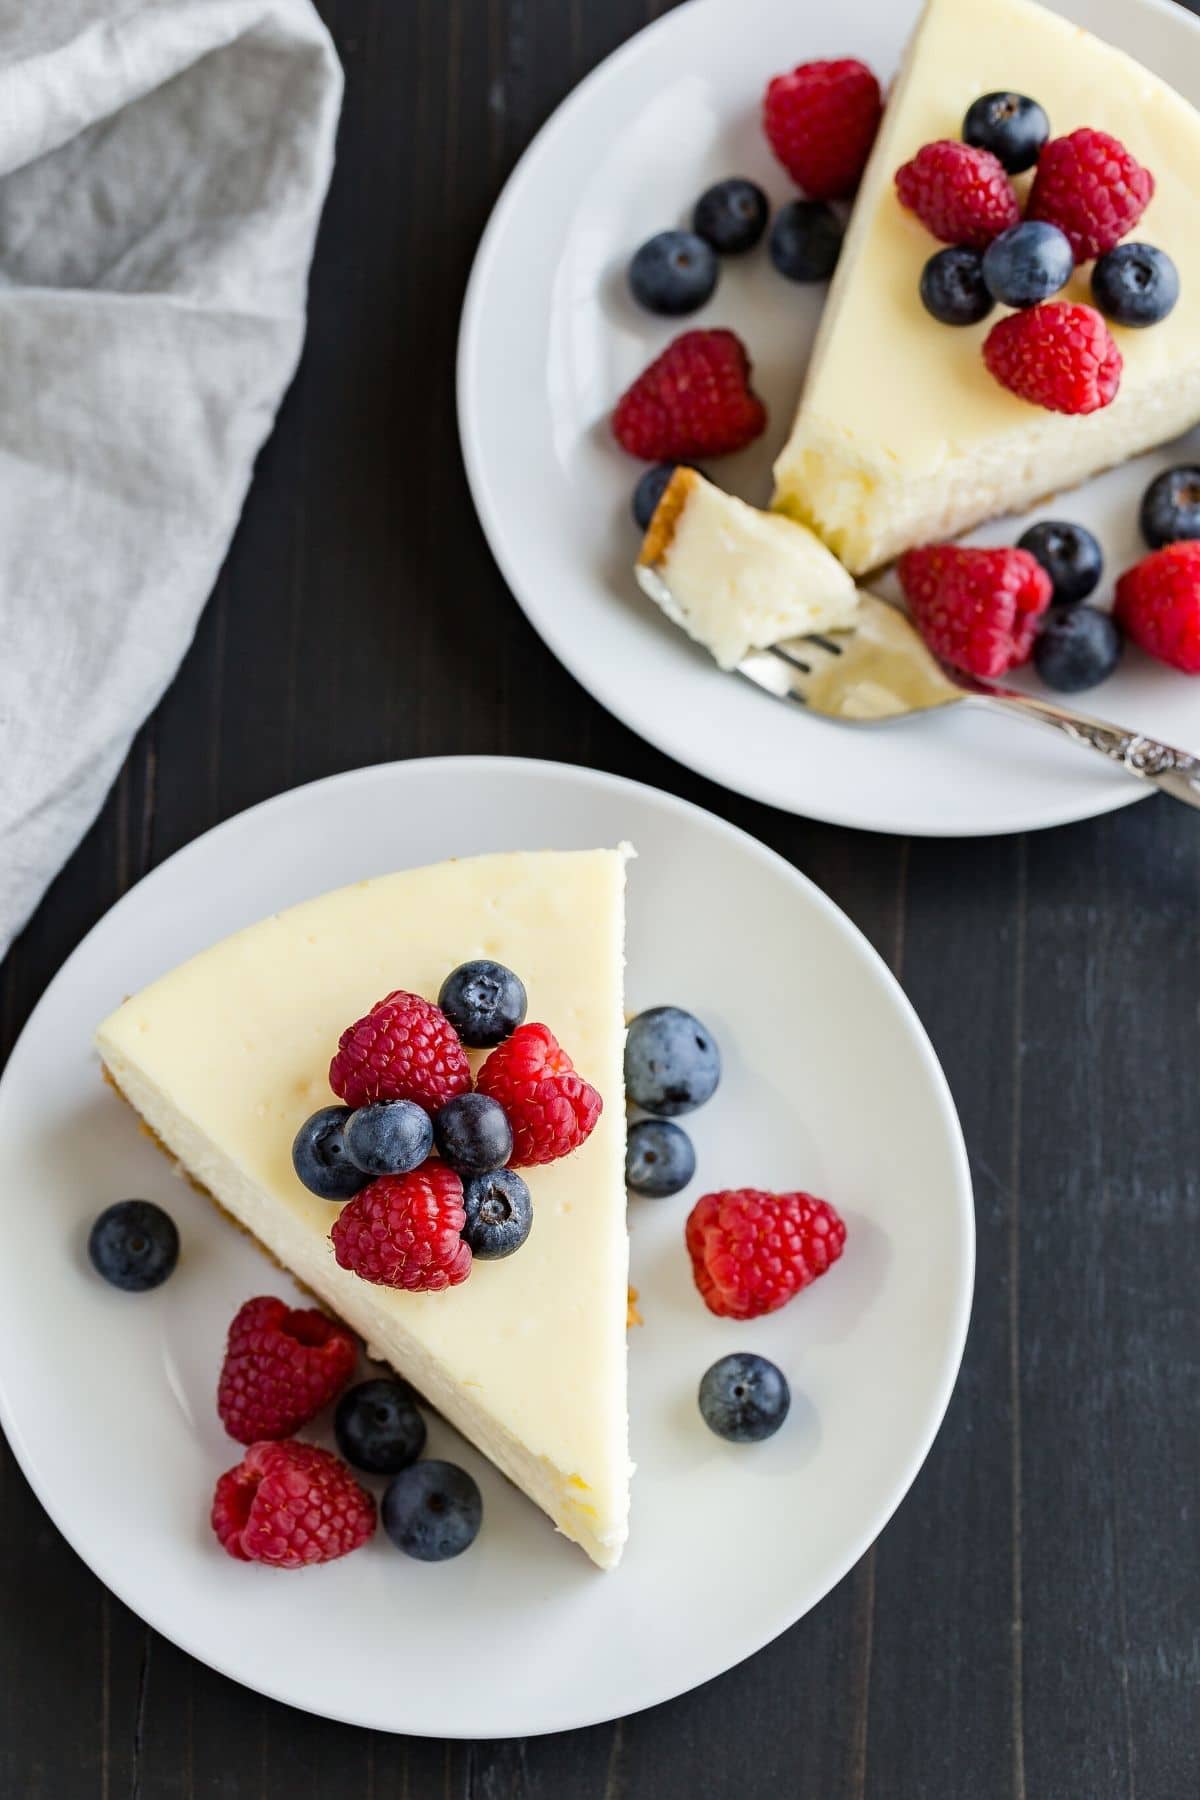
It’s no secret, I love cheesecake. Who doesn’t? I love the process of making it.
But, even more than that, I love eating it. I can’t resist a thick, creamy homemade cheesecake full tangy vanilla flavor on a buttery graham cracker crust. It’s phenomenal with raspberry sauce.
Nutella cheesecake is by far my most favorite. It’s wildly popular! If you end up making it then, I suggest also giving this cappuccino cheesecake and butterfinger cheesecake a try!
I often get asked what my secret is when it comes to making cheesecake. So today I’m sharing my favorite tips and tricks for cheesecake perfection.
I’ll discuss each little step, every ingredient, and how to avoid those pesky cracks.
Why this cheesecake recipe works
- Quality ingredients make all the difference! Choose a full-fat brick cream cheese from a top brand. Philadelphia cream cheese is what I use most.
- My technique for folding the eggs in at the very end eliminated excess air in the batter. This helps prevent the cheesecake from cracking.
- A low baking temperature and water bath are used to create the creamiest texture you’ve ever had.
Ingredients
- Graham crackers: The crust is made from graham cracker crumbs but you could use vanilla Oreos or vanilla wafers also.
- Sugar: Granulated white sugar is in the crust and the filling.
- Butter: Melted butter is the “glue” the holds the crust together.
- Cream cheese: Full-fat brick-style cream cheese is best! Don’t try to use the whipped stuff in plastic containers.
- Sour cream: Heavy cream or plain Greek yogurt work for this recipe also.
- Vanilla extract: Choose a high-quality pure vanilla extract.
- Eggs: Give a smoother texture.
How do you make a cheesecake from scratch?
The most important ingredient is, of course, cream cheese. I have found that a high-quality cream cheese yields the best texture.
Personally, I like to use Philadelphia, but any good quality cream cheese will do. And make sure it’s full-fat. Cheesecakes are not meant to be “light”.
If you want to reduce calories, try making mini cheesecakes instead. This way you can easily control the portion size.
Step 1: Make the crust
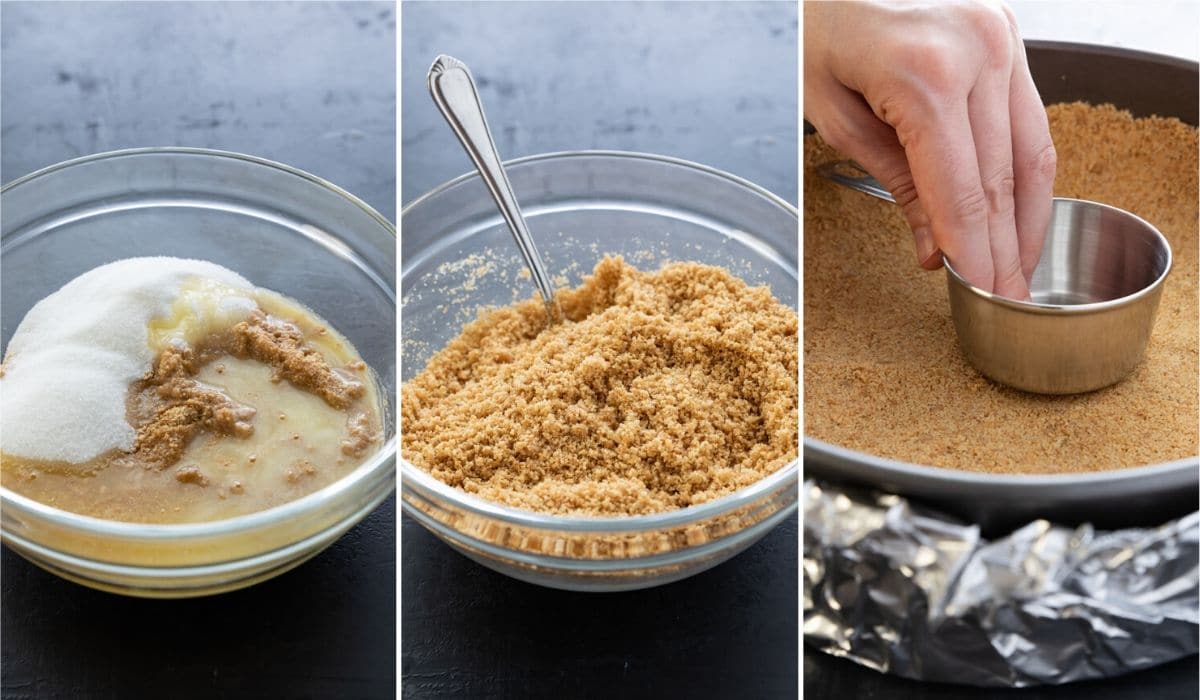
Combine melted butter with sugar and graham cracker crumbs. The crumbs should resemble wet sand.
Press the mixture into the bottom of the pan and about an inch up the sides. Make sure press it firmly to build a tight, firm crust.
Bake the crust for about 10 minutes then let it cool completely before adding the filling.
Step 2: Make the filling
This recipe contains 4 8-ounce packages of cream cheese, but that’s not the only thing it needs.
Most of my cheesecake recipes call for heavy cream, but today I’m using sour cream. Sour cream offers a tang that cuts through the richness of the filling and yields velvety texture.
I also add 4 eggs to hold everything together. It’s important not to whip too much air into the batter once the eggs are added.
Excess air in the eggs will cause the filling to rise during baking. As the cheesecake cools, it will deflate. This is what causes those ugly cracks in the top.
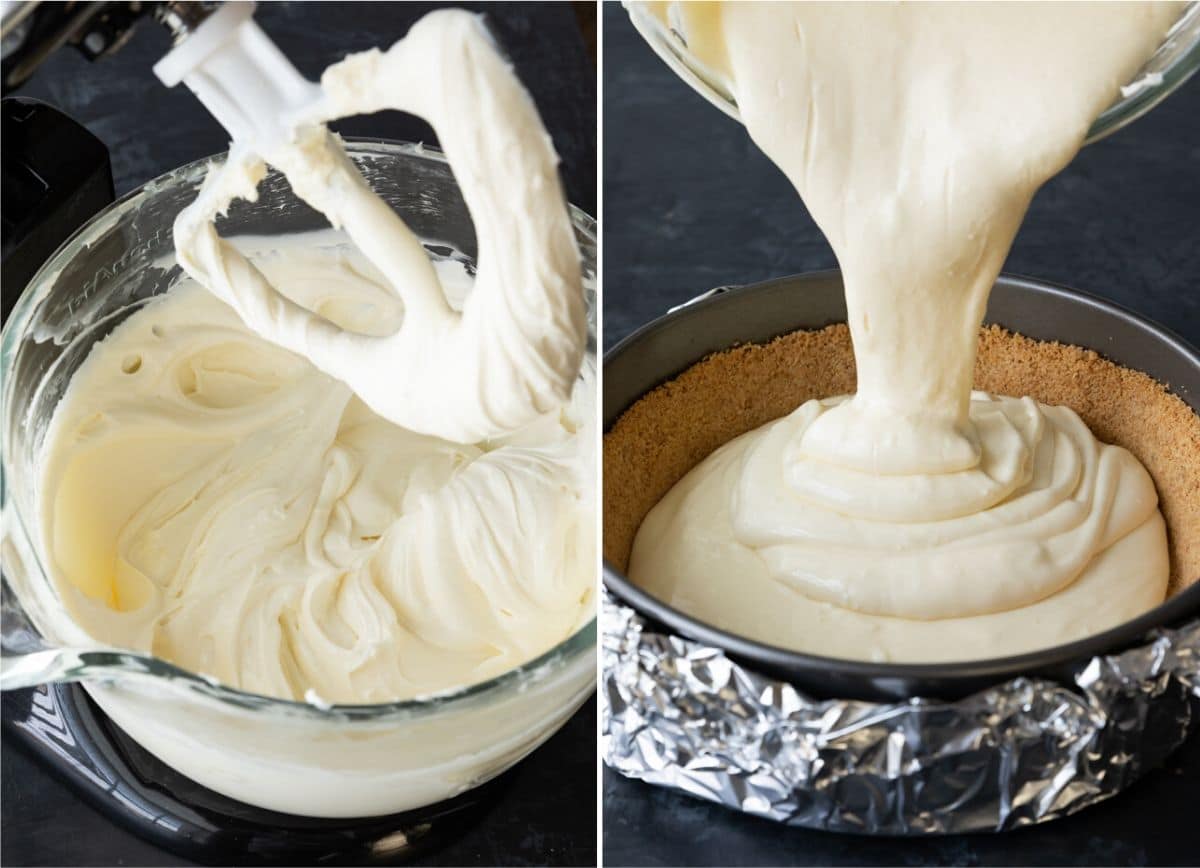
Use stand mixer fitted with the paddle attachment or a handheld electric mixer and large bowl to beat the cream cheese on medium speed until it’s smooth and creamy.
Scrape down the sides and bottom of the bowl. Beat in the sugar, sour cream, and vanilla until well combined.
Then, lightly beat the eggs with a fork and gently fold them into the batter using a silicone spatula.
Pour the batter into the cooled crust.
Step 3: Prepare a water bath
A water bath creates steam inside the oven which helps cook the cheesecake without drying it out. It’s a method I swear by but it can be tricky.
I get so many emails from people who ruined their cake because water seeped into the pan.
The trick to keeping the water out is to wrap the pan in aluminum foil that is extra wide. Look for 18-inch wide heavy-duty foil.
For an extra layer of protection, you can also set the pan inside an oven bag and roll the sides down to meet the top of the pan.
Fill a roasting pan with a few inches of boiling water, set the cheesecake in the center, and put the whole thing in the oven.
Use this free download to get a printout of how to properly use a water bath and prevent leaks.
Step 4: Cook and cool
Always cook on the lower third rack of the oven. This helps keep the top from getting too brown before the cheesecake has cooked through.
And cook just until the outer edge has set, but the center is still jiggly and looks wet. This takes about 1 hour but it could take a little longer depending on your oven.
Another way to ensure your cheesecake remains free of cracks is to allow it to cool gradually. Turn the oven off and leave it in the oven with the door closed for 1 hour.
Remove it from the water bath, run a knife around the outside edge to loosen it from the pan, and let the it cool to room temperature.
Always plan ahead
Cheesecake needs to be refrigerated for at least 4 hours for it to finish setting up. I prefer to let my cheesecake chill overnight. The texture seems to turn out best this way.
So be sure to allow ample time to make and chill before serving it. You will be disappointed if you cut into the cheesecake too soon.
If you take these steps into consideration, I promise you will have the best homemade cheesecake you’ve ever had!
Tips for making the best cheesecake recipe
- Begin with room temperature ingredients. Set the cream cheese, sour cream, and eggs out on the counter 30 minutes prior to making the recipe.
- Don’t incorporate air into the eggs by beating them in with a mixer. Instead, gently fold the eggs in at the very end by using a silicone spatula.
- For the creamiest texture, be sure to use a water bath.
- After the cheesecake bakes for an hour, turn off the oven and let it sit inside for another hour.
More homemade cheesecake recipes you’ll love
- Sopapilla Cheesecake
- Oreo Cheesecake
- No-Bake Cheesecake
- Strawberry Cheesecake
- Triple Chocolate Cheesecake
The Best Cheesecake Recipe
Ingredients
For the Crust
- 2 cups (198 g) graham cracker crumbs, about 16 whole crackers
- ¼ cup (50 g) granulated sugar
- 5 tablespoons unsalted butter, melted
For the Cheesecake
- 32 ounces (908 g) cream cheese, softened
- 1 ⅓ cups (267 g) granulated sugar
- 1 cup (227 g) sour cream, room temperature
- 1 tablespoon vanilla extract
- 4 large eggs, room temperature, lightly beaten
Instructions
Make the Crust
- Move the oven rack to the lower third position and heat the oven to 350°F. Wrap the outer bottom of a 9-inch springform pan tightly with heavy-duty aluminum foil.
- Combine the graham cracker crumbs, sugar, and melted butter. Press the crumb mixture into the bottom and about 2-inches up the sides of the pan. Bake for 10 minutes. Set aside to cool while you make the filling.
Make the Cheesecake
- Reduce the oven temperature to 300ºF.
- In a large mixing bowl beat the cream cheese with an electric mixer until smooth and creamy, about 1 minute. Add the sugar and sour cream, beat until well combined. Add the vanilla, beat on low speed until smooth. Using a silicone spatula, gently stir in the eggs just until combined. Pour the batter over the prepared crust.
- Fill a roasting pan with a few inches of boiling water and place the cheesecake in the center. Bake for 1 hour, OR until the edges are set and the center is slightly jiggly. Turn the oven off, leave the cheesecake in the water bath in the oven for another hour.
- Remove the cheesecake from the water bath and place it on a wire rack. Run a small knife around the outer edge of the cheesecake to loosen it from the pan and leave it to cool completely. Cover and refrigerate for at least 4 hours, preferably overnight.
- Remove the sides of the pan just before serving. Garnish with berries and/or whipped cream. The cheesecake will keep for up to 4 days covered and stored in the refrigerator.
Notes
- You can line the inside bottom of the springform pan with parchment paper or aluminum foil if desired. It’s not completely necessary but does make it easier to clean the pan.
- Oven temperatures can vary which means your cheesecake may need more time to bake. You’ll know it is done cooking when the outer edges of the cheesecake feel firm to the touch while the center looks wet and jiggles when shaken. If the cheesecake doesn’t look this way after an hour of cooking, let it cook until it does. Then you can turn the oven off and let the cheesecake rest for another hour in the oven.
- Prevent a soggy cheesecake! Read my helpful tips for a leakproof water bath.
Nutrition
The nutrition information provided is for convenience and as a courtesy only. It is not guaranteed to be accurate because nutrition information can vary for a variety of reasons. For precise nutritional data use your preferred nutrition calculator and input the exact ingredients and brands you used in the recipe.

I’ve made this over ten times now and I am convinced this is the BEST cheesecake I’ve ever had! I get requests over and over again for this! Thank you from Alabama!
Hi! This is our favourite cheesecake recipe. I often sub the sugar for stevia and it still always turns out amazing! Wondering if you’ve ever added cocoa powder to the recipe to make it a chocolate cheesecake? Would there be anything else I would have to add for it to taste delicious?
Yep, I sure have. I shared the recipe for it here –> Triple Chocolate Cheesecake.
Hi! This is our favourite cheesecake recipe. I often sub the sugar for stevia and it still always turns out amazing! Wondering if you’ve ever added cocoa powder to the recipe to make it a chocolate cheesecake? Would there be anything else I would have to add for it to taste delicious?
I love this cheesecake recipe. Every time I make it, it’s gone in less time than normal cake.
I can’t help but wonder if there’s a chocolate version of this recipe? If so, I’d love to try it. ^^
This cheesecake is definitely a favorite around here! I do have a triple chocolate version if you want to try that.
I made this cheesecake a few times. I’ve had times when it came out perfect but also times where the middle was runny. Why did it do that ??
It sounds like your oven temperature may be fluctuating. I suggest getting an oven thermometer to make sure the oven is at the right temperature. Also, don’t turn the oven off until the cheesecake is set around the edges but still jiggly in the middle. After cooling and refrigerating overnight, the cheesecake will finish setting up.
Hello! I really like a tangy cheesecake. Do you think that adding some lemon zest would change the texture of the cheesecake?
You will feel the zest so I suggest grating it as finely as you can.
After reading all of the reviews I decided to go ahead with trying this recipe! I followed all of the instructions down to a tee. I had zero water leaks due to your water bath document which was great; however, after cooking my cheesecake for an hour, letting it sit in the oven for another, and in the fridge overnight, I found my cheesecake to still be extremely raw. It created a puddle on my plate and did not even appear to be cooked on the outer sides of the pan where the crust lies. I don’t know what I did wrong and how my experience could have been so different. I didn’t want to waste the cheesecake, and I don’t know if this allowed, but I stuck it in the oven again for another hour and a bit the next day. The sides taste fine, but the center is still soft. Do you know what could have caused this?
Hi Vanessa! This recipe is designed to yield an extremely creamy cheesecake but it will still hold its shape once it has set. Keep in mind that oven temps can vary as no oven is calibrated exactly the same. You’ll know the cheesecake has finished cooking when the outer edges of the cheesecake feel firm while the very middle looks wet and jiggles when shaken. Check it after an hour of cooking. If it needs more time, let it cook a bit longer before turning off the oven.
Stop it!!! This cheesecake is sinful! I made it according to the instructions. The only thing I did differently was to put it in the freezer to help it set quicker. We topped it with caramel sauce and pecans. One of the best cheesecakes I’ve ever had. Will definitely make again!!
Hi Nancy! Thank you for trying my recipe and leaving feedback. I’m thrilled to hear that it was a success!
Stop it!!! This cheesecake is sinful! I made it according to the instructions. The only thing I did differently was to put it in the freezer to help it set quicker. We topped it with caramel sauce and pecans. One of the best cheesecakes I’ve ever had. Will definitely make again!!
I have to use cream instead of the sour cream, should it to come to room temperature like I would done for the sour cream??
Yes, all the ingredients should be room temperature in order for them to blend together easily. And use only 3/4 cup of cream.