Triple Chocolate Mousse Cake
This post may contain affiliate links. Read the full disclosure here.
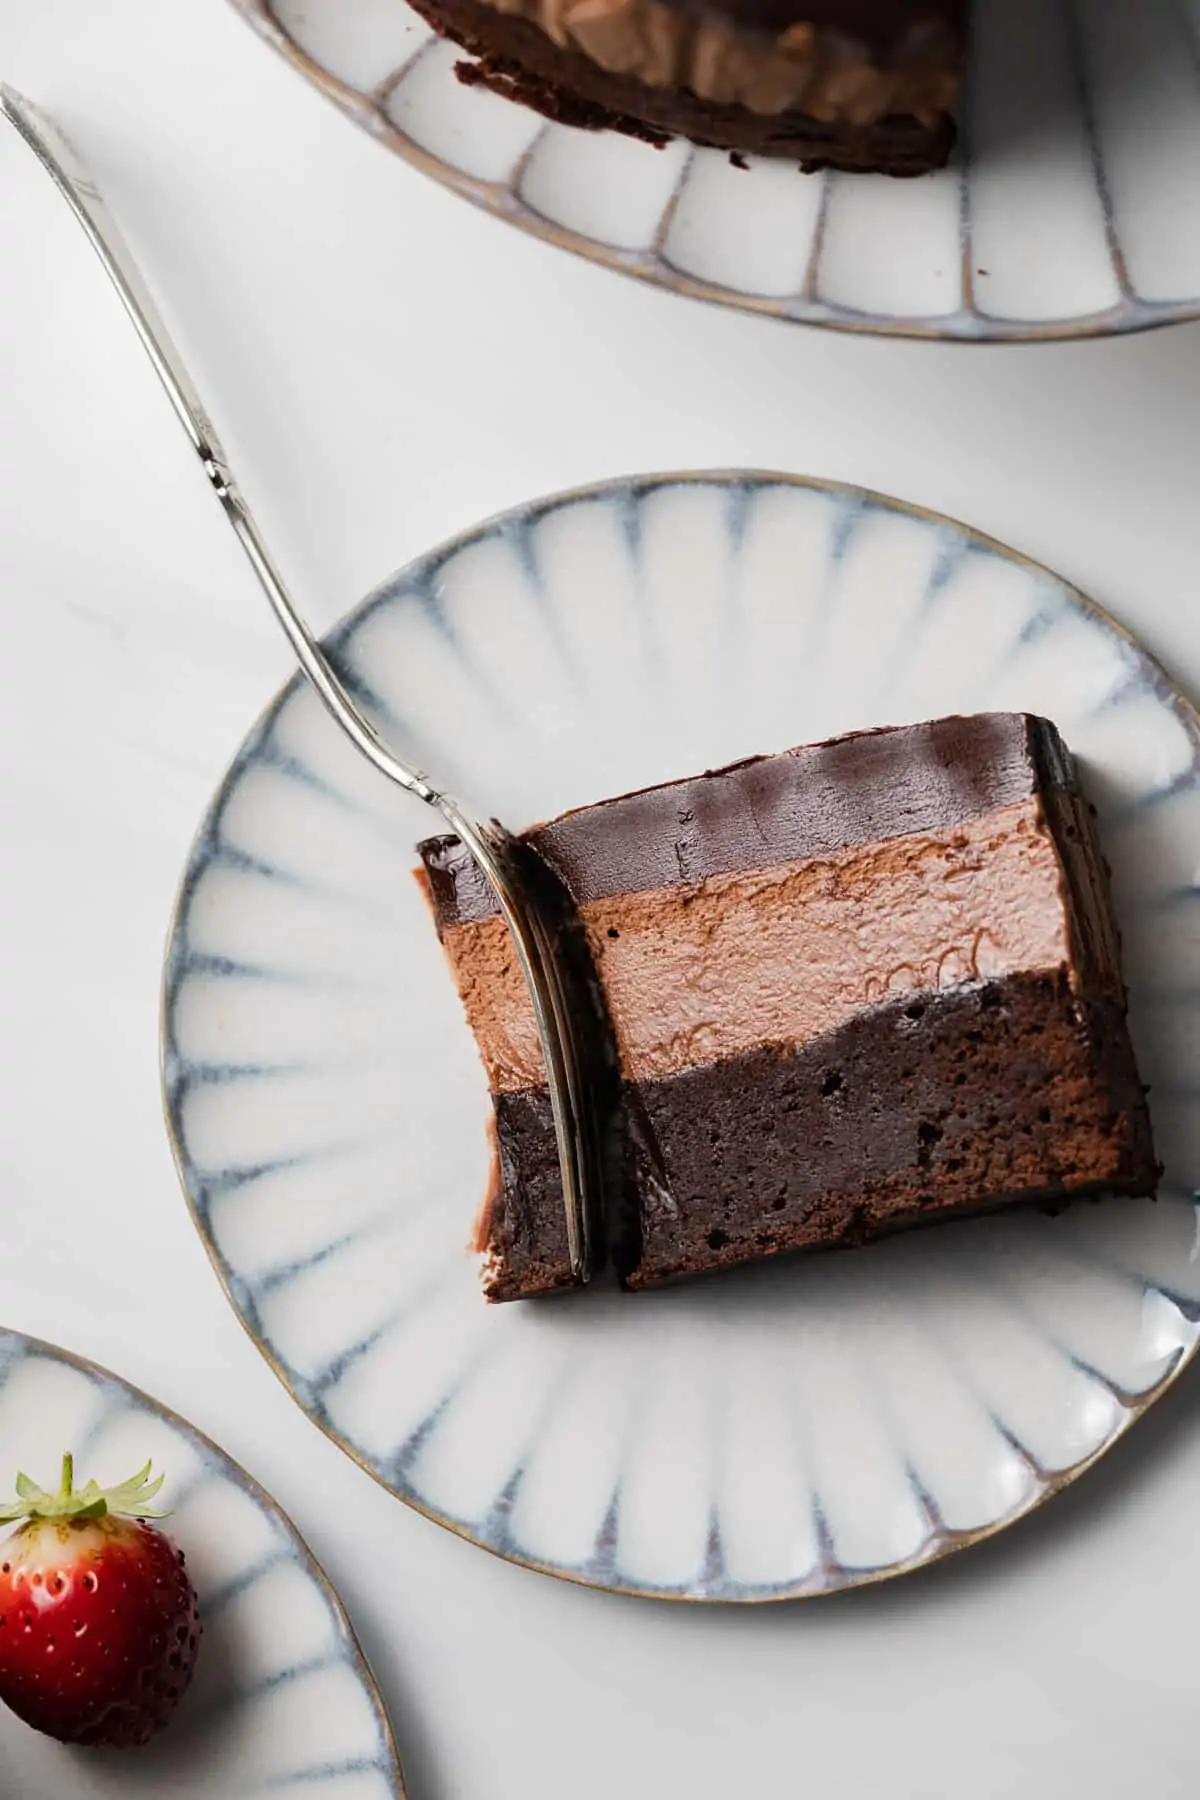
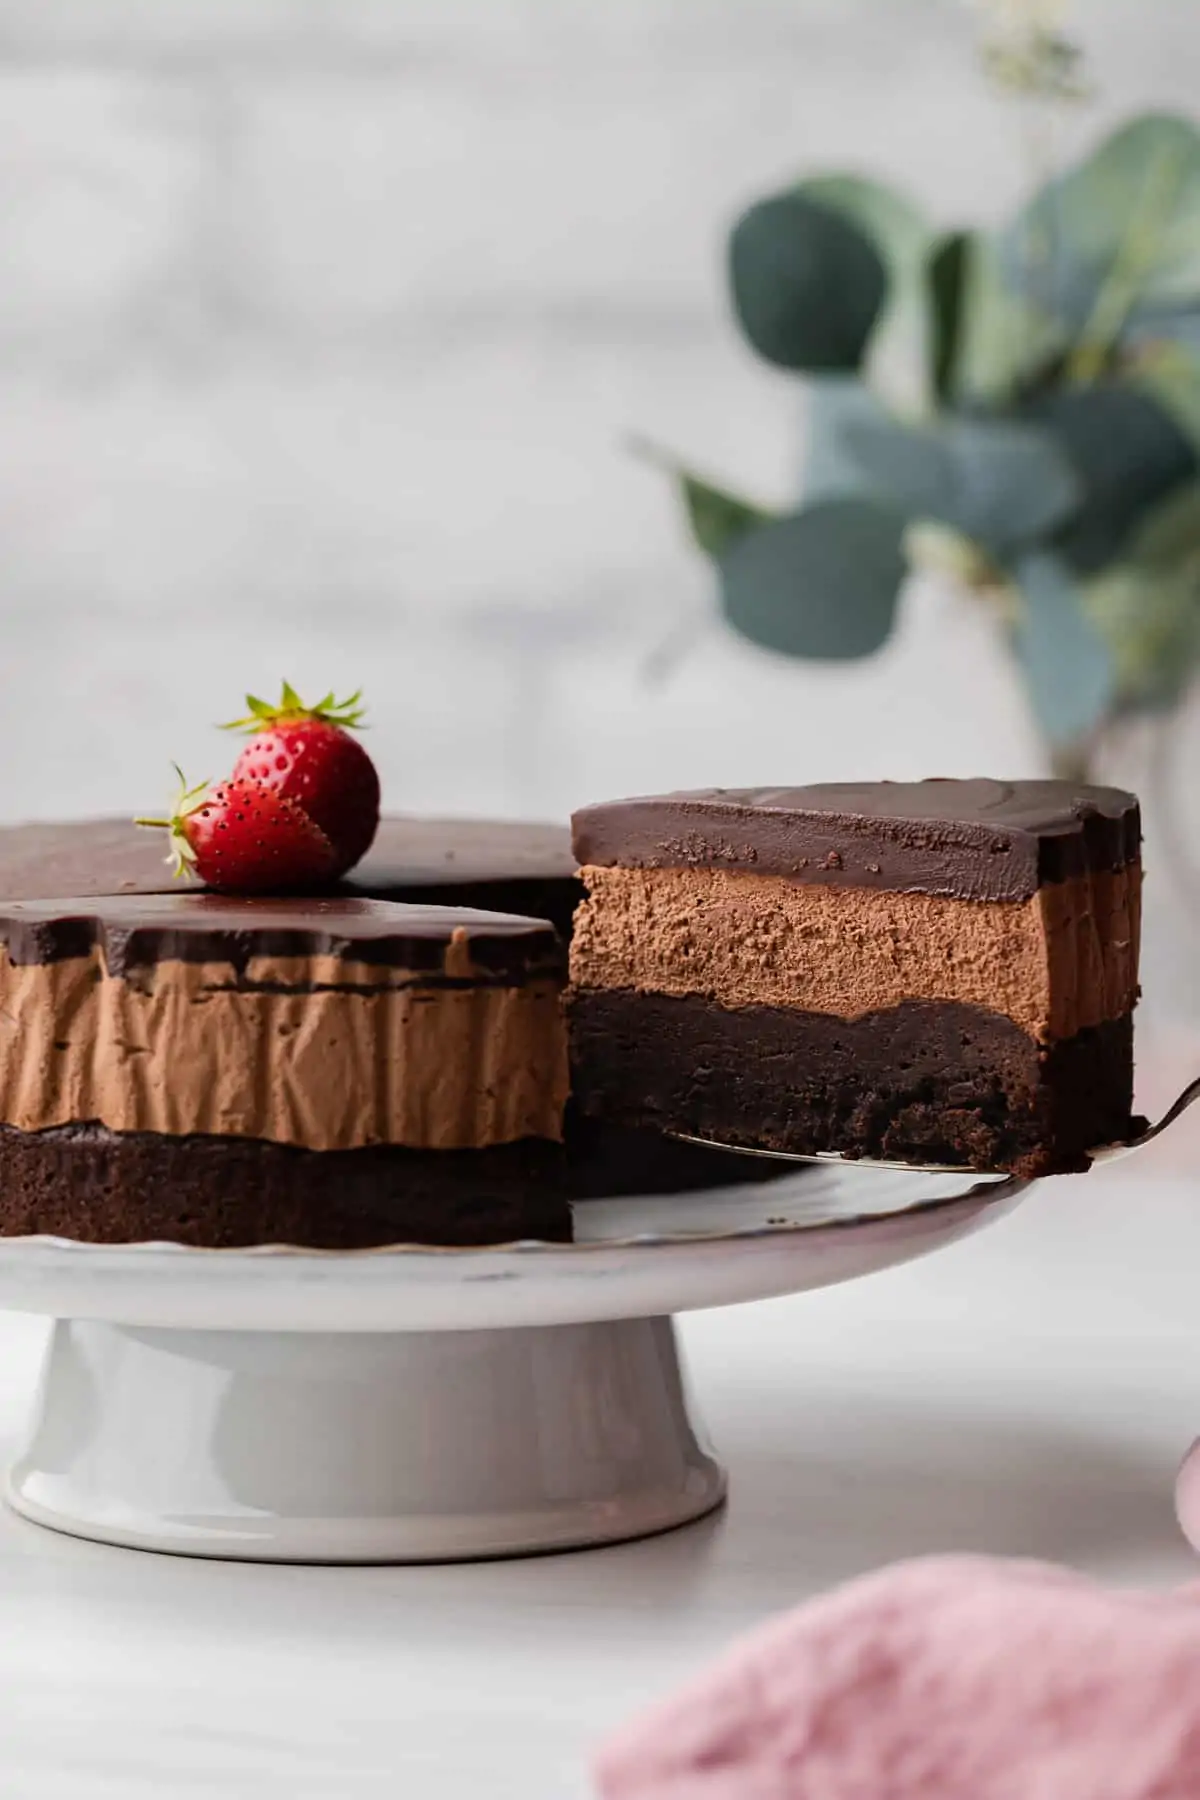
This triple chocolate mousse cake recipe makes the perfect light dessert. It’s made with a dense chocolate brownie base, cool creamy mousse filling, and topped with rich chocolate ganache.
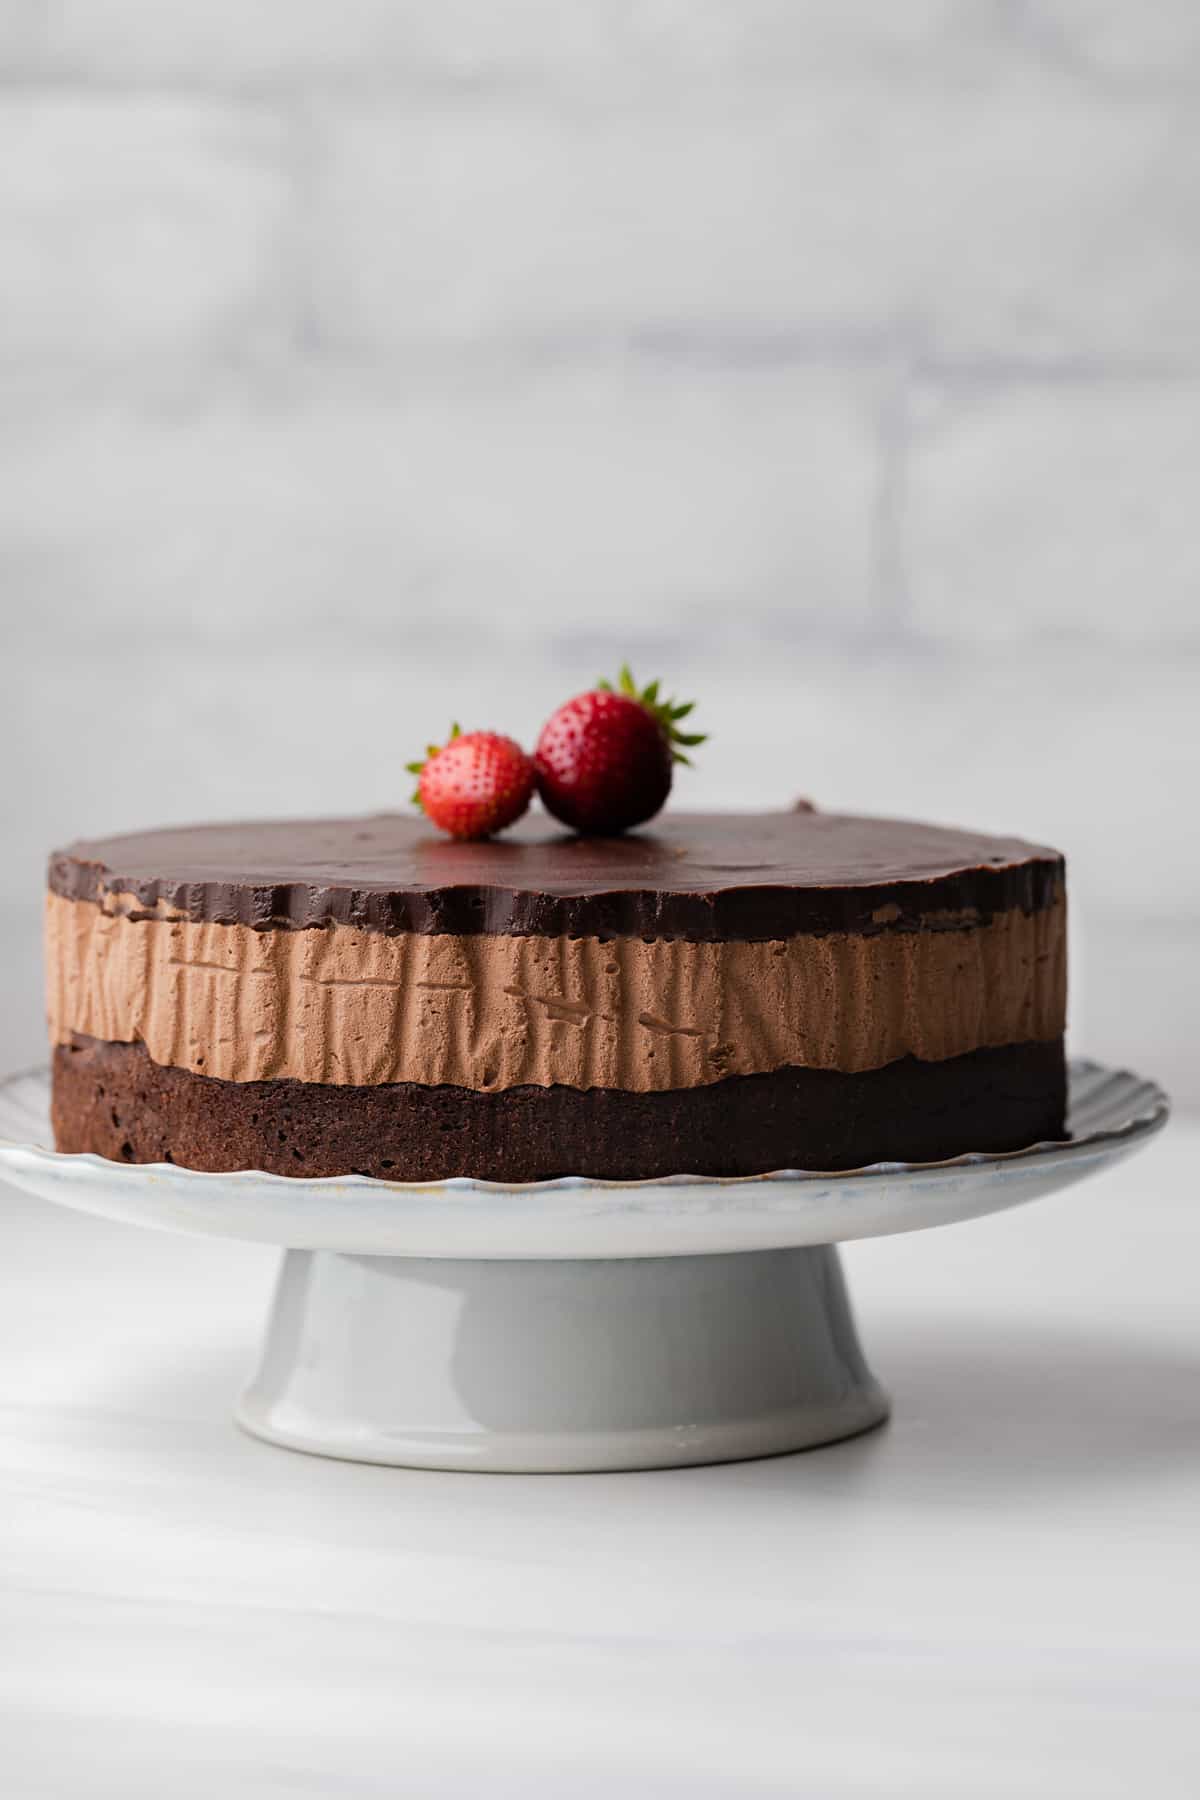
This mousse cake recipe is inspired by Marcel Desaulniers from The Food Network. It’s similar to my triple Nutella mousse cake but heavier than my strawberry mousse cake or blueberry mousse cake.
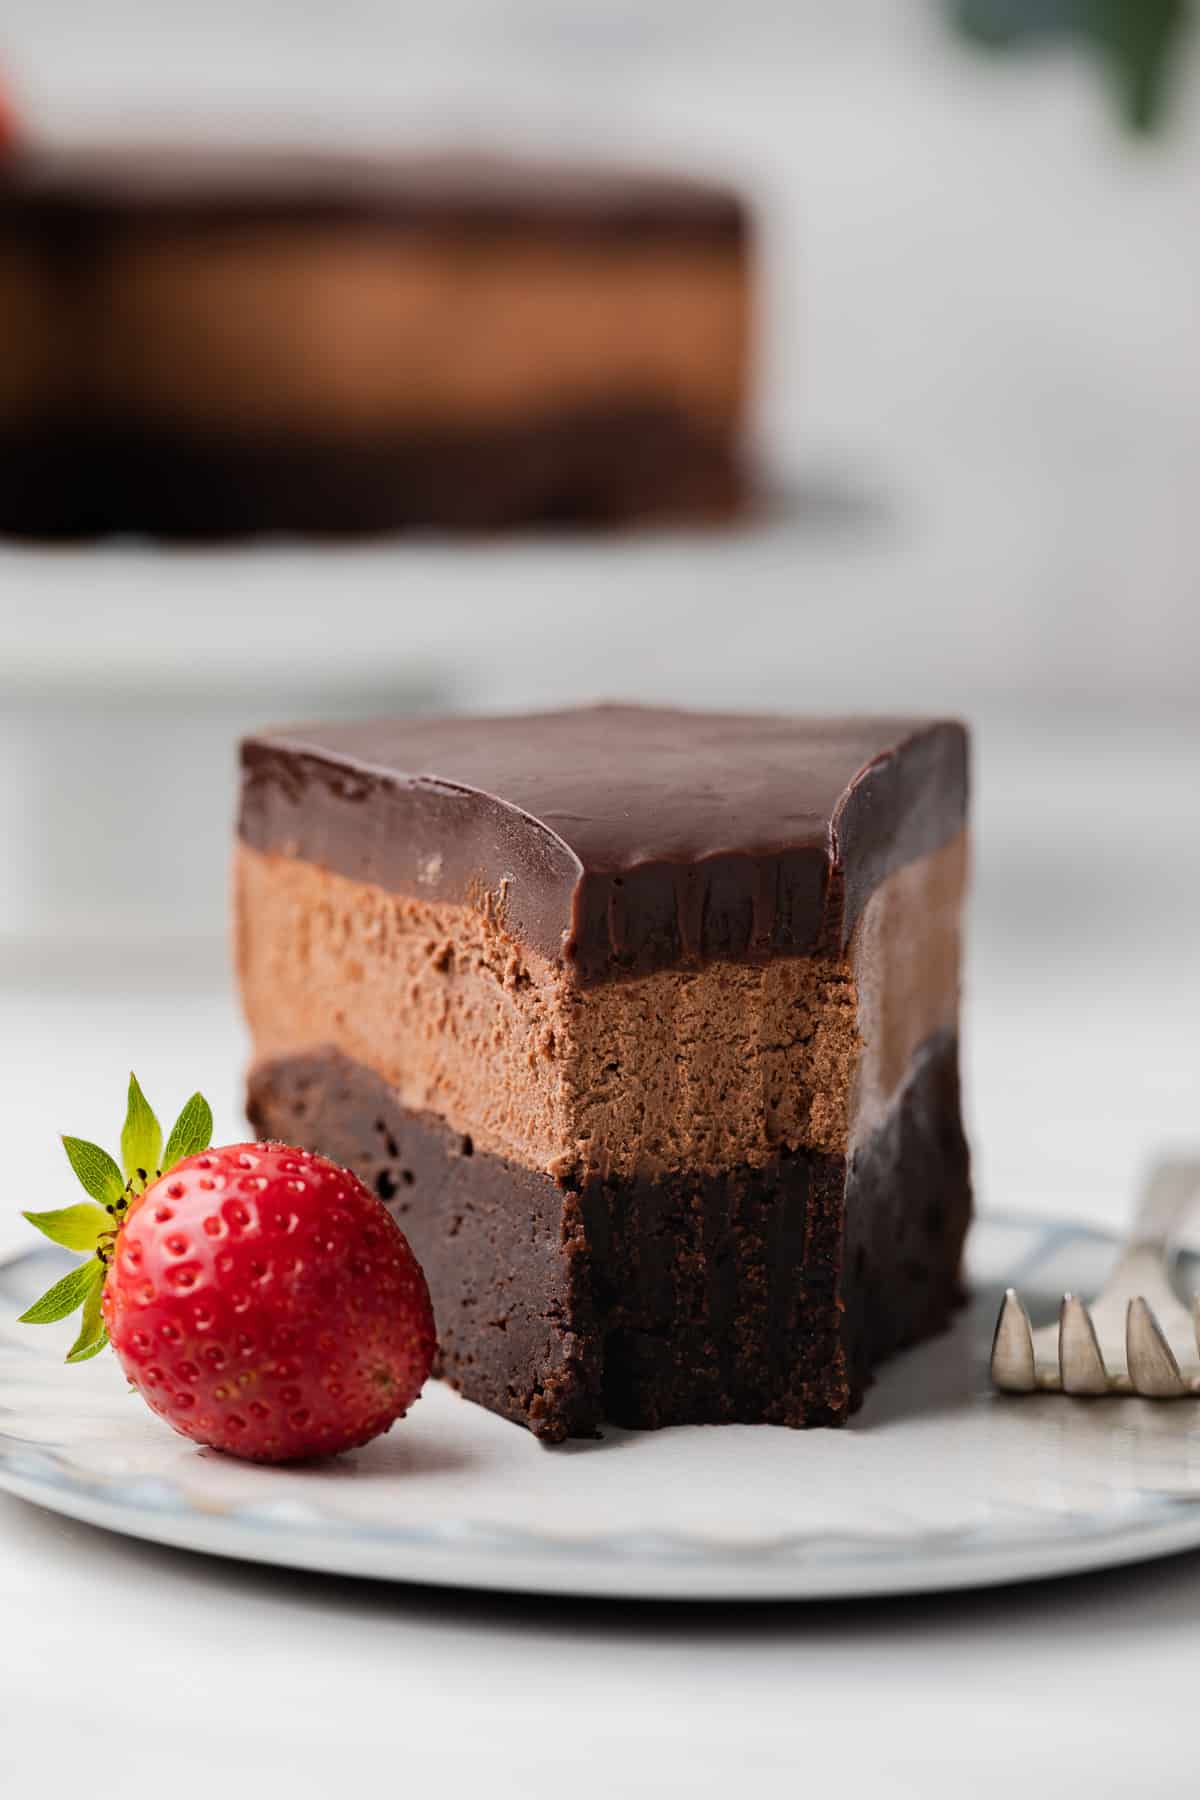
The chocolate mousse filling adds a cool creamy texture that compliments the dense chocolate cake layer. It’s smooth, velvety, and extraordinarily decadent.
This cake has loads of chocolate from top to bottom. The cool, rich texture makes it great for any special occasion or holiday.
When I came across a chocolate mousse layer cake with ganache on The Food Network, I knew I had to make my own version with one single chocolate cake layer, chocolate filling, and chocolate ganache.
Why this recipe works
- I found I needed to add a little gelatin to the mousse layer in order to keep it sturdy. I didn’t want it to spread and drip over the edges.
- You’ll notice I left the ganache semisweet which balances well with the sweet cake and mousse layers.
- I served this layered chocolate mousse cake with fresh strawberries but I imagine it would be good with whipped cream, ice cream, or other fresh berries.
It truly is a decadent mousse cake and will be a huge hit for any occasion. It came out light, rich, and perfect for Mother’s Day. It’s also great for Valentine’s Day if you have someone special to make it for. Or you could make it for yourself.
What You Need
As the perfect light dessert, this chocolate mousse cake recipe has the right balance of chocolate in each layer. Let’s discuss the ingredients:
Ingredients
- Chocolate: I prefer to use unsweetened chocolate in the base and semisweet chocolate in the mousse and ganache.
- Butter: I used unsalted butter in this recipe to avoid making the cake overly salty in flavor.
- Vanilla: This ingredient adds a sweet, woody flavor to the cake.
- Cocoa Powder: Dutch-processed cocoa powder has a smoother flavor, which I prefer. You can also use natural cocoa.
- Gelatin: This ingredient helps to stabilize the mousse layer.
- Sugar: I use granulated sugar to sweeten this recipe because it dissolves well.
- Heavy Cream: This adds richness to the flavor profile of the cake.
How to make triple chocolate mousse cake
1: Make the brownie base
Start the chocolate mousse cake recipe by making the cake’s base.
- Preheat your oven to 350°F. Prepare your pan with nonstick spray and parchment paper.
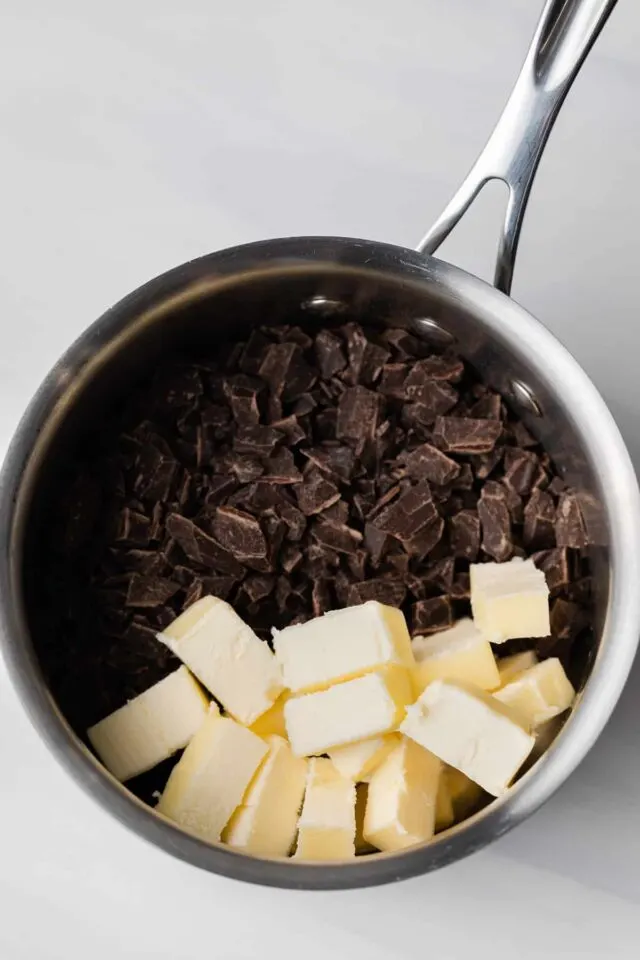
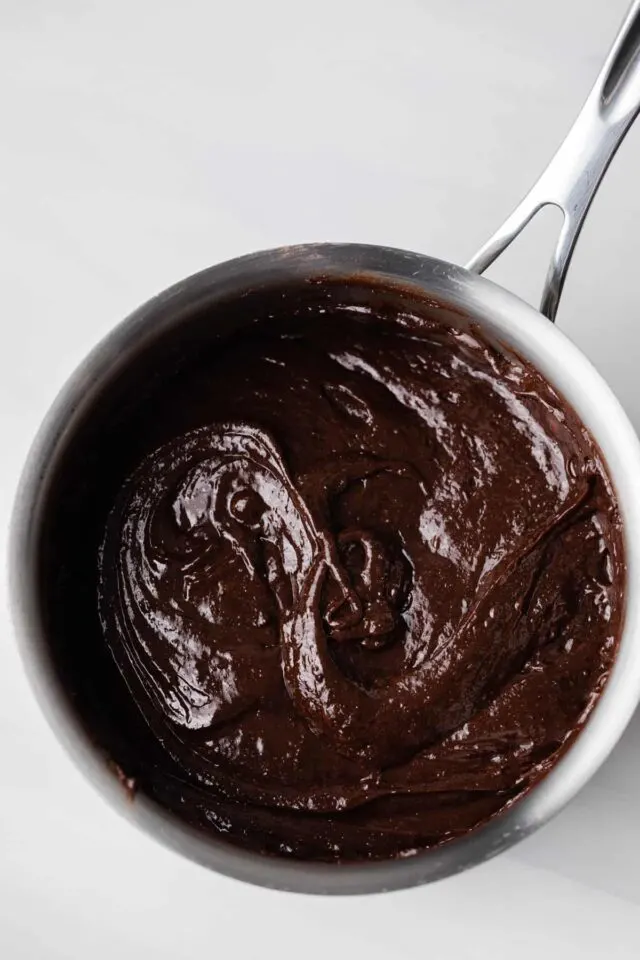
- In a medium saucepan, add butter and chocolate. Warm on medium-low heat. Stir constantly until the chocolate is melted and smooth.
- Then, whisk in sugar. Set aside to cool slightly. (If it is too warm, it will scramble the eggs.)
- Once cooled, whisk in the eggs and vanilla extract to the chocolate mixture.
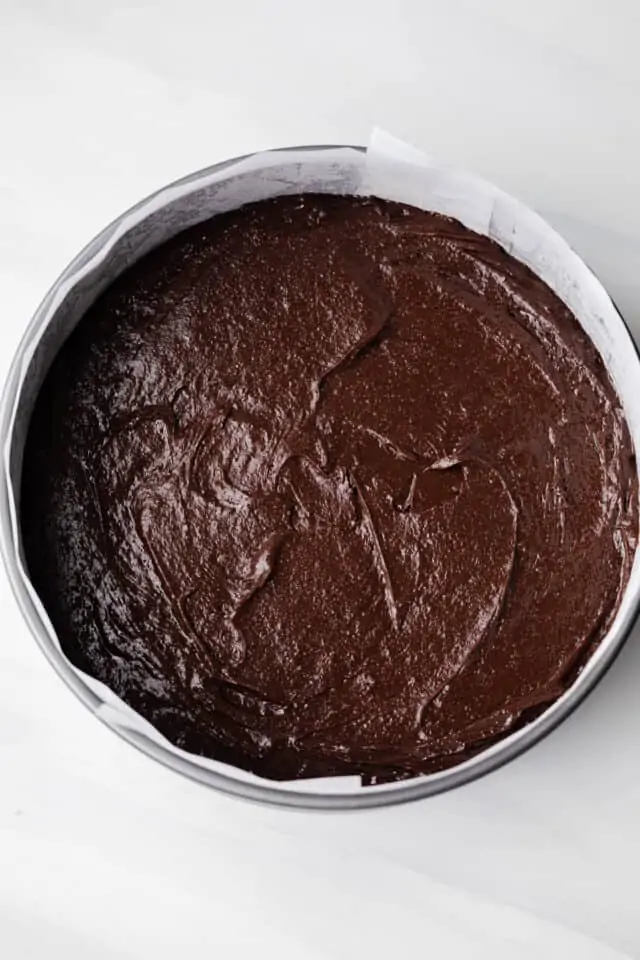
- Then, sift the flour, cocoa powder, and salt into the chocolate mixture. Fold the ingredients in with a spatula until no dry streaks of flour are visible.
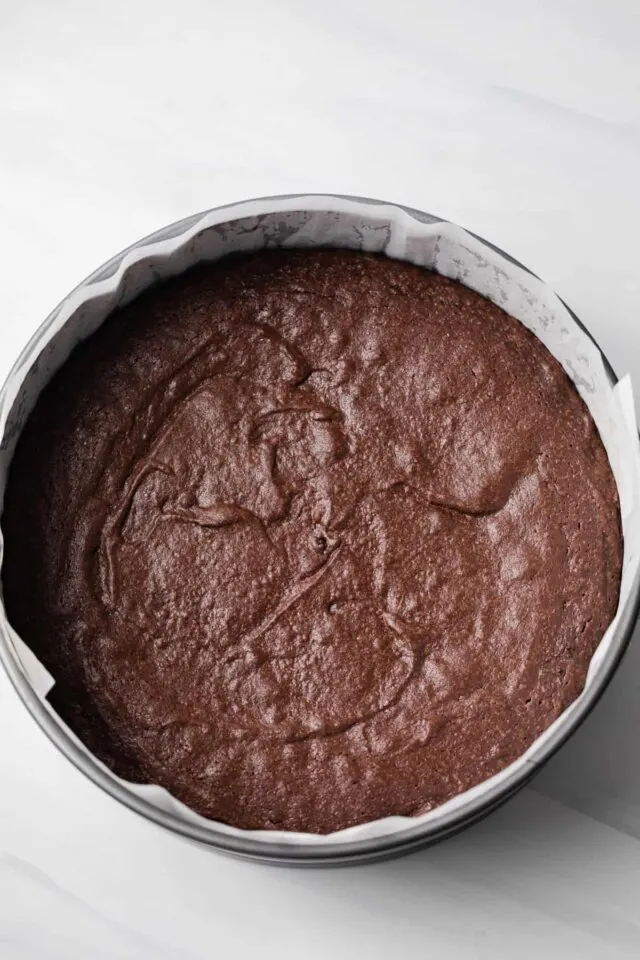
- Spread the batter into the bottom of the prepared pan. Then, bake for 20-25 minutes, or until a toothpick comes out mostly clean.
- Leave the base in the pan. Set it on a wire rack to cool completely. (You can also cool it in the fridge for 15-20 minutes.)
2: Make the mousse
Now, you will craft the cool, creamy mousse that makes up the chocolate mousse cake filling.
- In a small bowl, sprinkle the gelatin over the water. Then, let stand for 5 minutes.
- Place the chocolate in a medium bowl.
- Then, add ½ cup of cream and 2 tablespoons of sugar to a small saucepan. Bring this mix to a simmer on medium-high heat. Stir to make sure the sugar fully dissolves. Remove from the heat.
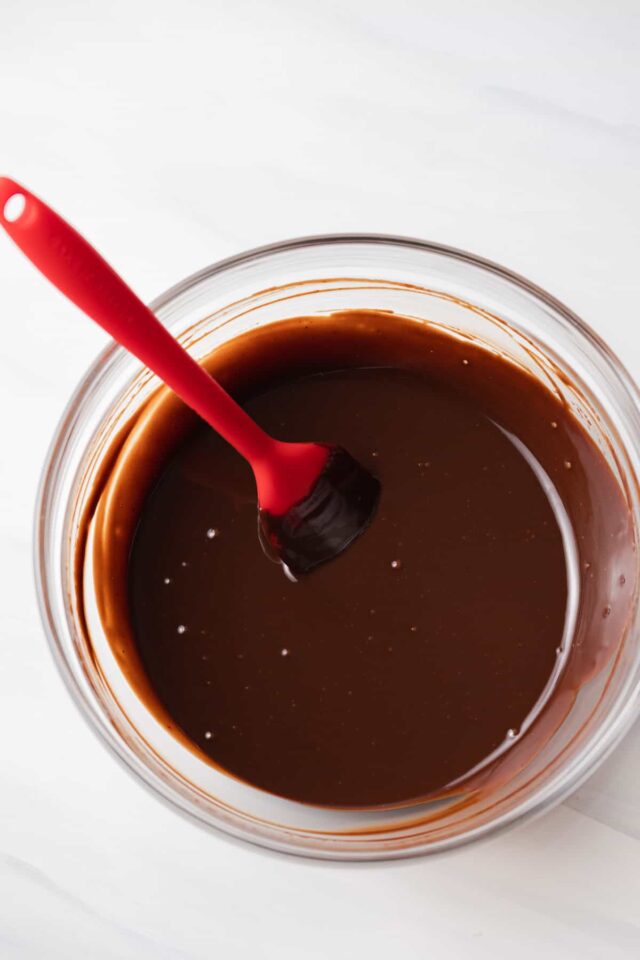
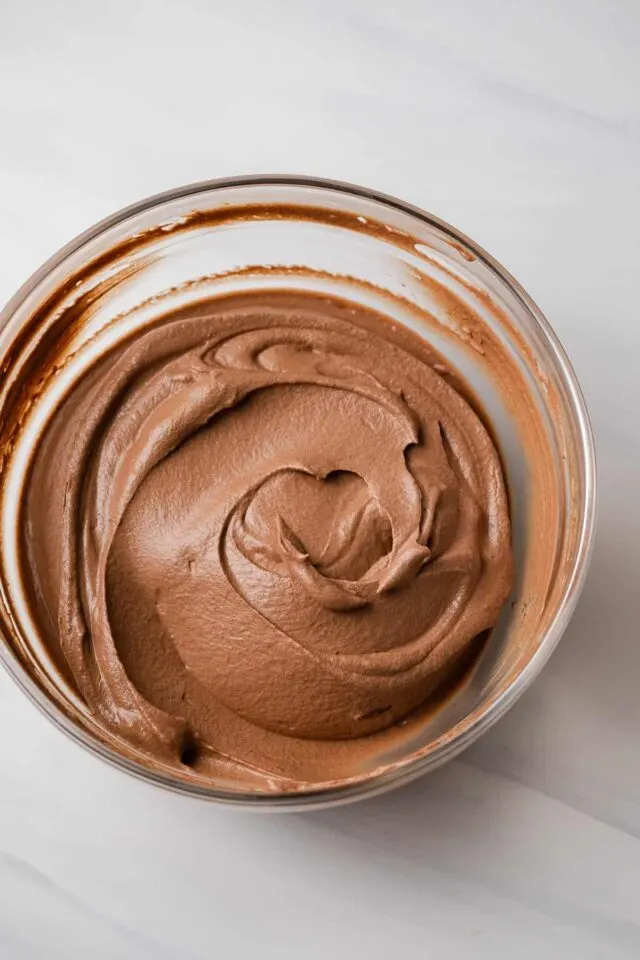
- Add the softened gelatin to the mix and stir until fully dissolved. Pour the cream over the chocolate, and whisk until the chocolate is melted and the mixture is smooth.
- Cool to room temperature. Stir the mix occasionally. It is normal for the mixture to thicken slightly.
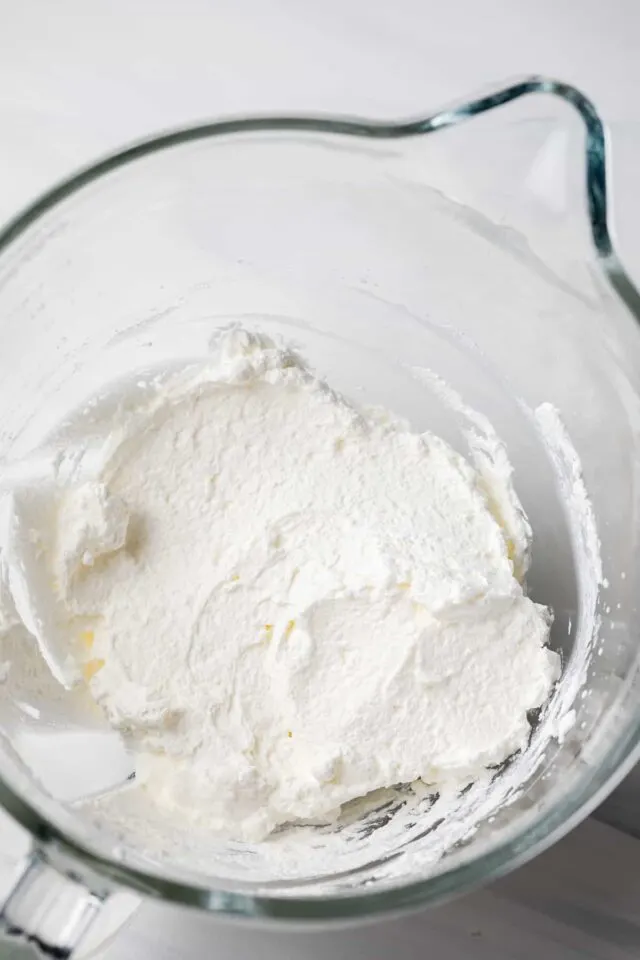
- Whip the remaining 1 cup of cream at medium speed with a stand mixer with the whisk attachment. This should take about 30 seconds for it to thicken. Then, increase the speed to high and whip until medium to stiff peaks form, roughly 30 to 60 seconds.
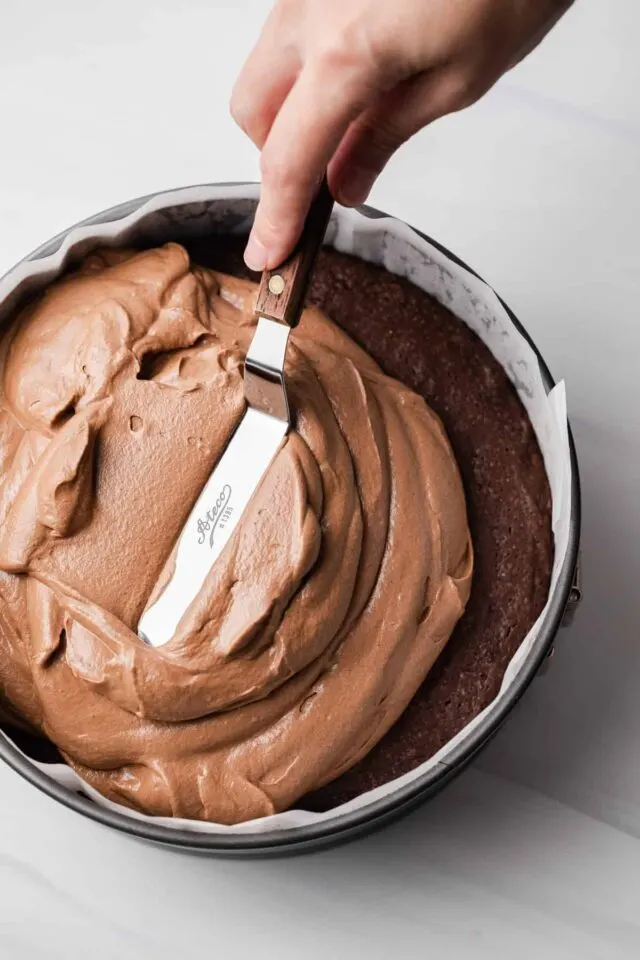
- Then, spread the mousse evenly over the top of the cooled brownie layer. Place it in the fridge while you make the ganache.
Don’t aim for super stiff peaks when whipping the cream, but make sure they are not too soft. If the whipped cream is too soft, the mousse will not set properly. And if it’s too stiff, the final texture will not be silky smooth.
3: Make the ganache
The ganache is like the cherry on top of this delicious chocolate mousse cake recipe.
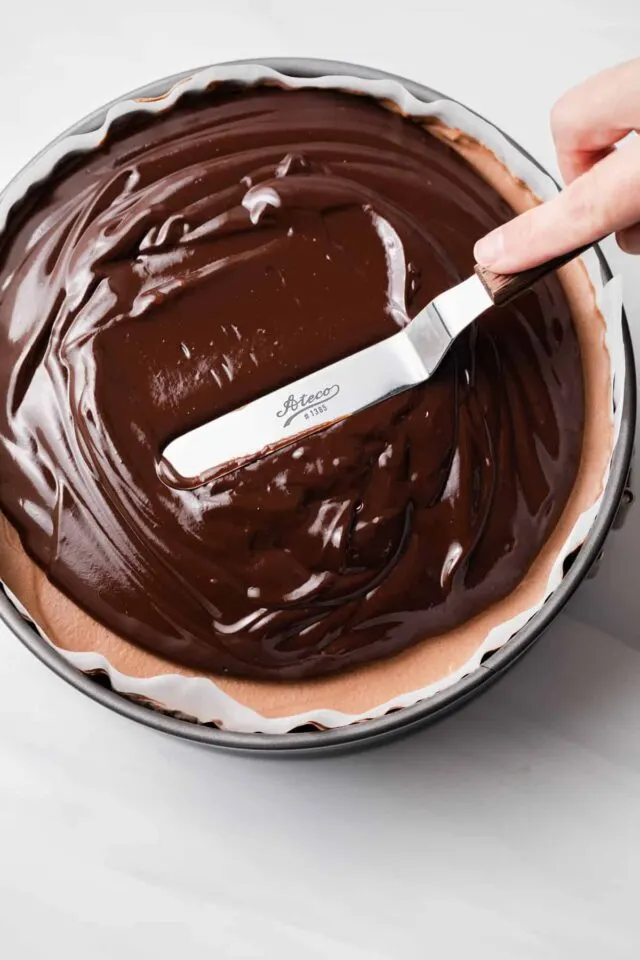
- In a medium saucepan, heat the cream and butter on medium-high heat. Remove from heat just before it begins to boil.
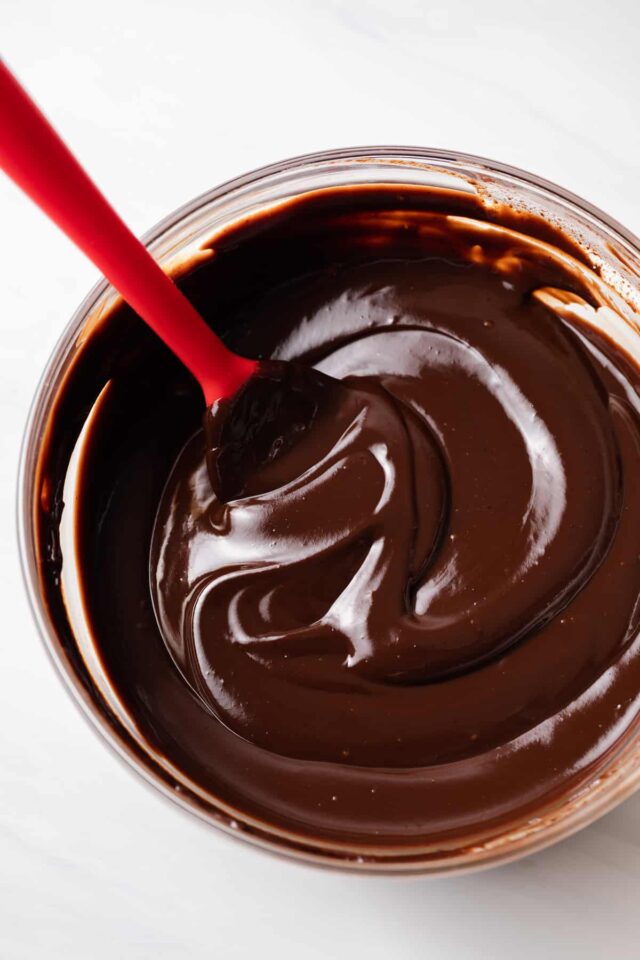
- Then, place the chocolate in a heat-proof bowl. Pour the heated cream over the chocolate.
- Stir until the chocolate is melted and smooth. Then, set aside to cool. The ganache is cooled when it is no longer warm to the touch.
- Once cooled, spread the ganache over the top of the mousse layer. Place in the fridge until set. This will take about 1 hour.
- Remove the sides of the pan. Then, carefully pull the parchment paper away from the cake.
- Transfer the cake to a serving platter. You can garnish it with whipped cream or fresh berries.
Frequently asked questions
Yes. The mousse needs time to set so that is perfect.
Yes, it can! Thaw it in the refrigerator a day before serving. Also, slice it cold but let the slices sit at room temperature for 30 minutes prior to serving.
A springform pan will certainly make things easier but if you really need to use a regular pan, I suggest freezing the cake before you try to turn it out.
The recipe was developed to fit perfectly into an 8-inch pan that’s 3-inches tall. Using larger pans will cause the layers to be thinner. The bake time for the base layer will also need to be adjusted.
While I’ve personally not tested this recipe with anything other than gelatin, readers have successfully use agar powder. 1 teaspoon of agar and 1 tablespoon of water is said to work perfectly
Jen’s best tips
- You can garnish this chocolate mousse cake recipe with fresh berries (I prefer strawberries!) or whipped cream.
- Make sure to allow the cake to chill for at least 1 hour before slicing or the mousse will squish out.
- While the cake is easier to slice when cold, it tastes best at room temperature. Allow the slices to rest on the counter for 30 minutes prior to serving.
More chocolate cake recipes you’ll love
- Nutella Cheesecake
- Chocolate Pistachio Cake
- Irish Chocolate Coffee Bundt Cake
- Chocolate Coconut Cake
Triple Chocolate Mousse Cake
Ingredients
For the brownie
- 6 ounces (170 g) unsweetened chocolate, coarsely chopped
- ½ cup (113 g) unsalted butter, cut into pieces
- 1 cup (200 g) granulated sugar
- 3 large eggs, room temperature
- 1 tablespoon pure vanilla extract
- 1 cup (130 g) all-purpose flour
- 3 tablespoons Dutch-process cocoa powder
- ½ teaspoon salt
For the mousse
- ¾ teaspoon gelatin powder
- 1 tablespoon water
- 6 ounces (168 g) semisweet chocolate, coarsely chopped
- 1 ½ cups (360 ml) heavy cream, cold
- 2 tablespoons granulated sugar
For the ganache
- ¾ cups (180 ml) heavy cream
- 1 tablespoon unsalted butter
- 9 ounces (252 g) semisweet chocolate, coarsely chopped
Instructions
Make the brownie:
- Preheat the oven to 350ºF. Lightly spray the bottom and sides of an 8-inch springform pan with nonstick spray. Line the bottom and sides with parchment paper and lightly spray the paper with nonstick spray
- Add the chocolate and butter to a medium saucepan. Warm over medium-low heat, stirring constantly until chocolate is melty and smooth. Whisk in the sugar. Set aside to cool slightly. It can be warm, you just don’t want it too hot that it scrambles the eggs.
- Once cooled, whisk in the eggs and vanilla until combined.
- Sift the flour, cocoa powder, and salt into the chocolate mixture and fold together with a rubber spatula just until no dry streaks of flour are visible. Take care not to overmix.
- Spread the batter evenly into the bottom of the prepared pan. Bake for 20-25 minutes, or until a toothpick inserted into the center comes out with only a few moist crumbs.
- Leave the brownie in the pan and set it wire rack to cool completely. Or pop it in the refrigerator for 15-20 minutes.
Make the mousse:
- In a small bowl, sprinkle the gelatin over the water, let stand for 5 minutes. Place chocolate in a medium bowl. Add ½ cup of the cream and 2 tablespoons of sugar to a small saucepan. Bring to a simmer over medium-high heat. Stir to make sure the sugar is dissolved.
- Remove from heat; add the softened gelatin and stir until fully dissolved. Pour the cream over the chocolate and whisk until chocolate is melted and the mixture is smooth.
- Cool to room temperature, stirring occasionally. The mixture will thicken slightly.
- In the bowl of a stand mixer fitted with the whisk attachment or with a handheld electric mixer, whip the remaining 1 cup cream at medium speed until it begins to thicken, about 30 seconds. Increase the speed to high and whip until medium to stiff peaks form, about 30 to 60 seconds.
- Use a whisk to mix ⅓ of the whipped cream into the chocolate mixture. Use a rubber spatula to fold the remaining whipped cream into the chocolate mixture until no streaks appear.
- Spread the mousse evenly over the top of the cooled brownie layer. Refrigerate while you make the ganache.
Make the ganache:
- Heat the cream and butter in a medium saucepan over medium-high heat. Remove from heat just before it begins to boil.
- Place the chocolate in a medium heatproof bowl and pour the hot cream over the chocolate. Stir until chocolate is melted and smooth. Set aside to cool until the ganache is no longer warm to the touch.
- Spread the ganache over the top of the mousse layer and refrigerate until set. About 1 hour.
- Remove the sides of the pan and carefully pull the parchment paper off the cake. Transfer the cake to a serving platter and serve with whipped cream or fresh berries.
Notes
- This recipe was updated! Everything is the same except for the base layer. I updated the base so it no longer requires melting chocolate with hot water. Too many readers had difficulty with this. You’ll still get the same rich chocolate base without all the hassle. The base is from my Nutella Mousse Cake.
- If you’d like to make the original cake base, you can find it here -> Original Mousse Cake
- Cocoa powder: Dutch-processed has a smoother flavor but natural cocoa can also be used.
- Cake pan: If you don’t have a springform pan, you can use a regular 8-inch round cake pan that’s 3-inches tall. In step 3 of “make the ganache”, place the cake in the freezer for 1 hour. Once it’s firm enough to unmold, place a sheet of parchment paper over the top then set a cutting board or large plate over the paper. Flip the entire assembly over so the cake can release from the pan. Remove the pan and use the same method to flip the cake upright onto a serving platter.
- Serving the cake: The cake slices best when well chilled. Once sliced, allow the slices to sit at room temperature for about 30 minutes. This allows the layers to soften slightly, making the mousse & ganache extra silky.
- The cake will keep for up to 3 days stored in the refrigerator.
- The cake can be frozen for up to 3 months. Thaw in the refrigerator overnight before serving.
Nutrition
The nutrition information provided is for convenience and as a courtesy only. It is not guaranteed to be accurate because nutrition information can vary for a variety of reasons. For precise nutritional data use your preferred nutrition calculator and input the exact ingredients and brands you used in the recipe.

I made this cake for my daughter’s birthday, and it was a hit!! Great recipe, with super easy instructions!! I posted it on my Instagram account and my friends are drooling…. I see myself making many more of this one!!
hi.please….can i make one dose of white chocolate mousse to add too?also should i use same amount of gelatin and white chocolate?thanks
I’ve never made white chocolate mousse so I’m unsure if the technique will work the same. I’m sorry, I wish I could be more helpful.
@demi, If my memory serves me right, there is a triple chocolate mouse cake at either America’s Test Kitchen or Cook’s Country with a white chocolate layer.
hope the white mousse works ..I just made it too with white chocolate! 6ounces and same amount of other ingredients! taking it too a Church gathering .. hope it works! This is my second time making this mouth watering dreaming taste of Heaven cake! Thanks for the recipe!
I made this cake 3x already and I loved the outcome each time. It’s a lot of steps but you have to follow it exactly.
Hello! I am in the process of making this cake. Everything seems to have worked out fine. Thank u for the recipe. I wanted to ask you, how would you recommend to transport this cake? Will it hold outside the springform pan for a couple of hours and hot weather? In an air conditioned car? Or transport in the pan? Any advice?
I would leave it in the pan and transport it in a cooler with ice packs. You want to keep the cake cool otherwise the mousse will soften.
I am really looking forward to making this cake tomorrow for a special occasion. I already did all my shopping, and unfortunately the only spring form pan I have is a 9 1/2 in pan… I’m really worried the layers will be too thin. Would you double the layers? What do you reccomend doing? Also, I don’t have an offset spatula, do you have another idea for keeping the layers level? Thank you!
Doubling the recipe would yield far too much for the pan so I don’t suggest that. I recommend taking the time to go pick up an 8-inch springform pan. They’re inexpensive and you’ll have the best results making the recipe exactly as it is written. You can use a silicone spatula or the back of a spoon the smooth the layers.
Is there a way to substitute the gelatin for agar agar? Thanks.
I honestly have no experience with agar agar.
This cake turned out really well and tasted great.
One of the best cakes I have ever made, delicious! Don’t be intimidated by the list of ingredients and the three separate processes. Do each step and give yourself time, do not rush the prep of this cake, the instructions are clear. Make this cake you will not be disappointed. Cheers!
I made this cake and by far one of the best cakes I have made or tasted. Thank you so much for sharing this recipe.
Thank you for the kind words, Sonia.
Thank you for sharing! I made this for my birthday and our kids thought it was super special.
My sister in law is German and she raved about it.
Thank you for blessing our family!
Looking forward to trying the Irish bundt cake:)