Peanut Butter Cup Cookies
This post may contain affiliate links. Read the full disclosure here.
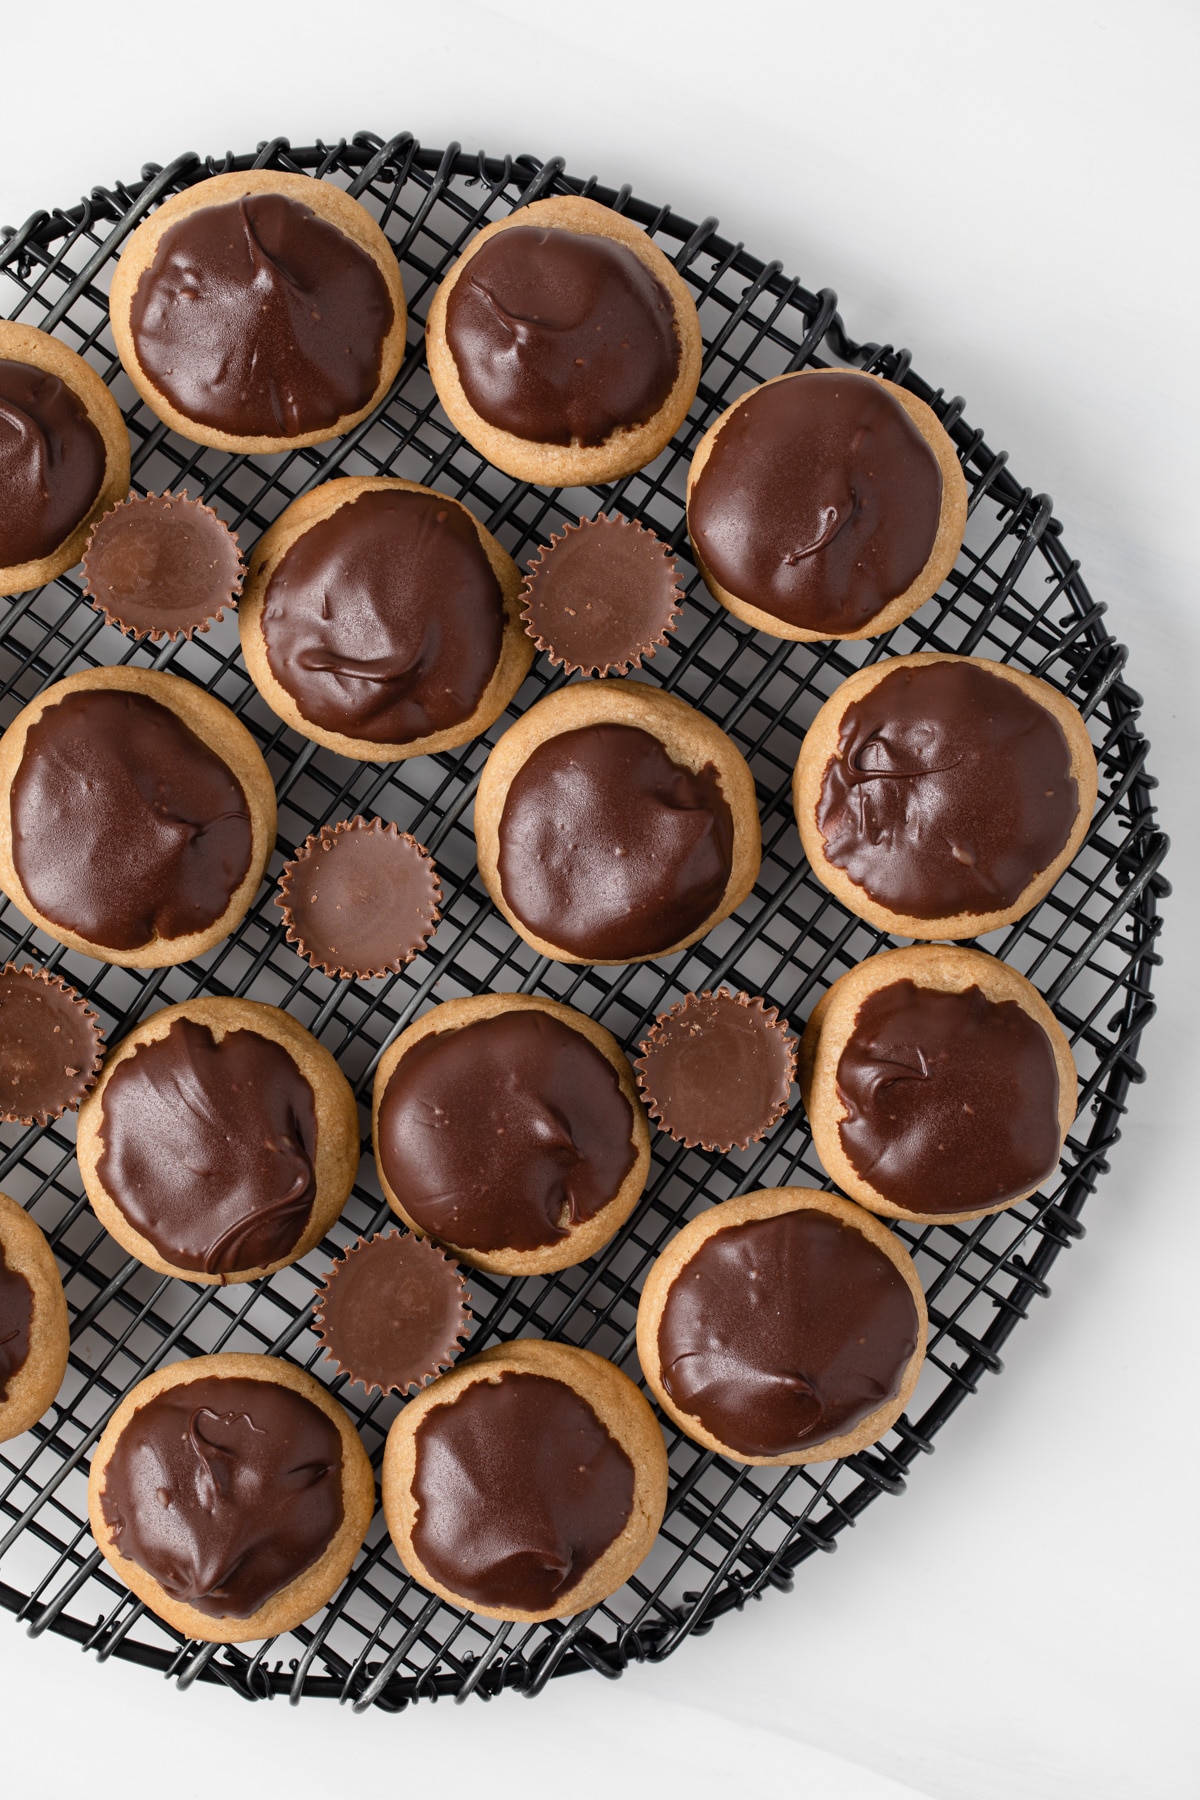
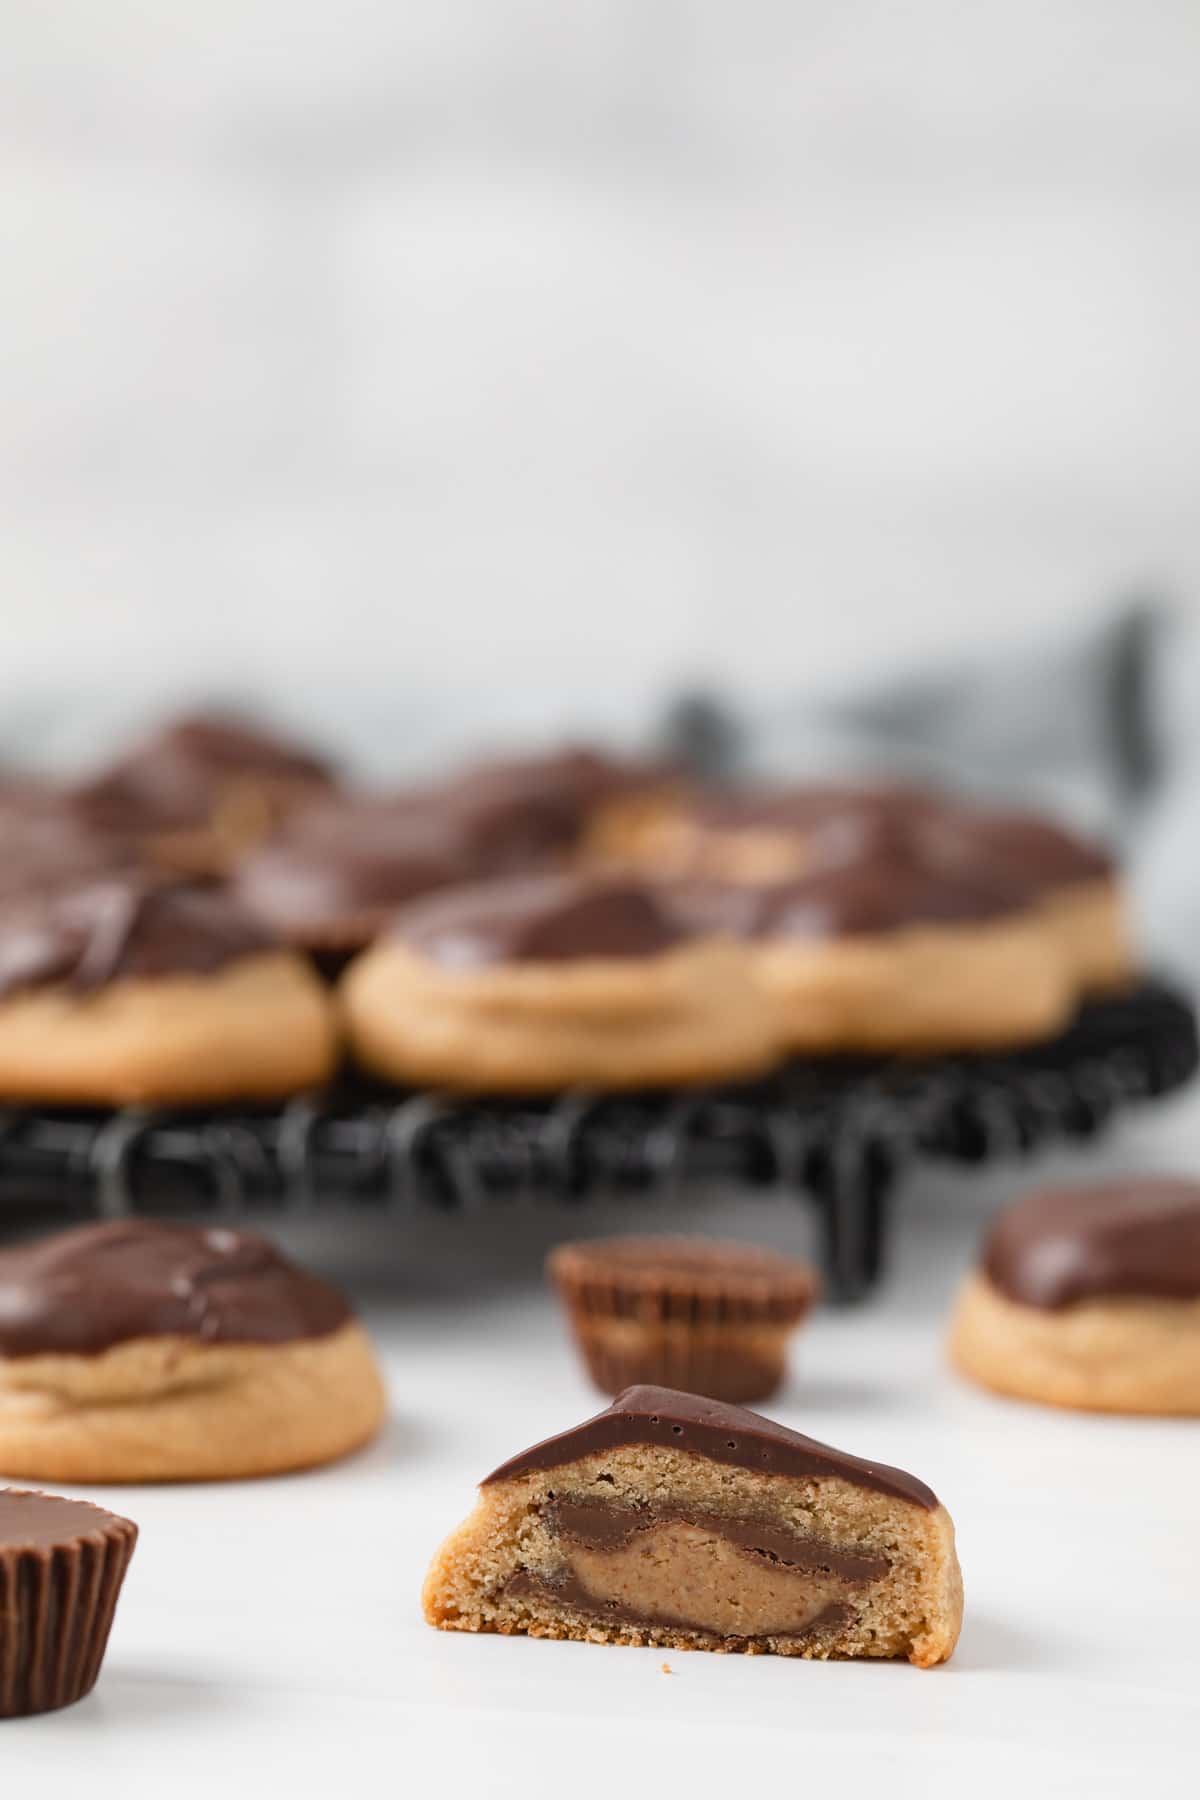
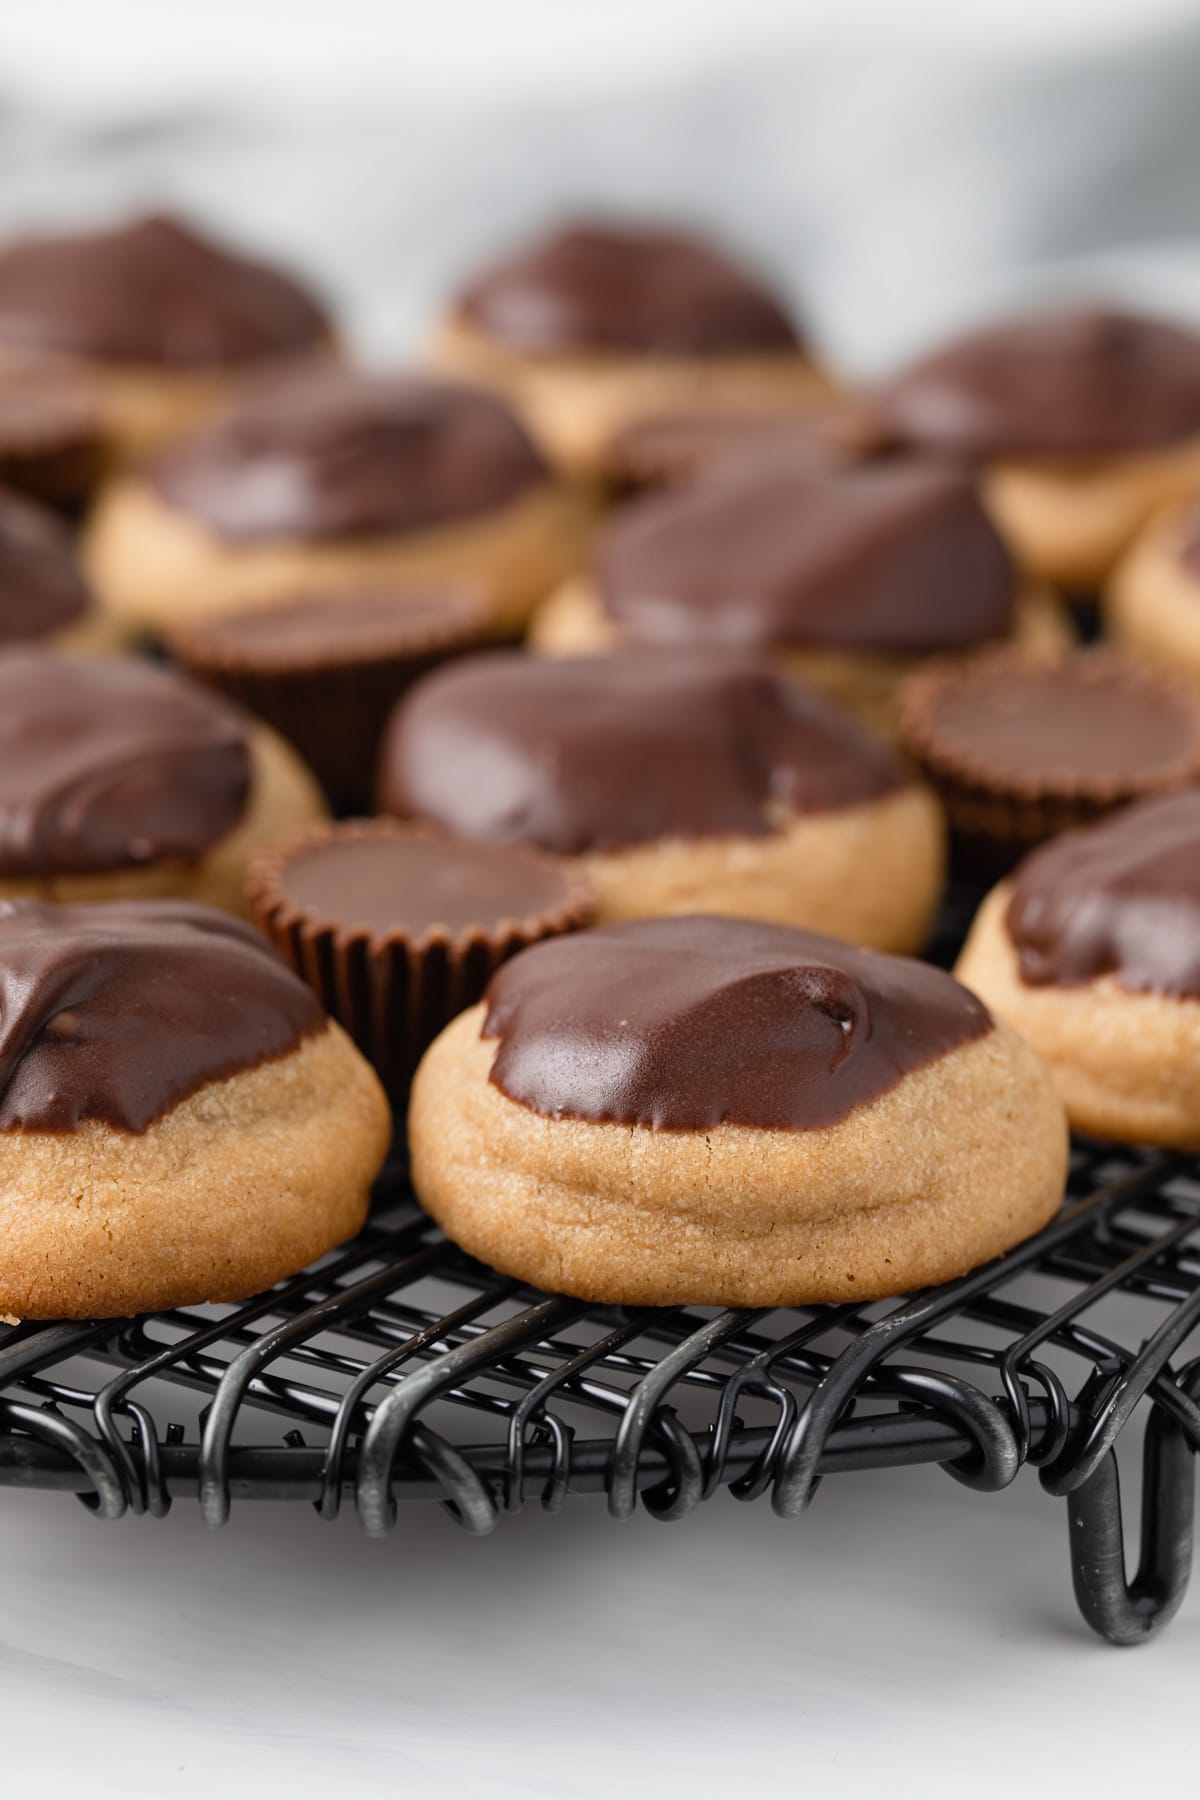
These Peanut Butter Cup Cookies feature thick peanut butter cookies filled with Reese’s peanut butter cups. The cookies are topped with melted chocolate. This is a chocolate peanut butter lover’s dream cookie!
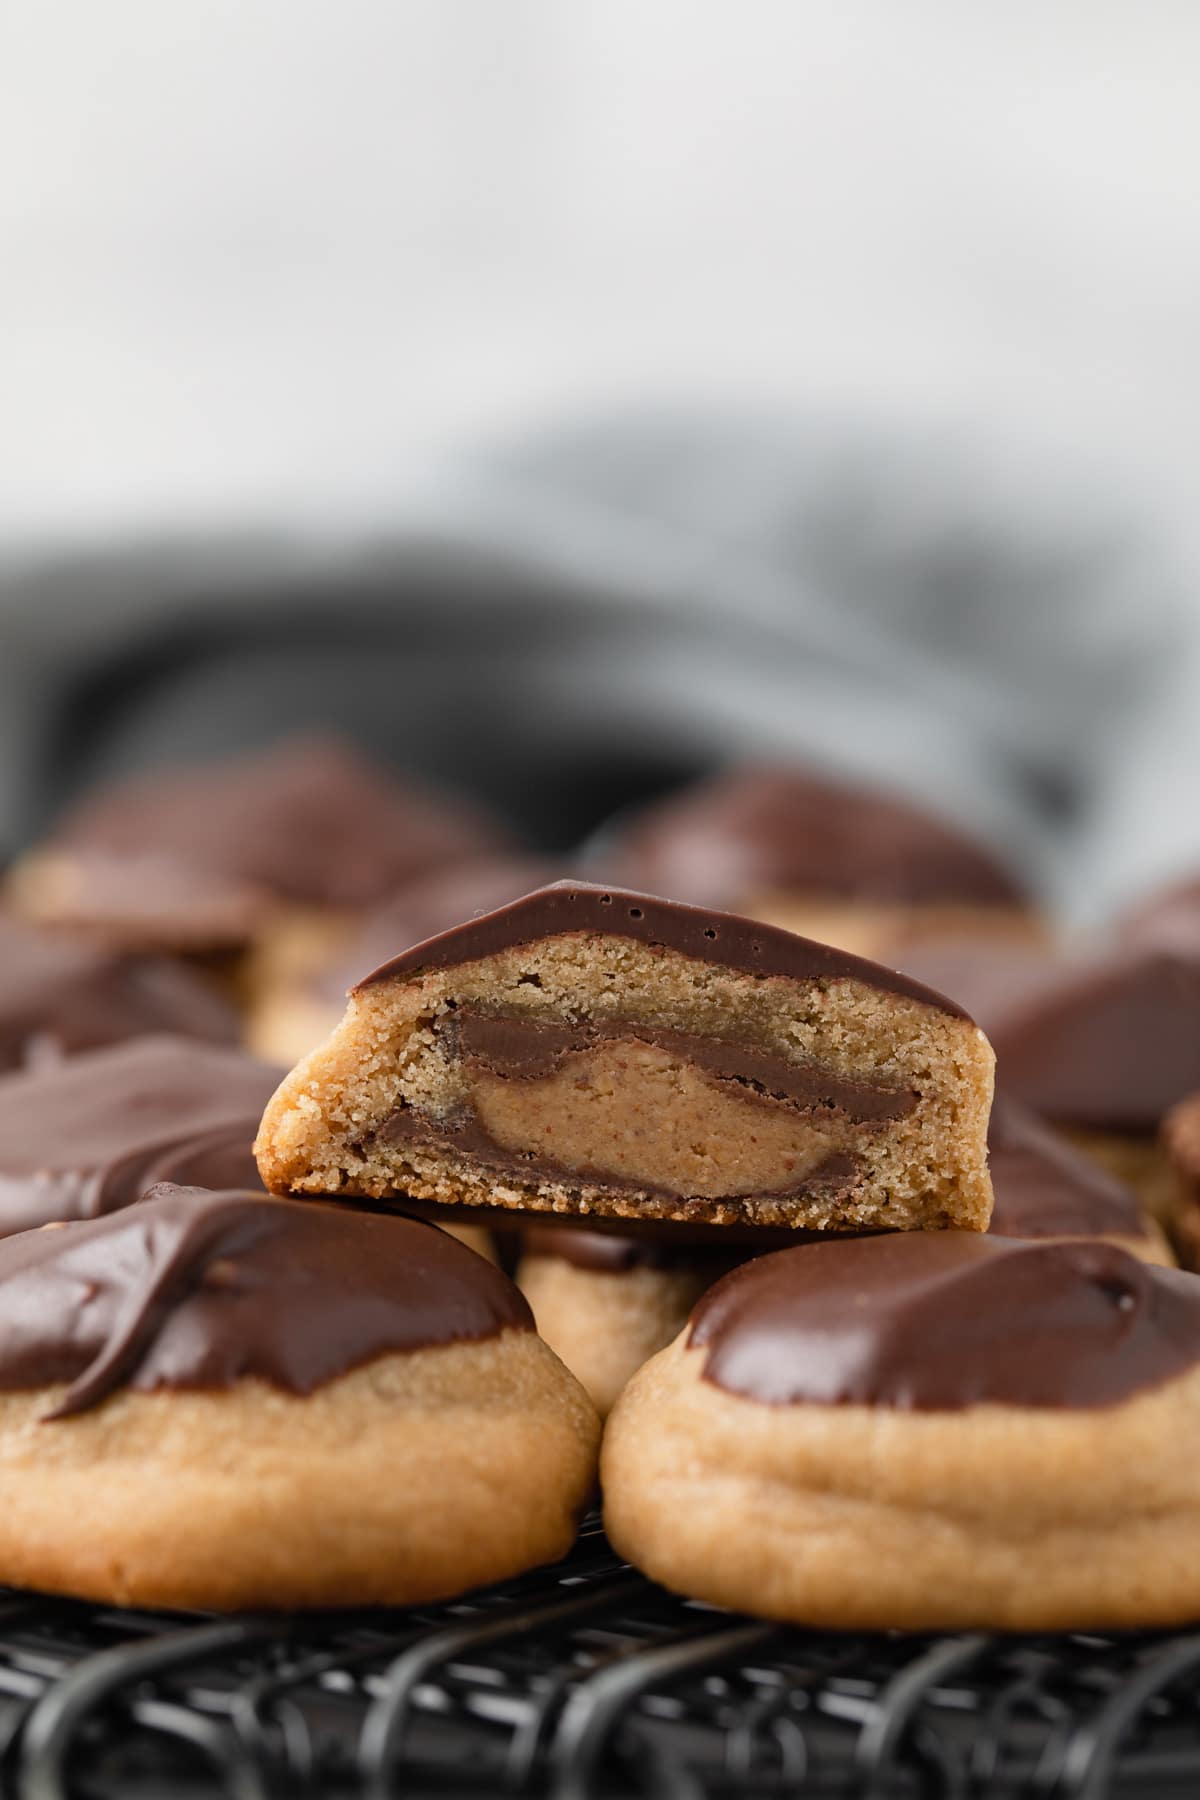
Fresh-baked cookies are the best things ever. They truly are one of life’s greatest pleasures. Some of my favorites are peanut butter blossoms and soft peanut butter cookies.
Today’s Reese cups peanut butter cup cookies bake up thick and soft while melty peanut butter and chocolate fill the center. The dough is made with shortening so the cookies don’t spread too much as they bake.
There’s a good amount of peanut butter in the dough and tons of brown sugar to add depth to the flavor. Despite the amount of brown sugar, the cookie itself isn’t that sweet.
I tested various amounts of sugar to get the right sweetness because the peanut butter cup in the center is plenty sweet. I even tested the cookies with white sugar but found brown sugar to work best.
This recipe is one I’ve been making for years. It’s adapted from the first cookbook I ever baked from! It’s loved by many! Even those who claim to not like peanut butter. How can someone NOT like peanut butter?!!!
These cookies are everything a cookie should be. The cookie itself exudes peanut butter flavor. It’s soft yet has a slight crispiness.
The chocolate peanut butter combination is a comforting classic. It’s rich and decadent. And you simply can’t stop at just one.
Why this Recipe Works
- I like to use shortening instead of butter. I find that the cookies don’t spread as much during baking.
- After shaping, the cookies are refrigerated for 1 hour before baking. This also helps prevent them from spreading.
- The recipe uses both baking powder and baking soda. Baking powder helps the cookies stay soft while baking soda helps with browning.
To Make These Cookies You’ll Need:
- Mixing bowls: These bowls are my favorite. I use them regularly.
- Handheld electric mixer: You need a mixer to whip the cream for the mousse filling.
- Cookie scoop: A 1-tablespoon cookie scoop works best for portioning the cookies.
- Baking sheet: It takes 3 baking sheets to bake all the cookies.
How To Make Cookies Using Peanut Butter Cups
This recipe is super simple and doesn’t require a ton of steps. The shaped cookies must be refrigerated for 1 hour before baking. Plan ahead for that.
- The Dough – The dough is whipped up easily by mixing the wet ingredients and then mixing in the dry ingredients.
- The Filling – The filling is a miniature peanut butter cup. The dough is shaped around the candy.
- The Topping – The topping is made with melted chocolate chips and a tiny bit of shortening.
How to Shape the Cookies
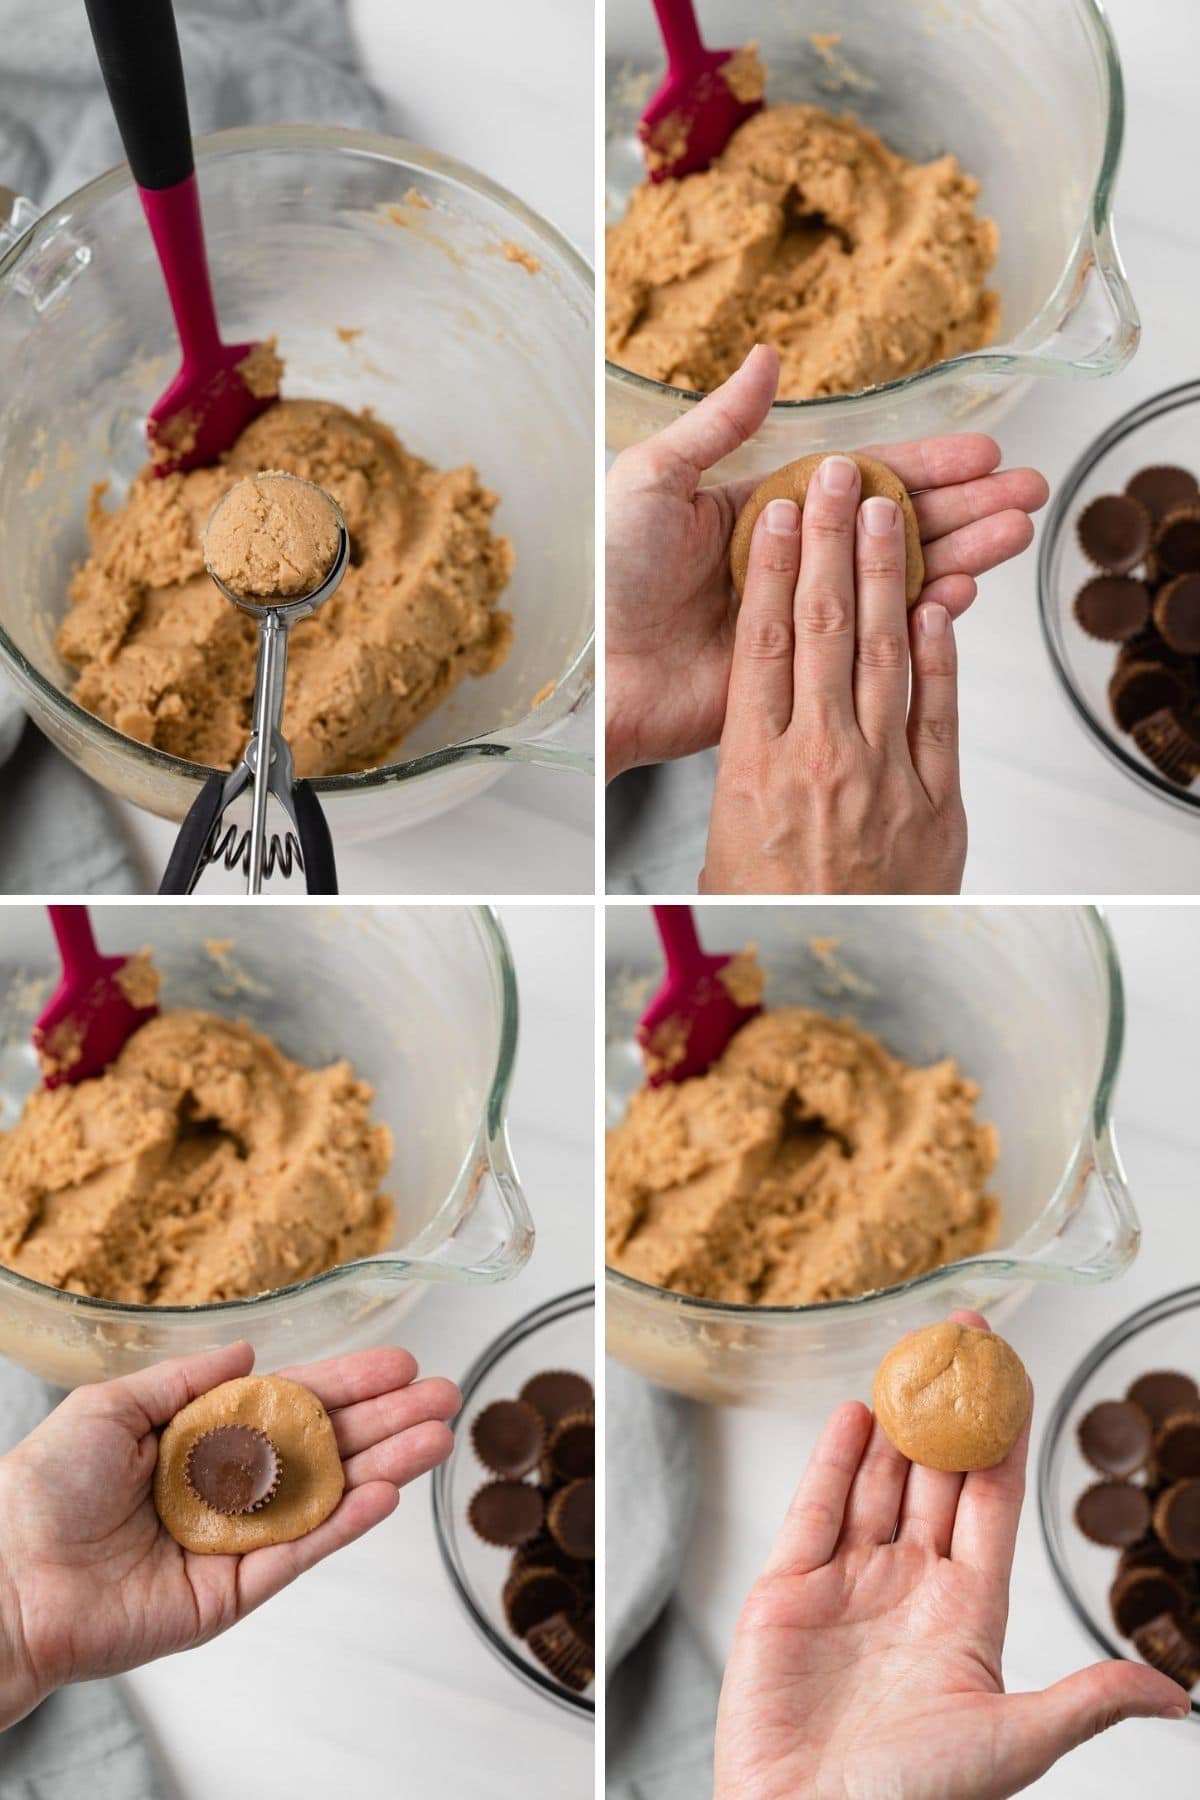
Use a 1-tablespoon sized cookie scoop to portion the dough. Flatten each portion with your hands and place a single peanut butter cup in the center.
Mold the dough around the candy and shape it into a ball.
Place the cookies 2-inches apart on baking sheets lined with parchment paper. Then, refrigerate them for 1 hour before baking. Don’t skip this part or the cookies will spread too much.
Make-Ahead Tip:
Like with most cookies, you can whip up the dough, shape the balls and freeze them on a cookie sheet before tossing them into zip-top bags to save for later. You can simply pull out as many as you’d like and bake them up whenever the urge strikes.
Storage Tips
- Store baked and cooled cookies in an airtight container for 3 days at room temperature or 1 week in the refrigerator.
- Store baked and cooled cookies in the freezer for up to 3 months. Thaw overnight in the refrigerator.
If you like peanut butter baked goods, you’ll love these other tasty recipes:
- Chocolate Peanut Butter Cheesecake
- Peanut Butter and Banana Coffee Cake
- Peanut Butter and Jelly Bars
Peanut Butter Cup Cookies

Ingredients
For the cookies
- ½ cup (92 g) vegetable shortening, room temperature
- ¾ cup (180 g) creamy peanut butter
- ¾ cup (157 g) light brown sugar, packed
- 2 tablespoons whole milk
- 1 teaspoon vanilla extract
- 1 large egg, room temperature
- 1 ¾ cups (227 g) all-purpose flour
- 1 teaspoon baking powder
- ¼ teaspoon baking soda
- ½ teaspoon salt
- 36 mini peanut butter cups, unwrapped
For the glaze
- 1 cup (170 g) semisweet chocolate chips
- 1 teaspoon vegetable shortening
Instructions
Make the cookies
- Line 3 large baking sheet with parchment paper and set aside.
- In the bowl of a stand mixer fitted with a paddle attachment or with a hand mixer, beat the shortening, peanut butter, brown sugar, milk, and vanilla together on medium speed until well blended. Add the egg and beat until combined.
- In a separate bowl, combine the flour, baking powder, baking soda, and salt. Stir with a whisk. Add it to the peanut butter mixture and mix just until no streaks of dry flour are visible.
- Scoop 1 tablespoon-sized balls of dough and shape it around each peanut butter cup, enclosing it entirely.
- Place the cookie balls 2 inches apart on the prepared baking sheet and refrigerate for at least 1 hour.
- Meanwhile, preheat the oven to 375ºF.
- Bake the cold cookie dough for 10-12 minutes or until the cookies are just set and beginning to brown. Cool for 10 minutes on the baking sheet. Transfer cookies to a wire rack to cool completely.
Make the glaze
- Combine the chocolate chips and shortening in a microwave-safe bowl. Microwave in 15-second intervals, stirring after each one until fully melted and smooth.
- Dip the tops of each cookie in the chocolate and let the excess drip off.
- Return the cookies to the wire rack and let sit until the chocolate has set, about 2 hours. Or refrigerate the cookies for 30 minutes to set the chocolate.
Notes
- Don’t substitute with butter or oil. The cookies will spread too much.
- Use a commercial brand peanut butter such as Jif. Natural peanut butter will cause the cookies to spread too much.
- Sift the flour after measuring to remove any clumps. This will make it easier to fully incorporated into the dough.
- Store baked and cooled cookies in an airtight container for 3 days at room temperature or 1 week in the refrigerator.
- The baked cookies can also be frozen for up to 3 months. Thaw overnight in the refrigerator.
Nutrition
The nutrition information provided is for convenience and as a courtesy only. It is not guaranteed to be accurate because nutrition information can vary for a variety of reasons. For precise nutritional data use your preferred nutrition calculator and input the exact ingredients and brands you used in the recipe.

These would be so dangerous for me! I’m a chocolate and peanut butter addict so this combination is too good to resist. Genius!
Thank you for the kind comment, Megan! I hope you get the chance to try them.
I love peanut butter! And peanut butter cups! These cookies are hard to resist! Pinned to try them!
Yum! What a delicious treat to find in the center of a cookie!
And I thought there wasn’t a way to like peanut butter cups more. These look crazy good!
So glad you like the cookies, Amanda!!
Um, WHOA. This is my kind of cookie! It’s almost impossible to resist the urge to go bake a batch now! If only I had some peanut butter cups…. 😉
Haha, you totally should whip up a batch!!
My husband doesn’t like peanut butter!!! I know so crazy but I make up for it ! 😀 Love these Jen, wish I had the entire plate with me right now!
I don’t know if I could trust someone who doesn’t like peanut butter! This is one genius move putting peanut butter cups inside peanut butter cookies!