
Homemade Coffee Ice Cream
This post may contain affiliate links. Read the full disclosure here.
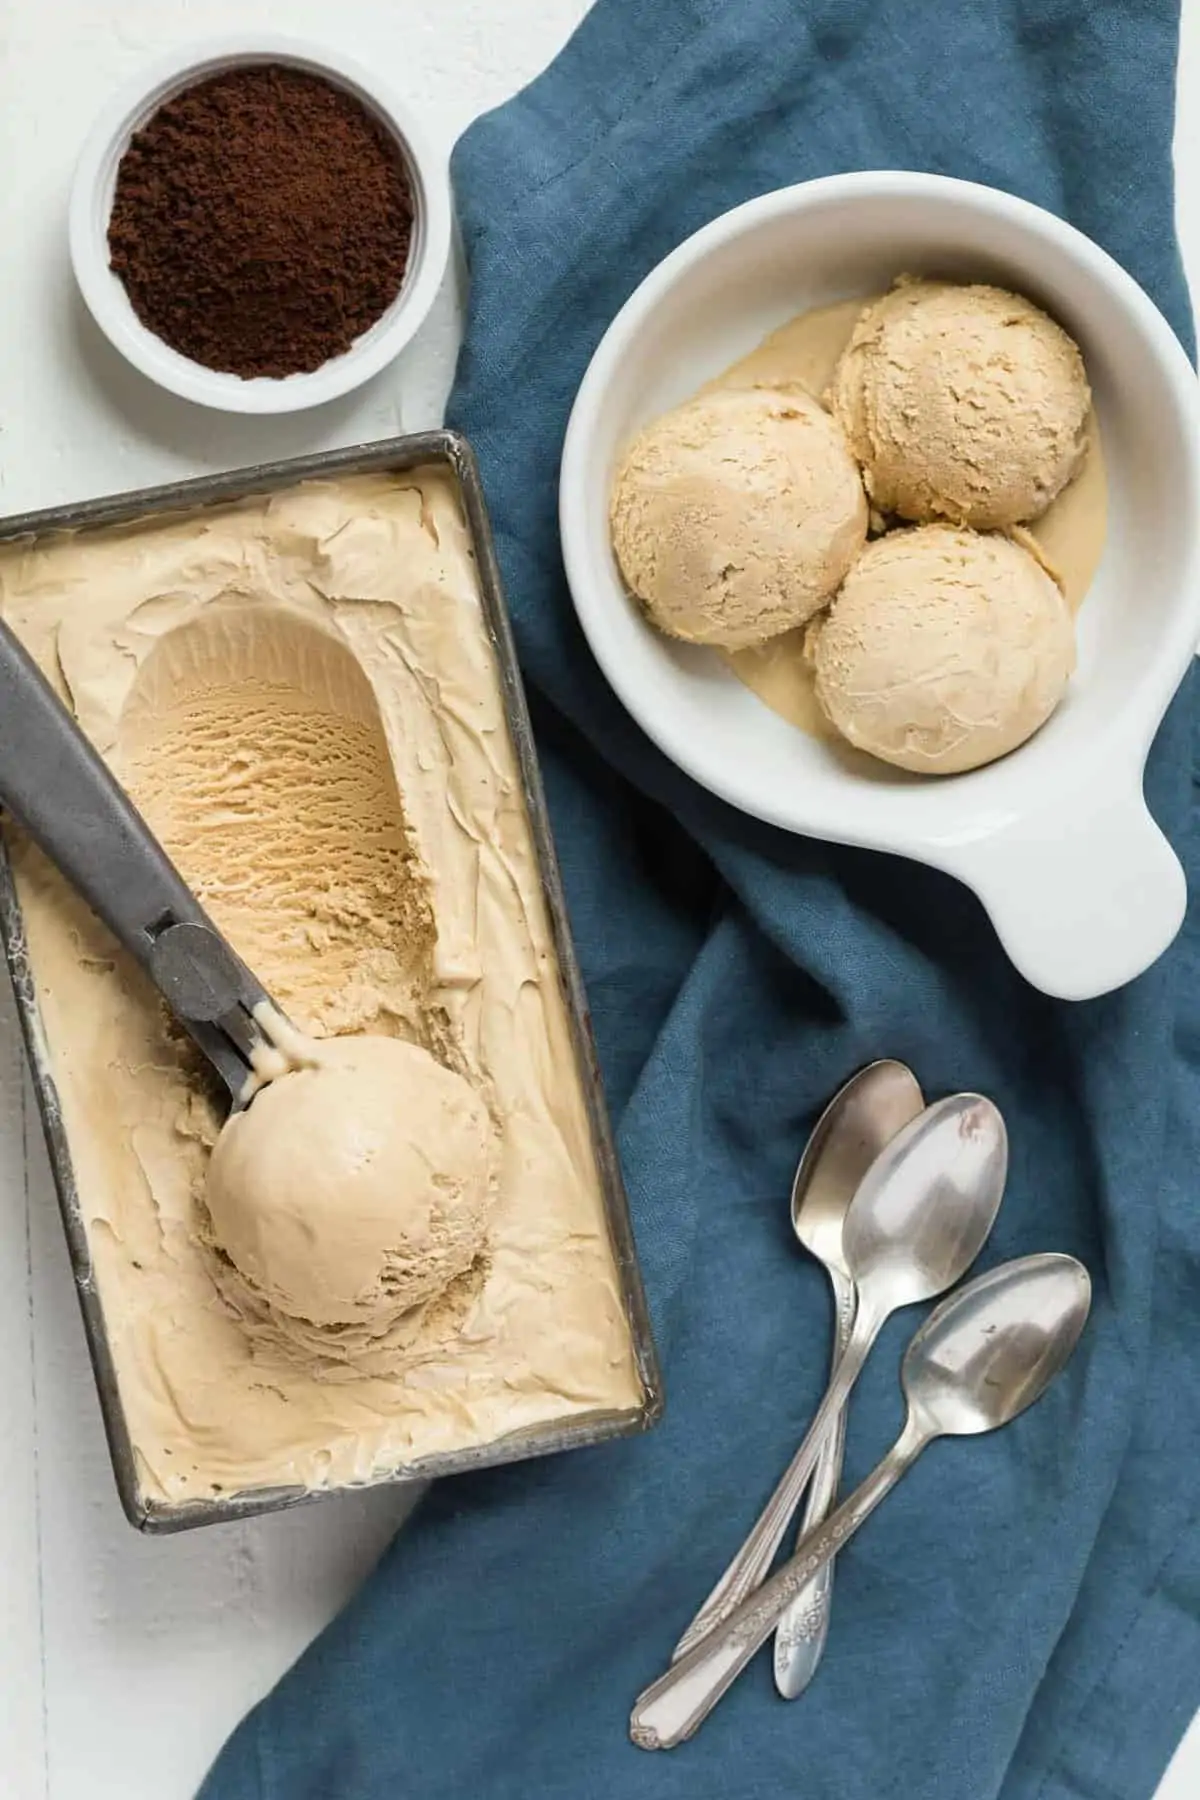
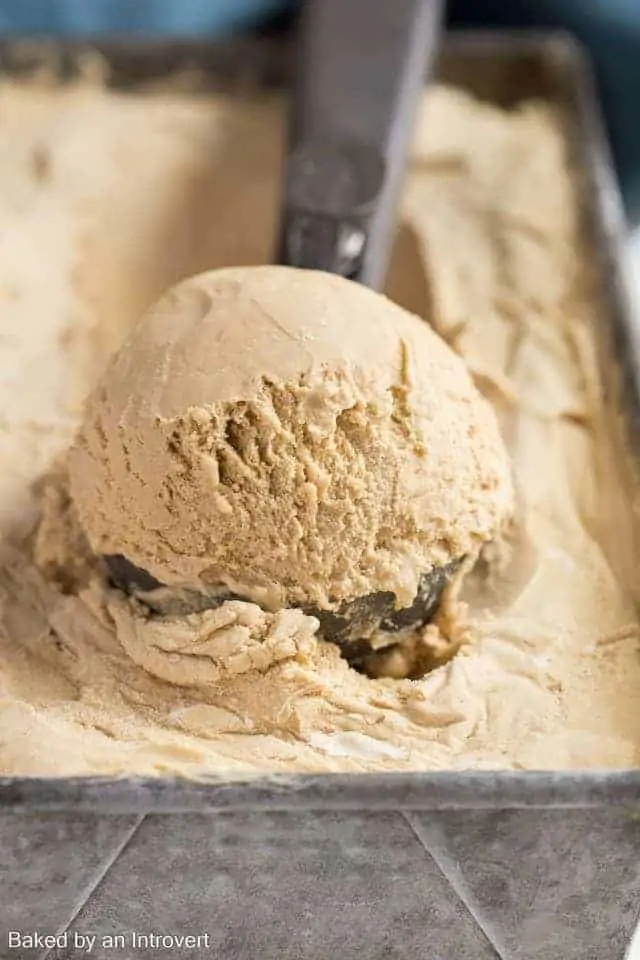
This Homemade Coffee Ice Cream is made just like old-fashioned ice cream! It starts with a custard that is blended with heavy cream and churned in an ice cream maker for a sensationally smooth and creamy dessert.
Once you’ve made this homemade churned ice cream, you will come back to it time and time again. This recipe will satisfy your sweet coffee cravings any time you have them!
I have quite a few no-churn ice cream recipes in the archives but I’ve been itching to try a more traditional homemade ice cream.
Since you really enjoyed this coffee crunch ice cream I thought it would be great to turn it into a creamy churned recipe.
Plus, I’ve gotten quite a few requests asking how to make that ice cream with an ice cream maker.
You can use today’s custard method to turn any no-churn recipe into a luscious churned ice cream. Try it with peanut butter ice cream, fresh blackberry ice cream or peaches and cream ice cream.
I just know the results will be amazing.
How to make homemade coffee ice cream?
Step 1: Make the base
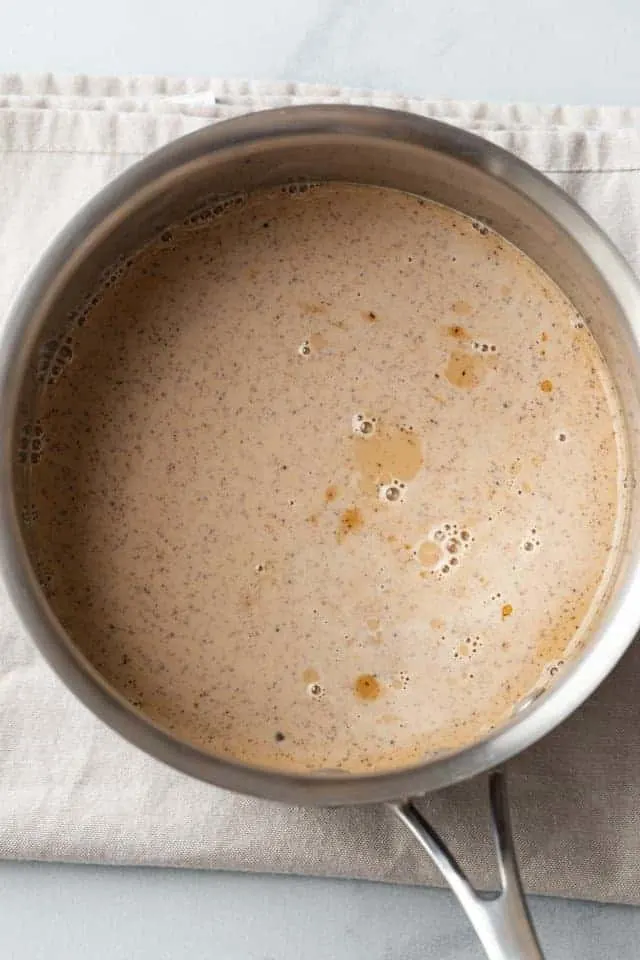
To get started on today’s homemade coffee ice cream, you need to make the custard. It’s a simple concoction of whole milk, sugar, salt, and instant coffee granules. The recipe calls for decaffeinated coffee just in case you are sensitive to caffeine.
Put all those ingredients in a small saucepan and cook it over medium heat until it begins to steam. Make sure not to boil it or the milk will curdle. As soon as it begins to steam reduce the heat to low.
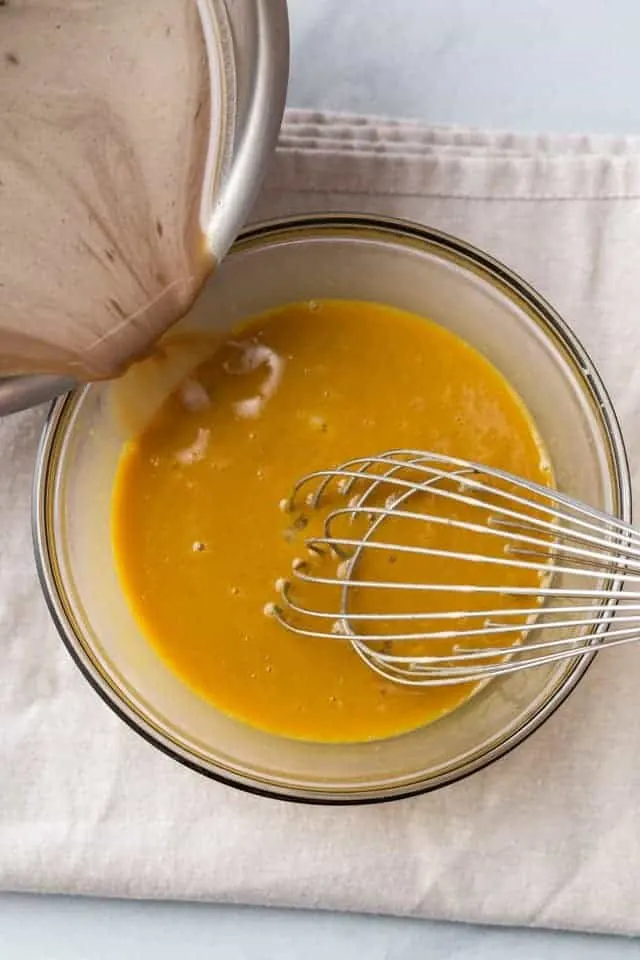
The egg yolks go in next but you can’t just drop them into the hot the milk. They’ll scramble if you do.
Instead, whisk them gently in a small bowl. Then, while you continue to whisk, slowly pour half of the hot milk into the eggs. Now you can pour the eggs into the pot with the remaining milk.
Cook the custard over medium heat until it thickens. This can take anywhere from three to five minutes. And be sure to stir it occasionally so the bottom doesn’t scorch.
Step 2: Refrigerate the custard
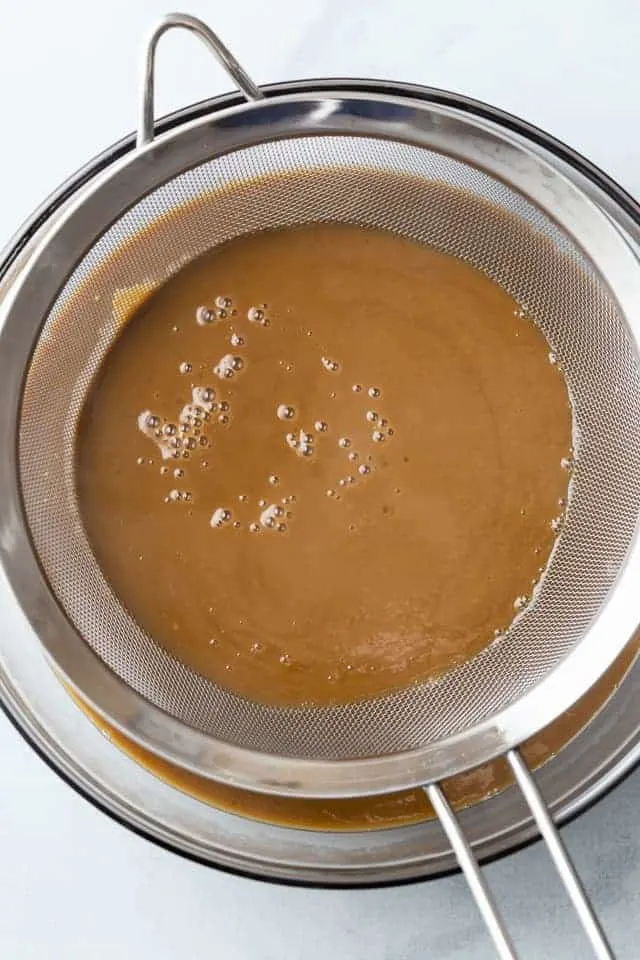
Sometimes little bits of egg get scrambled, no matter how careful you are, so I like to strain the custard through a fine-mesh sieve once it’s finished cooking. This will ensure the custard is completely smooth.
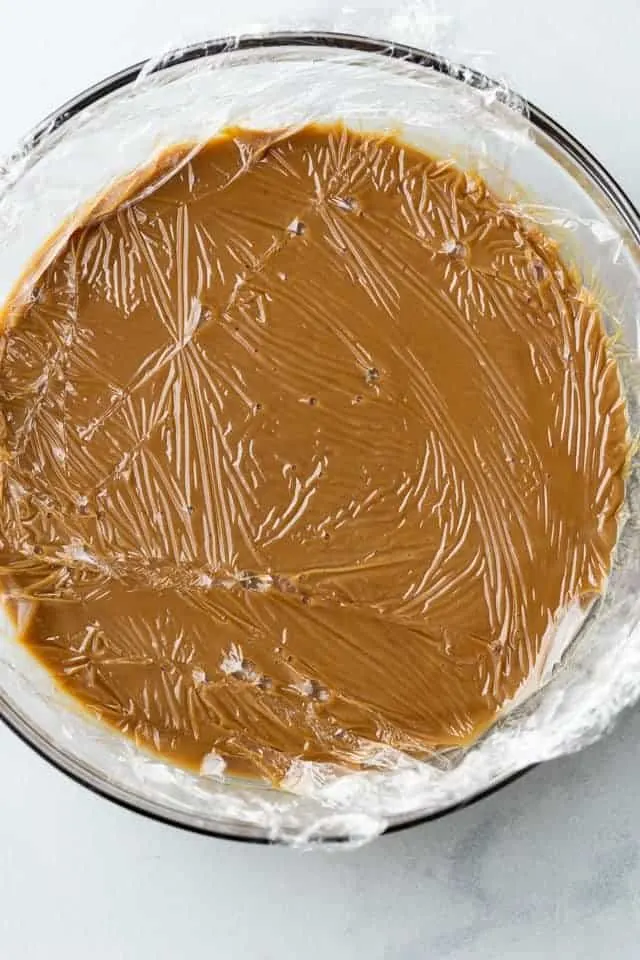
Cover the bowl with plastic wrap, making sure the plastic is touching the surface of the custard. This will help prevent a skin from forming over the top.
Place the custard in the refrigerator until it’s cold. It usually takes about two hours to chill.
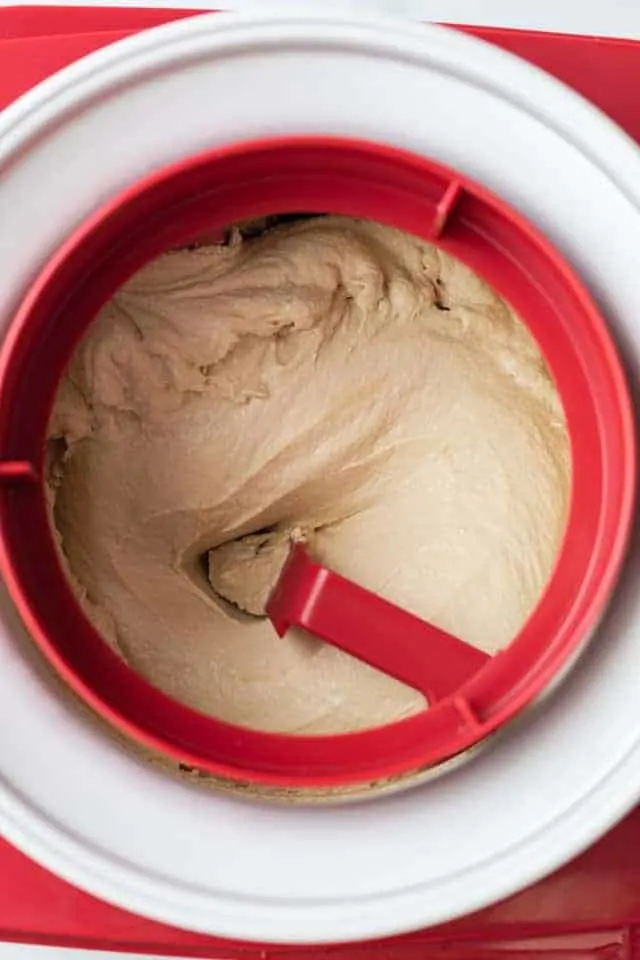
Step 3: Churn the ice cream
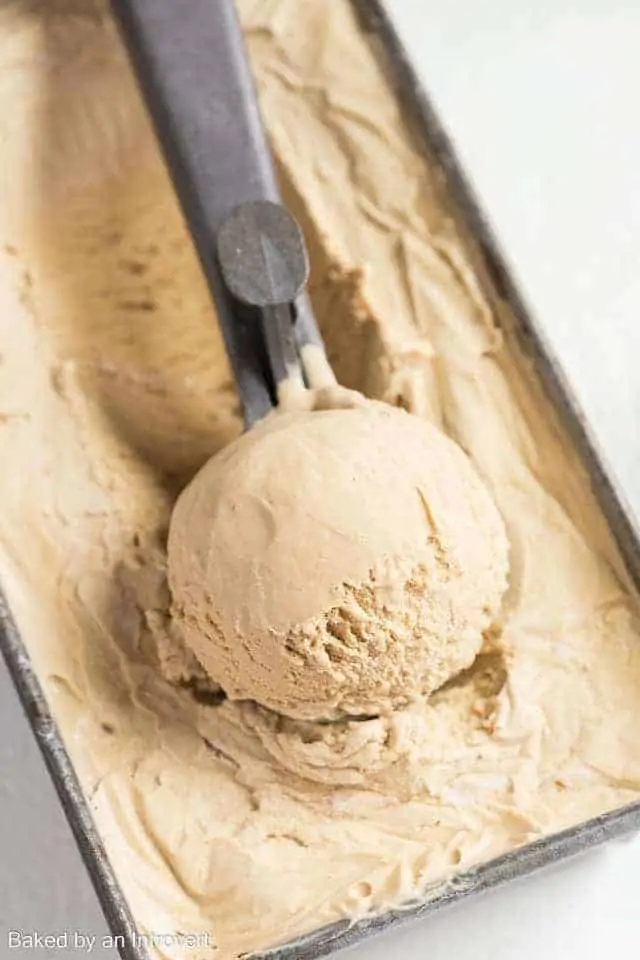
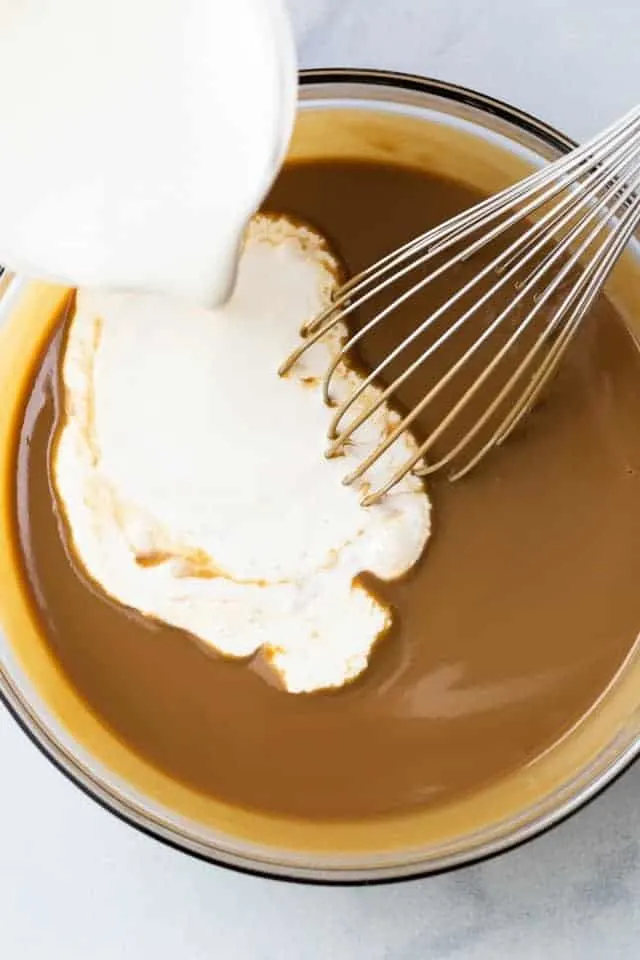
When it comes time to finish the coffee ice cream, you just need to mix the custard with heavy cream and vanilla until it’s well blended and churn it in your ice cream maker.
Follow the manufacturer’s instructions for churning.
Making old-fashioned churned ice cream seems time-consuming and this is why most people prefer no-churn options.
But all the steps above can be done in advance. The custard will be done and ready to use.
You can enjoy the ice cream right away or store it in an airtight container in the freezer for up to two weeks.
Tips for making homemade coffee ice cream
- Make the ice cream base a day in advance. It needs to be very cold before going into the ice cream maker.
- Take care not to scramble the egg yolks. Slowly pour the hot milk in while whisking continuously.
- Jazz up your ice cream by adding chocolate chips or nuts.
Homemade Coffee Ice Cream
Ingredients
- 2 ½ cups (600 ml) whole milk
- 1 ½ cups (300 g) granulated sugar
- ⅛ teaspoon salt
- 2 tablespoons instant decaffeinated coffee granules
- 6 egg yolks
- 2 ¼ cups (540 ml) heavy cream
- 1 ½ teaspoons vanilla extract
Instructions
- In a medium saucepan combine the milk, sugar, salt, and coffee granules. Cook over medium heat stirring occasionally until steaming. Reduce the heat to low.
- Lightly beat the egg yolks in a small bowl. Slowly pour half the hot milk into the eggs while whisking continuously. Return the mixture to the pot and cook over medium heat, stirring occasionally, until thickened, about 5 minutes.
- Strain the custard through a fine-mesh sieve set over a medium bowl. Cover it with plastic wrap, allowing it to touch the surface of the custard to prevent a skin from forming. Refrigerate until cold.
- When ready to make the ice cream, whisk the cream and vanilla into the custard until smooth. Churn in an ice cream maker according to the manufacturer’s instructions.
- Enjoy right away or transfer to a freezer-safe container. The ice cream will keep for up to 2 weeks.
Notes
- Double the recipe for a larger batch.
- Caffeinated coffee can be used if desired.
- ½ cup of regular, strong brewed coffee can be used instead of instant coffee granules. Omit ½ cup of the milk.
Nutrition
The nutrition information provided is for convenience and as a courtesy only. It is not guaranteed to be accurate because nutrition information can vary for a variety of reasons. For precise nutritional data use your preferred nutrition calculator and input the exact ingredients and brands you used in the recipe.
Hi! What’s the purpose of straining it? Just out of curiosity
Sometimes little bits of egg get scrambled, no matter how careful you are, so I like to strain the custard through a fine-mesh sieve once it’s finished cooking.
Hello! Can you use instant espresso powder instead of coffee powder? If so, how much? Thanks!
I’ve not tested the recipe with instant espresso powder before so I can’t say how much to use. If you give it a try, I’d love to hear how it turned out.