Homemade Maple Cinnamon Bagels
This post may contain affiliate links. Read the full disclosure here.
These homemade maple cinnamon bagels make the perfect breakfast for fall – especially when slathered with a shmear of cream cheese. They have that signature chewy texture of an authentic bakery bagel, but they’re even better because they’re made fresh in your home kitchen!
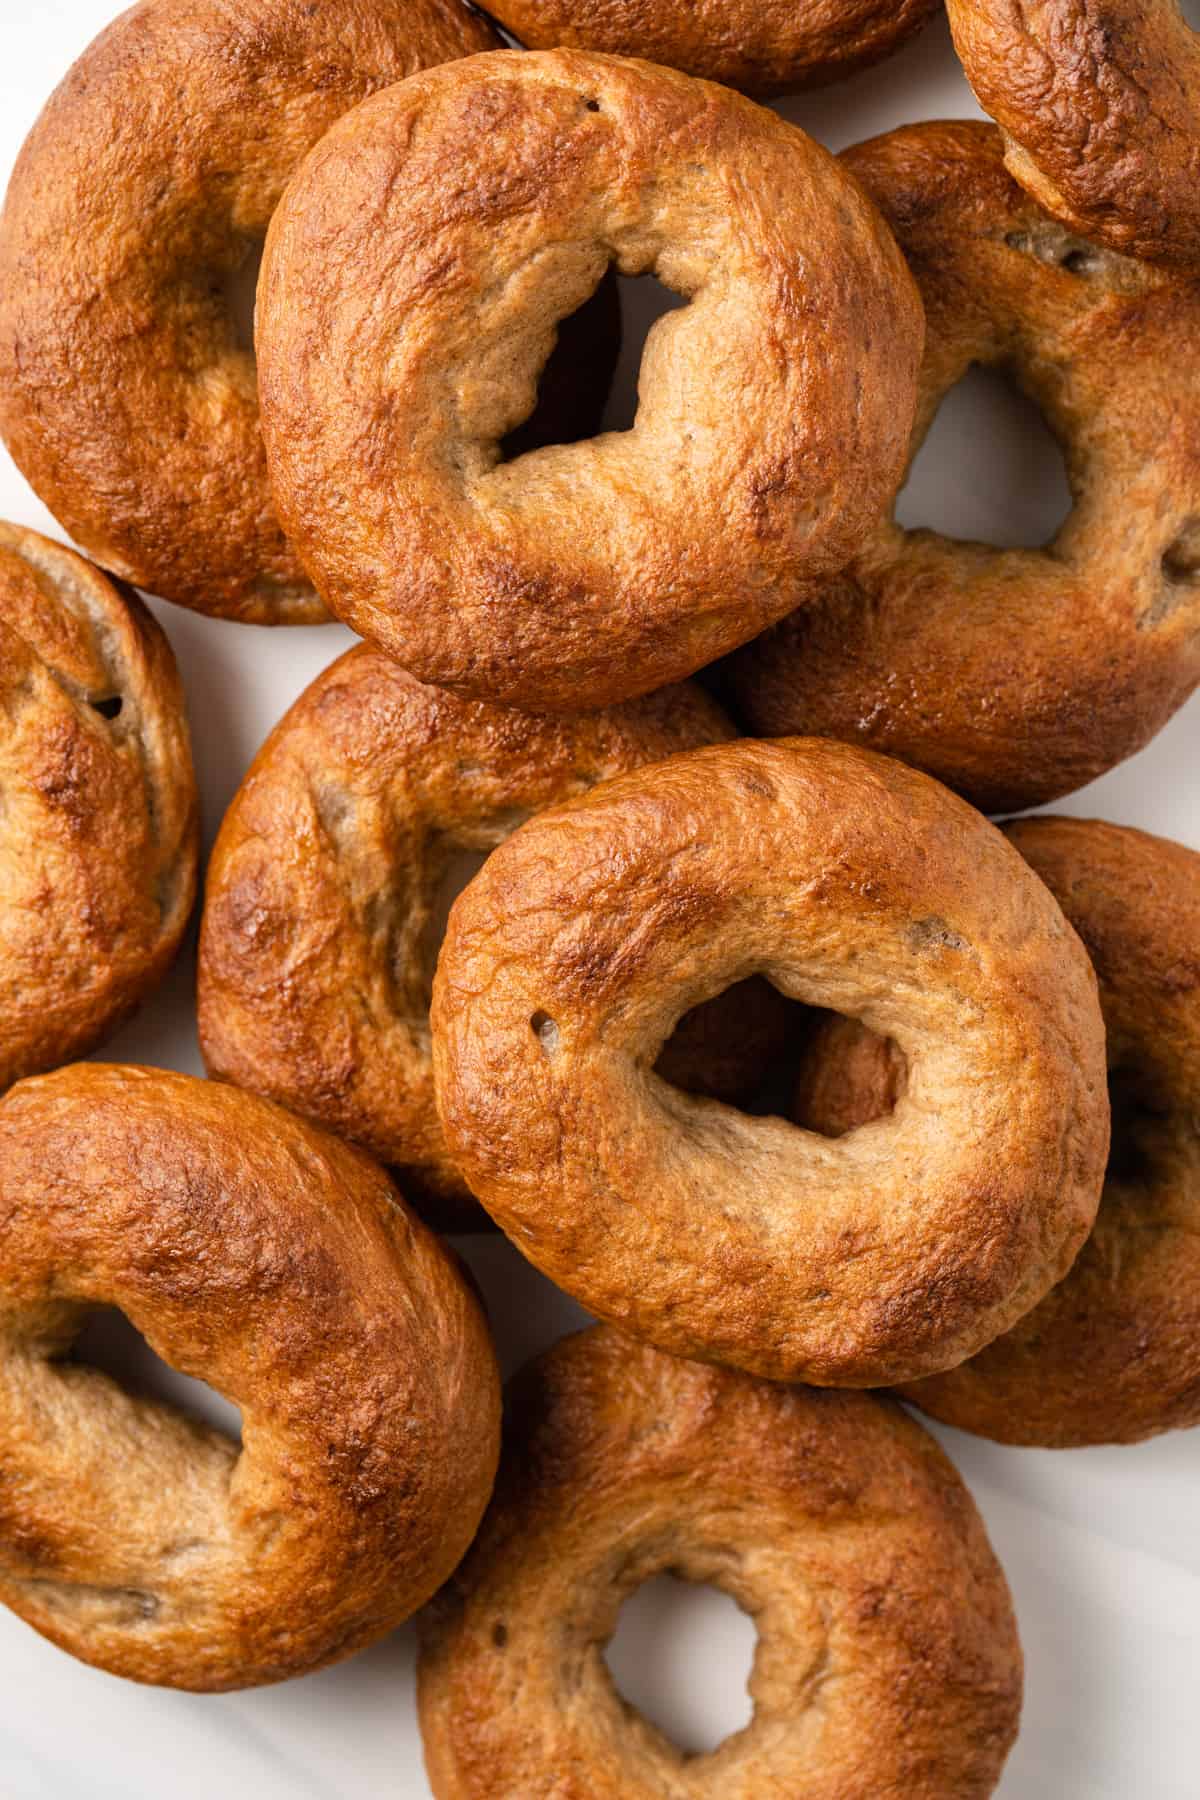
Allow me to show you how to make your new favorite breakfast recipe. With my testing trials, I learned key components to help you bake with success.
Why this recipe works
- Taste: There is no lacking of cinnamon and maple in this recipe. There’s cinnamon in every single bite. The key to getting the maple to shine through is to add it to the dough and the water bath.
- Texture: These are not like the soft, fluffy storebought bagels. They are chewy on the inside and crisp on the outside. Just the way an authentic bagel should be.
- Difficulty: This recipe can be challenging for those who are inexperienced with yeast dough. But I promise if you follow my instructions exactly and watch the video of the process, you will have success. Honestly, if you’ve made my soft pretzels with success, you’ll be able to make these.
See my other yeast bread recipes!
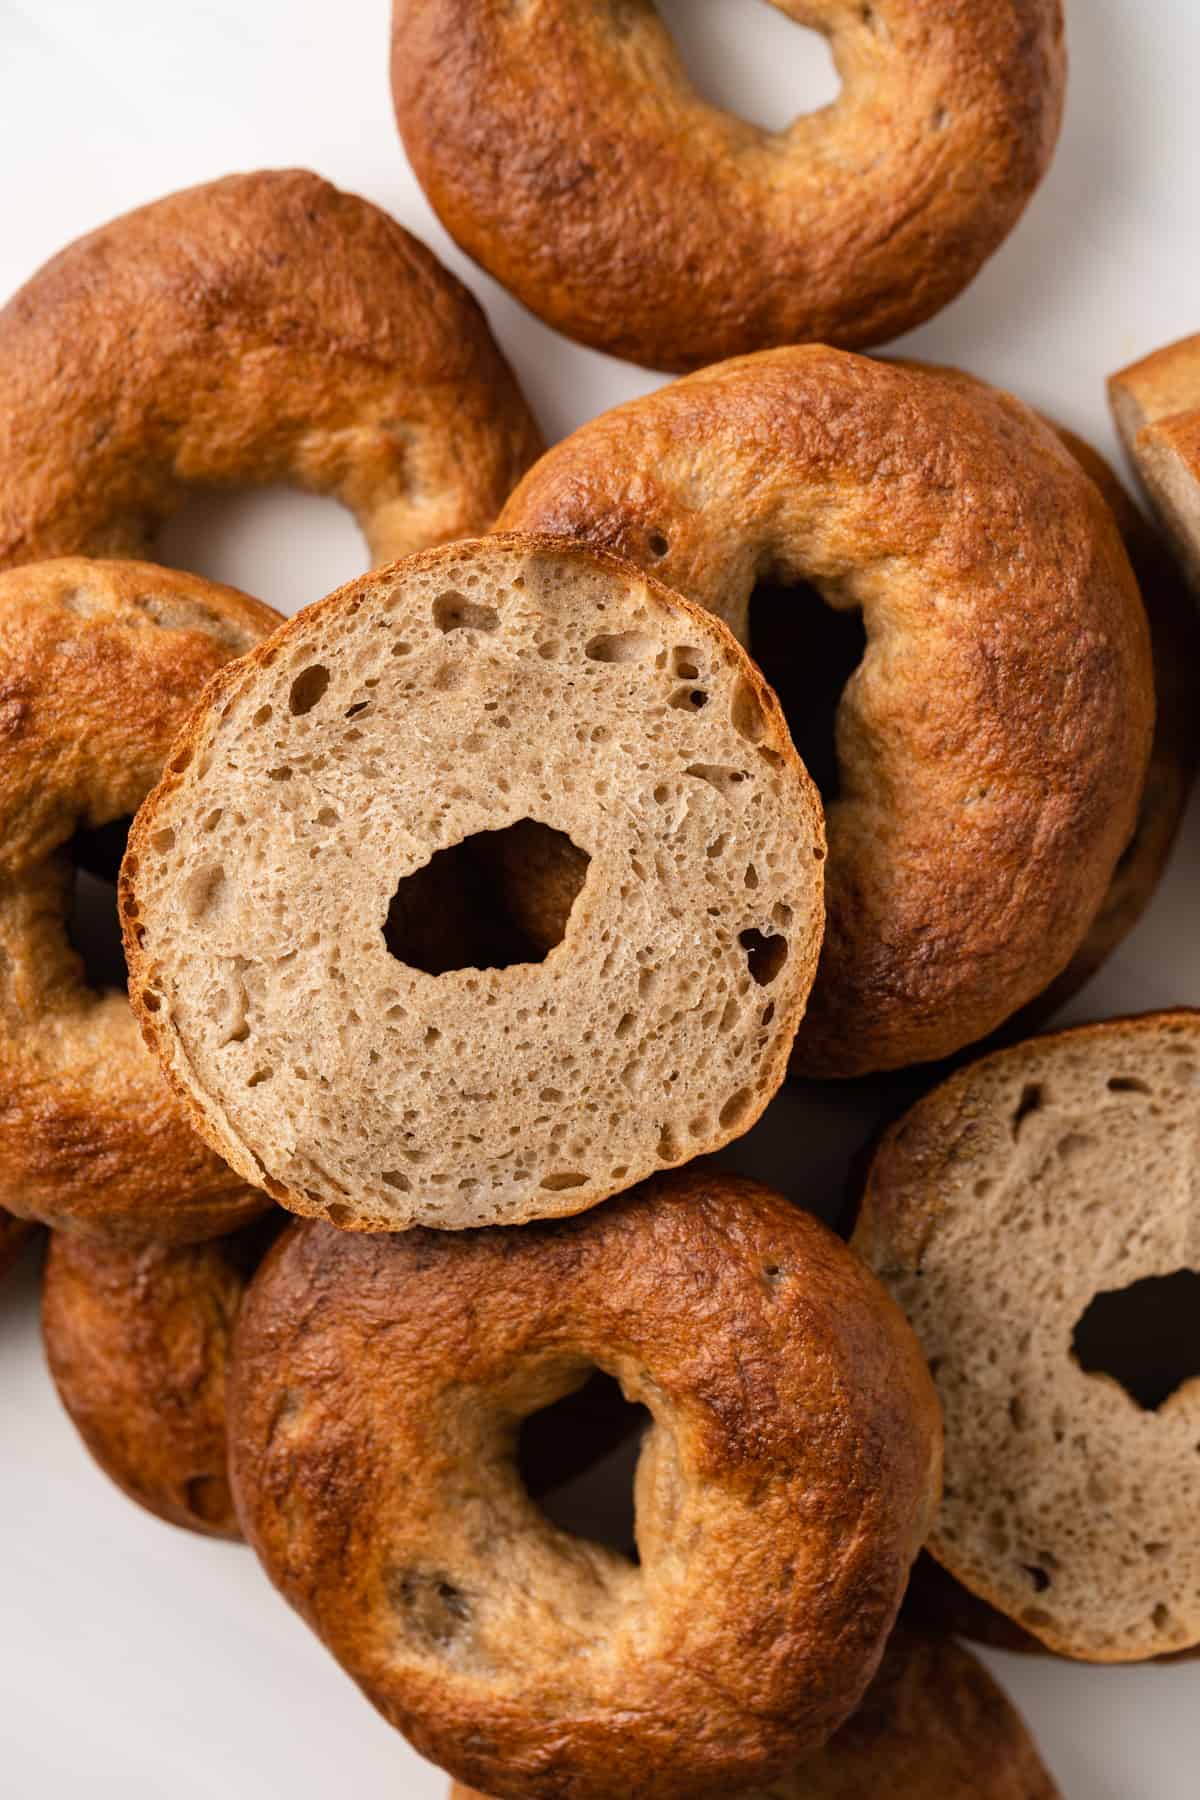
These bagels are the real deal!
If you’ve had an authentic, New York style bagel before, you know they’re something special. A slightly crisp exterior gives way to an irresistibly chewy interior that’s even tastier when golden brown and toasty.
They’re nothing like the bagels you buy in plastic bags at the grocery store—and these Maple Cinnamon Bagels are made the New York way.
To achieve this, you have to do some work. Is it worth it? Absolutely! And not just because nothing beats a homemade bagel—you’ll also save money making your own and you get a sense of satisfaction from the process.
And like my homemade English muffins, they freeze well so you can always have them on hand for a quick breakfast.
What you’ll need
The ingredient list for Maple Cinnamon Bagels is simple, but because baking is a science (especially baking bagels!), it’s important to get the exact ingredients listed, rather than winging it with what you have on hand.
Ingredients for cinnamon bagels
The full recipe with ingredient amounts can be found at the end of this post in a printable recipe card!
- Unbleached bread flour: Bread flour isn’t the same as standard flour; it has a higher protein content, which is critical for a bagel. The extra protein contributes to the chewy texture.
- Instant yeast: You need 1 tablespoon which a little more than 1 packet.
What if I only have active dry yeast?
I prefer instant yeast because it’s reliable. However, you can use active dry yeast. Warm the water and maple then stir in the yeast. Allow it to sit for 5 minutes until foamy. It’s now ready to use.
- Light brown sugar: The very light molasses flavor adds a layer of warmth to the bagels. You can use granulated sugar if needed.
- Ground cinnamon: One of the star flavors!
- Salt: A little salt helps keep the yeast in control.
- Warm water: Make sure the water isn’t above 115°F or it could kill the yeast.
- Maple syrup: Use real maple syrup, not pancake syrup.
Recommended tools
- Mixer: I prefer to use a stand mixer with the dough hook attachment. You can also mix the dough in a bowl with a wooden spoon then knead by hand.
- Bench scraper: This is a handy tool used to scrape the dough out of the bowl and to cut it. I often use a metal scraper but the plastic scrapers work best for sticky doughs.
- Baking sheet: You’ll two large baking sheets to bake the bagels.
- Skimmer spoon: I find it easiest to use a skimmer spoon to remove the bagels from the water bath.
How to make maple cinnamon bagels
Making bagels isn’t necessarily hard, but it does require some time and effort. Make sure you allow yourself ample time for the recipe—this isn’t one to start a few minutes before you have guests coming over!
Here’s how to make cinnamon bagels like a pro:
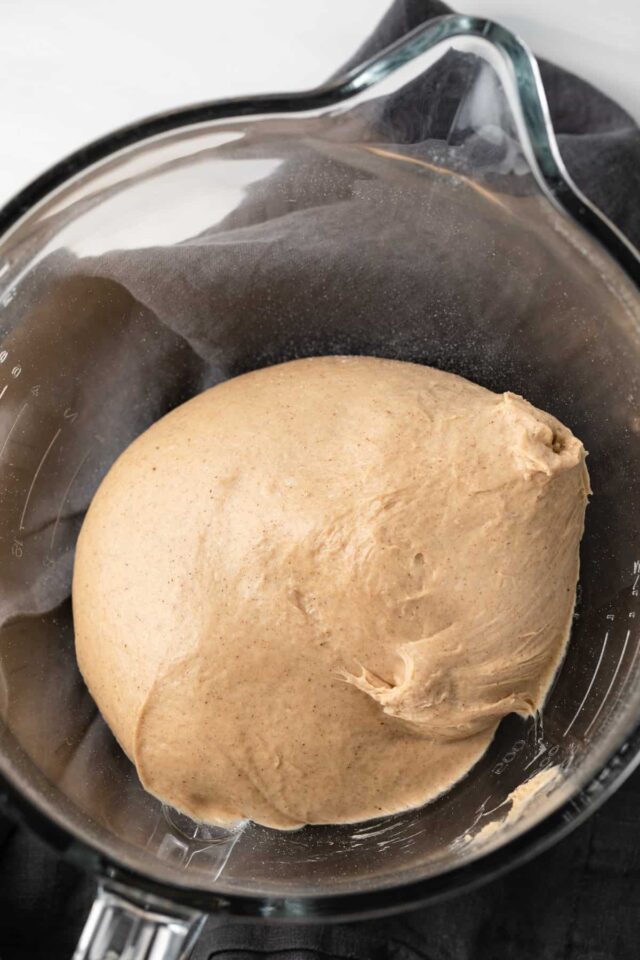
- Make the dough. Combine all the ingredients for the dough in the bowl of a stand mixer. Attach the dough hook to your stand mixer and mix on low until everything is incorporated. Turn the speed up to medium and mix until dough is one cohesive mass.
The dough will pull away from the sides of the bowl and become very stiff.
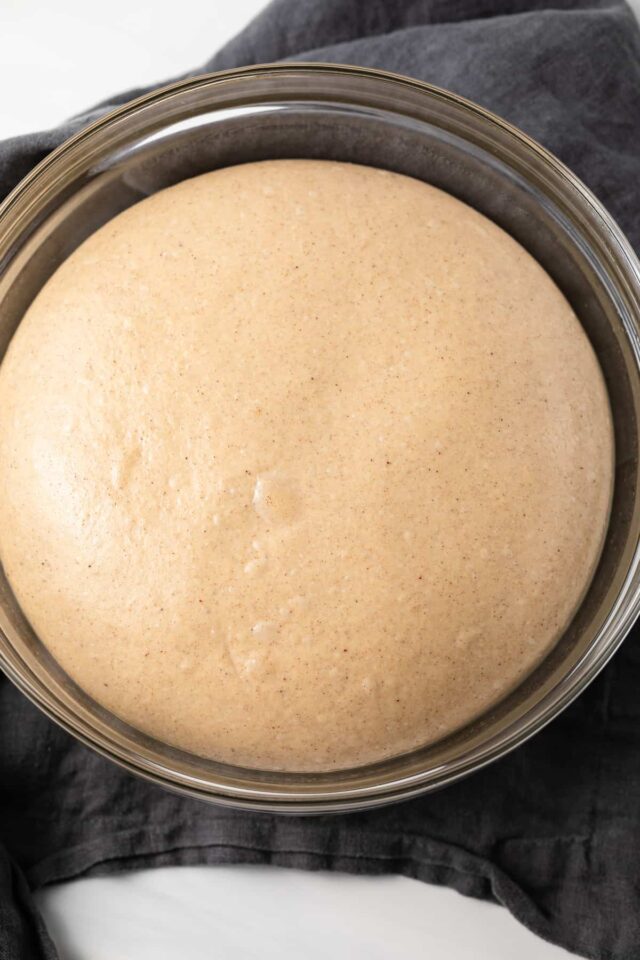
- Let the dough rise. After the dough has come together, leave it in the bowl, cover, and let it rise for 45-60 minutes. It may not completely double in size but should be noticable risen.
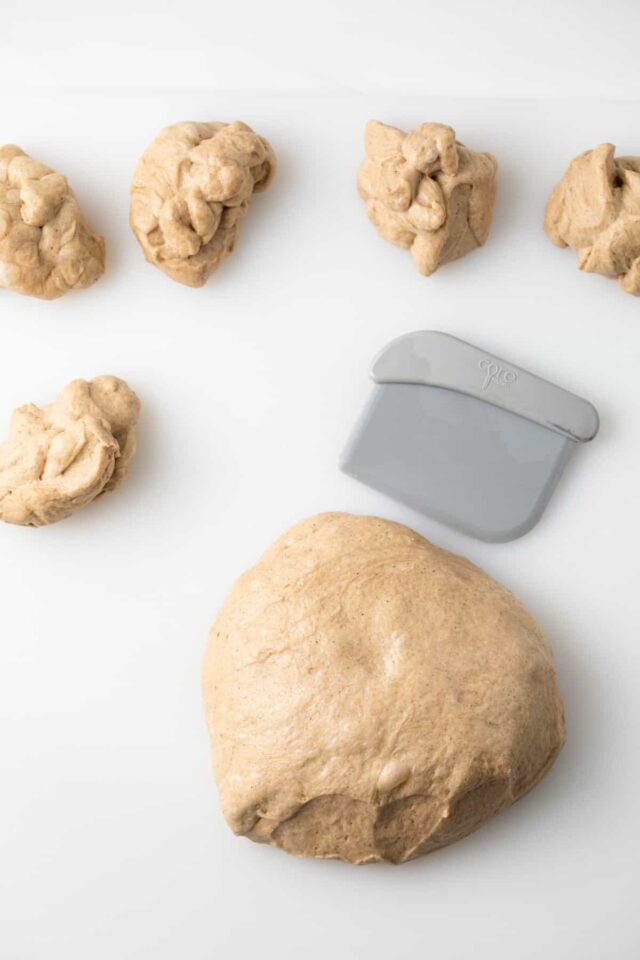
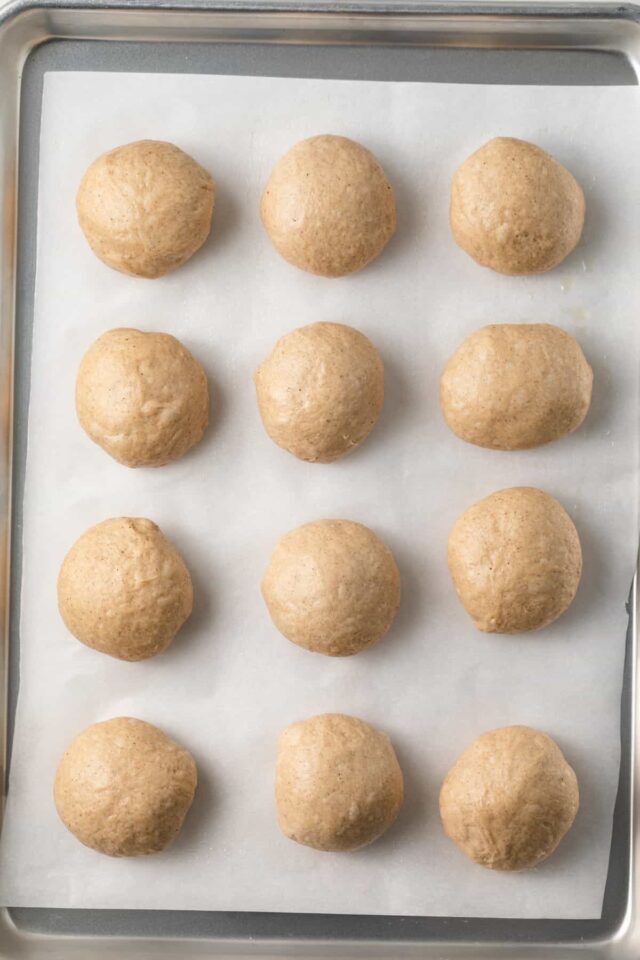
- Divide the dough. Place the dough onto a lightly floured cutting board and divide it into twelve even pieces. Roll each piece into a ball and place them on a parchment-lined baking sheet.
- Let the dough rise again. Cover the balls with plastic wrap and let rise until risen about 20% in volume. This can take about 30 minutes.
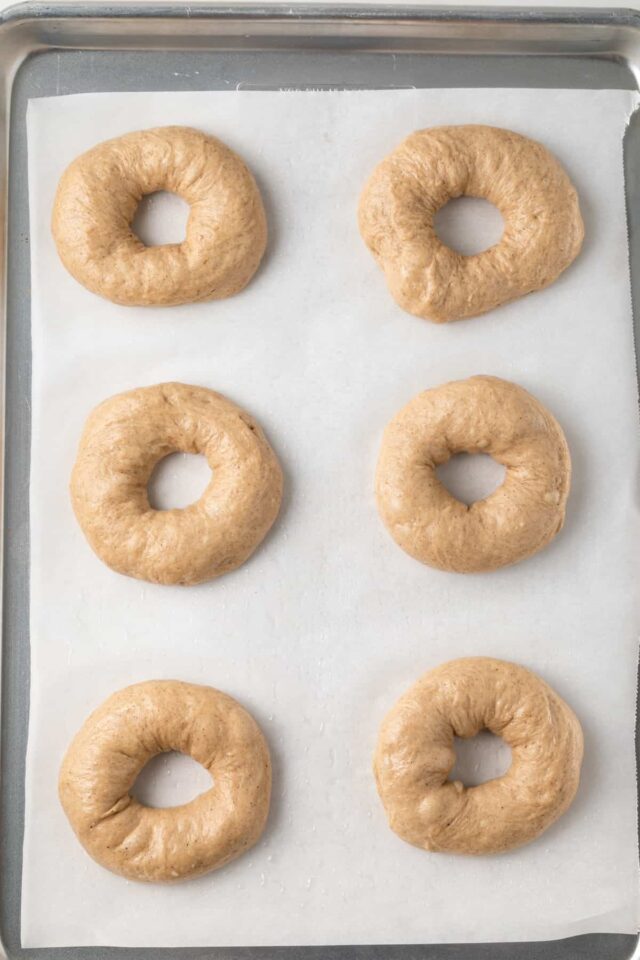
- Shape the dough into cinnamon bagels. Press one finger right through the center. Pick up your dough and make a hole in the center where you pressed your finger. Using your index fingers, place each one through the hole on both sides of the bagel and rotate your finger around in a rolling motion.
Try to make the hole 50% larger than you want it to be because it will shrink as the bagel cooks.
Do you have to boil bagels?
Yes! Boiling the bagels will help develop the dense chewy crumb and dark golden crust. Here’s the proper way to do it for this recipe…
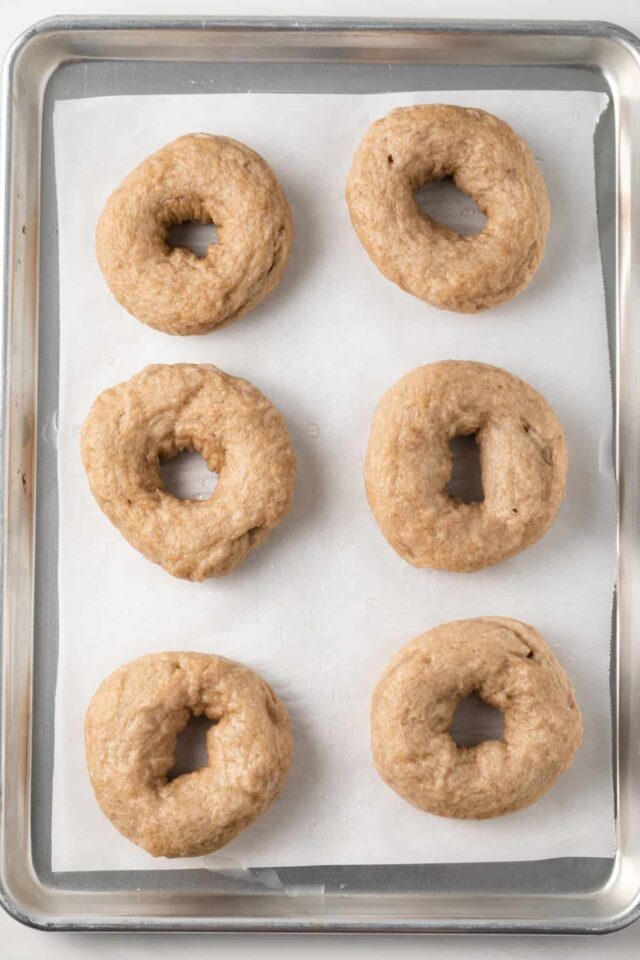
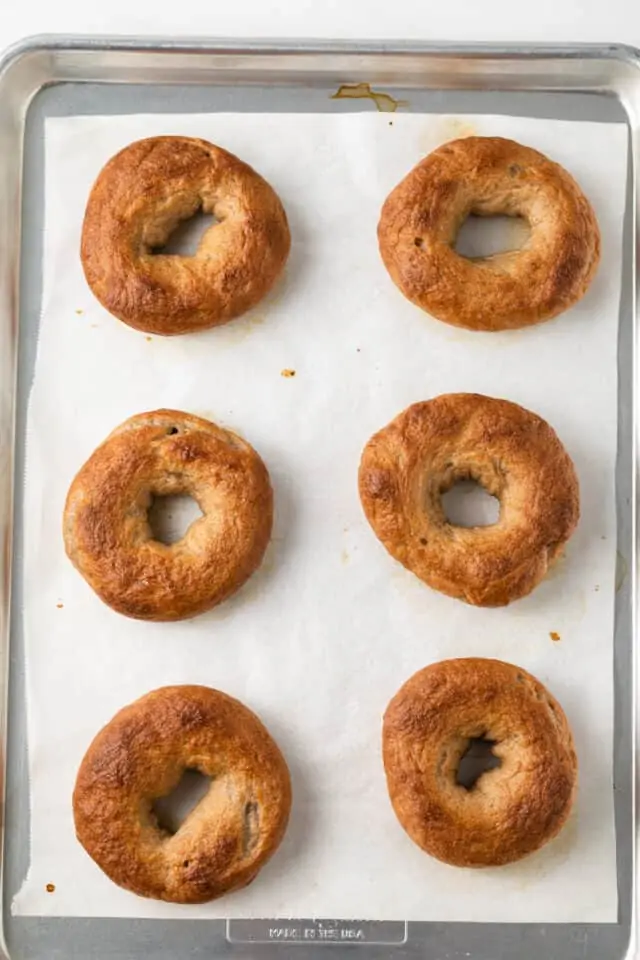
- Boil the bagels. Bring water and maple syrup to a boil in a large shallow pot and boil the bagels for 1 ½ minutes on one side. Turn them carefully and boil for an additional minute. (This is how they get their signature golden color, similar to soft pretzels.) Place them back on the baking sheets.
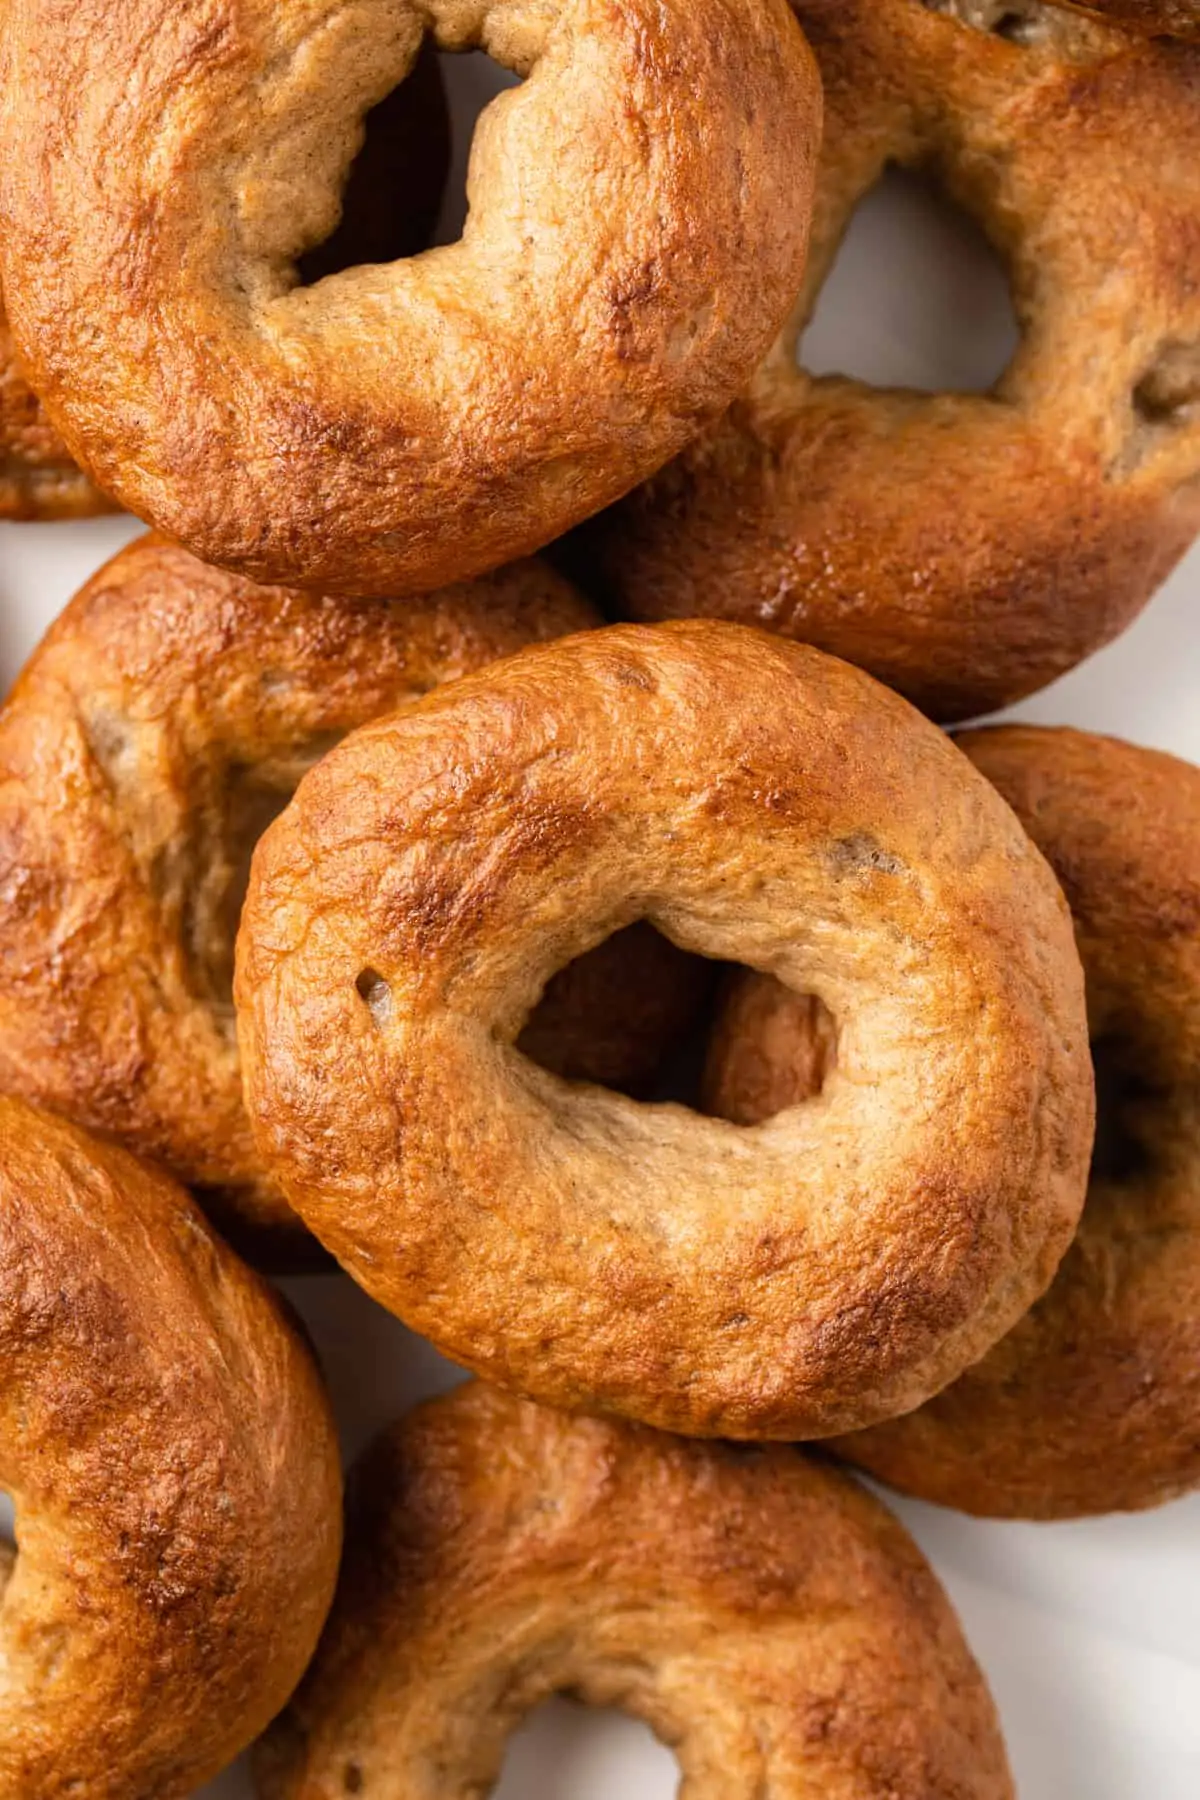
- Bake the bagels. Place the bagels on a parchment-lined baking sheet and bake them for 25 minutes in a 400ºF oven. Turn each bagel over halfway through the cooking time to help them brown evenly. They will have a nice golden brown color once they are done.
Tips for success
These tips will help you make perfect Maple Cinnamon Bagels:
- Properly measure the flour. Don’t use your measuring cup to scoop the flour out of the bag or canister; you’ll end up with more flour than needed and your dough won’t turn out quite right. Instead, use a spoon to fill your measuring cup, then level the top using a butter knife. Or for the best results, weigh the flour and all other ingredients.
- Shaping the bagels: I use the beginner method for shaping bagels. It’s easier and has less room for error. If you are an advanced baker and want to shape the bagels the way the pros do it, feel free. If you’re a novice baker but want to practice bakery-style bagels, watch this video for shaping bagels.
- No stand mixer? You can knead Maple Cinnamon Bagels by hand, too. Just knead for 10 minutes on a floured surface. If the dough feels sticky, sprinkle it with a small amount of flour.
How to store homemade bagels
Your bagels will keep at room temperature for up to 4 days or up to a week in the refrigerator. Store them in an airtight container, but do note that the crispy exteriors will soften a bit when stored.
Bagels can also be frozen for up to 3 months!
Serving suggestions
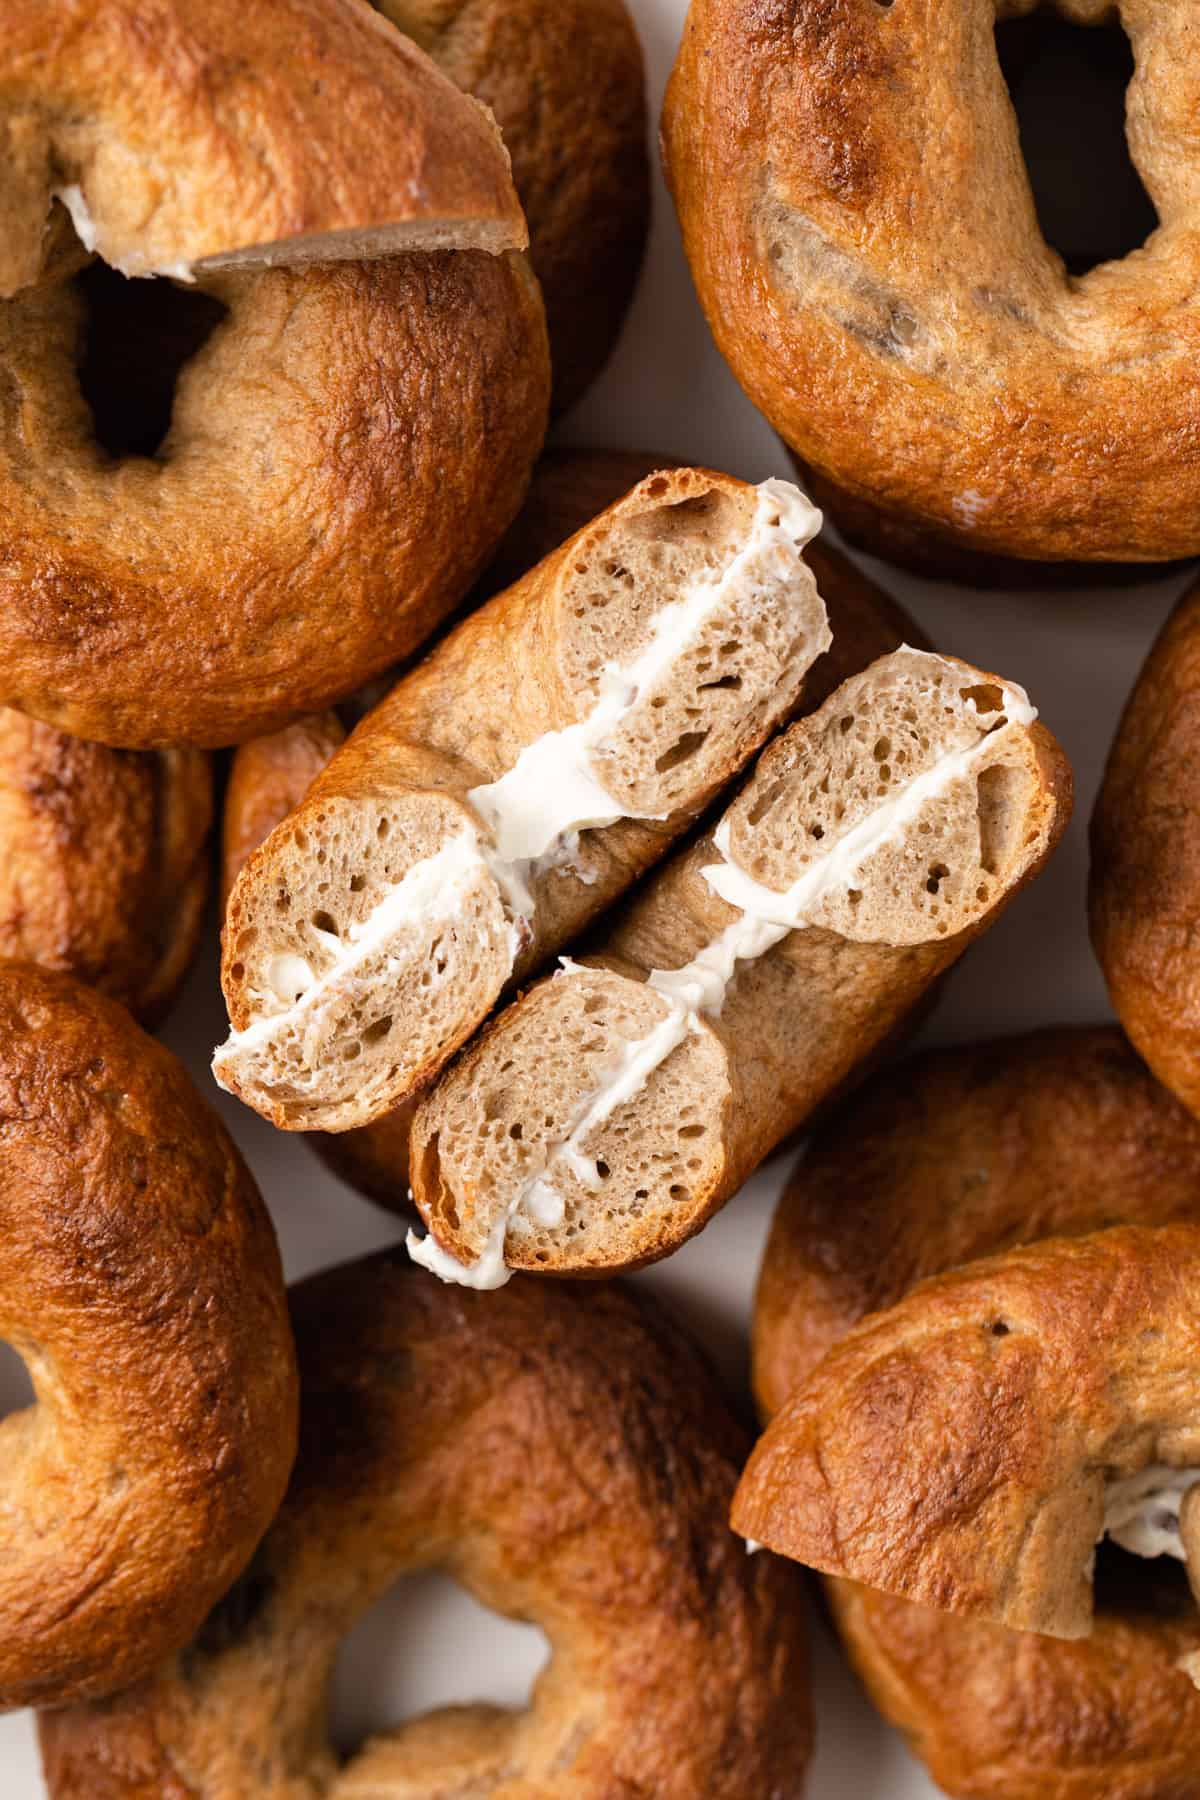
Make these maple cinnamon bagels as part of a brunch spread, along with cinnamon raisin bread, and your guests will be in awe of your baking skills! Pair them with:
- Compound butter made with cinnamon and maple
- Almond butter sweetened with a little bit of maple syrup, then top with apple or pear slices
- Homemade Apple Butter
- Nutella and banana slices
- Cream cheese—especially one of the fancy sweet varieties!
- Pumpkin Jam
- PB&J, which is even better when made with a bagel instead of bread!
Homemade Maple Cinnamon Bagels
Ingredients
For the bagels
- 4 ½ cups (585 g) unbleached bread flour
- 1 tablespoon (9 g) instant yeast
- 3 tablespoons light brown sugar
- 1 tablespoon ground cinnamon
- 2 teaspoons salt
- 1 ⅓ cups (320 ml) warm water, 105-115ºF
- ¼ cup (78 g) real maple syrup
For the water bath
- 2 quarts (1892 ml) water
- ¼ cup (78g) real maple syrup
Instructions
- Combine the flour, yeast, brown sugar, cinnamon, salt, warm water, and maple syrup in the bowl of a stand mixer fitted with the dough hook. Mix on low speed until the ingredients are fully incorporated.
- Turn the speed up to medium and knead for 10 minutes. This is a stiff dough and will form into one cohesive mass. This makes it difficult to knead since the dough will flop around the bowl. If kneading by hand, knead for about 15 minutes.
- Shape the dough into a ball and place it in a lightly oiled bowl. Cover with plastic wrap and set in a draft-free place to rise for about 45 to 60 minutes. It may not double in size, but it should be noticeably puffy.
- Line two baking sheets with parchment paper and spray the paper with nonstick spray, set aside
- Turn the dough out onto a clean work surface and divide it into 12 equal pieces about 86 grams each. Working with 1 piece at a time, roll into a smooth ball. Place the balls onto one of the prepared baking sheets and cover with plastic wrap. Allow them to sit until they’ve increased about 20% in volume, about 30 minutes.
- Meanwhile, combine the water and maple syrup in a large wide pan. Bring to a gentle boil. Preheat the oven to 400°F.
- Shape the dough by pressing one finger right through the center. Pick up your dough ball and make a hole in the center where you pressed your finger. Using your index fingers, place each one through the hole on both sides of the bagel and rotate your finger around in a rolling motion. Try to make the hole 50% larger than you want it to be because it will shrink as the bagel cooks. Place 6 bagels on each baking sheet.
- Transfer bagels to the water bath, fit as many as you can without crowding the pot. Boil for 1 ½ minutes, flip them and boil for 1 minute more. Use a skimmer or strainer to remove the bagels and place them back on the baking sheet. Continue with the remaining bagels.
- Bake for 20-25 minutes or until lightly golden brown, flipping halfway through the baking time.
- Remove from the oven and transfer to a wire rack until cooled completely.
Notes
- Bread flour: It’s important to use bread flour. The high protein content is what gives the bagels their classic chewy texture. Do not substitute for a different flour. The results will not be the same.
- Yeast: I prefer instant yeast because it’s reliable and makes the process of making the dough go much faster. However, you can use active dry yeast. Warm the water, add the maple, and stir in the yeast. Allow it to sit for 5 minutes until foamy then add it to the rest of the ingredients in the mixing bowl.
- Maple syrup: Be sure to use real maple syrup. If you are allergic to maple or simply don’t like it, use pure honey instead.
- Shaping the bagels: I use the beginner method for shaping bagels. It’s easier and has less room for error. If you are an advanced baker and want to shape the bagels the way the pros do it, feel free. If you’re a novice baker but want to practice bakery-style bagels, watch this video for shaping bagels.
- Halved: This recipe can easily be halved! Simply divide all the ingredients in half except for those needed for the water bath. Use a scale for accurate measurements.
- Doubled: I do not recommend doubling the recipe. For the best results, taste, and texture, make two separate batches.
- Baked and cooled bagels will keep for up to 4 days stored in an airtight container at room temperature. Or for up to 1 week in the refrigerator.
- Baked and cooled bagels will freeze well for up to 3 months. Thaw in the refrigerator overnight then warm as desired.
Nutrition
The nutrition information provided is for convenience and as a courtesy only. It is not guaranteed to be accurate because nutrition information can vary for a variety of reasons. For precise nutritional data use your preferred nutrition calculator and input the exact ingredients and brands you used in the recipe.

Okay, you said this was a tough dough, but mine nearly broke my mixer. Should I add water until it’s smoother?? I fear I just wasted a lot of ingredients on this.. I’m still going to go through with baking them so we’ll see
If it was that stiff, it sounds like you added too much flour. It should still be easy to work with and soft enough to knead by hand. Make sure to spoon and level the flour into the measuring cup but I highly recommend using a kitchen scale for the most accurate measurements.
These bagels are delicious! I have been struggling to find a recipe that worked for me and a couple have turned out not so great.. but this one is perfect!
If you make two batches; can you use the same maple syrup/water bath?
Good question! I don’t see why that would be a problem, so I say yes.
Thanks!!! These were an awesome hit and I can see myself making two batches easily! Super easy to make with a delicious result!!
Made these with half white bread flour and half whole wheat flour and they are delicious. You step by step guide to make these is well done. Thank you for sharing
Homemade bagels are so much better than store bought! I love that you used maple syrup in the dough, I bet they turned out really delicious (and your photos are great!) 🙂
They were exceptionally tasty and they freeze well, so decided to keep them all instead of giving them away. 😉 Thank you so much stopping by and commenting!