Dinner Rolls
This post may contain affiliate links. Read the full disclosure here.
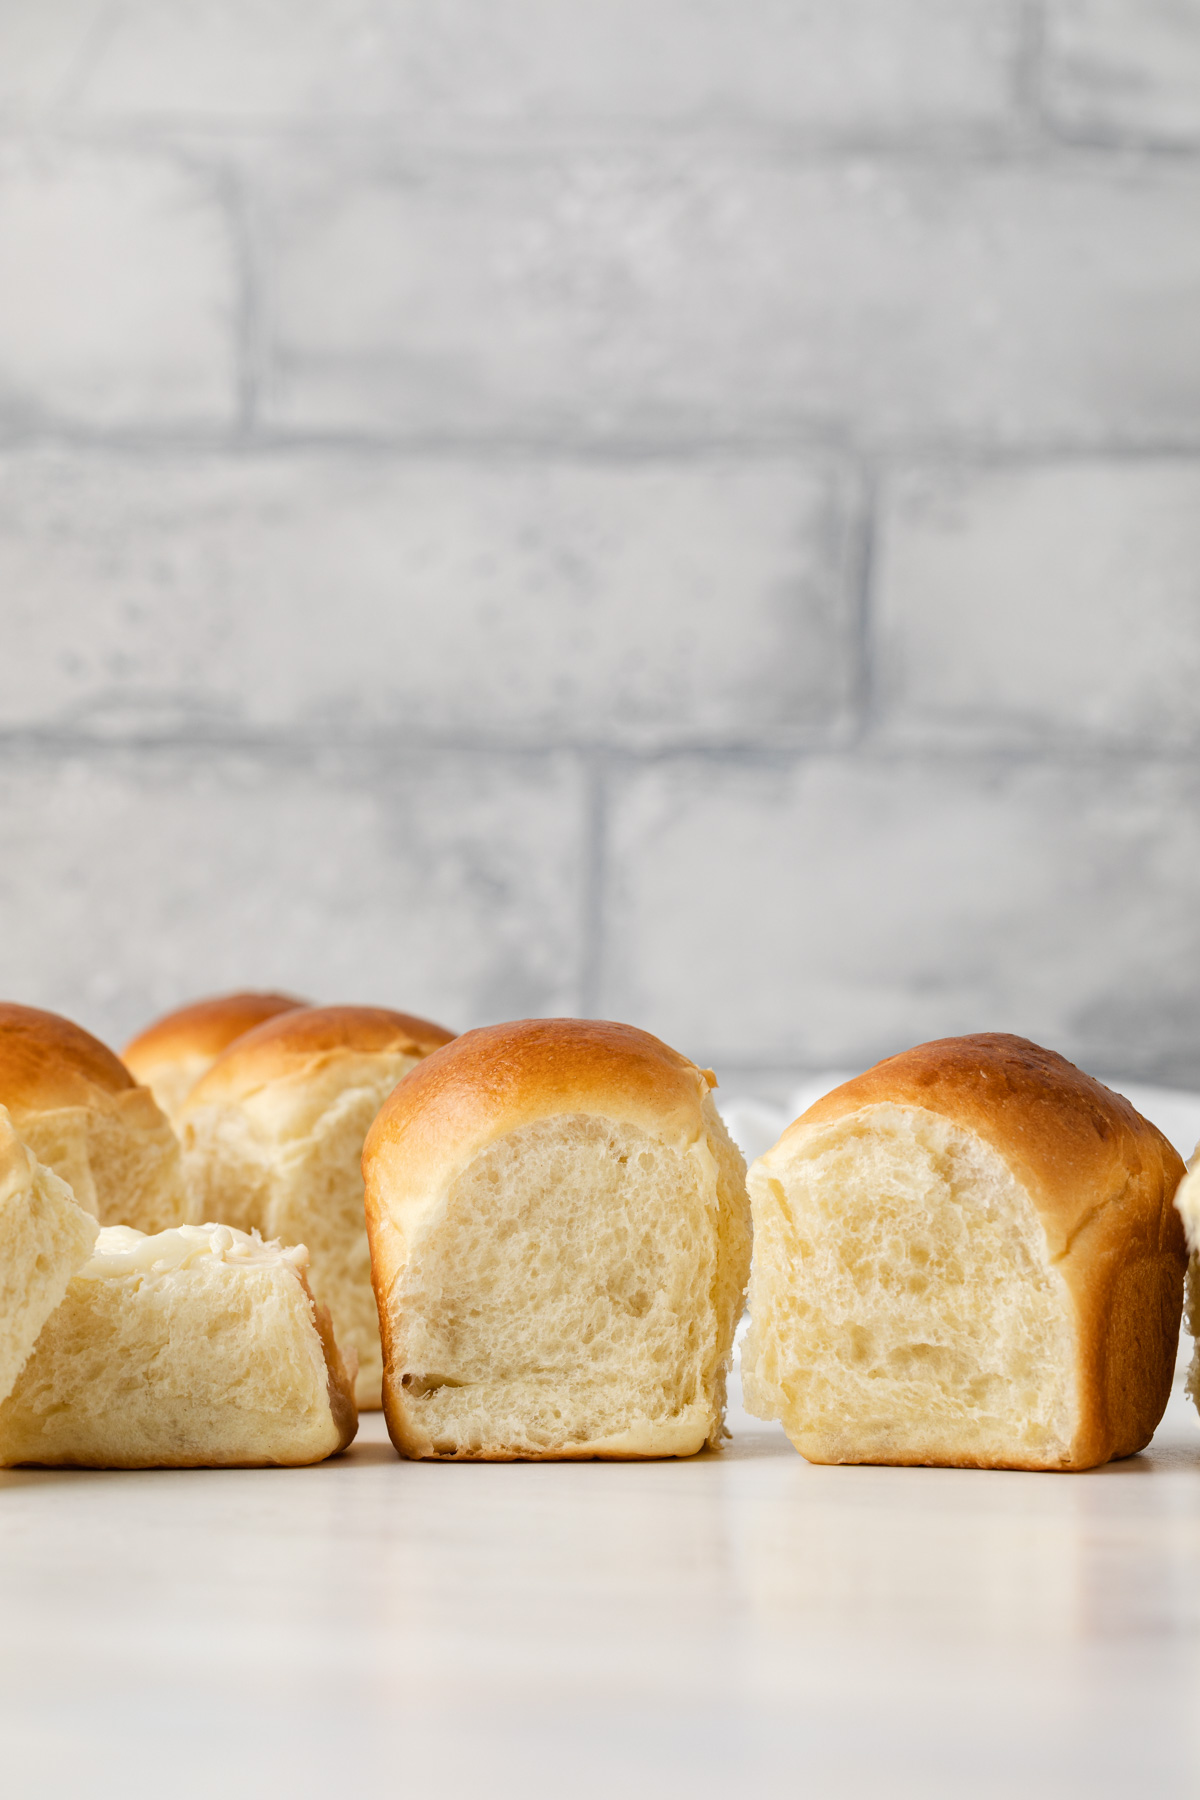
With just 7 ingredients, these Homemade Dinner Rolls are light, soft, and buttery. The perfect addition to any dinner table!
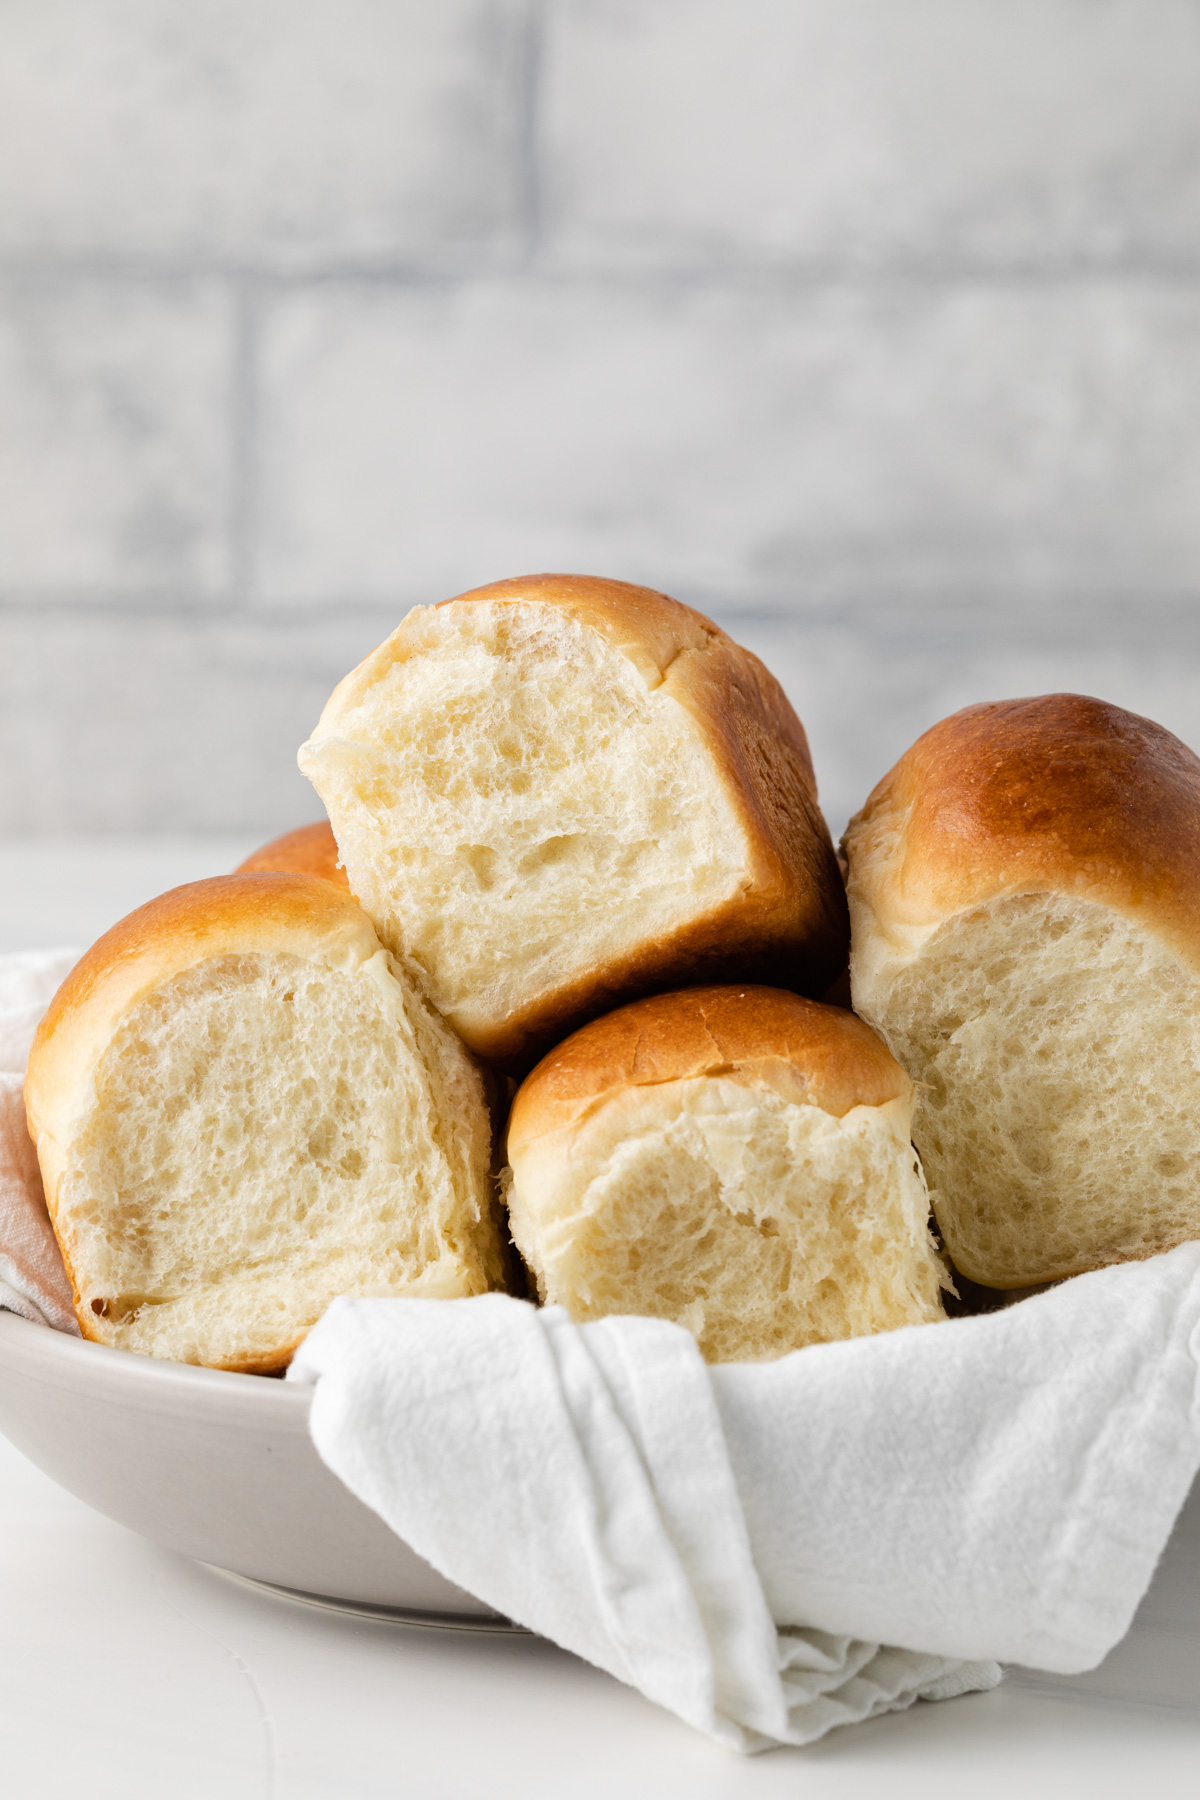
Easy Yeast Rolls
If the idea of making homemade dinner rolls from scratch seems difficult or too time-consuming, I hope this recipe will change your mind!
While yes, you do need about 2 hours for these yeast rolls the rise, the process to make them is quite simple and most of the time is hands-off as well.
The soft and fluffy rolls that you pull out of the oven are well worth the wait too! Nothing you can buy at the store will compare to these.
This very easy yeast bread recipe is adapted from my Hawaiian sweet rolls and. This version is more traditional – it’s not as sweet and has no Hawaiian flavor – but is just as light and fluffy.
If you’re planning on serving bread on your holiday table, definitely give these easy dinner rolls a try along with this herbed focaccia!
Ingredient Notes
Seven simple ingredients are all you need in this easy yeast bread recipe.
- Whole milk – Using whole milk will create the softest dinner rolls as well as a better flavor. You can substitute with low fat or nondairy milk if needed.
- Butter – I used unsalted because I like to add salt to the dough myself to control the saltiness.
- Sugar – Sugar is what feeds the yeast to help the homemade rolls rise.
- Salt
- Eggs – Eggs add extra richness to the dough.
- Yeast – Two envelopes of active dry yeast are needed to create the rise in these dinner rolls. It seems like a lot, but trust me on this one.
- I didn’t test this recipe with instant yeast but I imagine it would be fine to use. The rise times may be shorter.
- Bread flour – You can also use all-purpose flour but I prefer bread flour for chewier rolls.
How to Make Dinner Rolls
If you’ve never made yeast rolls before, this recipe is a great place to start! These rolls come together in just a few easy steps.
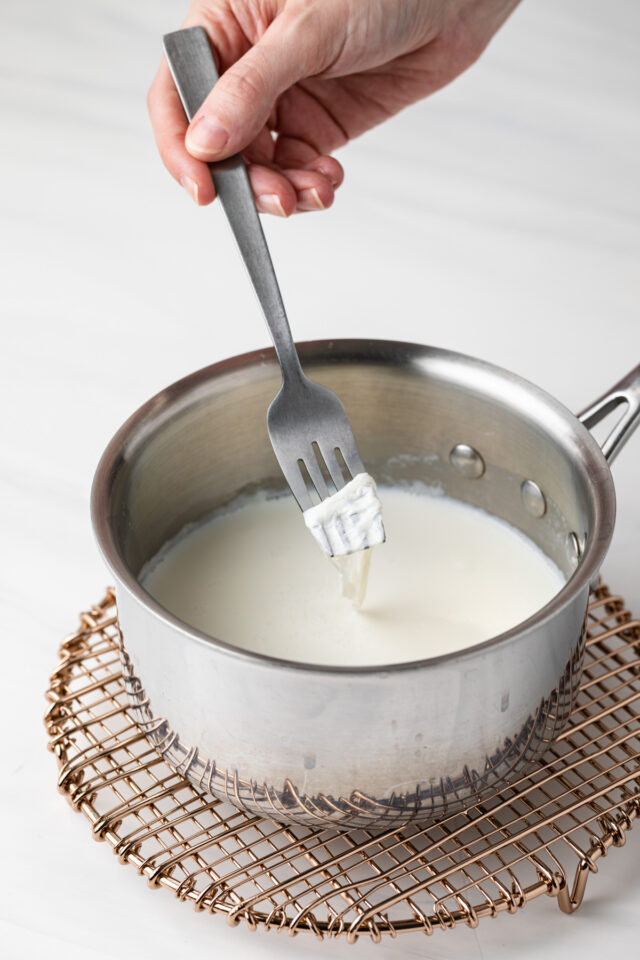
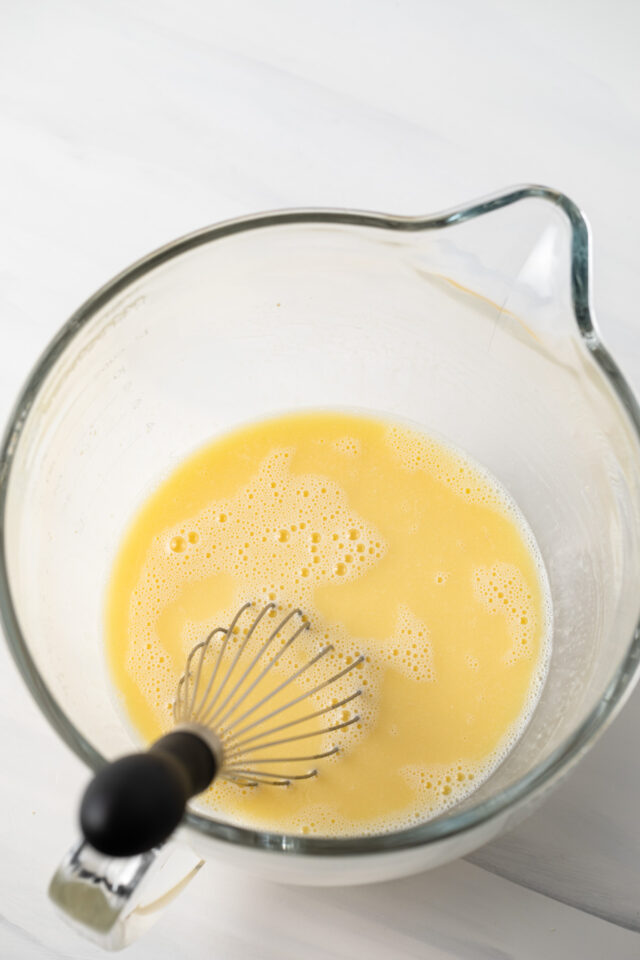
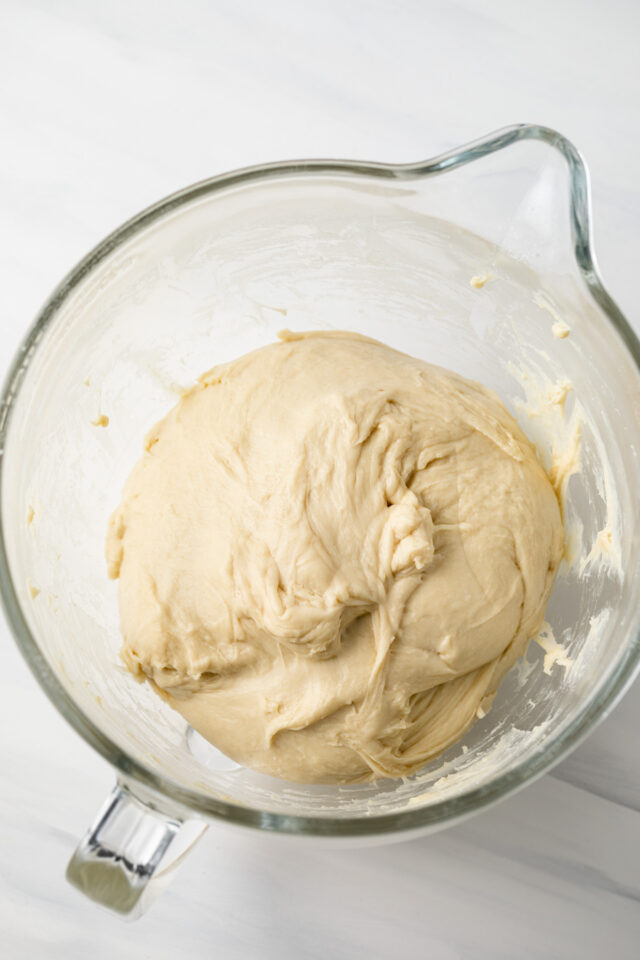
Make the dough. Boil the milk then remove from heat and let stand until a skin forms on the surface. Transfer the warm milk to a stand mixer and whisk in melted butter, sugar, and salt.
Once the mixture is warm to the touch, whisk in 2 eggs and the yeast. Add the flour and knead until the dough pulls away from the sides of the bowl.
Knead the dough. Transfer the dough to a lightly floured surface and knead by hand until very soft and but still moist.
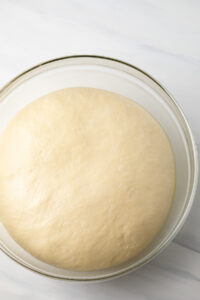
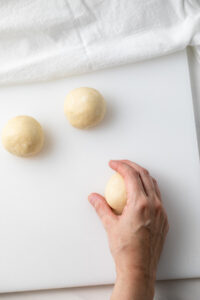
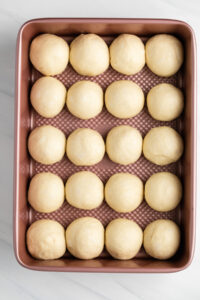
Let rise. Transfer to a large, oiled bowl and cover with plastic wrap. Let rise for about an hour, until it has doubled in size. Punch the dough down and let rest for 10 minutes.
Shape the dough. Shape the dough into 20 balls and arrange the dough balls in a buttered baking pan.
Let rise again. Loosely cover the baking pan with plastic wrap and a kitchen towel. Allow the rolls to rise until they’ve almost doubled in size. This should take 30 to 45 minutes.
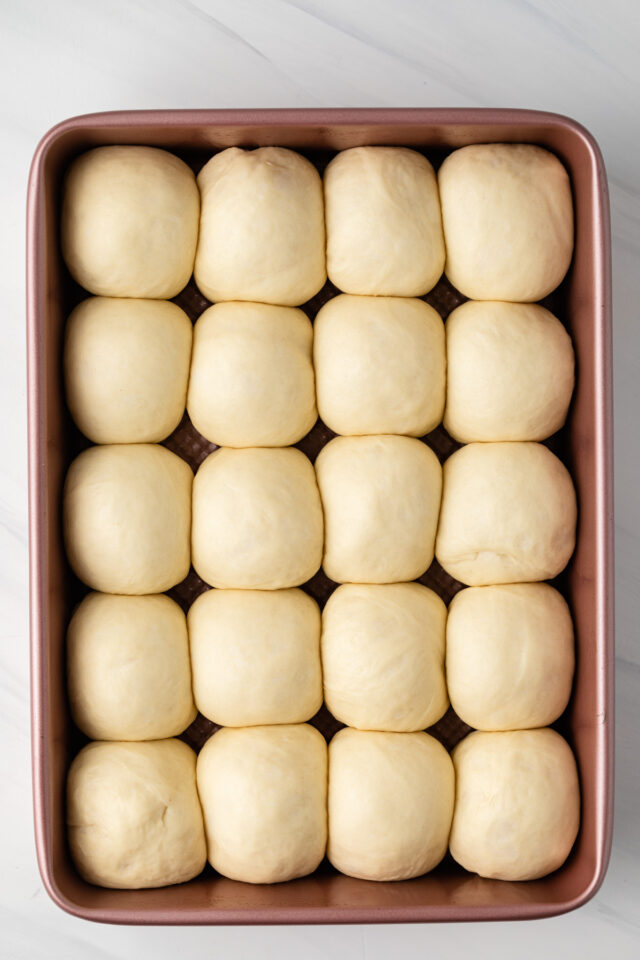
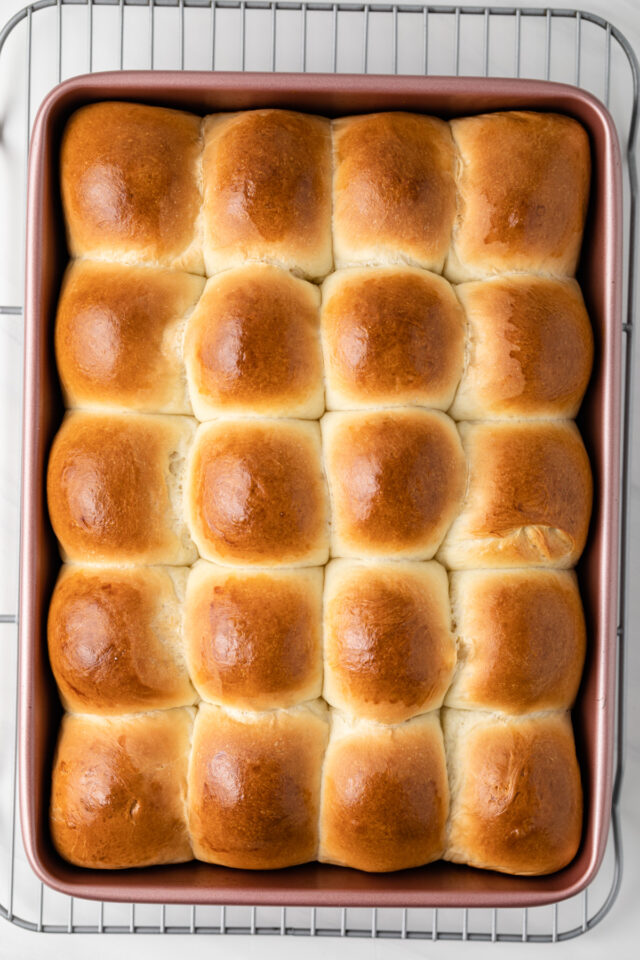
Bake. Whisk the remaining egg with water. Brush lightly over the rolls. Bake for 25 minutes.
Cool. Let the rolls cool for 3 minutes in the pan then invert onto a wire rack and cool for 10 minutes. Serve warm.
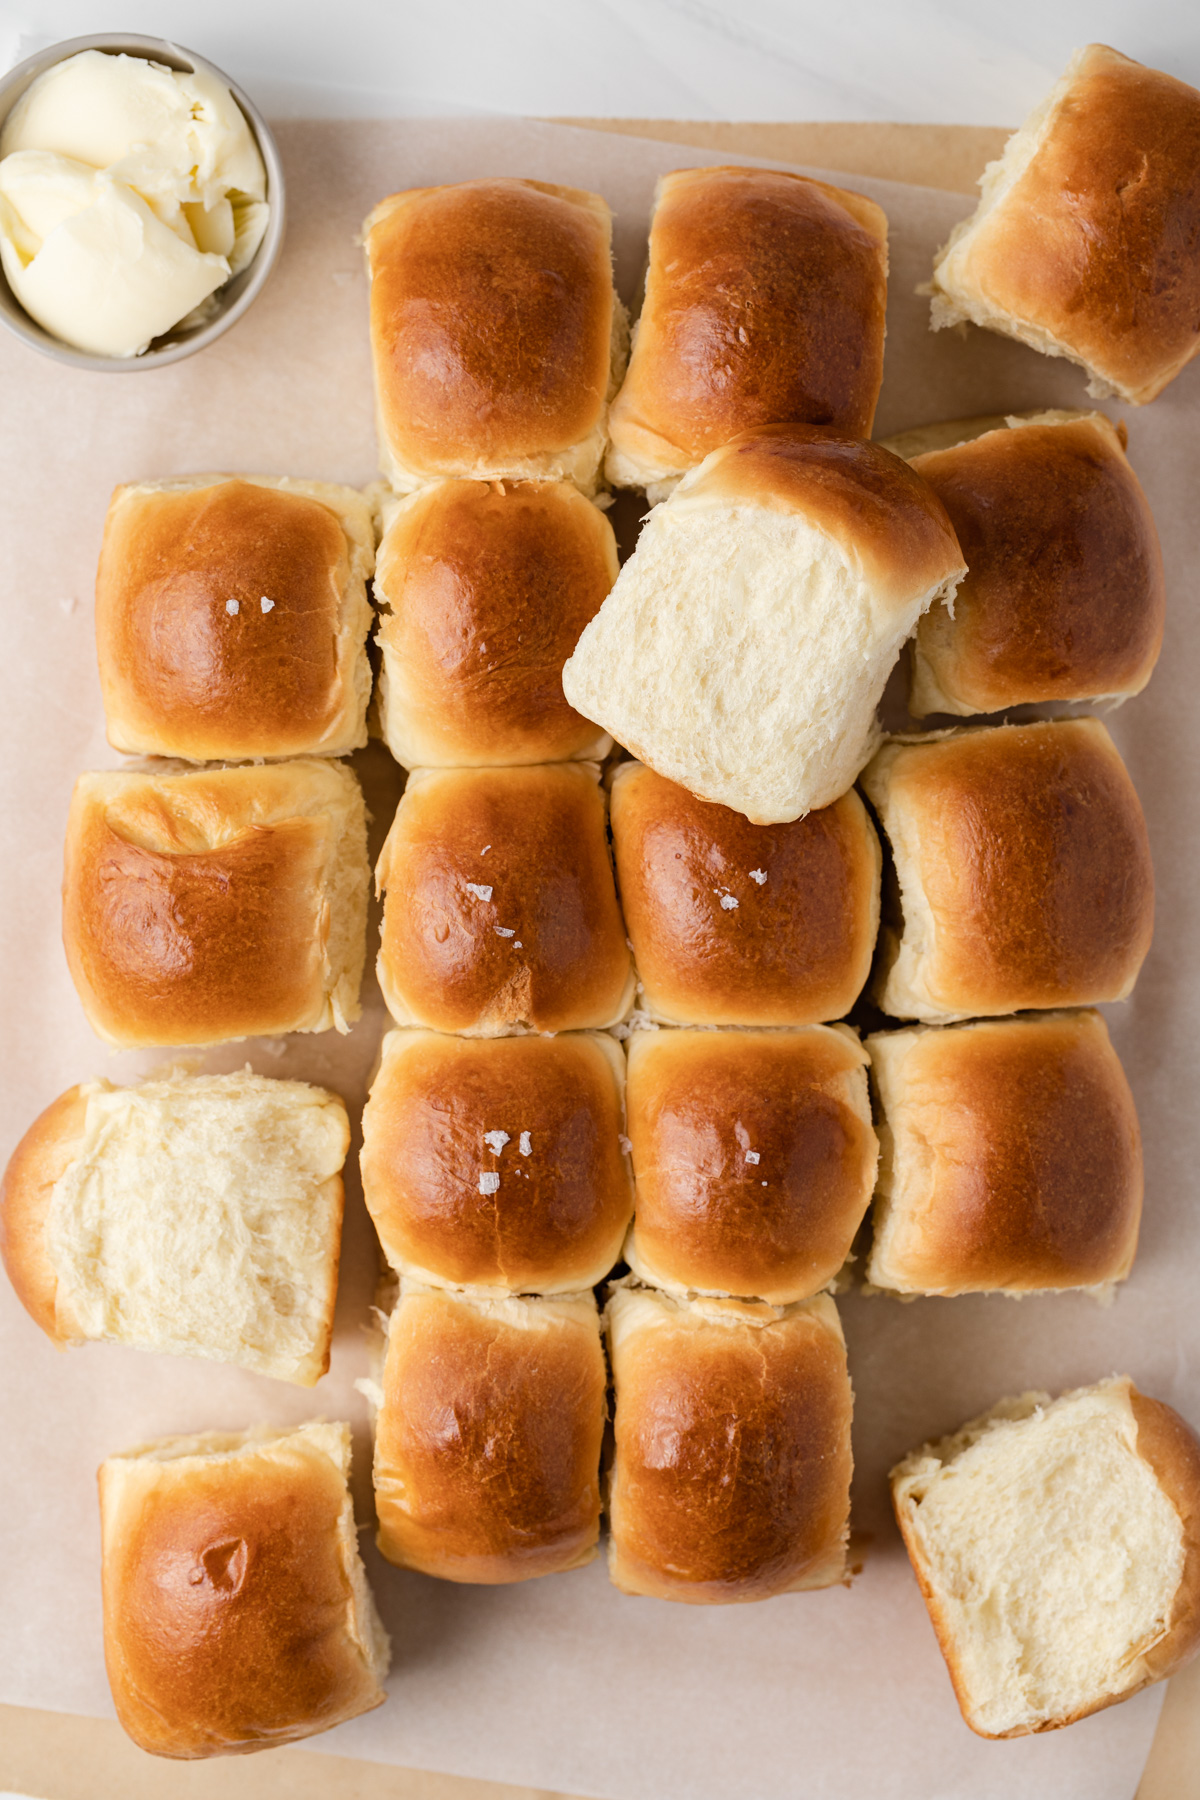
If desired, immediately brush rolls with melted butter when you remove them from the oven. A sprinkle of flaked sea salt is also a lovely addition.
Tips for Success
Here are a few things to keep in mind when working with yeast rolls.
- Check the expiration date on the yeast. Yeast does expire and if it has, the dough won’t rise as it should. Double check the expiration date and if it’s passed, toss that packet and grab a new one.
- Measure the flour properly. Be sure to use the exact amount of flour listed in the recipe. Using too little or too much will affect the texture of the rolls.
- Add more flour is necessary. If the dough is sticky while in the mixer or as you need it, you can add flour 1 tablespoon at a time so it’s not as sticky. But be careful not to add too much extra flour or the rolls will be dense and dry.
Dinner Roll Add-Ins
Tired of boring dinner rolls? You can easily switch these yeast rolls up by mixing in some flavor. Here are a few ideas:
- Shredded cheese (cheddar is a great option)
- Fresh herbs like rosemary
- Dried spices like rosemary, basil, or parsley
- Garlic powder or garlic salt
- Seasoning mixes like Italian seasoning
Serving Suggestions
These dinner rolls can be served with virtually any meal. They’re perfect for holiday meals, whether it’s Christmas, Thanksgiving, or Easter, but they don’t have to be reserved for a special occasion either.
These are soft and buttery enough that they can be enjoyed without any add-ons but feel free to cut them in half and add some butter. Some whipped cinnamon butter would be perfect!
Can I Make These In Advance?
One of the great things about these yeast rolls is that they can be prepared in advance. While you can freeze baked dinner rolls (see below), you can also prepare and freeze the dough or just prepare and shape the dough the night before.
To make this dinner rolls recipe in advance, prepare the dough as directed, let it rise, shape the rolls, and then, instead of allowing them to rise again, cover and place them in the fridge. You can refrigerate them for up to 16 hours. Remove from the fridge and allow to sit on the counter for at least 3 hours before baking, so the dough comes to room temperature and continues to rise.
If you won’t be baking the dinner rolls within 16 hours, you can also freeze them. Instead of placing the pan in the fridge, place it in the freezer. Flash-freeze the rolls on the baking sheet then, once frozen, transfer to a freezer bag. Place on the counter for 4-5 hours to thaw and finish rising before baking.
How to Store & Freeze
- How to store leftover dinner rolls. Store leftover rolls in an airtight container. They’ll last for 3 days at room temperature.
- How to freeze baked dinner rolls. Transfer to an airtight container or freezer bag. They will freeze well for up to a month.
More Bread Recipes
Dinner Rolls
Ingredients
- 1 ⅔ cups (400 ml) whole milk
- ½ cup (113 g) unsalted butter, melted
- ¼ cup (50 g) granulated sugar
- 2 teaspoons salt
- 3 large eggs, at room temperature, divided
- 4 ½ teaspoons active dry yeast, 2 envelopes
- 5 cups (650 g) bread flour
Instructions
- Bring the milk to a boil in a saucepan over medium heat. Remove from heat and let stand for 3-5 minutes, until a skin forms on the surface.
- Use the tines of a fork to remove the skin then transfer the milk to the bowl of a stand mixer. Whisk in the melted butter, sugar, and salt. Allow the mixture to sit until just warm to the touch (about 105-110°F). Whisk in 2 of the eggs (save the third egg for the egg wash) and yeast until combined.
- Add the flour and mix with the dough hook on low speed until combined, 1-2 minutes. Increase the speed to medium-low and knead for about 3 minutes. The dough should feel tacky and moist but should not stick to your finger when pressed. (If the dough is sticky, add 1-3 tablespoons more flour.) Continue to knead until the dough pulls away from the sides of the bowl into a cohesive, elastic dough. This will take about 4-5 minutes.
- Turn the dough out onto a lightly floured surface and knead by hand until very soft and moist but not overly sticky, 1-2 minutes. (If the dough is too sticky, knead in 1 tablespoon of flour at a time until the dough is workable.)
- Place the dough in a large, oiled bowl. Cover tightly with plastic wrap and let rise until nearly doubled in size, about 1 hour.
- Punch the dough down and let rest for 10 minutes. Generously butter a 13×9-inch baking pan.
- Shape the dough into 20 equal-sized balls and arrange in the prepared pan. Loosely cover with lightly greased plastic wrap followed by a kitchen towel. Allow the rolls to rise until nearly doubled in size, about 30-45 minutes. Meanwhile, preheat the oven to 350°F.
- Whisk the remaining egg with 1 tablespoon of water. Brush the rolls lightly with egg wash and bake for 25 minutes, until golden. If the rolls are browning too much, tent with foil.
- Let the rolls cool in the pan for about 3 minutes, then invert onto a wire rack and cool for 10-15 minutes. Break rolls apart and serve warm.
Notes
- Proper measurements: For the best results, I suggest using weight measurements for the ingredients.
- Metal pans: I highly recommend baking the rolls in a metal pan. Glass pans are slow to heat up but will retain heat for longer. This leads to uneven baking where the interior is baked through but the exterior is overdone. A metal pan will heat up fast and result in a better rise.
- Whole milk: You can substitute with low-fat or non-dairy milk if needed.
- Bread flour: You can also use all-purpose flour but I prefer bread flour for chewier rolls.
- The rolls can be placed in an airtight container and stored at room temperature for up to 3 days.
- Secured tightly in a freezer-safe container, the rolls will freeze well for up to 1 month.
Nutrition
The nutrition information provided is for convenience and as a courtesy only. It is not guaranteed to be accurate because nutrition information can vary for a variety of reasons. For precise nutritional data use your preferred nutrition calculator and input the exact ingredients and brands you used in the recipe.

Perfect!
could I make these in my bread maker?
I’ve never used a bread maker so I don’t have advice on if my recipes will work in one.
The rolls were delicious and very light,the way my husband likes them. This recipe will definitely replace my current 20 year old dinner roll recipe. I did experience one problem. I weighed the flour as directed but had to add about 8 additional tablespoons of flour to change the dough from sticky to a dough I was able to knead. So I was surprised I had to add so much additional flour. However, because I had made rolls many times I was able to get it to a kneadable dough. In spite of that, the rolls turned out perfectly. Does the fact that the humidity is very high here in South Carolina (60% and higher) make a difference?
Hi Judith! Yes, the humidity will definitely play a huge role in how much extra flour you may need. I live in FL so I understand the struggle. Also, the brand of flour can sometimes affect how much extra you may need. Not all brands are equal.