Chai Pear Scones
This post may contain affiliate links. Read the full disclosure here.
Homemade Chai Pear Scones with chai spices and plenty of fresh pear in every bite are flaky and tender with a crisp, golden crunch. Perfect for breakfast or an afternoon pick-me-up!
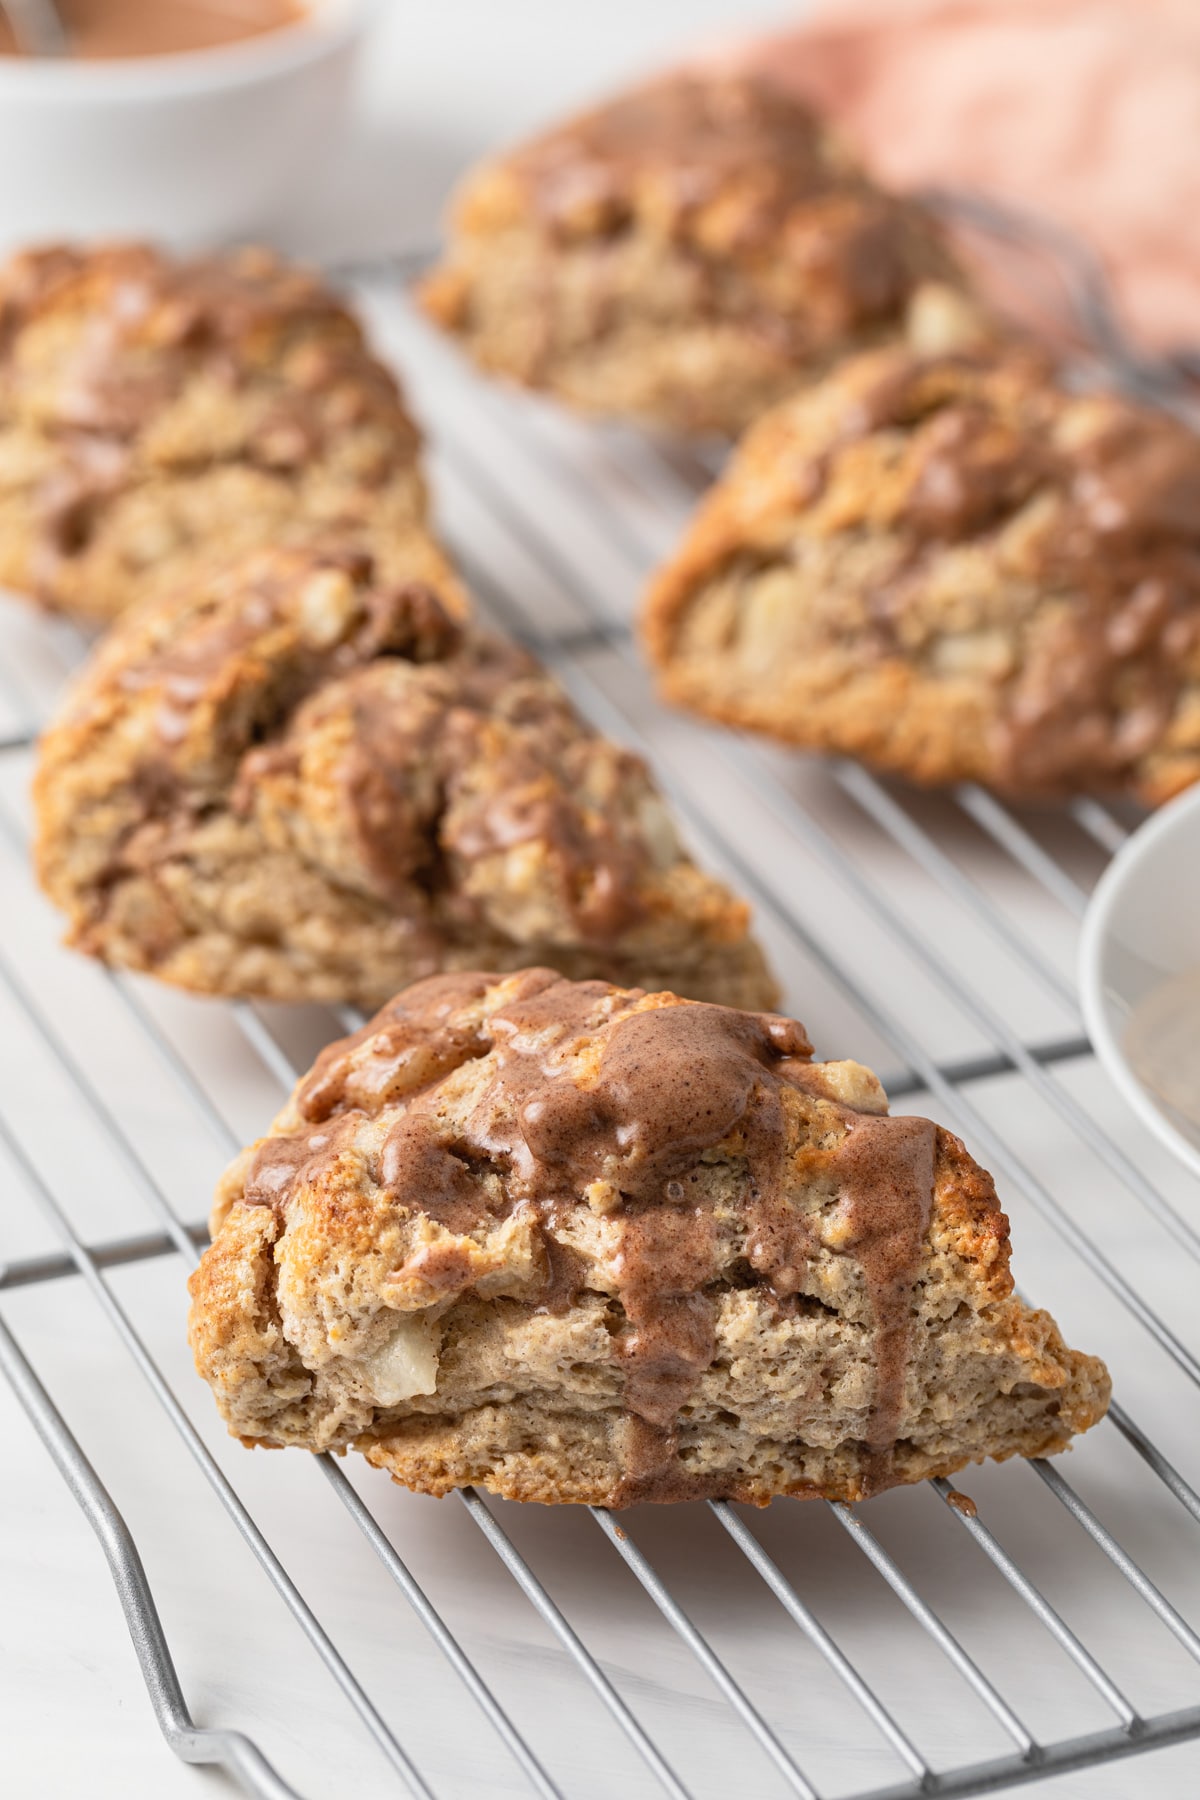
If you’re a fan of chai tea, then you’ll love these seasonal, gently spiced scones. With big, buttery flakes on the inside and a crisp crust in every bite, chai pear scones always satisfy. Plus, they’re kept extra moist with diced fresh pear throughout.
I love to pack these scones with plenty of fresh fruit. It adds natural sweetness and seasonal flavor that pairs perfectly with the gentle chai spices. And to really complete the experience, I highly recommend serving your freshly baked scones with a piping hot mug of chai tea!
Why this recipe works
- These scones are always moist and tender because of the juicy fresh pears. While some scone recipes can turn out dry, you don’t have to worry about that with this recipe!
- Chilling the shaped scones before baking ensures that the butter is super cold. This means that as it melts in the oven, you’ll get the maximum amount of flaky layers.
- The triple threat of baking powder, baking soda, and cold butter means that these scones rise high and mighty in the oven. They’re thick with big, buttery flakes.
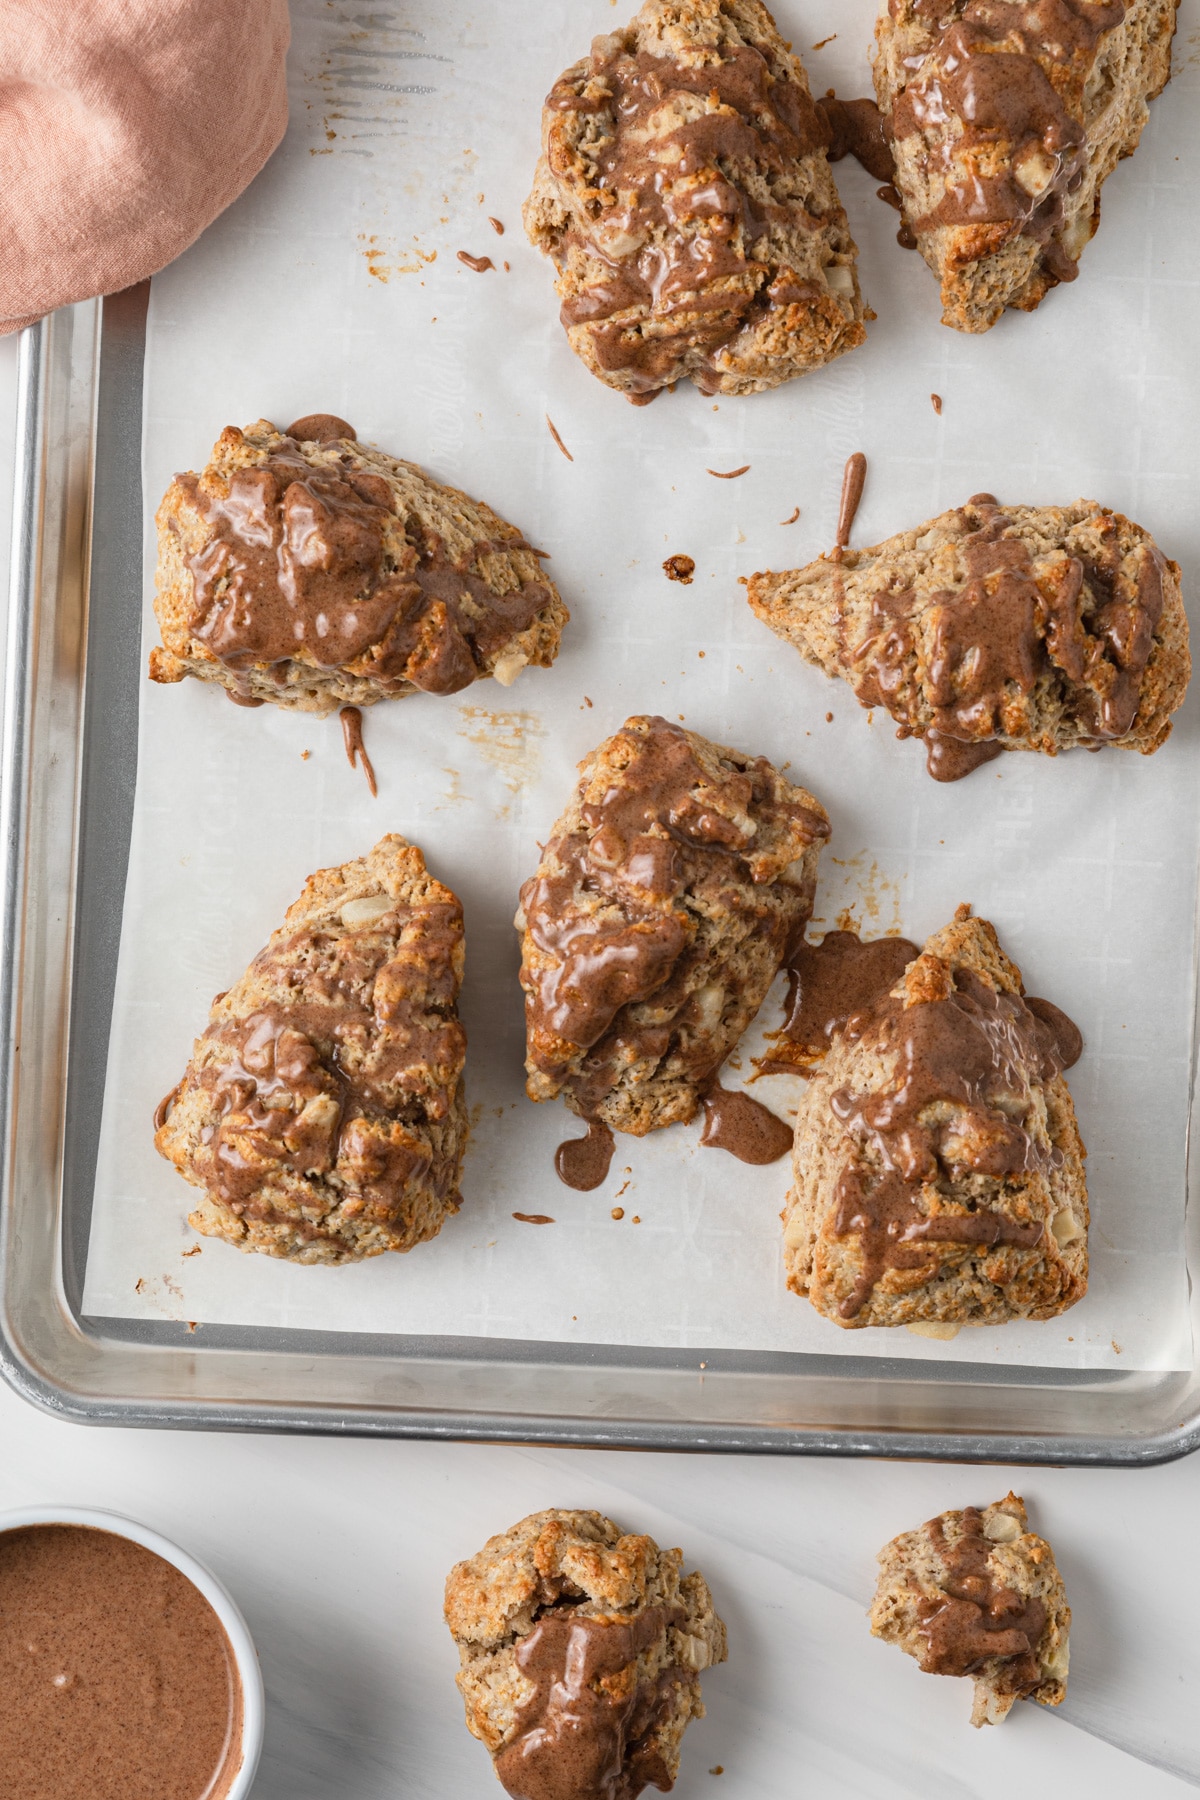
Chai Pear Scones Recipe
This recipe offers the best way to make chai scones that are incredibly moist, flaky, and buttery. It’s a simple and straightforward baking method for beginners and seasoned pros alike.
You’ll see a similar series of steps in all of my scone recipes, including perfect blueberry scones and Peach Scones with Almond Glaze, which are my go-to scone recipes in warmer months.
To make ultra-flaky scones, you’ll work small pieces of very cold butter into your dry ingredients. You’re shooting for a crumbly consistency with pea-sized pieces of butter.
Next, add just enough liquid (in this case, tangy buttermilk) for the dough to come together. Avoid overmixing the dough as you shape it into a disc and divide it into equal wedges for baking. Finally, chill the dough and bake until your scones are golden, light and flaky.
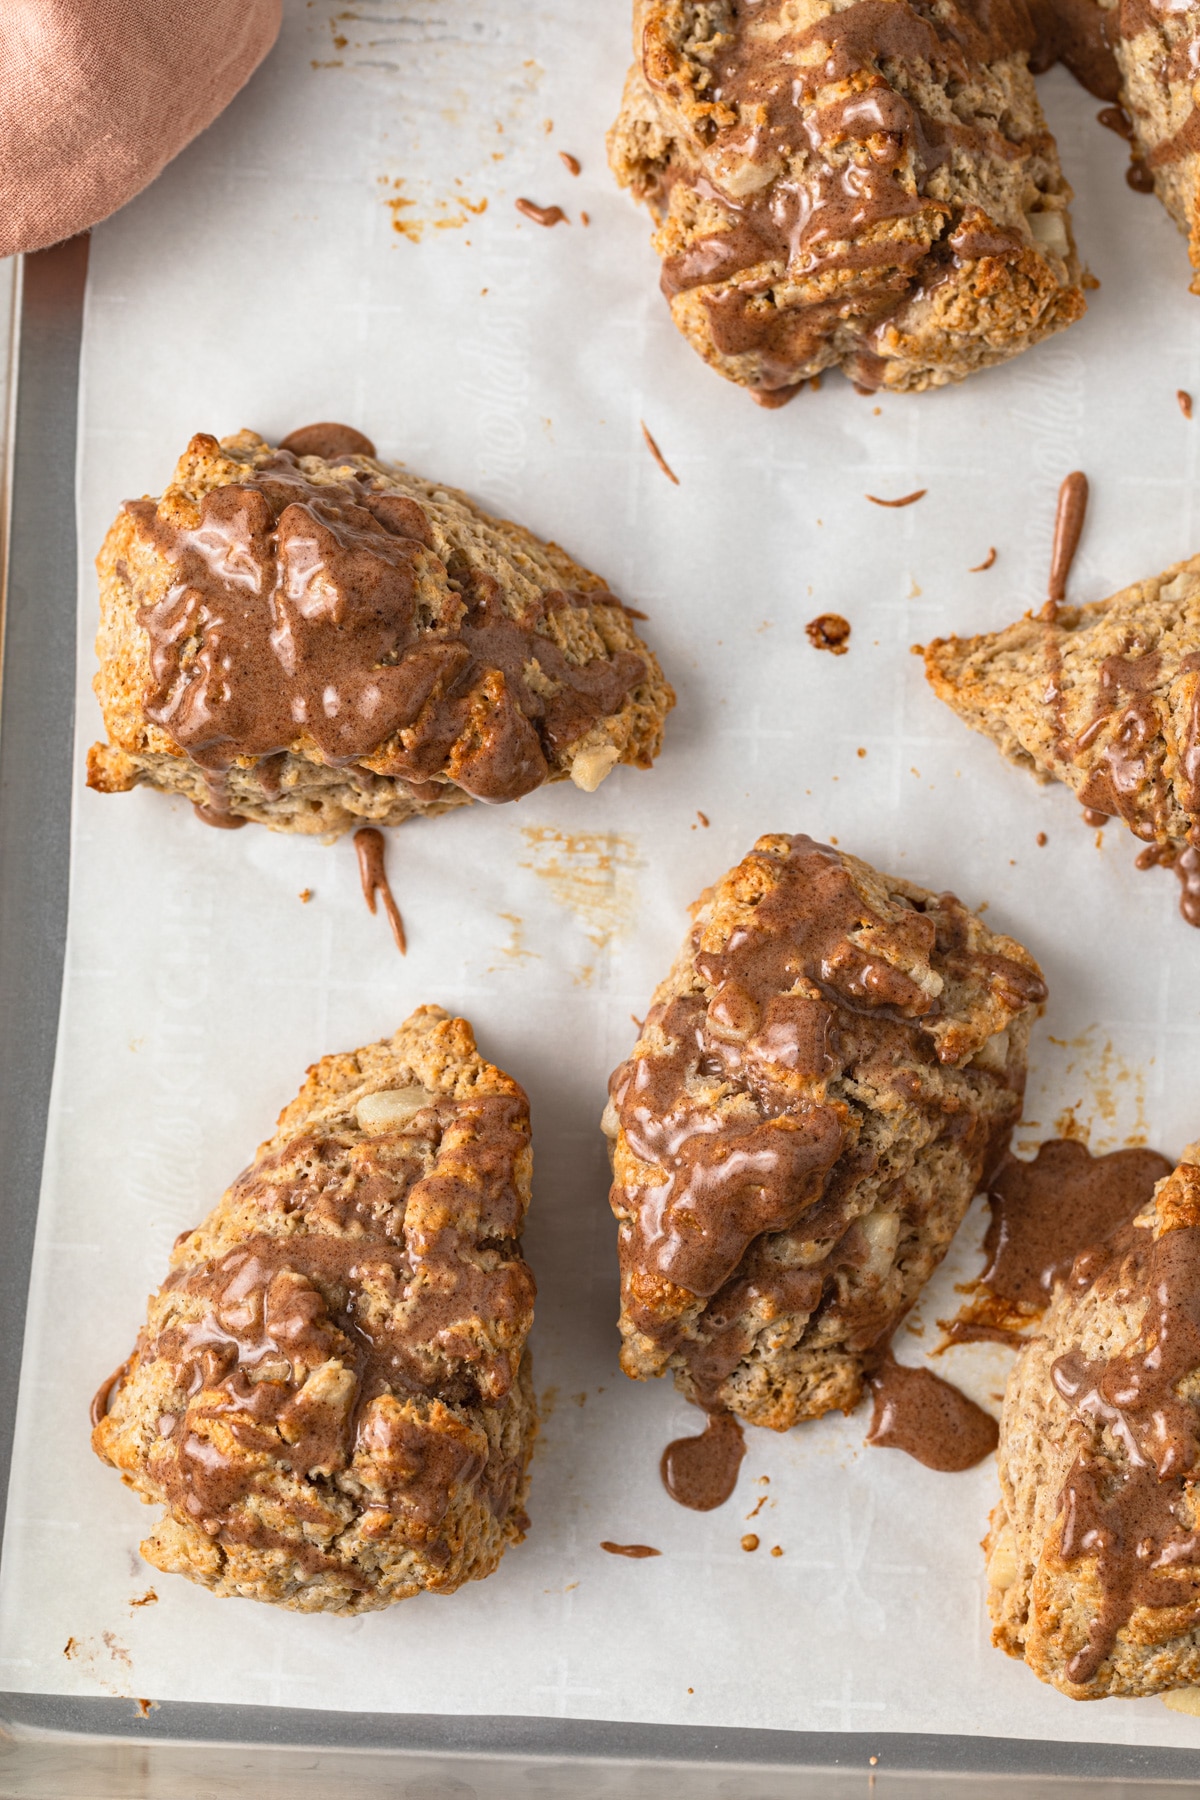
Before serving, I like to garnish my chai pear scones with a quick homemade glaze. It adds shine and flavor and takes just a minute or two to whip up.
Ingredients
- Flour: Choose all-purpose flour for this recipe. It yields moist, tender scones that rise properly in the oven.
- Sugar: Granulated white sugar is used to sweeten these pear scones. You don’t need much because the pears add nice natural sweetness too.
- Leavening: A combination of baking powder and baking soda act as chemical leaveners in the scone dough. The baking powder reacts with the acid in buttermilk to puff up. The scones are also leavened by the steam from the butter as it melts in the oven.
- Salt: Salt enhances the flavor in the scones. It also helps tenderize the gluten in the flour for a more delicate texture rather than chewy.
- Spices & vanilla: These chai scones get their warming flavor from ground cinnamon, ginger, nutmeg, and cardamom. Vanilla extract enhances the classic chai flavor.
- Pear: Choose a ripe, but firm pear. Bosc pears are great for baking as they hold their shape well. Peel the pear before dicing it to avoid the odd texture of fruit skin in your scones.
- Butter: Cold, unsalted butter is the key to big, fluffy flakes in your pear scones. As the pieces of butter melt during baking, they release steam. This steam creates pockets in the scone dough that adds rich, buttery layers to the final product.
- Buttermilk: For a bit of tang and moisture, buttermilk is the perfect liquid to make scones. It contains acid, which allows the baking powder to activate and add extra rise to your baked goods. Plus, buttermilk ensures every bite is tender and moist.
Equipment for Chai Scones:
- Pastry blender: A pastry blender makes it easy to cut the butter into the flour.
- Bench scraper: A bench scraper is what I prefer to use to cut the dough into triangles. This is a great tool for all kinds of baking projects and always helps you get stubborn pieces of dough off the counter.
How to Make Chai Pear Scones
Here’s a brief overview of how to make chai pear scones. See the recipe card below for further detail.
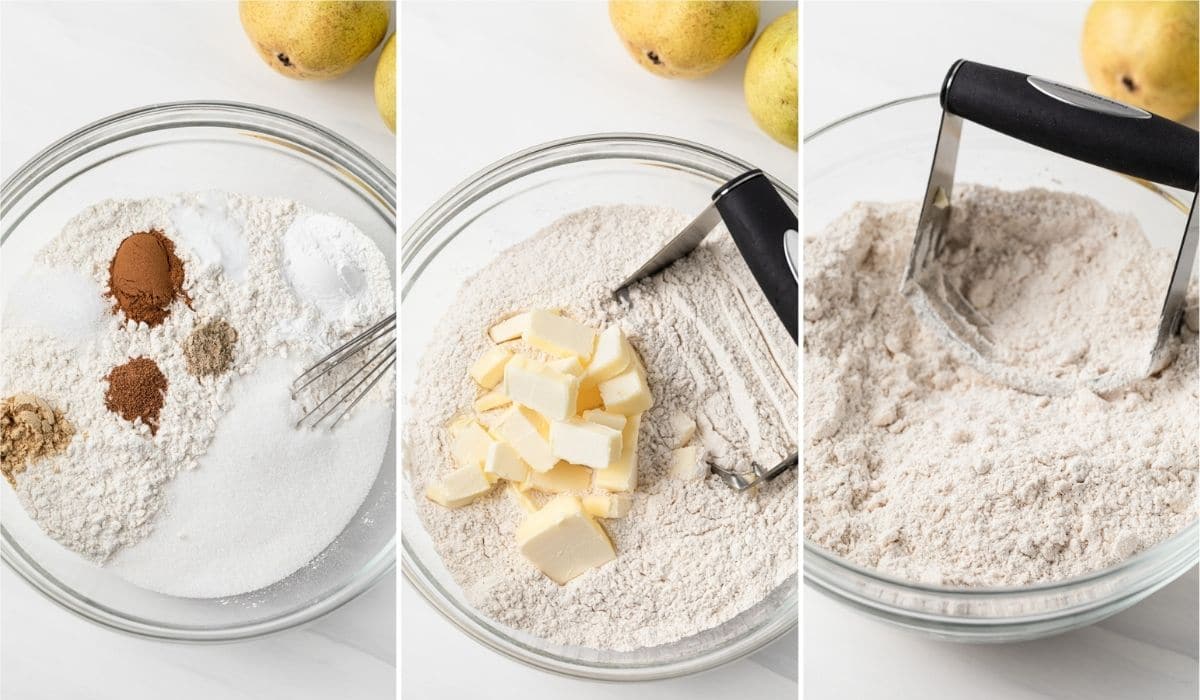
Step 1: Mix Dry Ingredients and Butter
First, combine the flour, sugar, baking powder, baking soda, salt and ground spices in a large mixing bowl until evenly distributed.
Then add your pieces of cold butter to the dry ingredients. Use your pastry blender to work the butter into the dry ingredients. Stop when you have butter pieces about the size of peas.
Step 2: Add the Pear
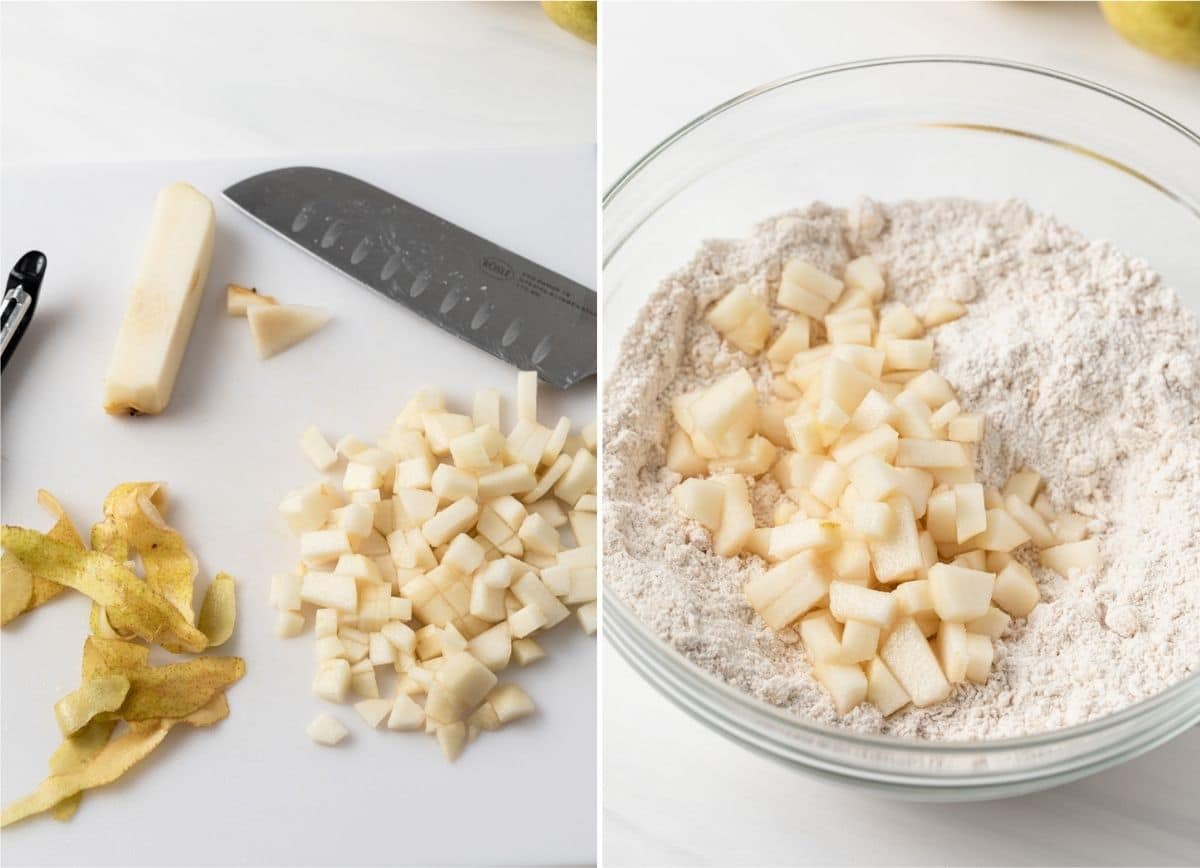
Next, fold the peeled and diced pear into the ingredients. Stop mixing when the pear pieces are evenly distributed and fully coated in flour.
Step 3: Add Buttermilk and Form Dough
Now you’re ready to add the wet ingredients. Pour in the buttermilk and quickly work the liquid into the dry ingredients. Stop as soon as you have a rough, shaggy dough as pictured.
Be careful not to overmix here, which can cause your scones to become tough and chewy rather than delicate and flaky.
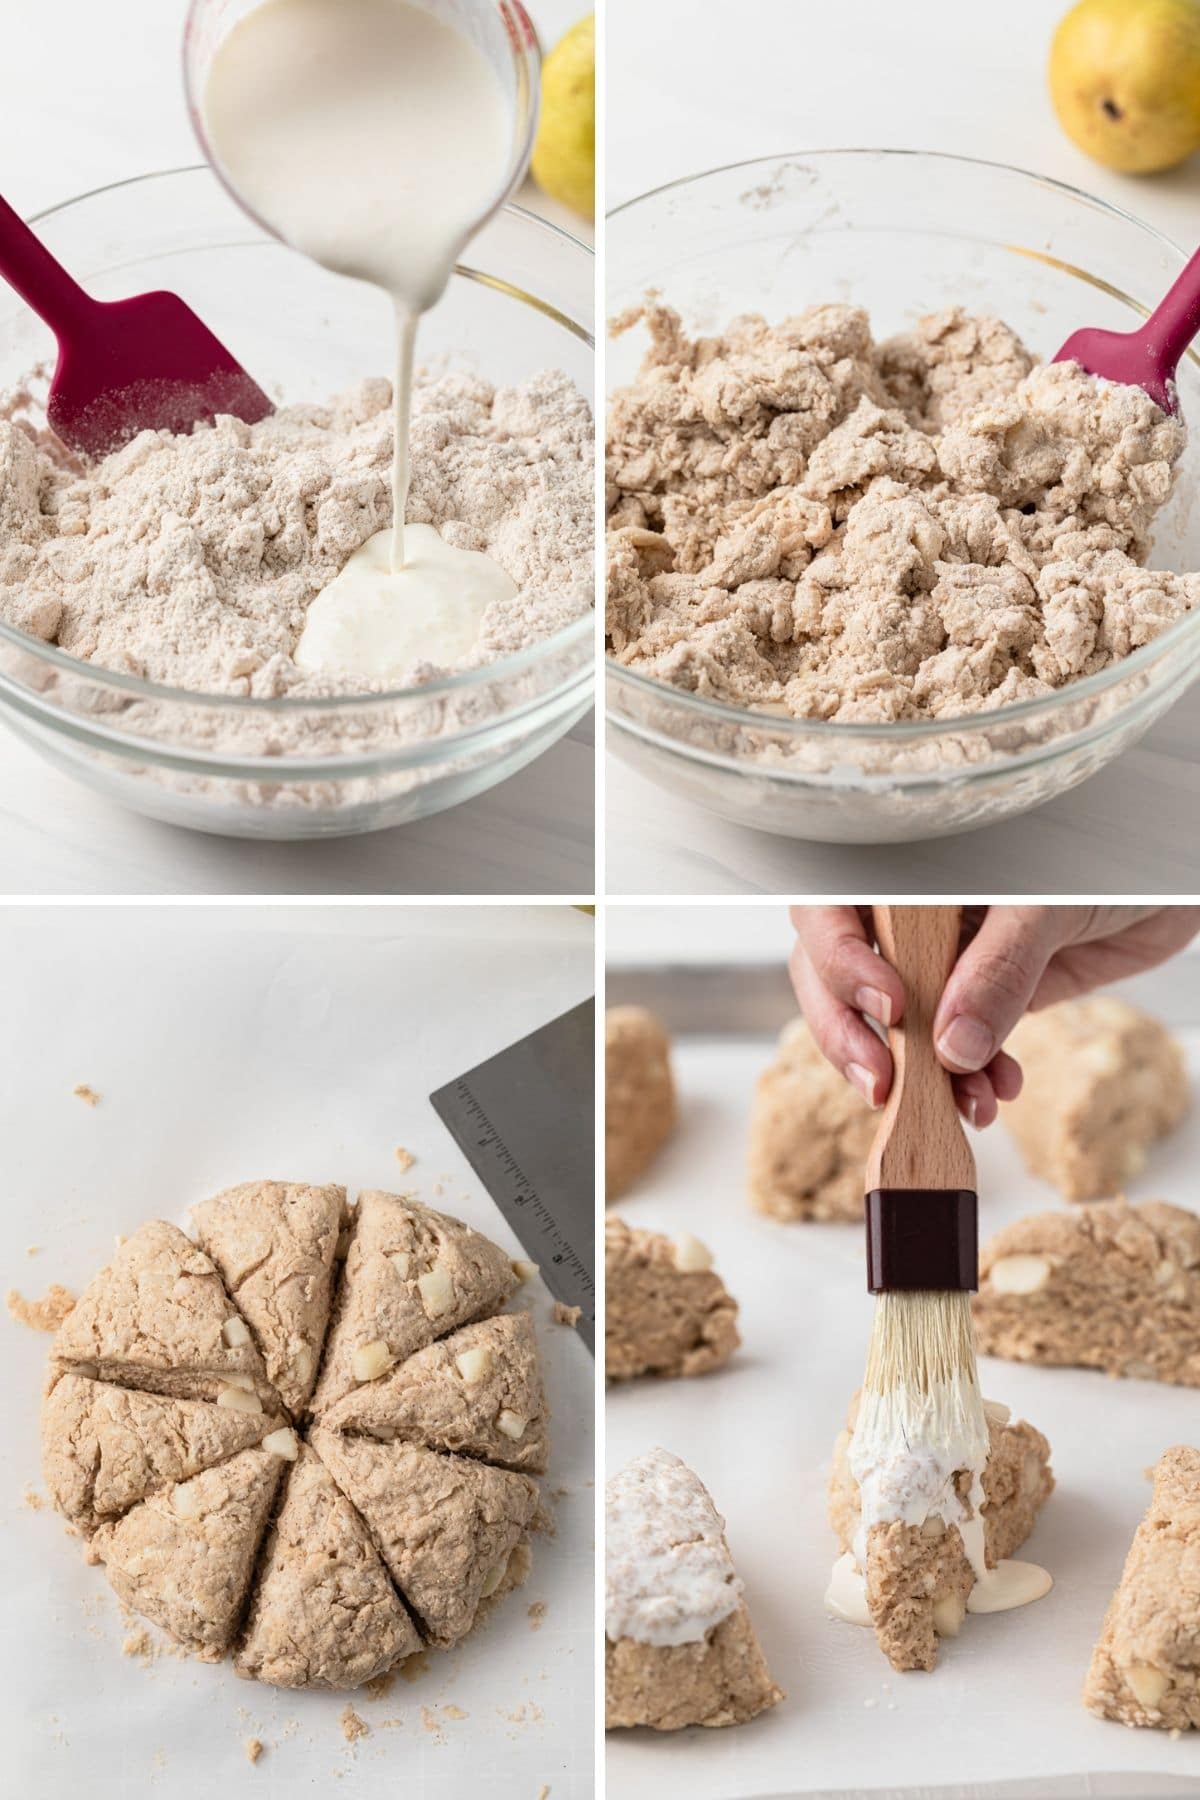
When the dough is mixed enough that you can shape it into a ball. pour out the dough onto a lightly floured work surface. Give it a few quick kneads and then flatten it into a disc about 7 inches in diameter.
Use your bench scraper or a sharp knife to cut the disc in half, then into quarters, then eighths. You should have eight evenly sized wedges. Spread the wedges out on a parchment paper-lined baking sheet.
Place the entire baking sheet into the freezer for 30 minutes. This helps the butter firm back up for those flaky layers.
Step 4: Bake the Chai Pear Scones
While the dough chills, preheat the oven to 400°F. After 30 minutes, remove the baking sheet from the freezer and brush each scone with cream on top and the sides. This adds a beautiful golden crust.
Bake the scones for 15 to 20 minutes. They’re done when they’ve risen with visible flaky layers and have a golden-brown color.
Tips for Success
- Don’t add all the liquid at once. Depending on the humidity and the brand of flour you are using, you may need less buttermilk than what is called for. Add just enough to moisten the dry ingredients until they hold together when squeezed.
- Dice the pear into small pieces. Smaller pieces will make it easier to cut the dough into wedges.
- Make sure the butter and buttermilk are very cold before adding them to the recipe.
- Freeze the shaped scones for 30 minutes before baking. This helps the scones keep their shape and ensures the butter isn’t too warm before going into the oven.
- This recipe yields 8 large scones. For smaller scones, cut the dough into 16 pieces instead of 8. Watch the scones closely as they bake because smaller scones may require a shorter baking time.
Storing & Freezing Scones
To store: Baked and glazed scones will keep for up to 2 days in an airtight container in the refrigerator.
To Freeze: Unglazed scones can be frozen for up to three months. Thaw in the refrigerator overnight then reheat and glaze before serving.
Make ahead: The dough can be covered tightly and refrigerated overnight. Shape and bake the scones the next day.
The dough can also be frozen for up to 2 months. Freeze the shaped, unbaked scones on a baking sheet as directed in step 5. Then wrap in plastic wrap and store in a freezer bag. When ready to make the scones, preheat the oven and baked as directed. There’s no need to thaw the dough.
Chai Pear Scones

Ingredients
For the scones
- 2 ¾ cups (357 g) all-purpose flour
- ⅓ cup (66 g) granulated sugar
- 1 tablespoon baking powder
- ½ teaspoon baking soda
- ¾ teaspoon salt
- 1 teaspoon ground cinnamon
- 1 teaspoon ground ginger
- ¼ teaspoon ground nutmeg
- ¼ teaspoon ground cardamom
- 1 medium pear, peeled, cored, and diced
- ½ cup (113 g) unsalted butter, cold and cut into pieces
- 1 tablespoon vanilla extract
- 1 cup (240 ml) buttermilk, cold
- 1 tablespoon heavy cream
For the glaze
- 1 cup (120 g) confectioners' sugar
- 1 tablespoon ground cinnamon
- 3-4 tablespoons heavy cream
Instructions
Make the scones
- In a large bowl, whisk the flour, sugar, baking powder, baking soda, salt, cinnamon, ginger, nutmeg, and cardamom together.
- Cut the butter into the flour using a pastry blender, 2 knives, or your fingertips. The mixture should look like coarse crumbs. Gently fold in the pears.
- Whisk the vanilla and buttermilk together and gradually add it to the flour mixture. Stir just until the dough comes together. You may not need all the buttermilk. Add a little at a time until the mixture is moist but not too wet. Do not over mix the dough or the scones will be tough.
- Transfer the dough to a lightly floured surface and gently knead the dough four or five times. Pat the dough into a 7-inch round circle.
- Cut the circle in half, then cut each half into four triangle-shaped wedges. Arrange the scones 2 inches apart on a baking sheet lined with parchment paper. Place the scones in the freezer for 30 minutes.
- Position the oven rack in the center of the oven and heat to 400°F. Brush the tops of the scones with cream.
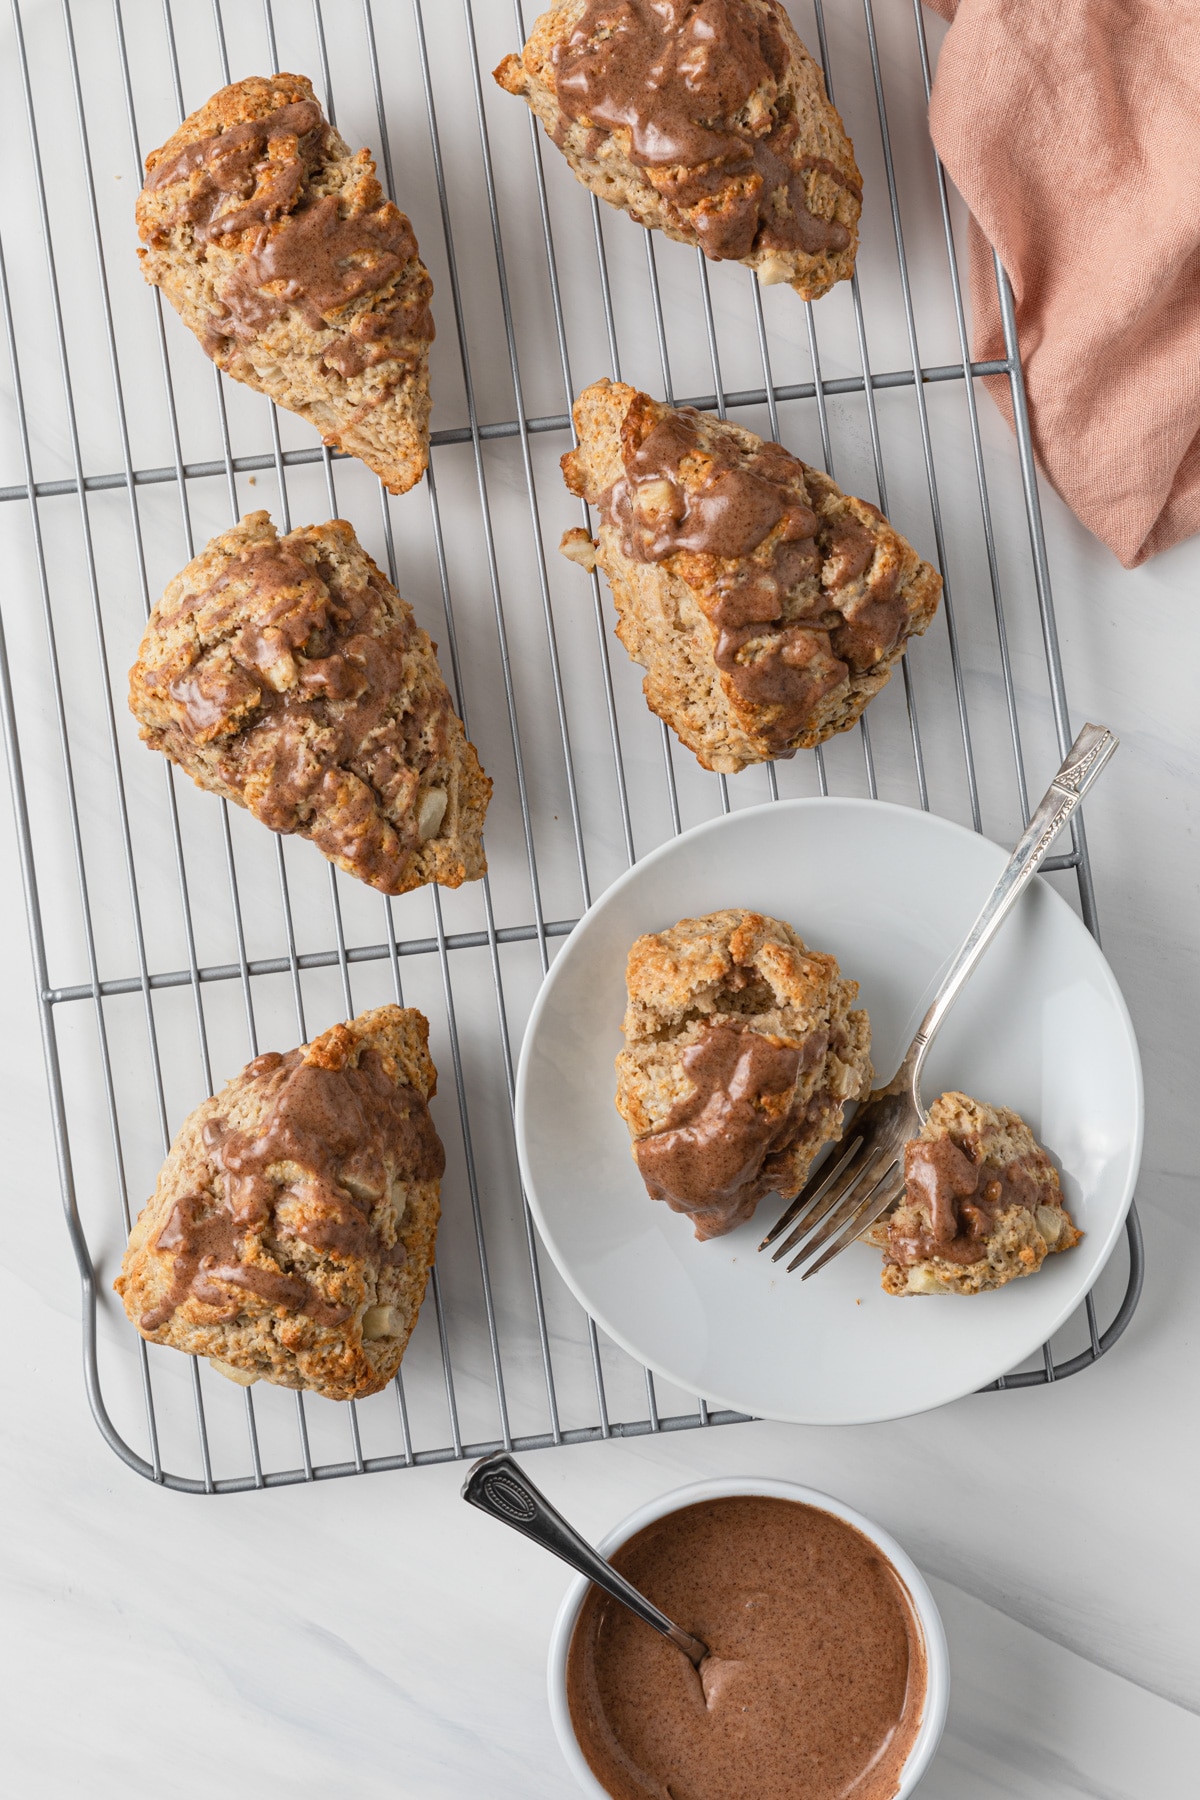
- Bake for 15 to 20 minutes or until golden brown. Transfer to a wire rack to cool and drizzle with glaze. Scones are best enjoyed right away.
Make the glaze
- Combine all the ingredients for the glaze in a small bowl and whisk until smooth.
Notes
- Don’t add all the liquid at once. Depending on the humidity and the brand of flour you are using, you may need less liquid than what is called for. Add just enough to moisten the dry ingredients until they hold together when squeezed.
- Dice the pear into small pieces. Smaller pieces will make it easier to cut the dough into triangles.
- Make sure butter and milk are cold when adding it to the recipe.
- Freeze the shaped scones for 30 minutes before baking. This helps the scones keep their shape and ensures the butter isn’t too warm before going into the oven.
- This recipe yields 8 large scones. For smaller scones, cut the dough into 16 pieces instead of 8. Watch the scones closely as they bake because smaller scones may require a shorter baking time.
- You can refrigerate the dough overnight then simply shape the scones and bake them the next day.
- The dough can also be frozen for up to 2 months. Freeze the dough on a baking sheet as directed in step 5 then wrap in plastic wrap and store in a freezer bag. When ready to make the scones, preheat the oven and baked as directed. There’s no need to thaw the dough.
- You can keep leftover scones for up to 2 days in the refrigerator.
- Unglazed scones can be frozen for up to three months. Thaw in the refrigerator overnight then reheat and glaze before serving.
Nutrition
The nutrition information provided is for convenience and as a courtesy only. It is not guaranteed to be accurate because nutrition information can vary for a variety of reasons. For precise nutritional data use your preferred nutrition calculator and input the exact ingredients and brands you used in the recipe.
Originally published January 2017. Post updated January 2021 with new photos and a video. No changes were made to the recipe.

These scones are sooo delicious! I was looking for a recipe to use my pears that were starting to go bad, and I came across your recipe. I usually am not a huge fan of scones but these are legitimately so good! After the first batch, I made a double batch to freeze and use up the rest of the pears!
Delicious, works with great results using GF flour!!!
Easy to make and sooo yummy I would have given five stars but it wouldn’t let me.
The dough was incredibly wet. I added over a cup of flour, and it was still very wet and took and extra 10 minutes to bake. My kitchen is dry, so the only added moisture that would be in the recipe is from the pear, which was quite ripe, but overall proportions were way off.
Step 3 instructs you to add a little at a time until the mixture is moist but not too wet. You may not need all the liquid.
I have a pear tree in my back yard and am always looking for good pear recipes. This is a real winner! Not only do I freeze unbaked scones, I freeze diced pears to make more! First of all, I run the butter through a Mouli to shred it (makes it a lot easier to blend in with my fingers, and I have really cold hands!), then I divide the dough in half and make 16 small scones (although I was recently asked to make “finger food” for an event and I made 32 scone squares). As there are only two of us and both of us are diabetic it helps with portion control. This is one recipe I make sure to make every year in pear season! Thanks!
These are delicious! I halved the recipe since only my husband and I are here to enjoy them. I used my chai spice from our local spice shop since I had plenty of that on hand, using the measurements for the combined individual spices (but halved in this case). Since I didn’t have fresh pears on hand, I used homemade pear preserves, gently folding in a couple of tablespoons, one at a time, as I shaped the dough. I can’t say for sure whether that changed the texture, but they were moist and tasted great. Thanks!
Hi! For the butter in this recipe, would it be okay if it comes directly from the fridge to be worked into the flour? Or should I chill it in the freezer first?
Thank you!
The butter is fine straight from the refrigerator. It doesn’t need to be frozen.
These are so good. Even without the glaze. I only had canned pears but it worked well. I had no cardamom either so I don’t know what they would be like with it. They got a little dark on the bottom baking on my oven’s middle rack so next time I will bake them on a higher rack. That being said, these are a winner!
This recipe was amazing! I love how soft the scones turned out and not overly sweet. Then the glaze brought the perfect sweetness. I’ll be baking these a lot in the future!