Peppermint Meringue Cookies
This post may contain affiliate links. Read the full disclosure here.
A light and airy peppermint meringue cookies recipe that you will love! They are a great gluten-free cookie to give away this holiday season.
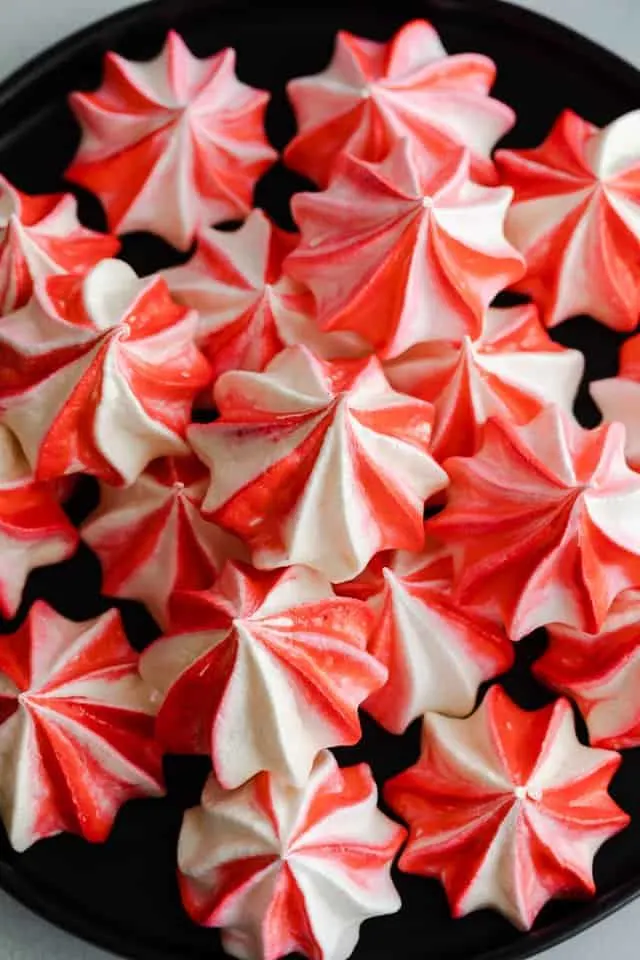
Meringue cookies are some of my favorite cookies. They are light, airy, and crip.
Meringues can be flavored in a variety of ways. I’ve made chocolate chip cherry meringues before and they are delectable.
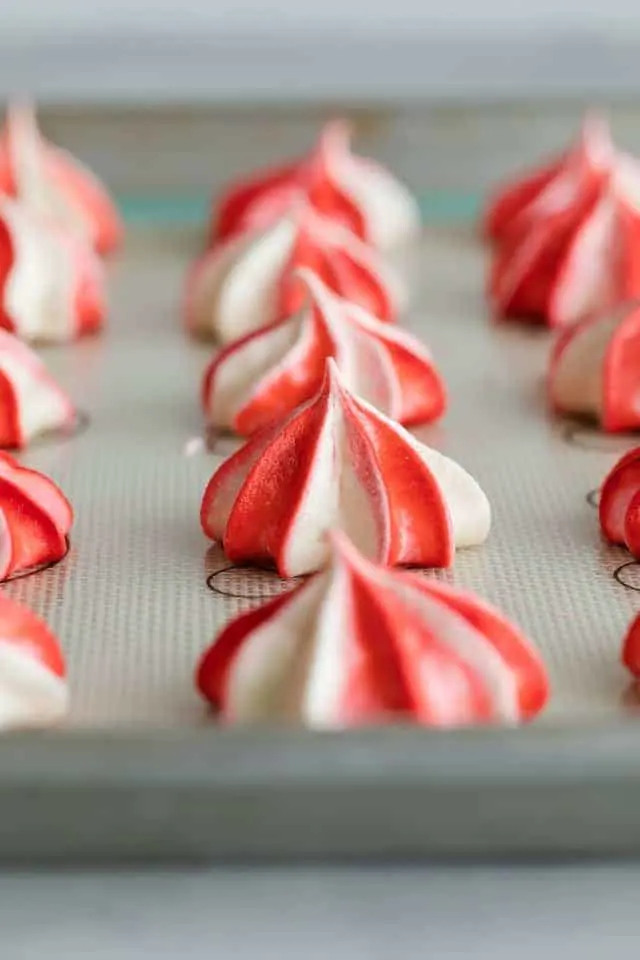
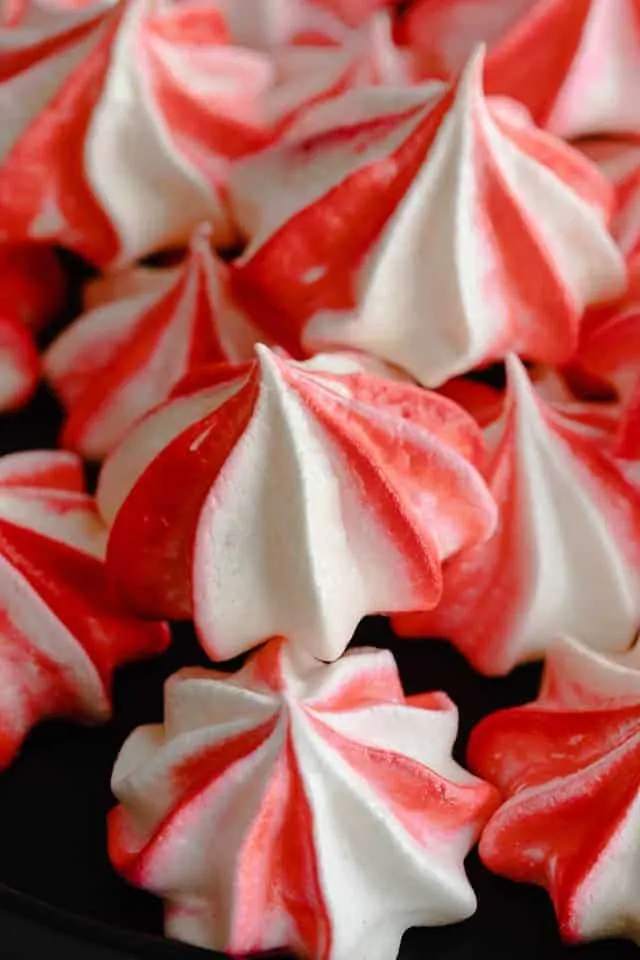
Today I’m featuring a peppermint version with ribbons of red around the outside. They are stunning and will make wonderful gifts for the holidays.
I bake my meringues at a low temperature for about an hour then leave them in the oven for another hour or so depending on the humidity.
If it’s a humid day, it may take longer for them to dry out. I like for my meringues to be completely dry so they melt in your mouth.
Also, if you tend to like your meringues to be slightly chewy in the center, you will want to remove them sooner. Test them after they’ve baked for an hour and go ahead and remove them from the oven if you are happy with the result.
If you like peppermint desserts, give my peppermint fudge cake a try next! Or try my pavlova which uses a similar technique.
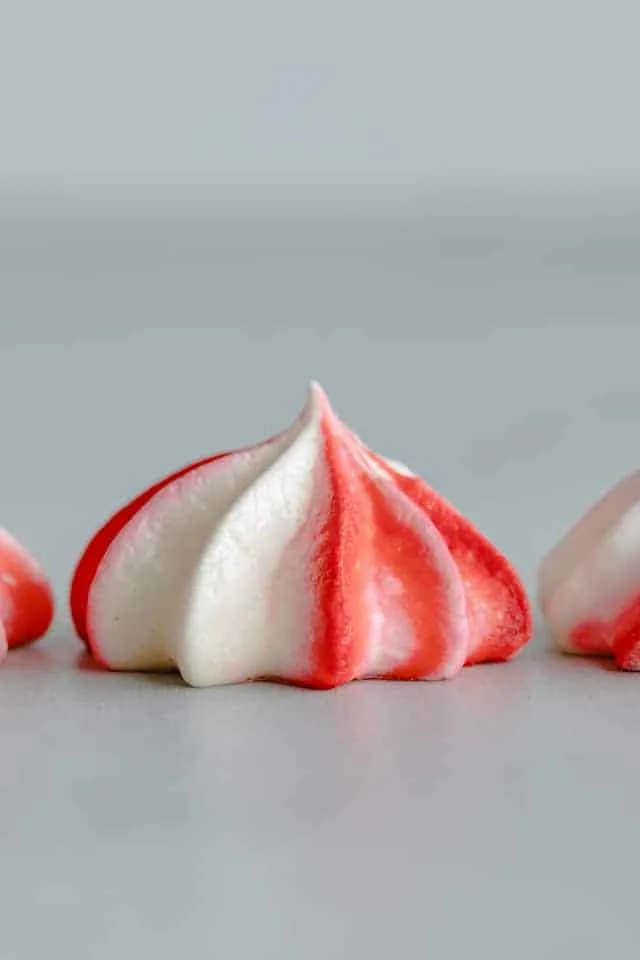
Peppermint meringue cookie ingredients
You only need 5 ingredients to make these easy meringue cookies
- Egg whites – Make sure to use room temperature egg whites; they tend to whip up easier
- Cream of tarter – Needed to keep the egg whites stable
- Sugar – Granulated white sugar works best for meringues
- Peppermint extract – Added for flavor
- Red food coloring – Gel food coloring is used to create the red swirls
How to make peppermint meringue cookies?
This peppermint meringue cookie recipe is incredibly simple to make.
1) Beat the egg whites and cream of tartar together until it’s foamy.
2) Gradually add the sugar while the mixer runs on medium speed.
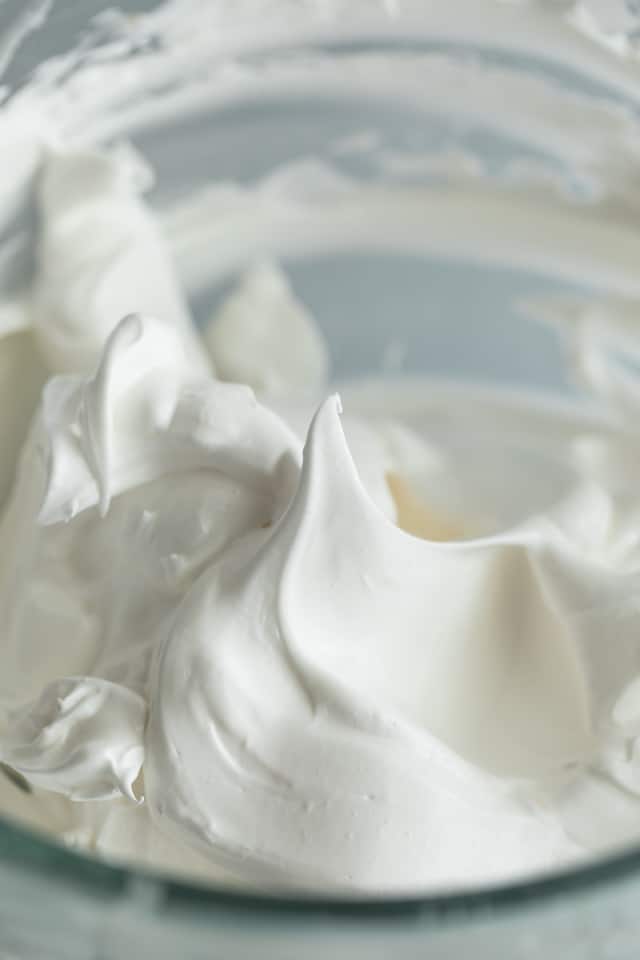
3) Once all the sugar is added, beat on high speed until the egg whites are whipped to stiff shiny peaks.
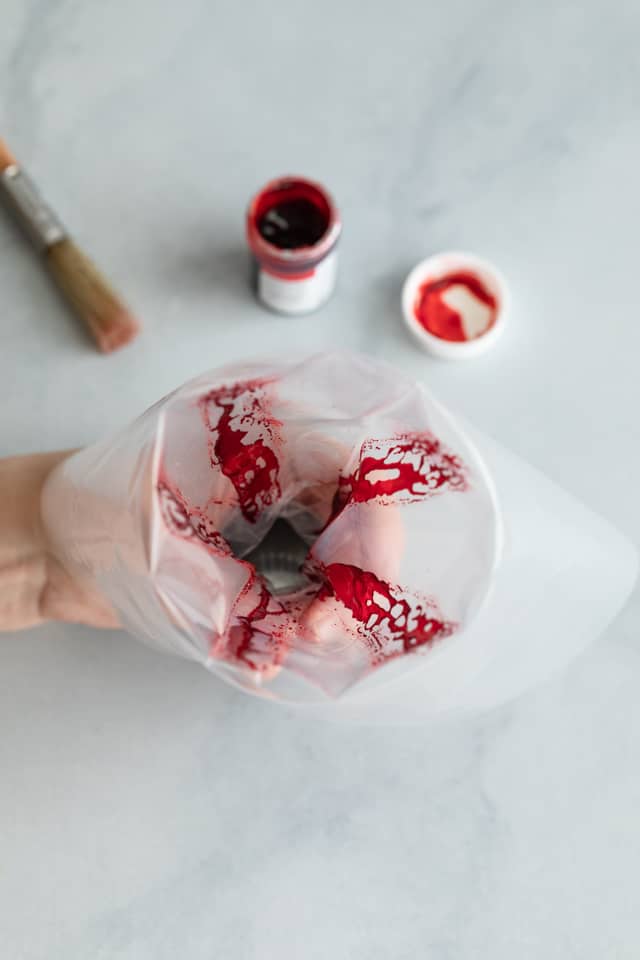
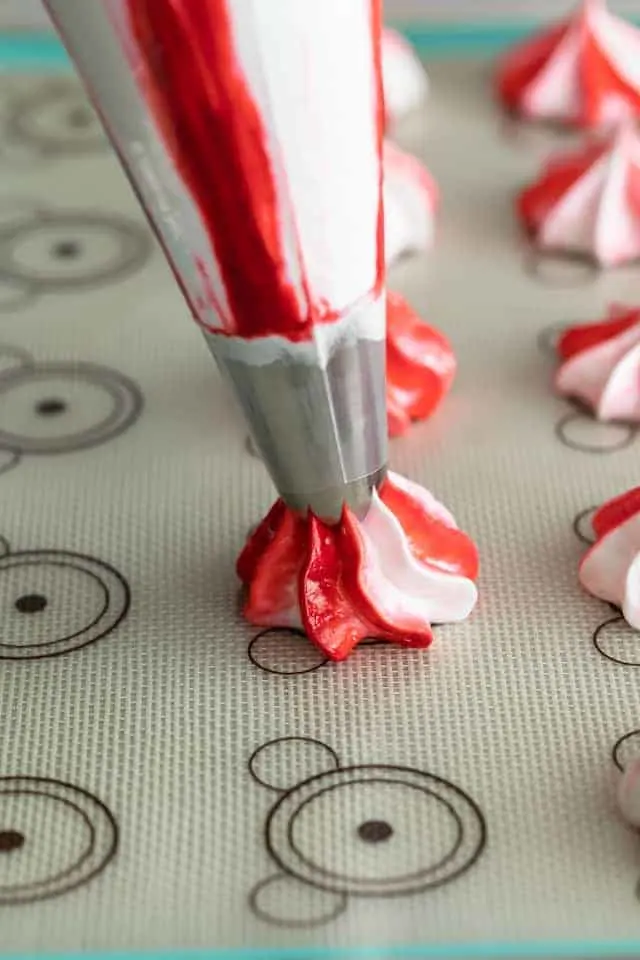
4) Use a brush to paint red streaks inside a piping bag fitted with a piping tip.
5) Fill the bag with the meringue and pipe mounds onto a baking sheet lined with parchment paper or a silicone mat.
6) Bake at 225ºF for 1 hour. Turn the oven off, leave the door closed, and let the meringues continue to dry for another hour.
If you like the centers to be slightly chewy, you can remove them soon after they’ve baked for an hour.
How to pipe meringue cookies?
I find it best to use a large piping tip when piping meringue cookies. Ateco #849 is the one I used for this recipe. Squeeze the piping bag gently to pipe little “kisses” of meringue then release the pressure and lift the bag away.
Tips for making this peppermint meringue cookie recipe?
Before you begin, make sure your mixing bowl and beaters are clean and free of any greasy residue. The smallest amount of grease left behind will prevent the egg whites from whipping up.
Take care when separating the eggs. If any yolk gets into the egg whites, you’ll need to start over. I suggest breaking the egg into a small bowl, removing the yolk, then add the white to your mixing bowl. Do this one at a time with each egg.
Once your meringue is shiny and holds a stiff peak, stop whipping. It is possible to overbeat the egg whites!
Make them your own! You can use any extract flavor you want as well as any color food coloring!
More tasty peppermint recipes for you to try
If you love peppermint around the holidays, I’m certain you will enjoy these white chocolate peppermint cookies and this peppermint fudge cake.
Peppermint Meringue Cookies
Ingredients
- 4 large egg whites, at room temperature
- ¼ teaspoon cream of tartar
- ¾ cups (150 g) granulated sugar
- ½ teaspoon peppermint extract
- red gel food coloring
Instructions
- Adjust the oven racks to upper and lower-middle positions. Preheat to 225ºF. Line 2 large baking sheets with parchment paper.
- Add the egg whites and cream of tartar to a large clean bowl. With an electric mixer, beat the egg whites on medium speed until they become frothy with uniform size bubbles. This will take about 2-3 minutes.
- Increase the speed to medium-high and gradually add the sugar, a couple tablespoons at a time. Once all the sugar is added, turn the speed all the way up to high and beat the egg whites until they are glossy and form stiff peaks when the beater is lifted about 4 minutes.
- Turn the speed down to low and slowly add in the peppermint extract.
- Use a small brush to paint lines of red food coloring inside a piping bag fitting with a large piping tip, spacing the lines ½ to 1-inch apart.
- Fill the bag with meringue and pipe "kisses" on to the prepared baking sheet, spacing them 1 inch apart.
- Bake the meringues for 1 hour, turn the oven off, and leave the meringues in the oven for another hour. Do not open the door. Test the meringues after 1 hour. If the centers are still chewy, let them dry for a couple more hours.
Notes
- If you don’t have piping bags, you can use a ziptop bag with the corner cut off. Or you can use a spoon to drop mounds of meringue onto your baking sheet.
- To color the meringue without using a piping bag, drop a few drops of gel food coloring into the meringue and swirl it in with a skewer or knife.
- Meringues will keep for several weeks stored in an airtight container either at room temperature, in the refrigerator, or in the freezer. Just make sure the container seals tightly!
Nutrition
The nutrition information provided is for convenience and as a courtesy only. It is not guaranteed to be accurate because nutrition information can vary for a variety of reasons. For precise nutritional data use your preferred nutrition calculator and input the exact ingredients and brands you used in the recipe.

What size star tip do you use!
Ateco #849 is the one I used for this recipe.
Which peppermint extract do you use? All the ones I can find are made from peppermint oil.
I use McCormick peppermint extract hand have never had an issue.
I tried this today, on Christmas. Sadly, the peppermint extract I used contained peppermint oil — although clearly labeled ‘extract’ on the front, the ingredient list on the bottle said “alcohol, water, oil of peppermint” but I didn’t notice this until after my lovely thick, stiff egg white mixture fell back down into shiny white goo. It was McCormick brand, still sealed in the bottle.
That’s the brand I use as well and have never had an issue.
I couldn’t get these to fluff up like my meringue usually does – I used the organic sugar from Costco and I wonder if it had to much of the dark cane juice to really fluff? Usually I make Italian meringue so I’m pouring boiling sugar water into it. Regardless, they got glossy and stiff, and even with the peppermint oil that I added (at the very end) they still piped moderately well. Nothing formed, but big round mounds. I couldn’t get my gel food coloring to stick to the bag in the stripes, but they still look pretty with many stripes instead of just a few solid ones. Overall, this was a super easy way to use up some leftover egg whites and I know my kiddos will gobble them up before I have to worry about storage. Thanks for sharing!!
These turned out amazing! I realized if I made them too big they were chewy so I needed to leave them in a bit longer. I made two batches because I loved them so much. I just made sure to make then smaller than a Hershey kiss and they were perfect! Looked great in my holiday cookie boxes I give out.
These were very good. Everyone loved them.