Mini Pumpkin Pies
This post may contain affiliate links. Read the full disclosure here.
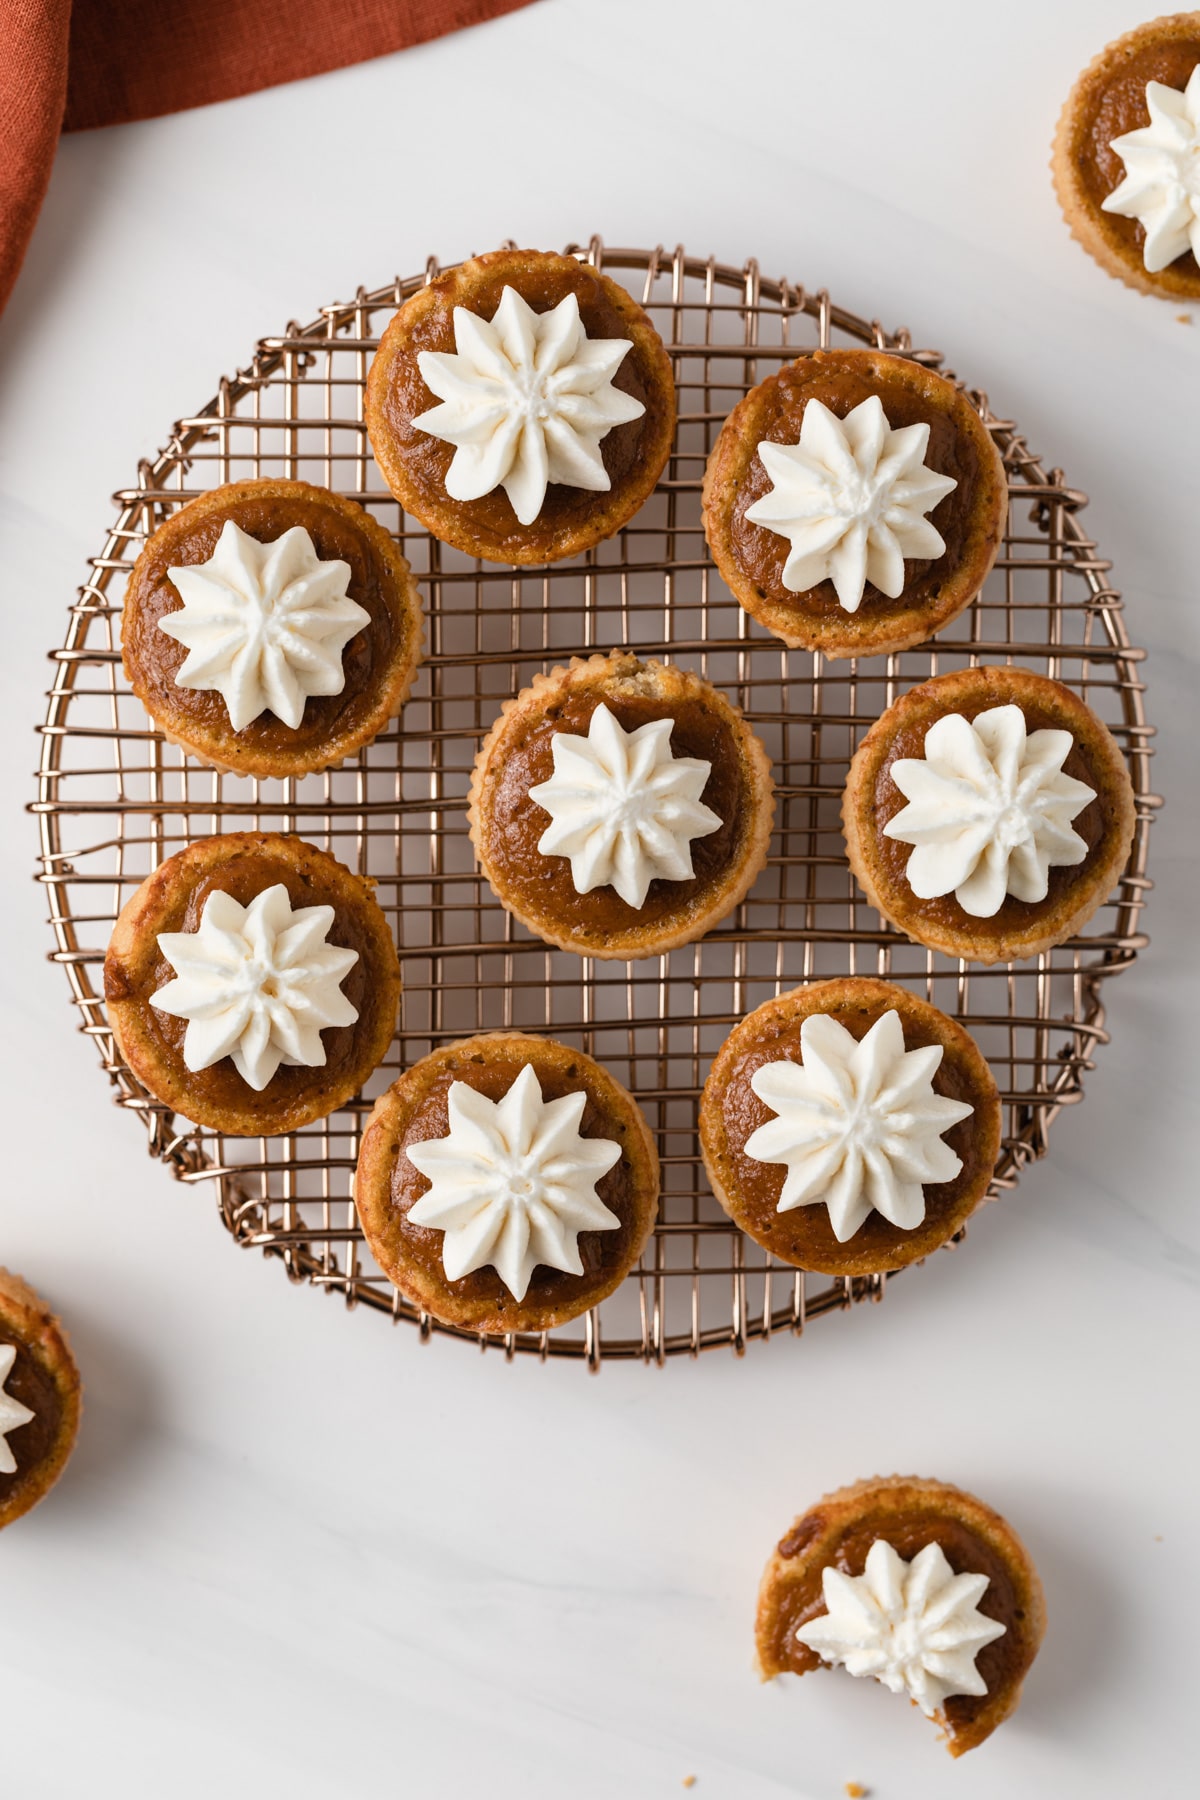
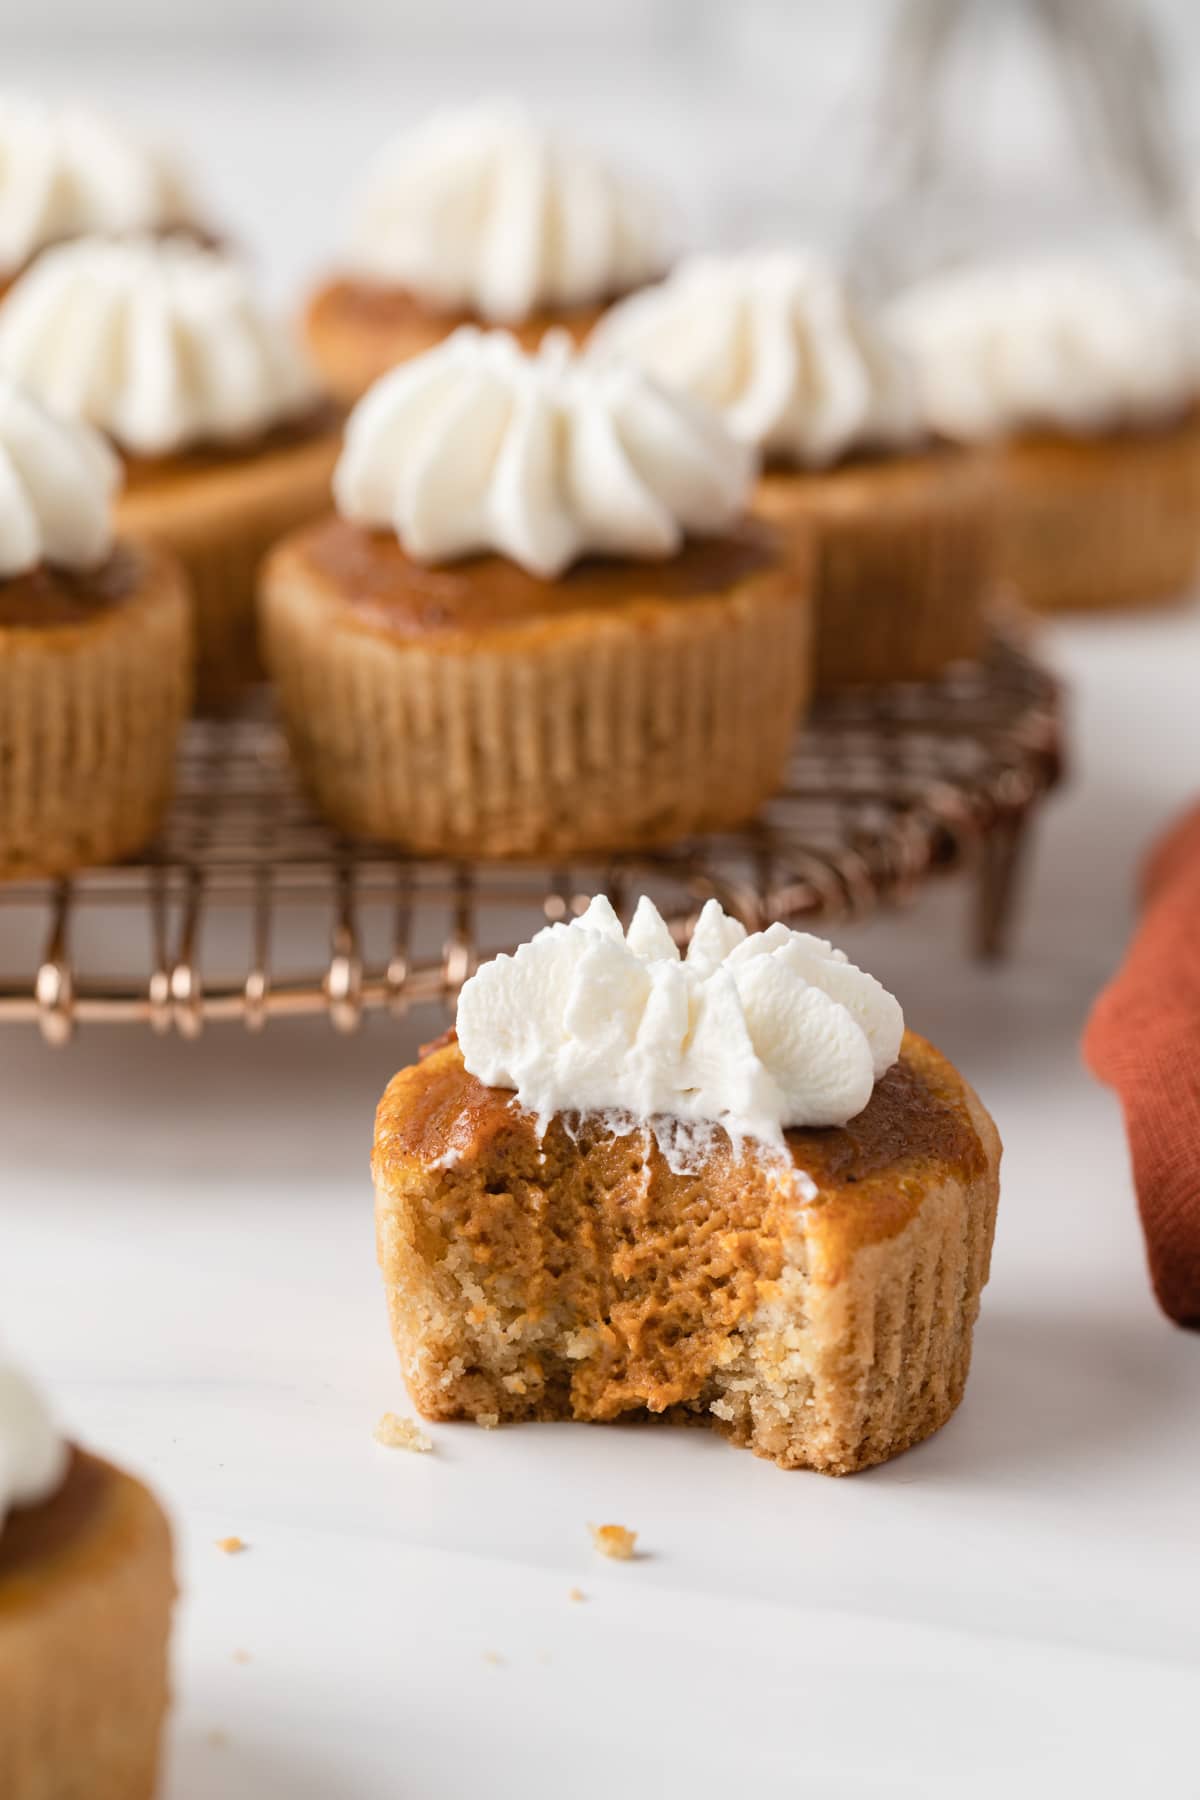
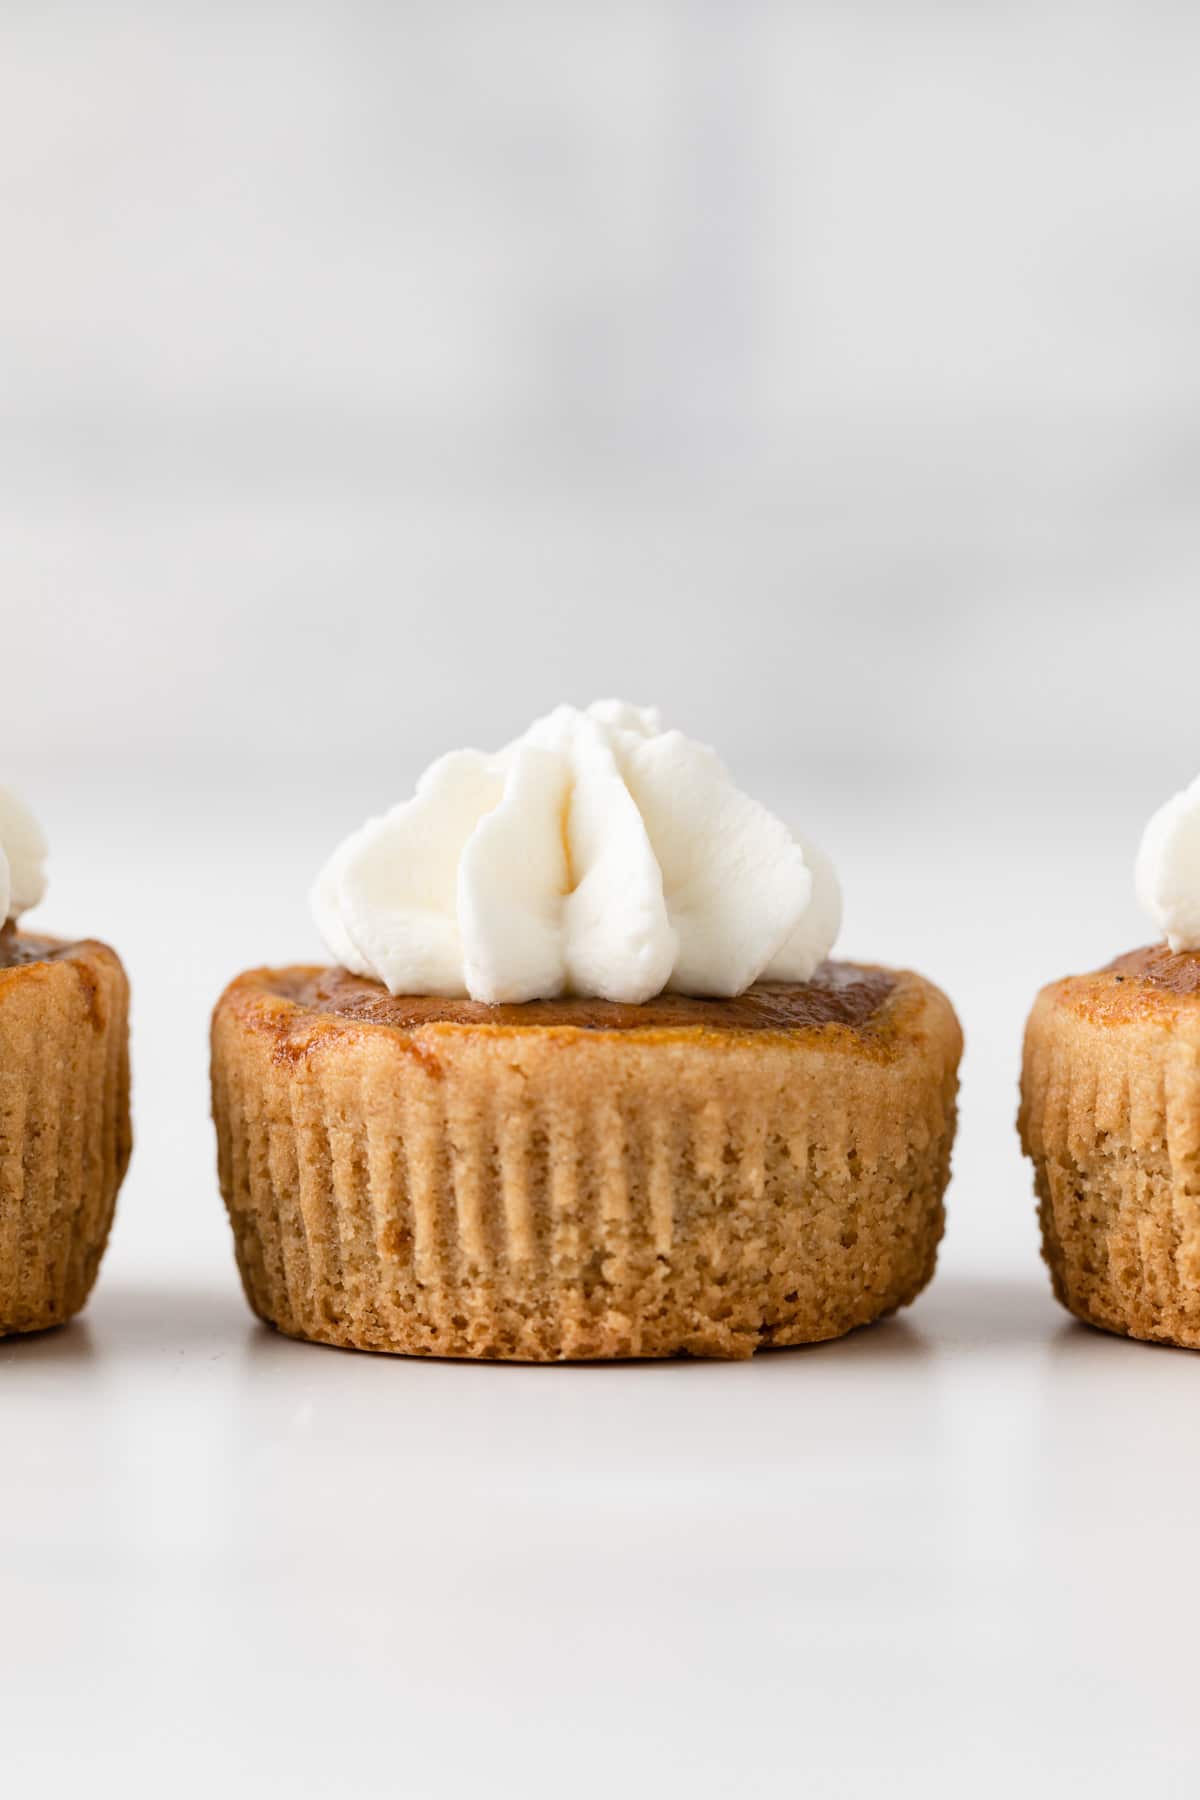
Two bite mini pumpkin pies with a gluten-free cookie crust and maple pumpkin filling. Topped with maple whipped cream, this tiny dessert will be a hit at Thanksgiving.
This post is brought to you by Bob’s Red Mill.
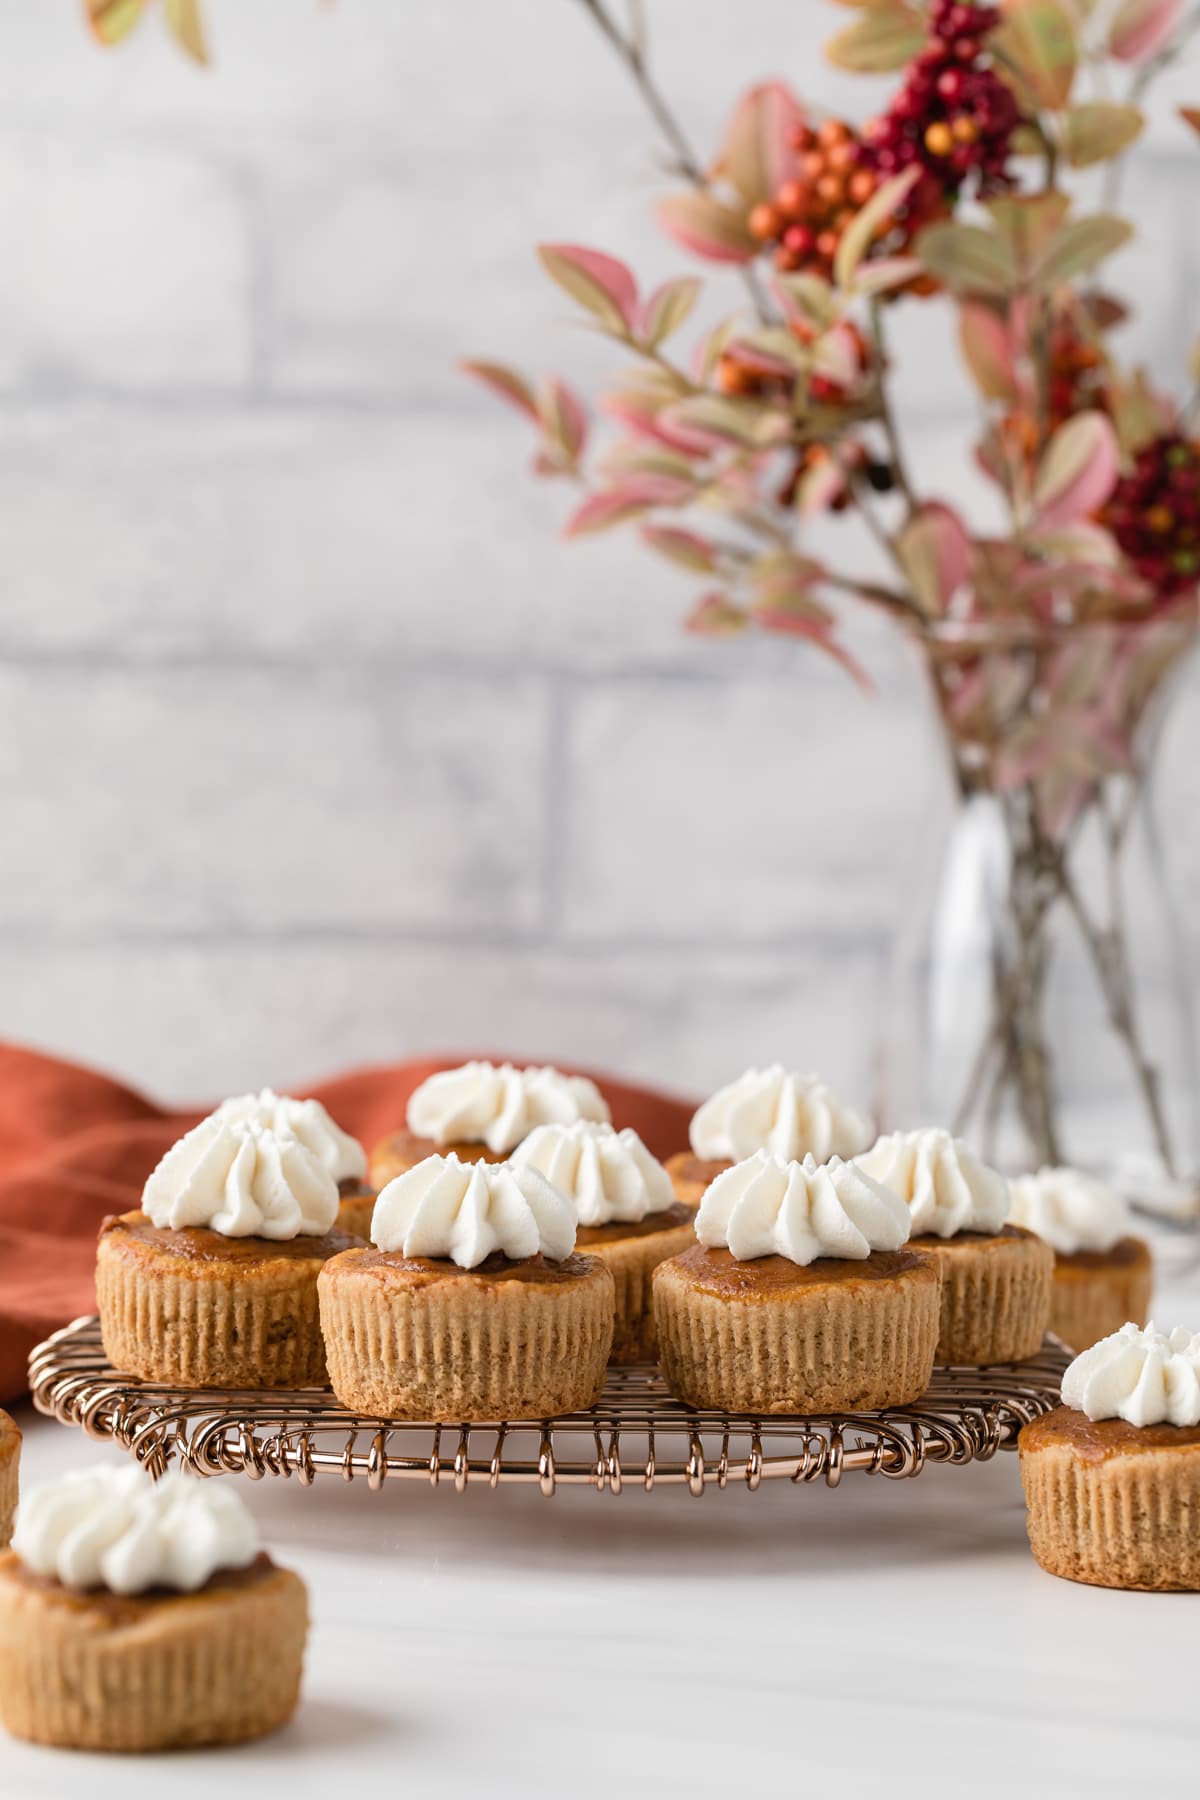
When it comes to Thanksgiving dessert these mini pumpkin pies are exactly what you need. They are flavorful, lightly sweet, and gluten-free so everyone can enjoy them.
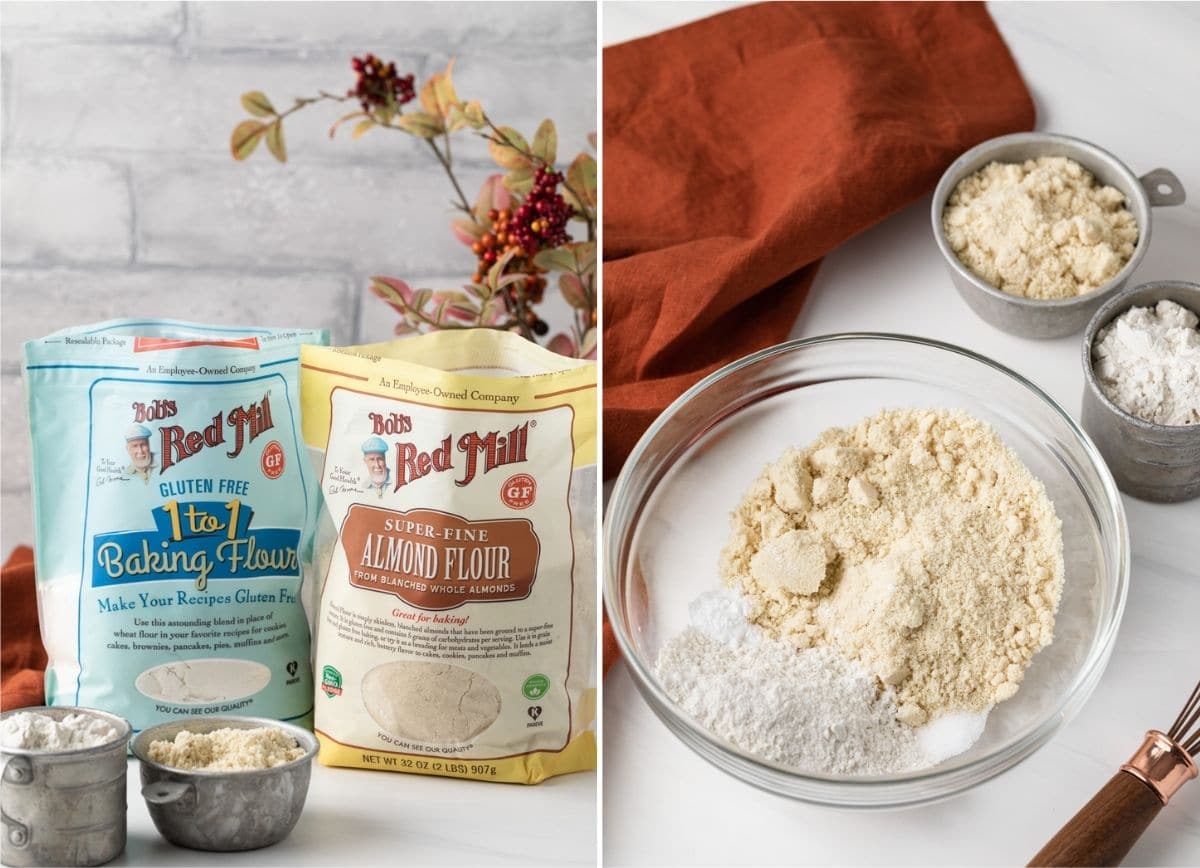
The cookie crust is made with almond flour and gluten-free 1-to-1 baking flour. Both are from Bob’s Red Mill. I always have success when using their products and can’t recommend them enough.
There’s a touch of vanilla and maple syrup in the crust for added flavor which pairs well with the creamy filling.
The filling is my favorite pumpkin pie filling but sweetened with maple syrup alone. A little vanilla, cinnamon, ginger, and cloves are added for an additional cozy aroma.
The pies are topped with whipped cream that’s also maple-flavored. You can use regular whipped cream if you wish or skip it altogether.
What you need to make this recipe
- Almond flour: I like to use Bob’s Red Mill Almond Flour in the crust. It adds a slightly nutty flavor and yields a crumbly cookie texture.
- Gluten-free flour: Using a bit of Bob’s Red Mill Gluten Free 1-to-1 Baking Flour helps hold the crust together while keeping it tender and crumbly.
- Butter: Because you can’t have a cookie crust without the butter. Unsalted sweet cream butter works best.
- Sweetener: Maple syrup in the main sweetener in the crust and the filling. Regular granulated sugar is also added to the crust. And powdered sugar is used for stabilizing the whipped cream.
- Spices and flavoring: Vanilla extract, salt, cinnamon, ginger, and cloves give the pies extraordinary flavor.
- Pumpkin: Make sure to use pure canned pumpkin and not pumpkin pie filling.
- Eggs: Eggs are for binding each component together.
- Heavy cream: Whipped cream is made with heavy cream. And a couple of tablespoons make the filling creamy.
To bake these pies you’ll need:
- Muffin pan: A 12-cup muffin pan is perfect for making mini pumpkin pies.
- Paper liners: Cupcake liners will make it easier to remove the pies from the pan. Otherwise, they might stick.
How to make mini pumpkin pies
This mini pumpkin pie recipe is extremely easy to put together. There are three components; let’s discuss…
The Crust – The crust is first pressed into the cups of a muffin pan and baked separately.
The Filling – The pumpkin filling is whipped up in a single bowl and added to the baked crusts. Then back in the oven they go until cooked through and set.
The Topping – Heavy cream is whipped with powdered sugar and maple syrup to garnish the pies once they’ve cooled.
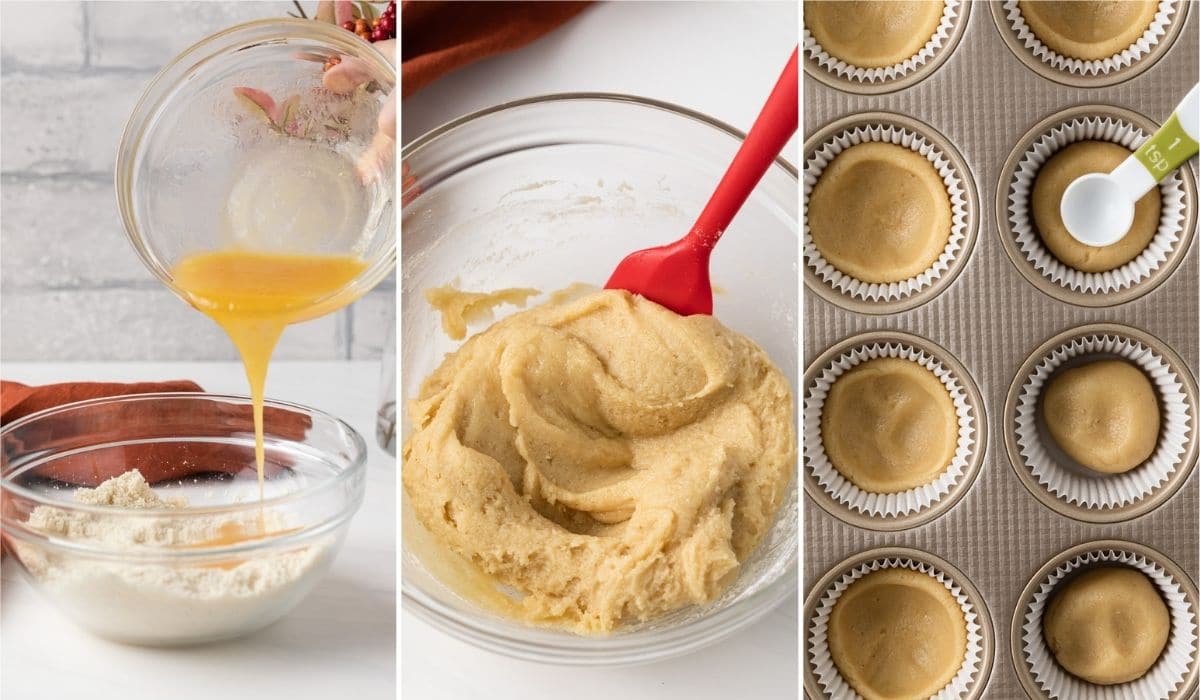
Step 1. Line a 12-cup muffin pan with paper liners. Move the oven rack to the lower-third position and preheat the oven to 350°F. To make the crust, whisk the dry ingredients together in a medium bowl and the wet ingredients together in a separate bowl. Pour the wet ingredients into the dry ingredients and stir until dough forms.
Step 2. Press 1.5 tablespoons of dough into the bottoms and halfway up the sides of each muffin cup. Bake at 350°F for 5 minutes. Remove the pan from the oven and reshape cups with a tablespoon. (They’ll puff up during baking.)
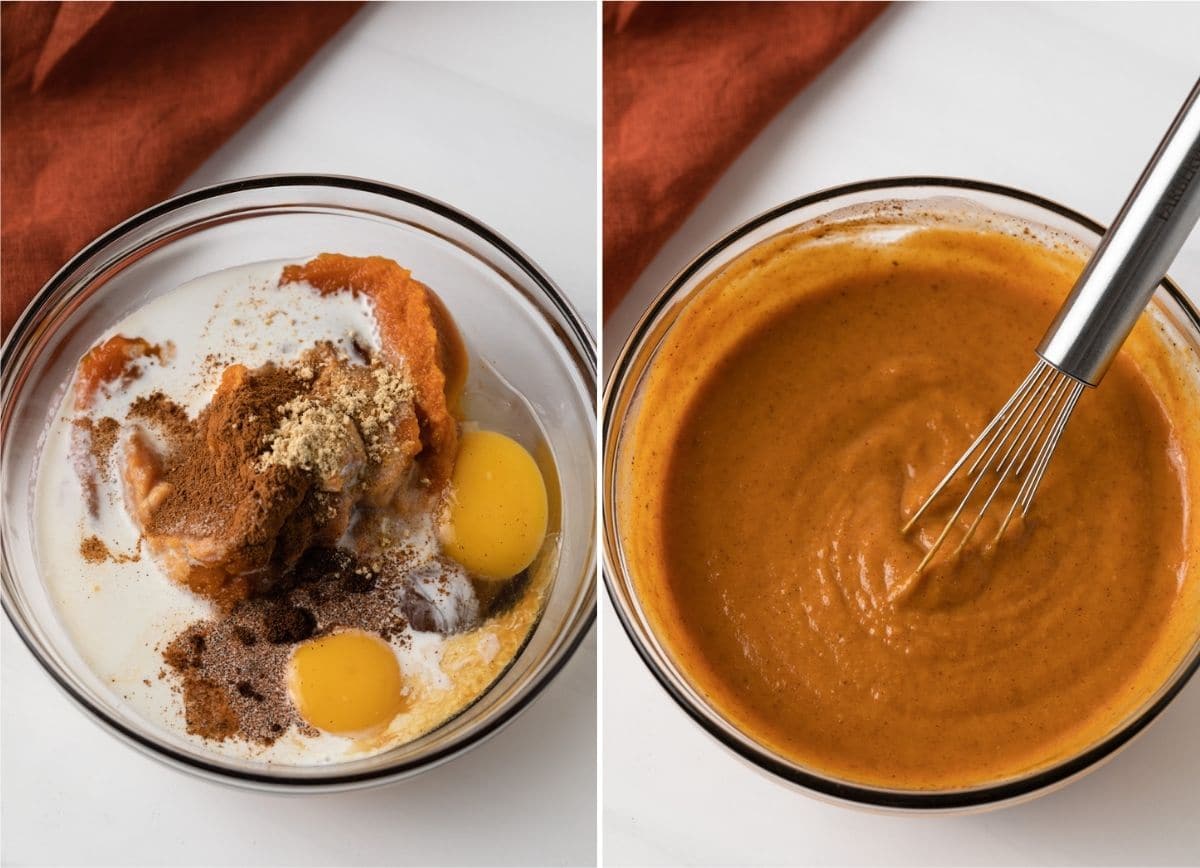
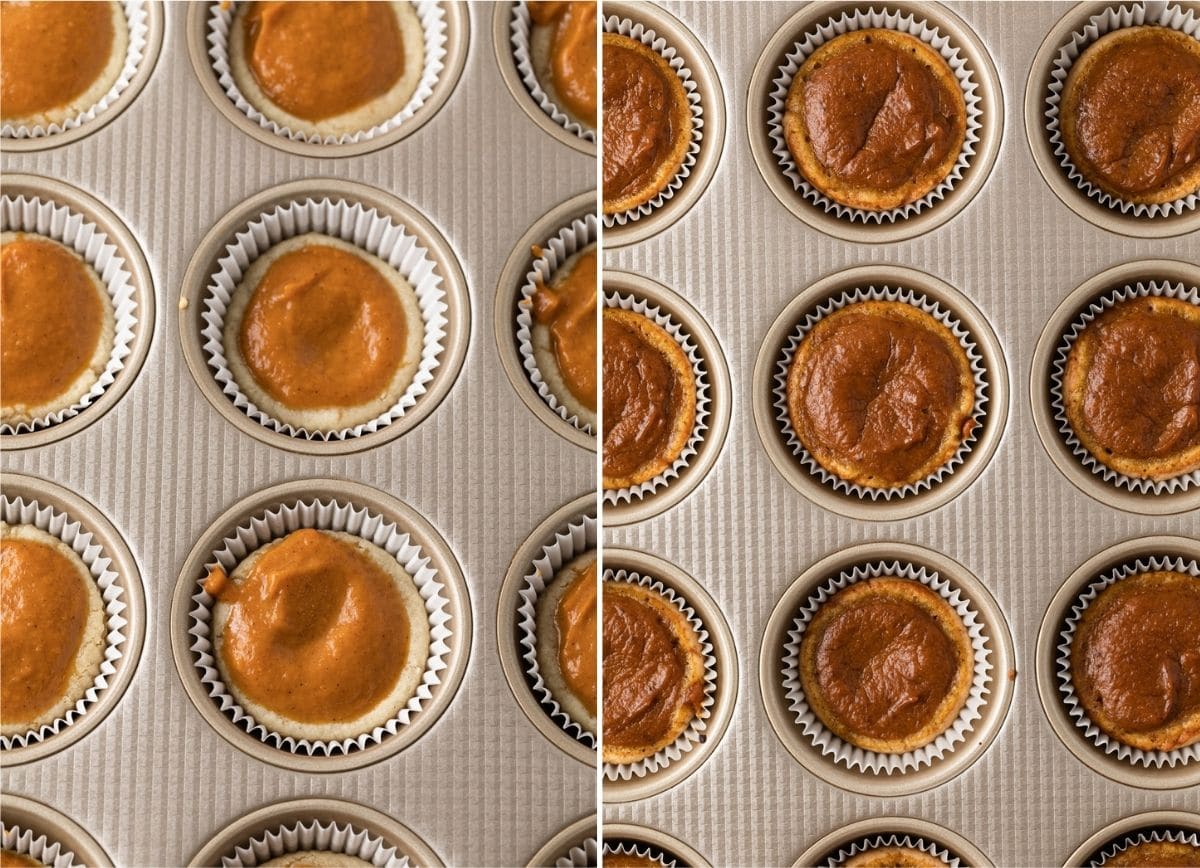
Step 3. In a medium bowl, combine all the ingredients for the filling. Whisk until smooth. Transfer 2 tablespoons of filling to each crust and smooth over with the back of a spoon. Bake for an additional 25-30 minutes. Set the pan on a wire rack and leave at room temperature until the pies cool completely.
Step 4. Once cooled, remove the pies from the pan and gently peel away the paper liners. If the liners are difficult to remove, refrigerate the pies for 1 hour.
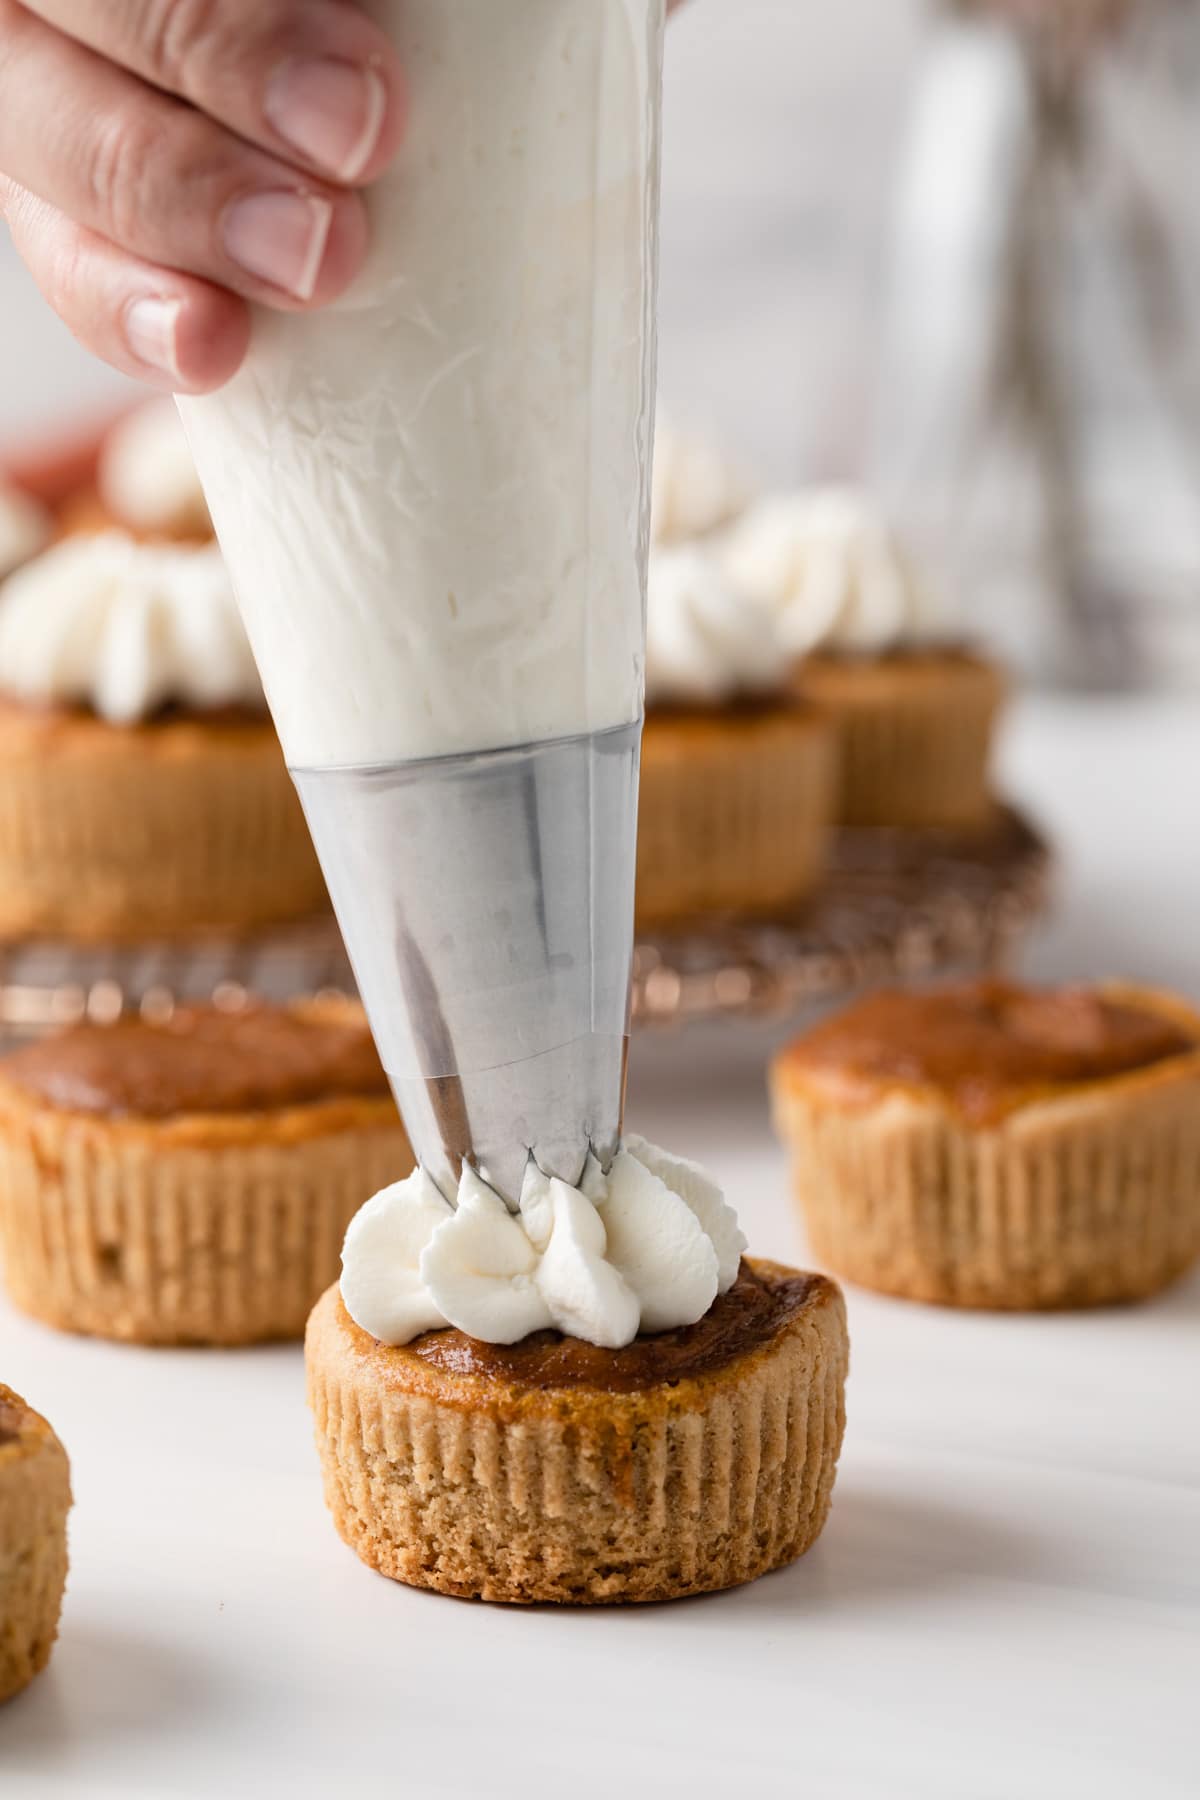
Step 5. Add heavy cream, powdered sugar, and maple syrup to a medium bowl and beat with an electric mixer on medium-high speed until stiff peaks form. Transfer whipped cream to a piping bag if desired.
Step 6. Top the pies with the whipped cream and serve.
Tips for success
- Measure correctly! It’s always best to weigh ingredients to ensure accuracy.
- Lightly spray the paper liners with nonstick spray before pressing in the crust. This will make it easier to remove once the pies have cooled. Otherwise, the paper may stick and tear the crusts as you remove it.
- Move the rack to the lower-third position before preheating and baking. This is the notch just below the center of the oven. It will prevent the filling from cracking on top!
- Watch carefully as they bake. The pie took about 25 minutes in my oven but all ovens bake differently. Your pies may be done in 20 minutes. Overcooking will cause the filling to crack the crust to be dry.
- Drizzle the garnished pies with maple syrup for added flavor. Totally optional but highly recommended.
Frequently asked questions
How long to cook mini pumpkin pies?
Cook the pies just until the center no longer juggles. Timing can vary depending on your oven so keep a close eye on them as they bake.
How to store?
Store in an airtight container in the refrigerator for up to 3 days.
Can you freeze mini pumpkin pies?
Baked and cooled pies will keep for up to 1 month stored in the freezer. Thaw in the refrigerator overnight.
Can I double the recipe to make more?
Yes! Just make sure to weigh the ingredients. This makes doubling easier to do without errors in measurements.
More pumpkin recipes
Mini Pumpkin Pies
Ingredients
For the crust
- 1 cup (125 g) Bob's Red Mill Almond Flour
- ⅓ cup (65 g) Bob's Red Mill Gluten Free 1-to-1 Baking Flour
- ½ teaspoon baking soda
- ½ teaspoon cinnamon
- ¼ teaspoon salt
- ¼ cup (58 g) unsalted butter, melted and cooled
- ¼ cup (50 g) granulated sugar
- 1 tablespoon pure maple syrup
- 1 egg, room temperature
- 1 teaspoon vanilla extract
For the filling
- 1 cup (235 g) pumpkin puree, not pumpkin pie filling
- 1 large egg
- 1 egg yolk
- ¼ cup (60 ml) pure maple syrup
- 2 tablespoons heavy cream
- 1 teaspoon vanilla extract
- 1 teaspoon cinnamon
- ¼ teaspoon salt
- ¼ teaspoon ground ginger
- ⅛ cloves
For the topping
- ½ cup (120 ml) heavy whipping cream
- 1 tablespoon confectioners’ sugar
- 1 tablespoon pure maple syrup
Instructions
Make the crust
- Set the oven rack to the lower-third position and preheat to 350°F. Line a 12-cup muffin pan with paper liners. Lightly spray the liners with nonstick spray.
- In a large bowl, add almond flour, gluten-free flour, baking soda, and salt. Stir with a whisk to combine.
- In a separate small bowl, whisk the melted and cooled butter, sugar, maple syrup, egg, and vanilla together until well combined. Add to the flour mixture and mix until a dough forms.
- Press 1.5 tablespoons of dough into the bottoms and halfway up the sides of each muffin cup. Bake for 5 minutes. The crusts will puff up during baking. Use a tablespoon to gently press it down on the bottom while it is still warm.
Make the filling
- In a large bowl, whisk the pumpkin puree, egg, egg yolk, pure maple syrup, heavy cream, vanilla, cinnamon, salt, ginger, and cloves together until well combined and smooth.
- Add about 2 tablespoons of filling to each crust. Use the back of a spoon to smooth the top.
- Bake for 25-30 minutes or until the filling has set and no longer jiggles. Cool the pies completely in the muffin tin before removing from the pan.
- When ready to serve, peel the paper liners off each pie and top with maple whipped cream.
Make the whipped cream
- Add heavy cream, confectioners’ sugar, and maple syrup to a medium bowl.
- Using a handheld electric mixer, beat on medium-high speed until stiff peaks form.
Notes
- Pies will keep for up to 3 days covered tightly and stored in the refrigerator.
- Pies can also be frozen for up to 1 month. Thaw in the refrigerator overnight.
Nutrition
The nutrition information provided is for convenience and as a courtesy only. It is not guaranteed to be accurate because nutrition information can vary for a variety of reasons. For precise nutritional data use your preferred nutrition calculator and input the exact ingredients and brands you used in the recipe.

I would like to use pumpkin spice , would you know conversion instead of separate spices.
thank you
I haven’t tested the recipe with pumpkin pie spice but imagine you could use 1-2 teaspoons.
Loved these! I did adjust the recipe and 1 1/2 the pumpkin for a little more filling.
Hi,
Is there another flour I could use besides Almond flour? We have a gluten and nut allergy.
Unfortunately, I’ve not tried this recipe with anything other than the flours listed so I can’t suggest a substitute.
Easy to follow directions even for a person who doesn’t do any baking. These are amazing! Can’t wait to try more recipes.
Thanks, Tera! I’m thrilled to hear you had such a positive experience with the recipe.