
How to Blind Bake Pie Crust
This post may contain affiliate links. Read the full disclosure here.
This guide will show you how to blind bake pie crust. This technique is also called “pre-baking” and it’s the process of baking and empty pie or tart shell.

There are times when a recipe may call for baking an empty pie shell, bakers call this blind baking, before the filling is added.
This step is necessary when the filling doesn’t require baking. Pudding filled pies like banana cream pie is a great example of this. Tarts filled with custard and fresh raw fruit also require a pre-baked pie shell.
There are also times when you may need to partially bake a crust before adding a semiliquid filling that is cooked in the shell, like when making pumpkin pie. This technique is helpful in preventing the crust from becoming soggy.
Blind baking isn’t difficult but it can be tricky if you’re inexperienced. But don’t fret, I’m going to walk you through my best tips to help you pre-bake a crust perfectly every time.

What you need to blind bake a pie crust
The biggest issue you’ll face when baking an empty pie shell is slouching. This happens when isn’t a filling to hold the sides of the crust in place. As the crust bakes and the fats melt, the sides of the will start to sag.
There’s also the issue where the steam from the water content causes the crust to puff up. While this creates gorgeous flaky layers, it also makes it difficult to fill the pie with your desired filling.
The best way to counteract both of these issues is to weigh the crust down. I prefer to use pie weights but dried rice, beans, sugar, or pennies will get the job done.
How to blind bake a pie crust
Follow this technique when baking a pie shell and you’ll get perfect results every time.
Step 1: Start with cold dough
Whether you use homemade pie crust or storebought, you need to make sure it is cold when it goes into the oven. Once you’ve fit the dough in the baking dish, pop the whole thing in the refrigerator for at least one hour.
Chilling the dough will allow time for the gluten to relax. This prevents shrinking.
This also ensures the fat is as cold as possible when going into the oven. As those bits of cold fat begin to melt, they’ll create steam. This steam results in a flakier crust.
ⓘ Avoid freezing the dough before baking! Gluten will NOT relax when frozen. Freezing suspends the deactivation of gluten.

Step 2: Fill the shell with weights
Once the crust is good and cold. Fill it with weights of your choice. First, you’ll need to line the shell with parchment paper or aluminum foil. Never use wax paper!
Trim the foil or parchment paper so you don’t have too much excess. But also keep in mind you’ll need to remove the weights. So keep enough excess to easily lift the parchment paper out with the weight inside.
Fill the lined shell with the weights of your choice. As mentioned before you can use buy aluminum pie weights or just use what you already have in the pantry.
- Dried beans – You won’t be able to cook with these afterward but you can keep them and reuse them for future pie baking.
- Uncooked rice – Same as the beans. You can’t cook and eat it after baking but it can be kept to reuse.
- Sugar – Sugar distributes heat evenly because of its small granular size. It can be used after baking and will have a slight caramel flavor.
- Pennies – If you have a jar full of pennies, use those!
Fill the weights all the way to the top.
ⓘ If you don’t have enough to completely fill the shell, make sure the bottom is completely covered and the weights are pressed up against the sides.

Step 3: Bake the crust
Position the oven rack to the lower third position preheat to 400°F. The lower-third is just beneath the center of the oven. This puts the crust slightly closer to the bottom element which helps the crust crispen up.
Bake it for 15 minutes. The edges of the crust will turn pale brown.
Remove the shell from the oven and lift the weights out by picking up the ends of the parchment paper. Set the weights in a heatproof bowl and allow them to cool before storing.
If the crust has bubbled up, you can use the tines of a fork to prick the bottom. This will allow steam to escape and keep the crust flat during the second half of baking.
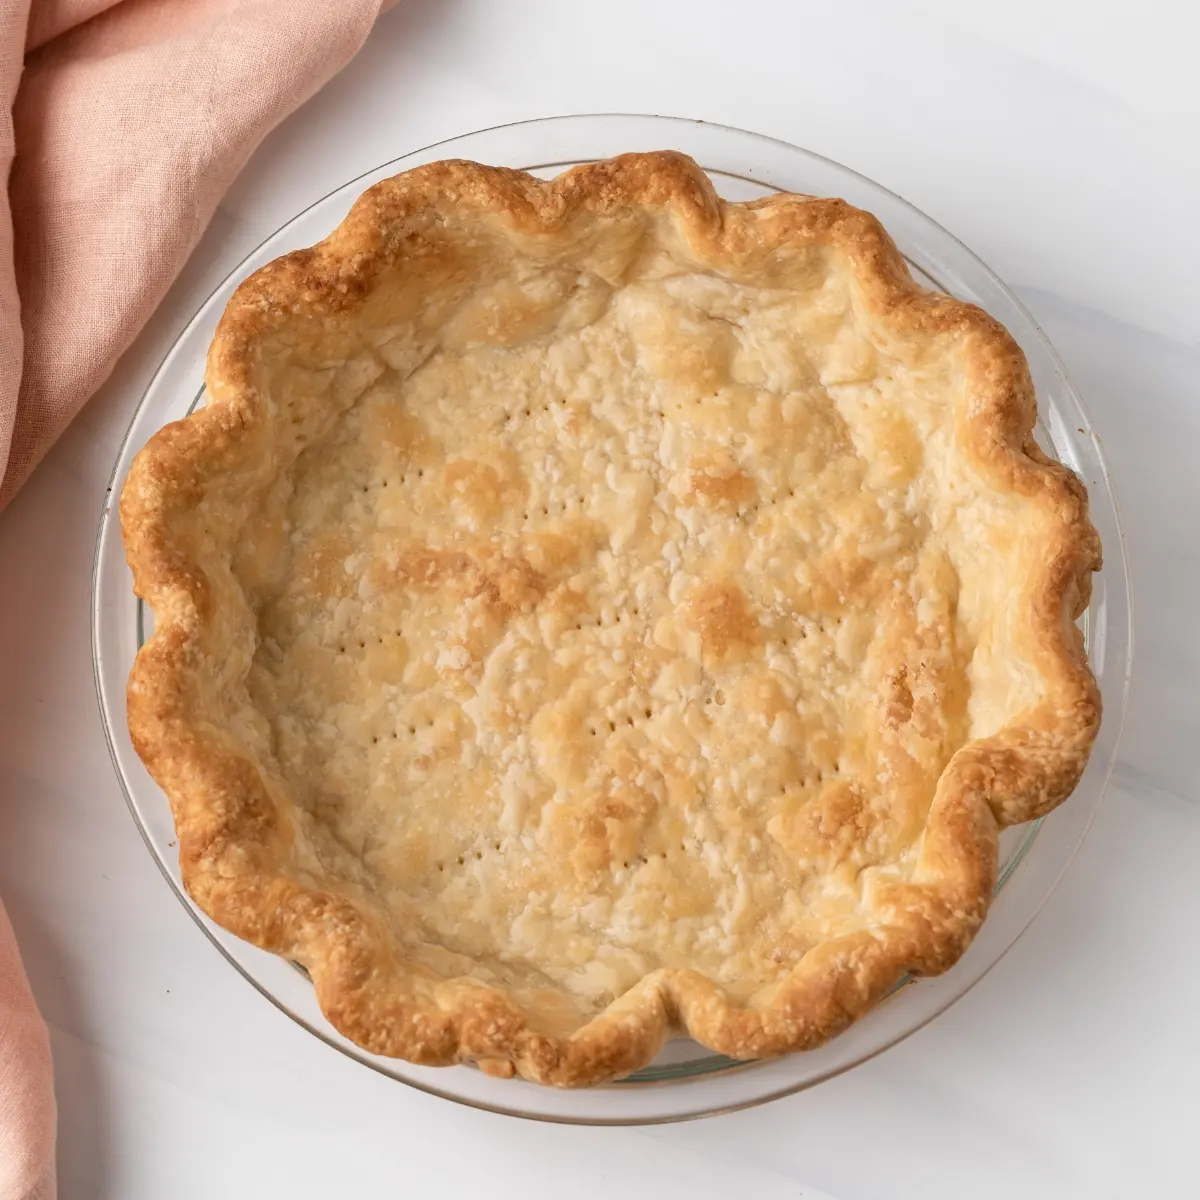
Return the shell to the oven and bake for an additional 15 minutes. The crust is finished baking once it golden brown and the inside looks matte instead of shiny.
If you plan to use the prebaked crust to hold a liquid filling, you need to seal it so the liquid doesn’t soak through and make it soggy. Do this by brushing it with egg wash before the second round of baking.
If the rim of the shell becomes too brown before the rest has finished baking, line the edges with aluminum foil or a pie shield.

How to Blind Bake Pie Crust
Ingredients
- 1 homemade pie crust, or storebought dough
Instructions
- Make the dough according to the recipe instructions.
- Shape the dough into a disc, wrap it tightly in plastic wrap and refrigerate for 30 minutes.
- On a lightly floured surface, gently roll the dough into a circle about 4-inches wider than the pan you are using. If the dough cracks during rolling, place a small piece of dough over the crack, and continue rolling. The small piece of dough will act as a patch.
- Gently fold the dough in half and transfer it to the pie dish. You can also gently roll the dough around the rolling pin then unroll it right into the pie pan.
- Press the dough down into the bottom and sides of the pan. Take care not to stretch the dough. Instead, gently lift it and let it settle into the pan.
- Trim the excess dough, leaving about a 1-inch overhang. Fold the overhang under so the dough sits even on the lip of the pan. Flute the edges of the crust as desired. Refrigerate for 1 hour.
- Meanwhile, adjust the oven rack to the lower-third position and preheat to 400°F.
- Remove the crust from the refrigerator and line the shell with parchment paper. Make sure the parchment paper is large enough that it’s easy to pick up by the ends once it’s time to remove the pie weights. Don’t use wax paper, it smokes.
- Fill the lined shell with pie weights, uncooked rice, or dried beans. You won’t be able to cook the rice and beans later but they can be saved and reused for future pies. Make sure the weights are evenly distributed in the shell and some are pressed up the sides.
- Bake the crust for 15 minutes, until it starts to turn lightly golden. Carefully remove the pie weights and return the crust to the oven to continue baking for another 15 minutes, until golden brown and matte looking instead of shiny. If the edges of the crust begin to brown too much, cover with an aluminum ring or pie shield.
Notes
- If the crust starts to bubble up, you can prick it lightly with a fork just before the second round of baking.
- If you plan to fill the pie with a liquid filling, brush the crust with egg wash after removing the pie weights. The egg wash will seal the crust during the second round of baking, this will help keep the crust crisp once the filling is added.
- It takes about two packs of pie weights to fill the pie.
- Thinner shells and pastry that contain sugar will brown more quickly. Keep a close eye on your crust.
Nutrition
The nutrition information provided is for convenience and as a courtesy only. It is not guaranteed to be accurate because nutrition information can vary for a variety of reasons. For precise nutritional data use your preferred nutrition calculator and input the exact ingredients and brands you used in the recipe.
Thank you for your recipe. But I have a question.
I have always heard never put a cold pyrex dish into a hot oven.
I use glass pyrex pie dishes. Is there a problem in chilling the pie crust and then putting it into a hot oven. I worry about brakage.
Please advise.
Patricia Baxter
While I’ve never had an issue going from the fridge or freezer to a preheated oven, it’s always best to read the care instructions for the bakeware you are using. Here’s a link to where you can find Pyrex’s safety information so you can make an informed decision.
A thousand and one sites on the internet, all claiming various “best” techniques to blind-bake, and yours is the one I choose as my go-to method. You *get it*…for example not freezing the dough (which many other sites incorrectly parrot each other in advising). Your method *works*, and is well-explained. The crusts in your snapshots also look great, as supposed to look when properly blind-baked. (Also I admit I’m partial to your “introvert” site name. 🙂 )
One small suggestion/difference is that I recommend a shield to protect the crust in the second half of baking, but that may be because I tend to flatten my crusts more and use less butter. Thank you for a great recipe/method!