
Homemade Cake Release
This post may contain affiliate links. Read the full disclosure here.
This homemade cake release will make releasing your freshly baked cakes from their pans a breeze. It’s quick to make, easy to store, and better for you, and the environment than the store-bought spray cans you can find at the market.
If you are a fan of this site, you know that every once in a while I take a pause from all the delicious recipes I test and prepare for you to share some tips on things you can do to make baking those recipes easier.
Need to know how to zest a lemon? I’ve got you covered. Interested in making a cheesecake and worried about using a water bath? Don’t – I have tips for how to prevent your cheesecake water bath from leaking. Looking to heat treat flour for a no bake recipe – check out this post on how to heat treat flour. These tips are all helpful and useful and will make you a better baker!
Today’s tip is a real lifesaver. If you’ve made a cake before, particularly a layer cake – you know so well that stressful moment when the cake is done, it’s cooled on your stovetop for a half hour, and you think it’s ready to turn over and onto a cooling rack. The pan is cool to the touch, you jiggle it around a bit, turn it over, give it a tap, and hold your breath.
The moment of truth. Will the cake come out evenly? Will you be able to frost it? Will some of the cake end up stuck to the pan? I hear you. It’s stressful.
You can spray it with a premade store-bought baking spray – but I don’t know. It kind of has a weird flavor, we should probably do what we can to keep that hole in the ozone layer from getting any bigger, and I can’t pronounce half the things that are in it. Sometimes it is a necessity, I get it. But if I can avoid extra unknown ingredients, I like to whenever possible.
You can also grease the inside of the pan with butter or shortening and then sift some flour around the inside of it – but that can be inconsistent and a little messy. This cake release – or cake goop – has all the same ingredients. It works like a charm.
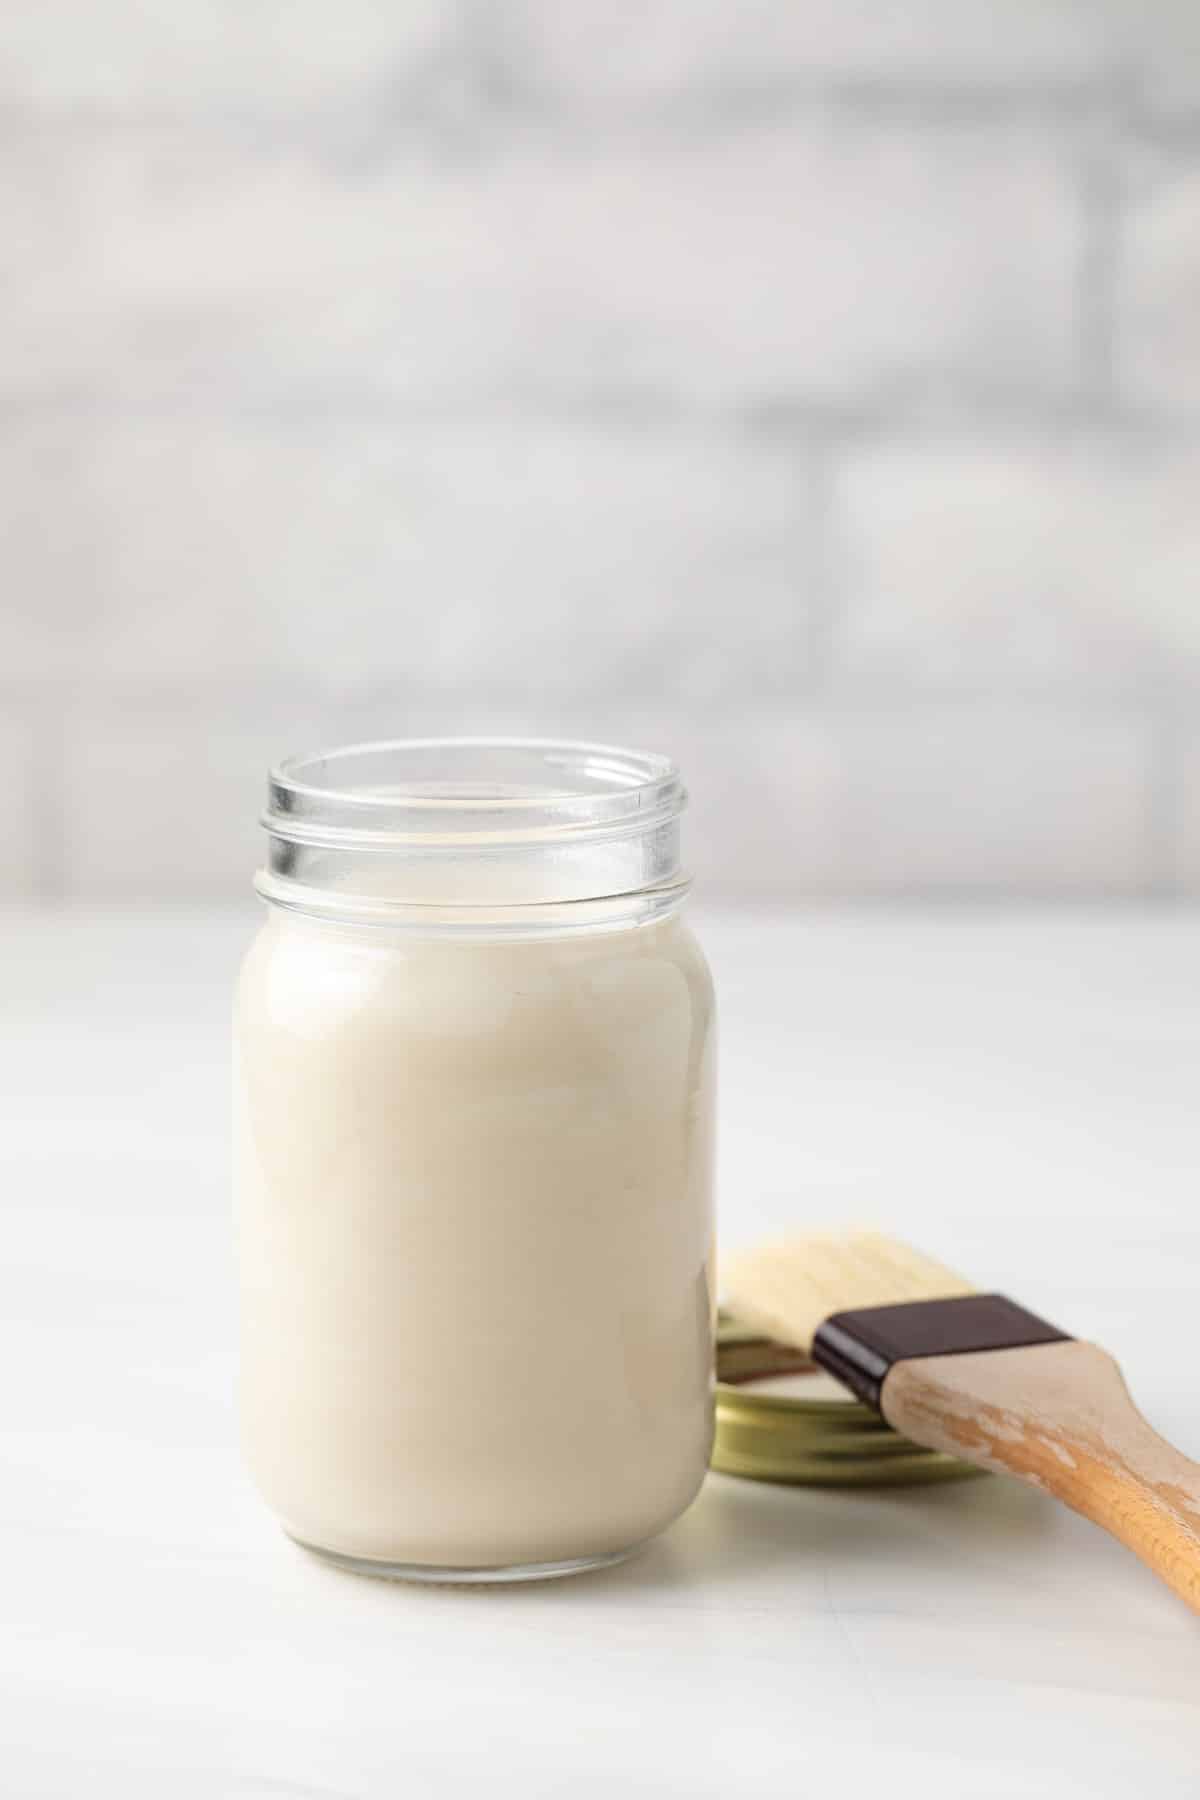
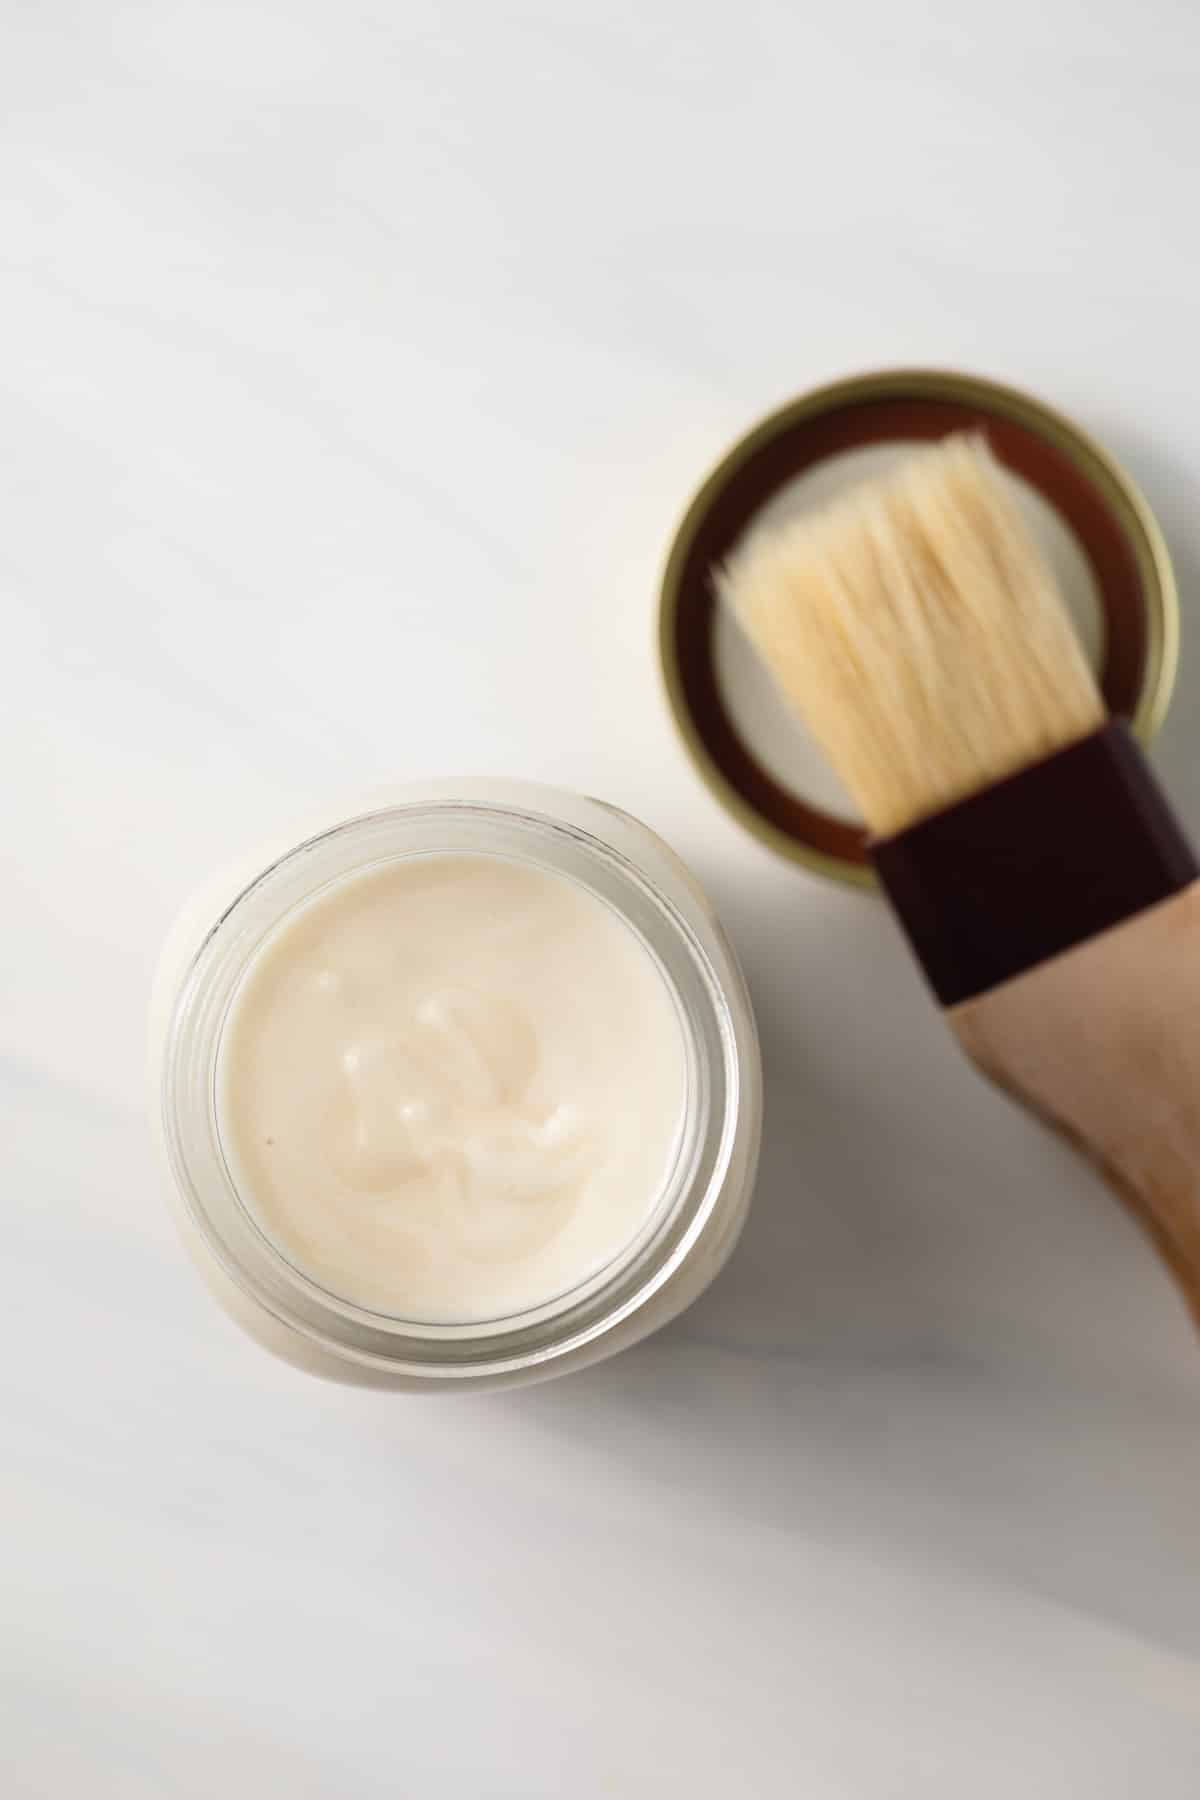
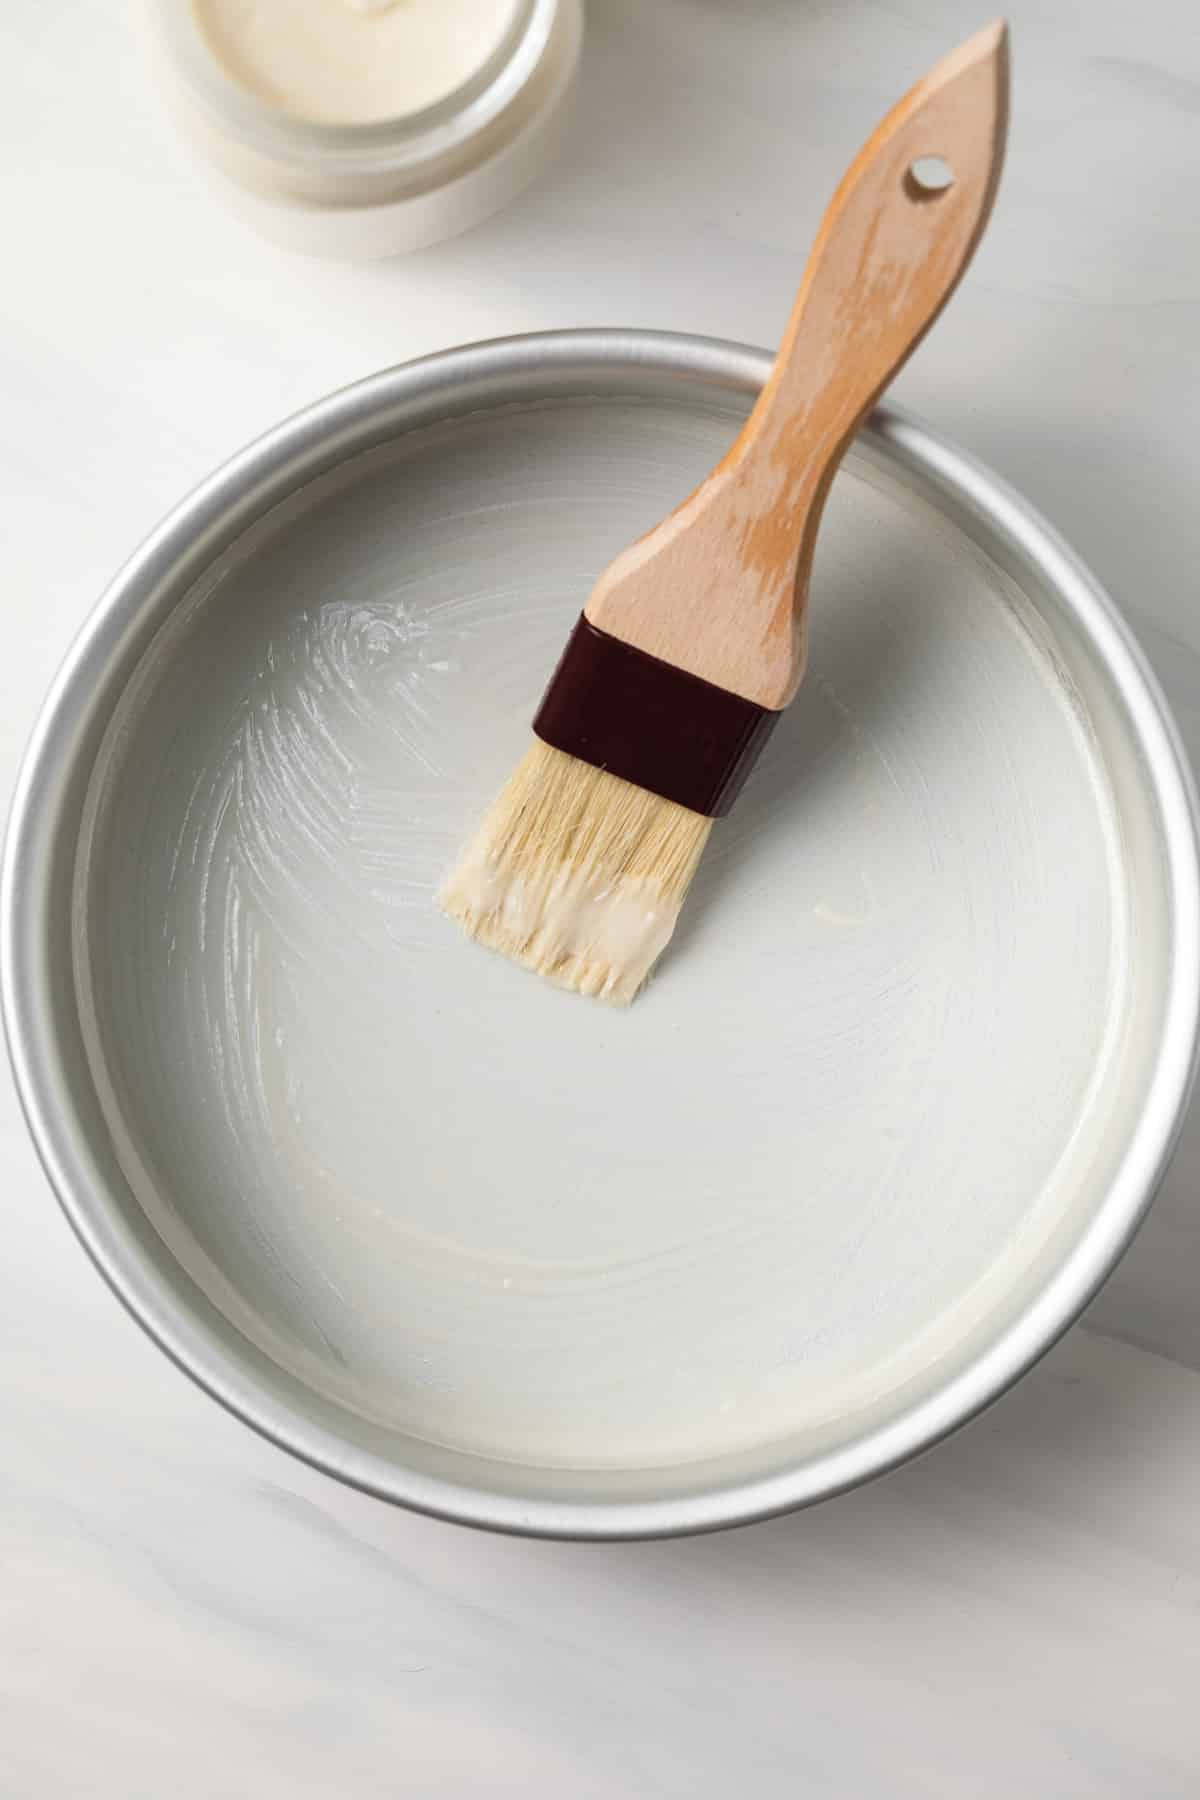
This homemade cake release is super easy to make. Store it in a mason jar for up to 3 months. When you need it, open the jar, brush a generous layer of the cake release on the pan you are using with a pastry brush (or a crumpled up piece of wax or parchment paper) and voila – your cake pan is prepared.
You’ll love how easy the cake pops out of the pan after it’s been cooled. No big chunks missing – just a perfect cake, ready to cool and frost. You’ll thank yourself for taking 5 minutes to prepare ahead and make this!
What You’ll Need
Three easy to find (and easy to pronounce) ingredients are all you need to make this simple homemade cake release recipe.
- Vegetable Shortening – Crisco or other shortening of your choice.
- Vegetable Oil – You can use canola, vegetable or another neutral flavored oil.
- Flour – All purpose flour.
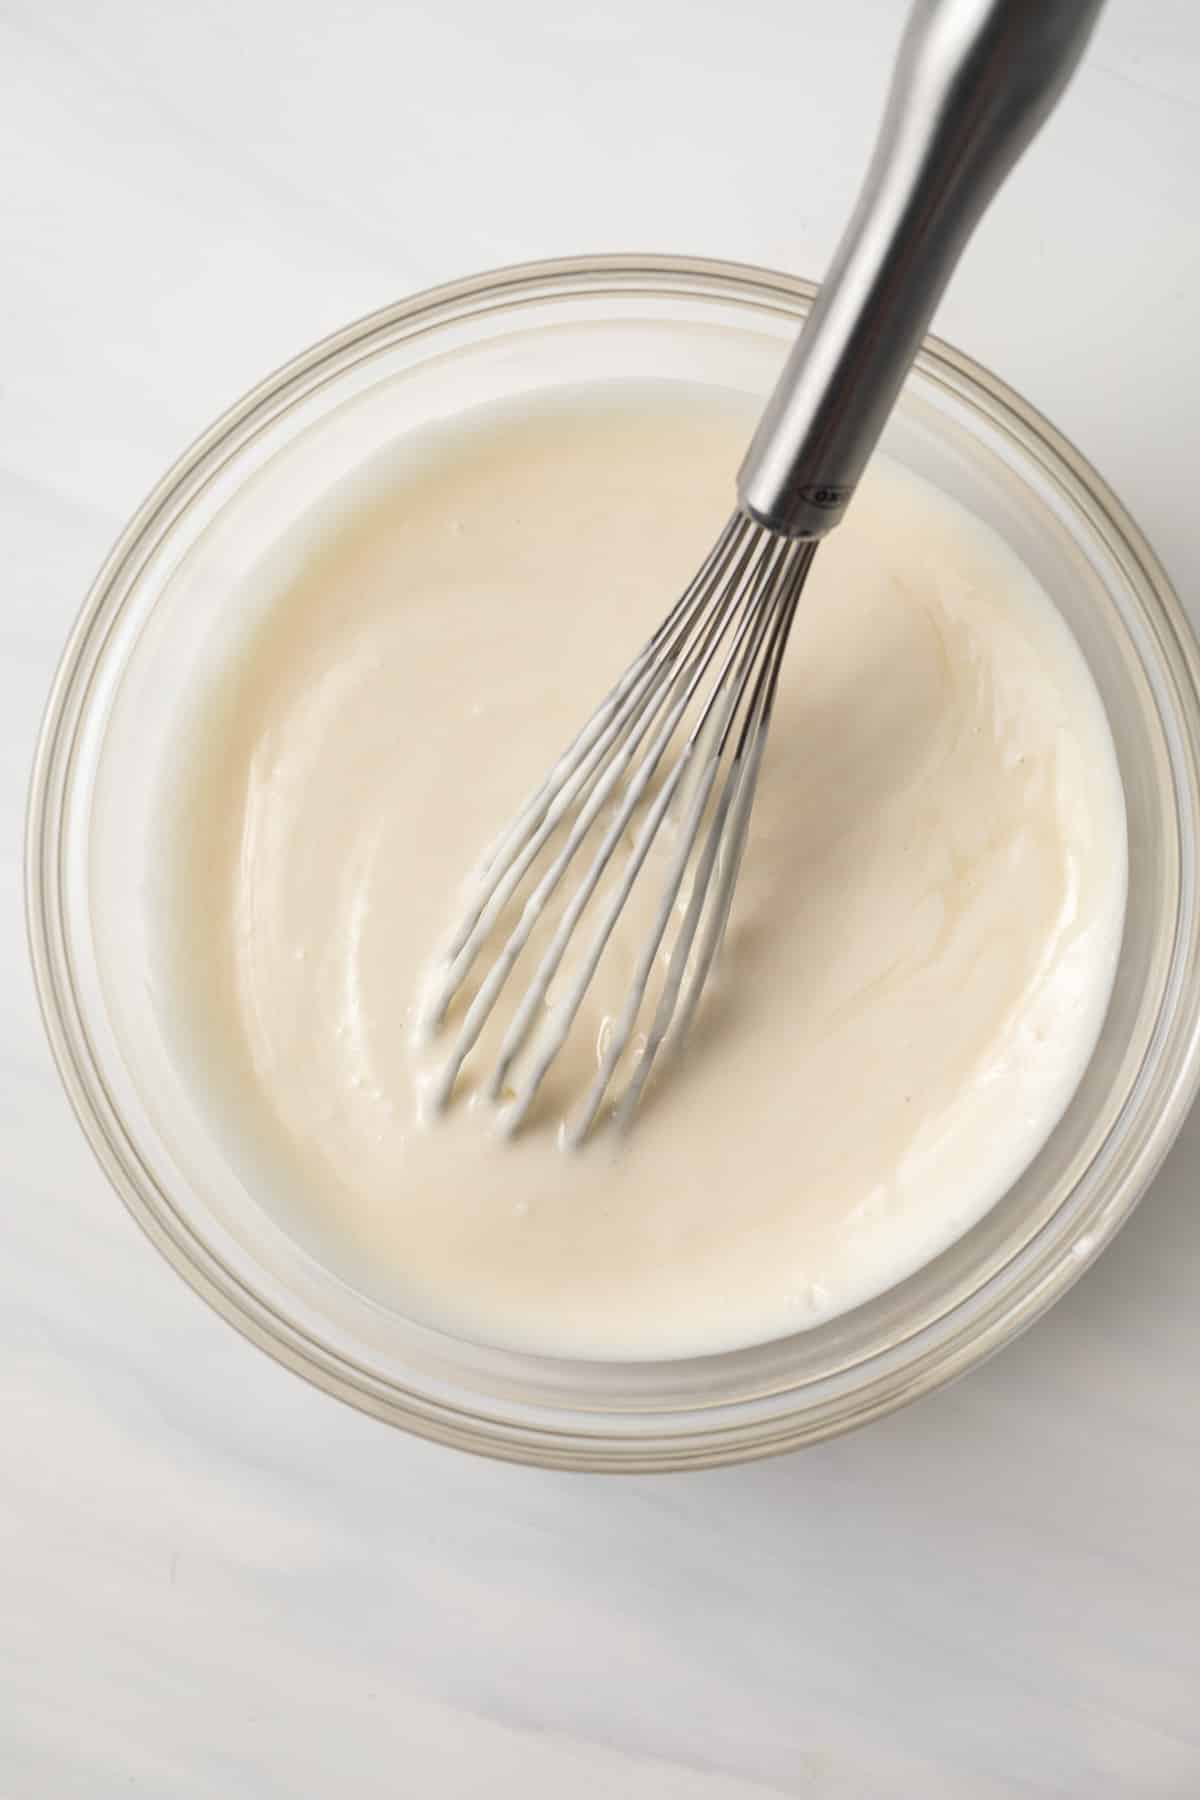
How to Make Cake Goop
This quick cake release – also known as cake goop – is so easy.
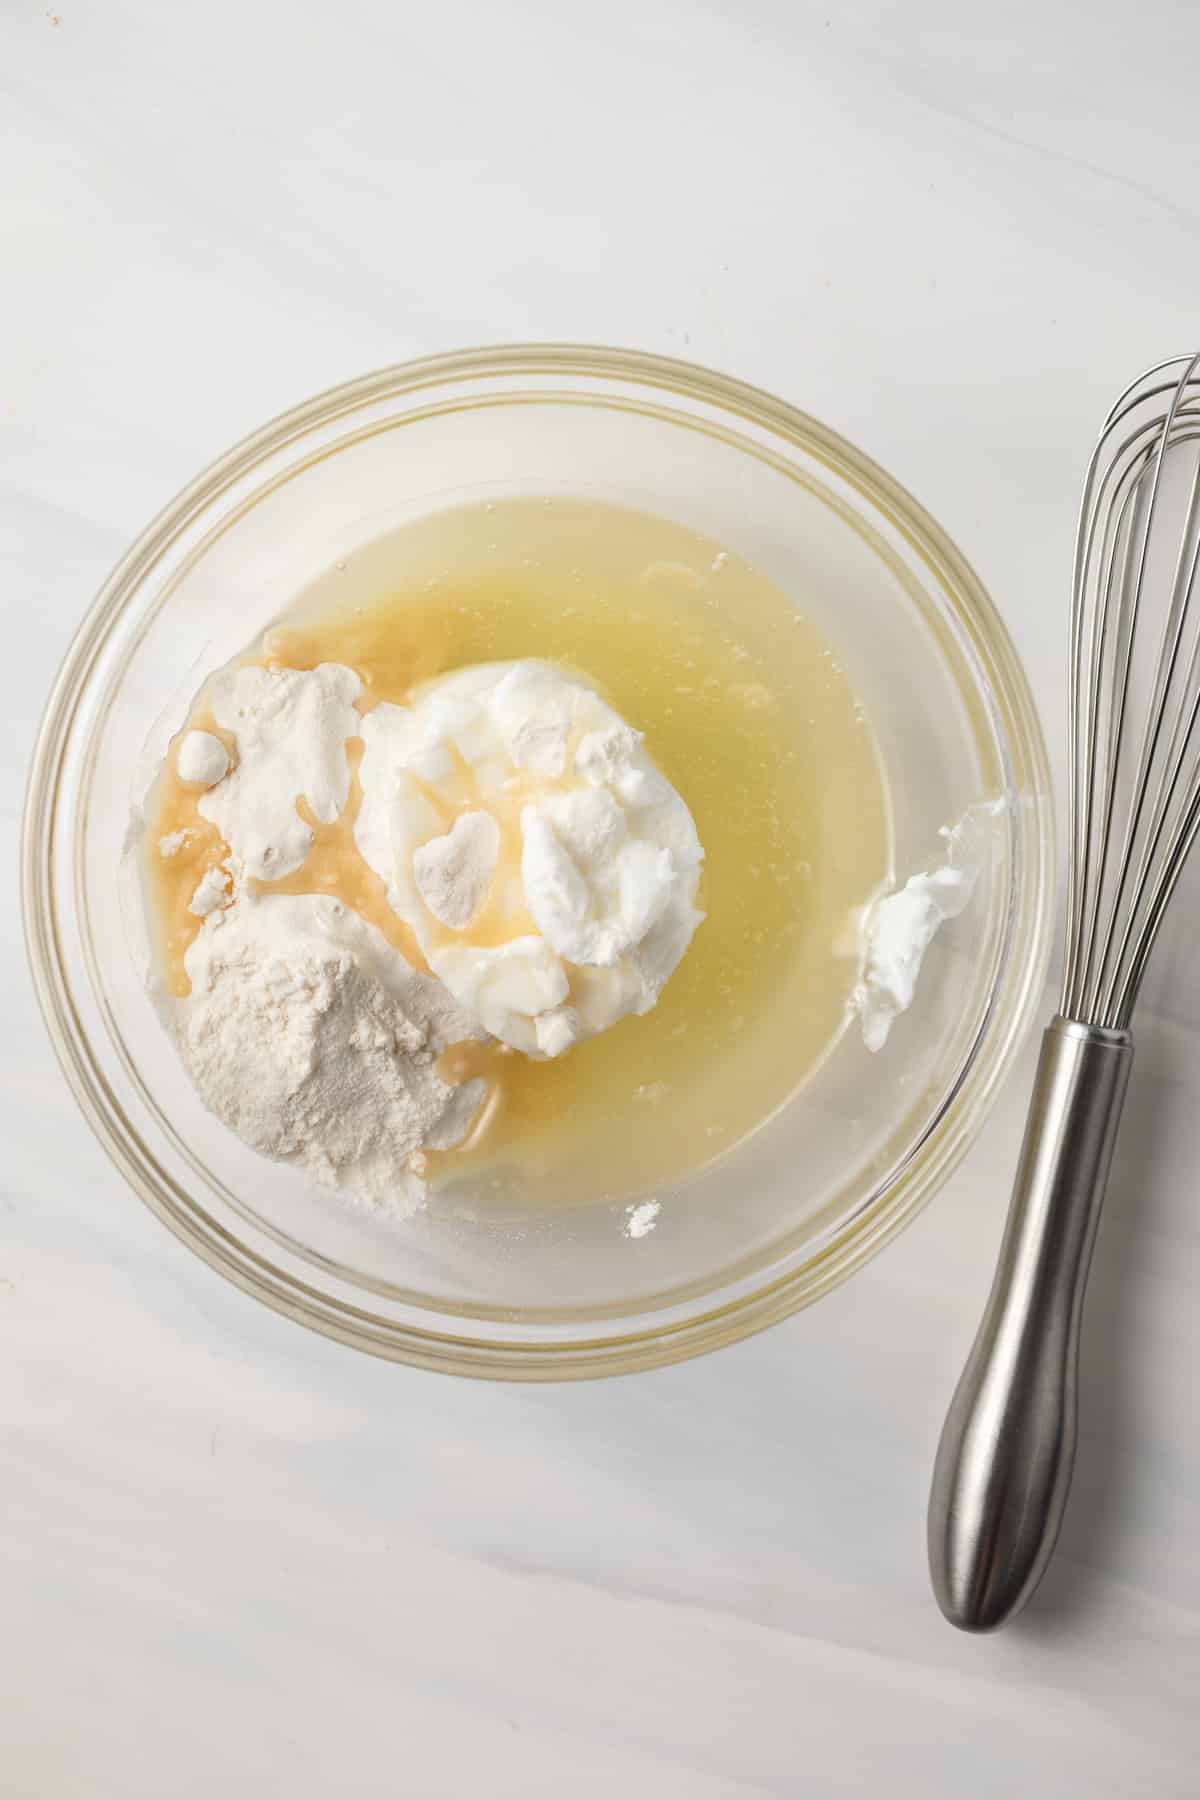
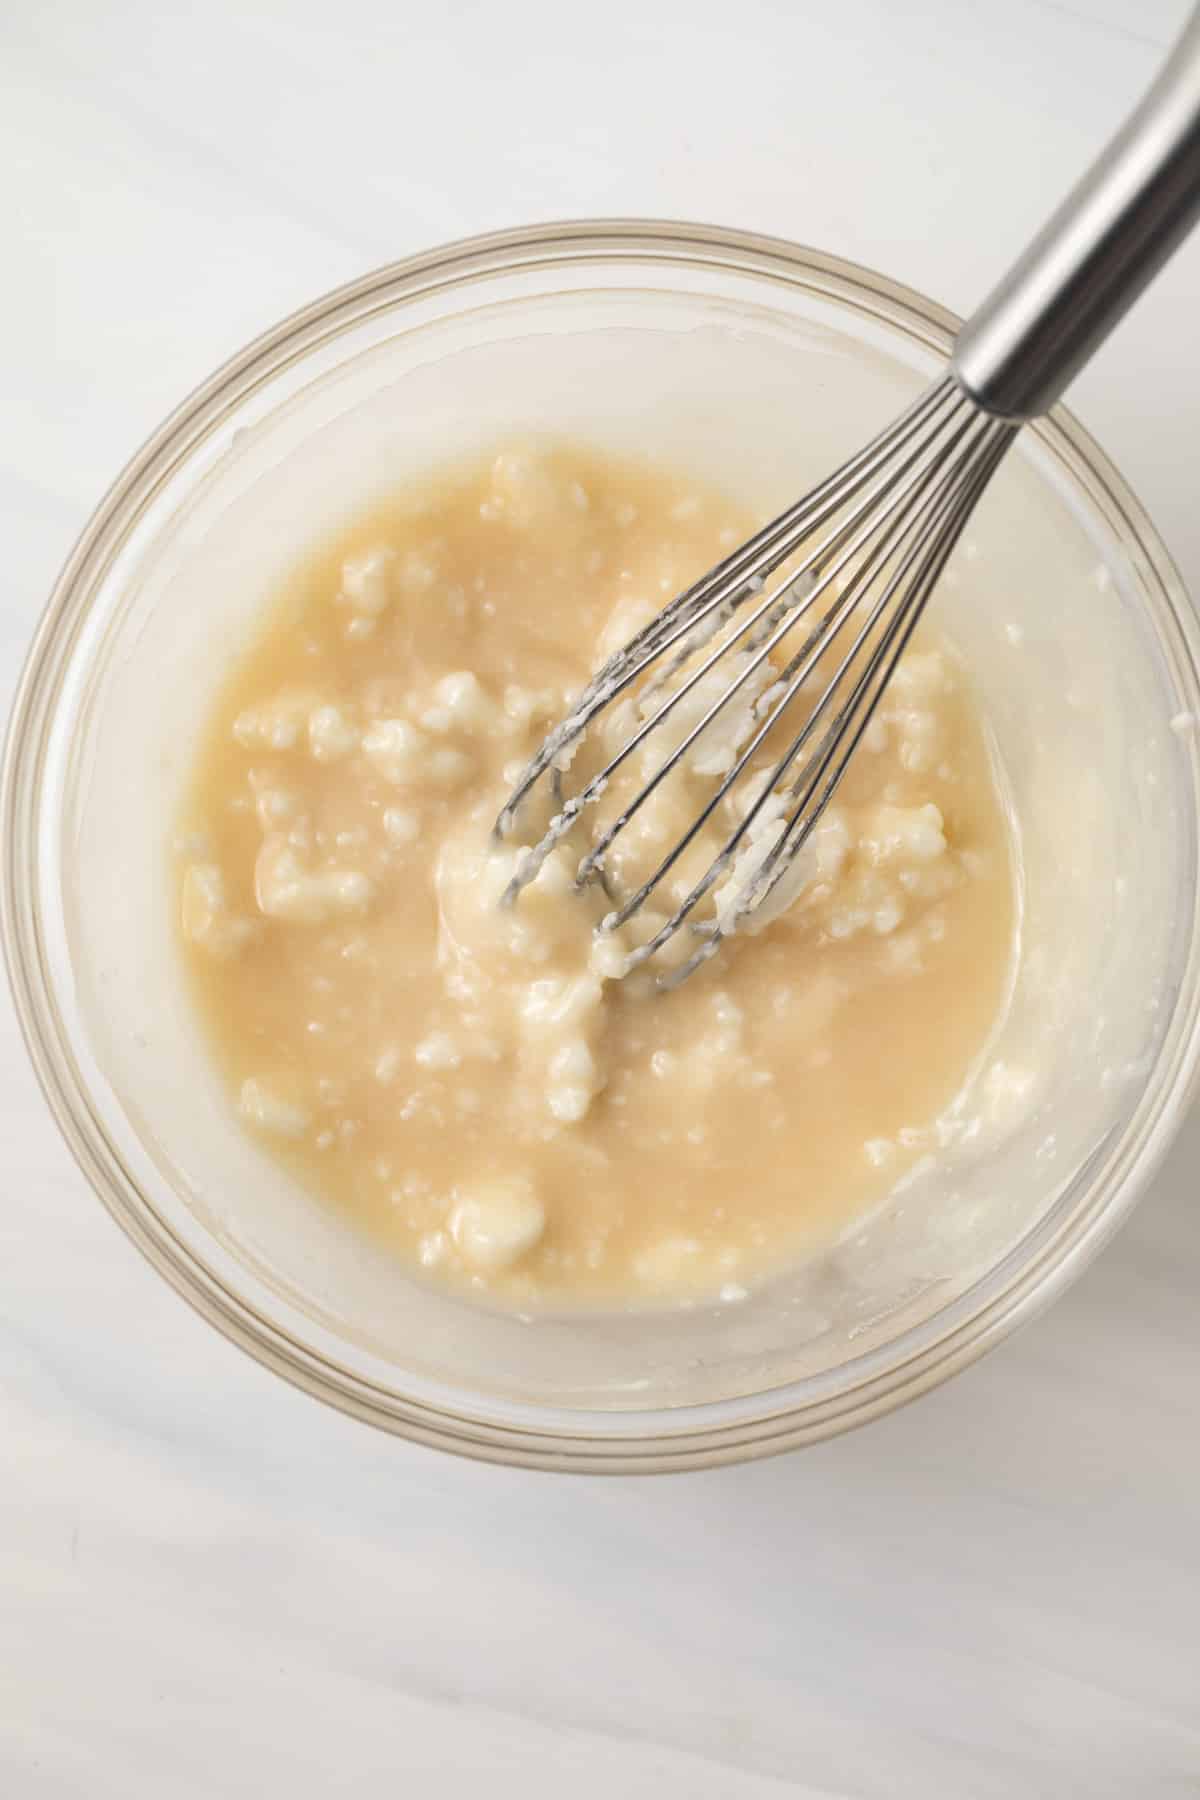
- Combine all ingredients in a medium bowl. Blend with an electric mixer until smooth.
- Transfer to an airtight container.
- When you want to use the cake goop.
Handy tip:
In the Fall, when I know I have a lot of baking coming up, I like to make a triple recipe of this and keep it in a mason jar in my pantry so I can reach for it anytime I bake. You can also use it to grease a cookie sheet when making cookies, line a bread pan when making bread… any baked item that calls for a greased pan.
Storage & Freezing
This will keep for up to 3 months.
Homemade Cake Release
Ingredients
- ¼ cup (46 g) vegetable shortening
- ¼ cup (60 ml) canola oil, or vegetable oil
- ¼ cup (33 g) all-purpose flour
Instructions
- In a medium bowl combine shortening, canola oil, and flour.
- Use a handheld mixer to mix until completely smooth.
- Transfer to an airtight container for up to 3 months.
Notes
- Use the homemade cake release by brushing it onto the cake pans with a pastry brush.
- You can easily double or triple the recipe to make more if needed.
Nutrition
The nutrition information provided is for convenience and as a courtesy only. It is not guaranteed to be accurate because nutrition information can vary for a variety of reasons. For precise nutritional data use your preferred nutrition calculator and input the exact ingredients and brands you used in the recipe.
Hi Jen
For the cake release goop, after you apply on the cake pans do you still need to flour lightly the cake pans. I am thinking yes.
No, you don’t need to flour the pans. The cake goop contains flour so that you are greasing and flouring at the same time.
Could cornstarch be substituted for the flour as a gluten free option?
I’m not sure how that would work as I’ve tested it.
I’m not sure how that would work as I’ve not tested it.