Oreo Fudge
This post may contain affiliate links. Read the full disclosure here.
Decadent homemade Oreo Fudge is a delicious no-bake dessert that you can prepare in just 10 minutes! Whip up a batch for all your celebrations, or for no reason at all.
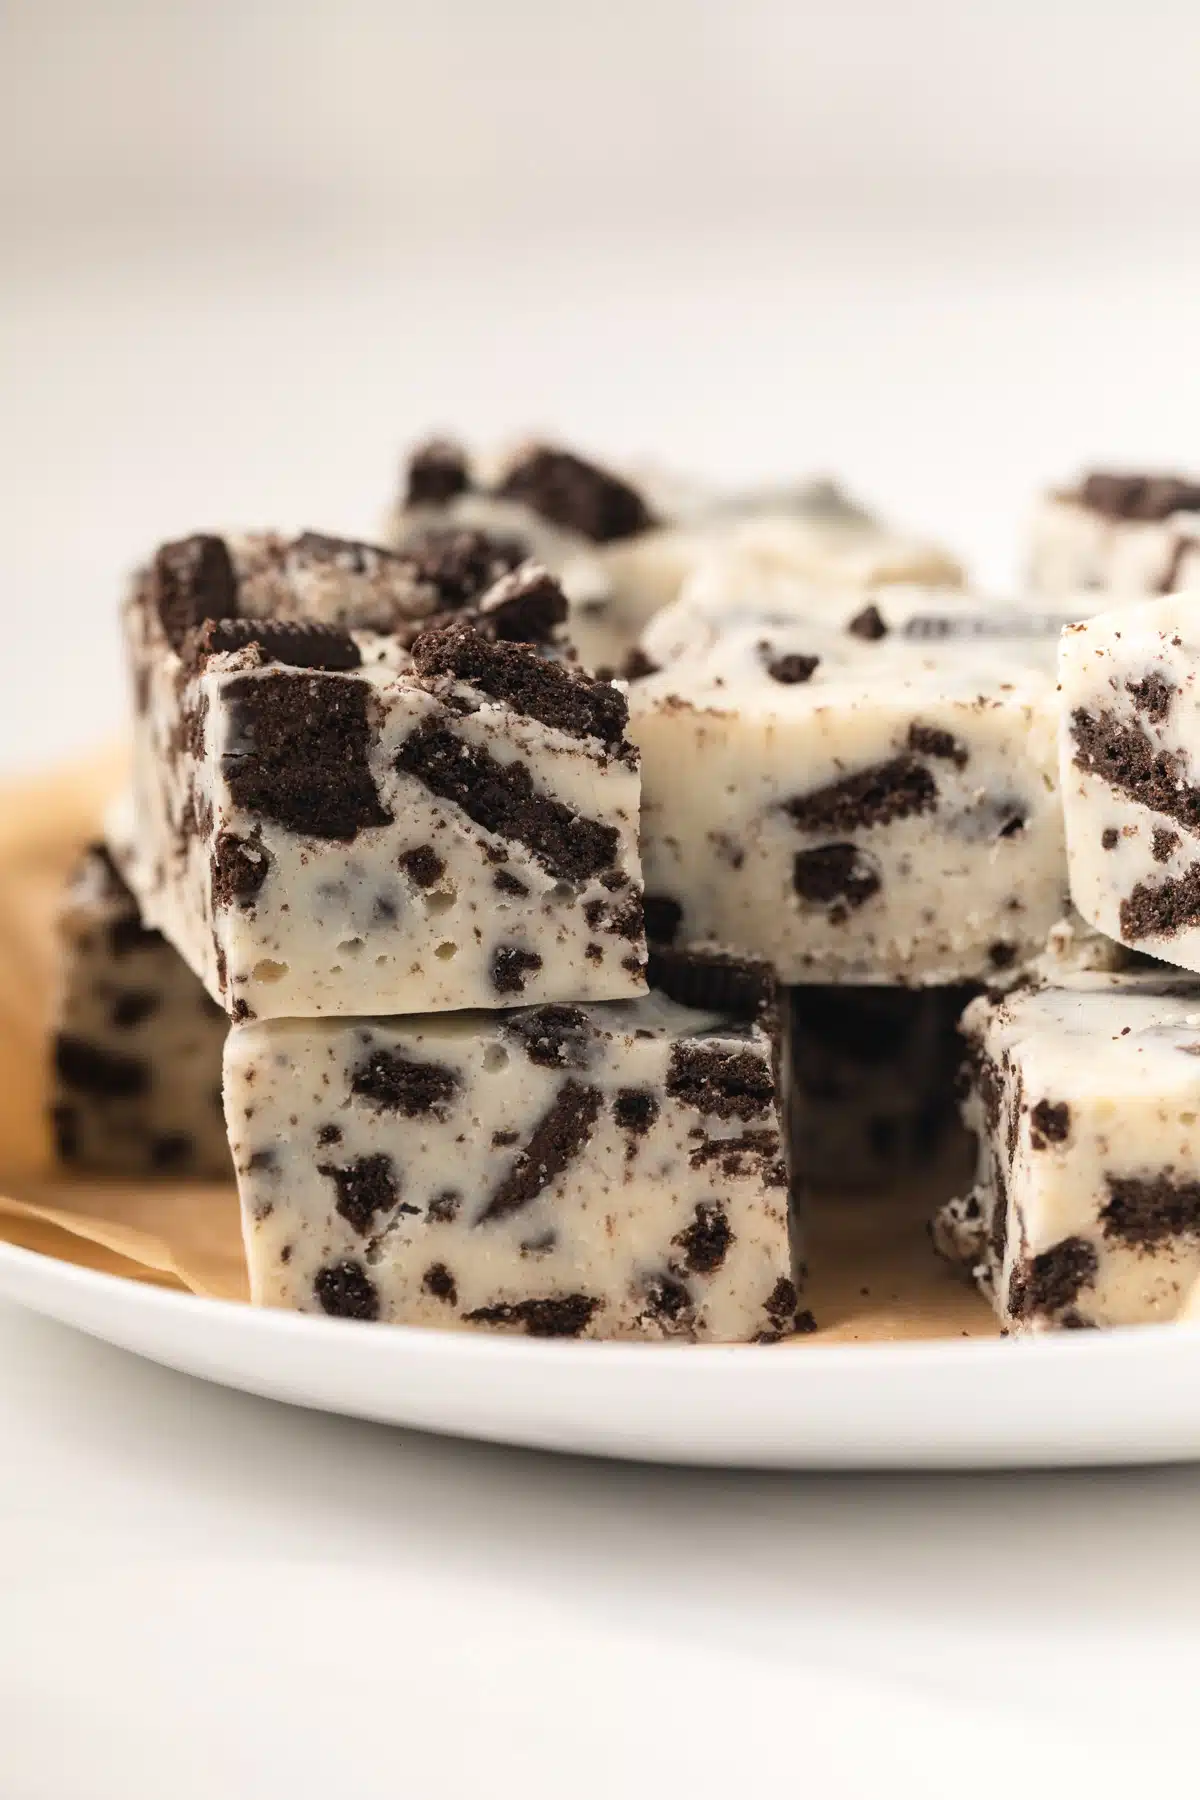
Fudge is a fantastic no-bake treat and this creamy Oreo fudge recipe is by far the easiest. It doesn’t require a candy thermometer or any special tools to make, much like my easy peanut butter fudge.
This recipe is based on the white chocolate fudge version of my easy fudge recipe, with cookies mixed-in for extra flavor.
You need just a handful of simple ingredients to whip up this easy fudge recipe. It’s perfect for gift-giving during the holidays or just for a simple treat when you’re craving something sweet.
Oreos are a happy food. Everyone loves them. Adding these cookies to a dessert recipe – whether Oreo brookies, Oreo cheesecake or this Oreo fudge – guarantees it will be well-loved.
If candy-making intimidates you, this is definitely the recipe for you. It’s made on the stovetop using the double boiler method, or it can even be made in the microwave. Either method works great and will give you delicious fudge in no time at all.
Just be careful with white chocolate in the microwave. If it gets too hot, it will actually thicken up and start to harden. So zap in small time increments and stir regularly.
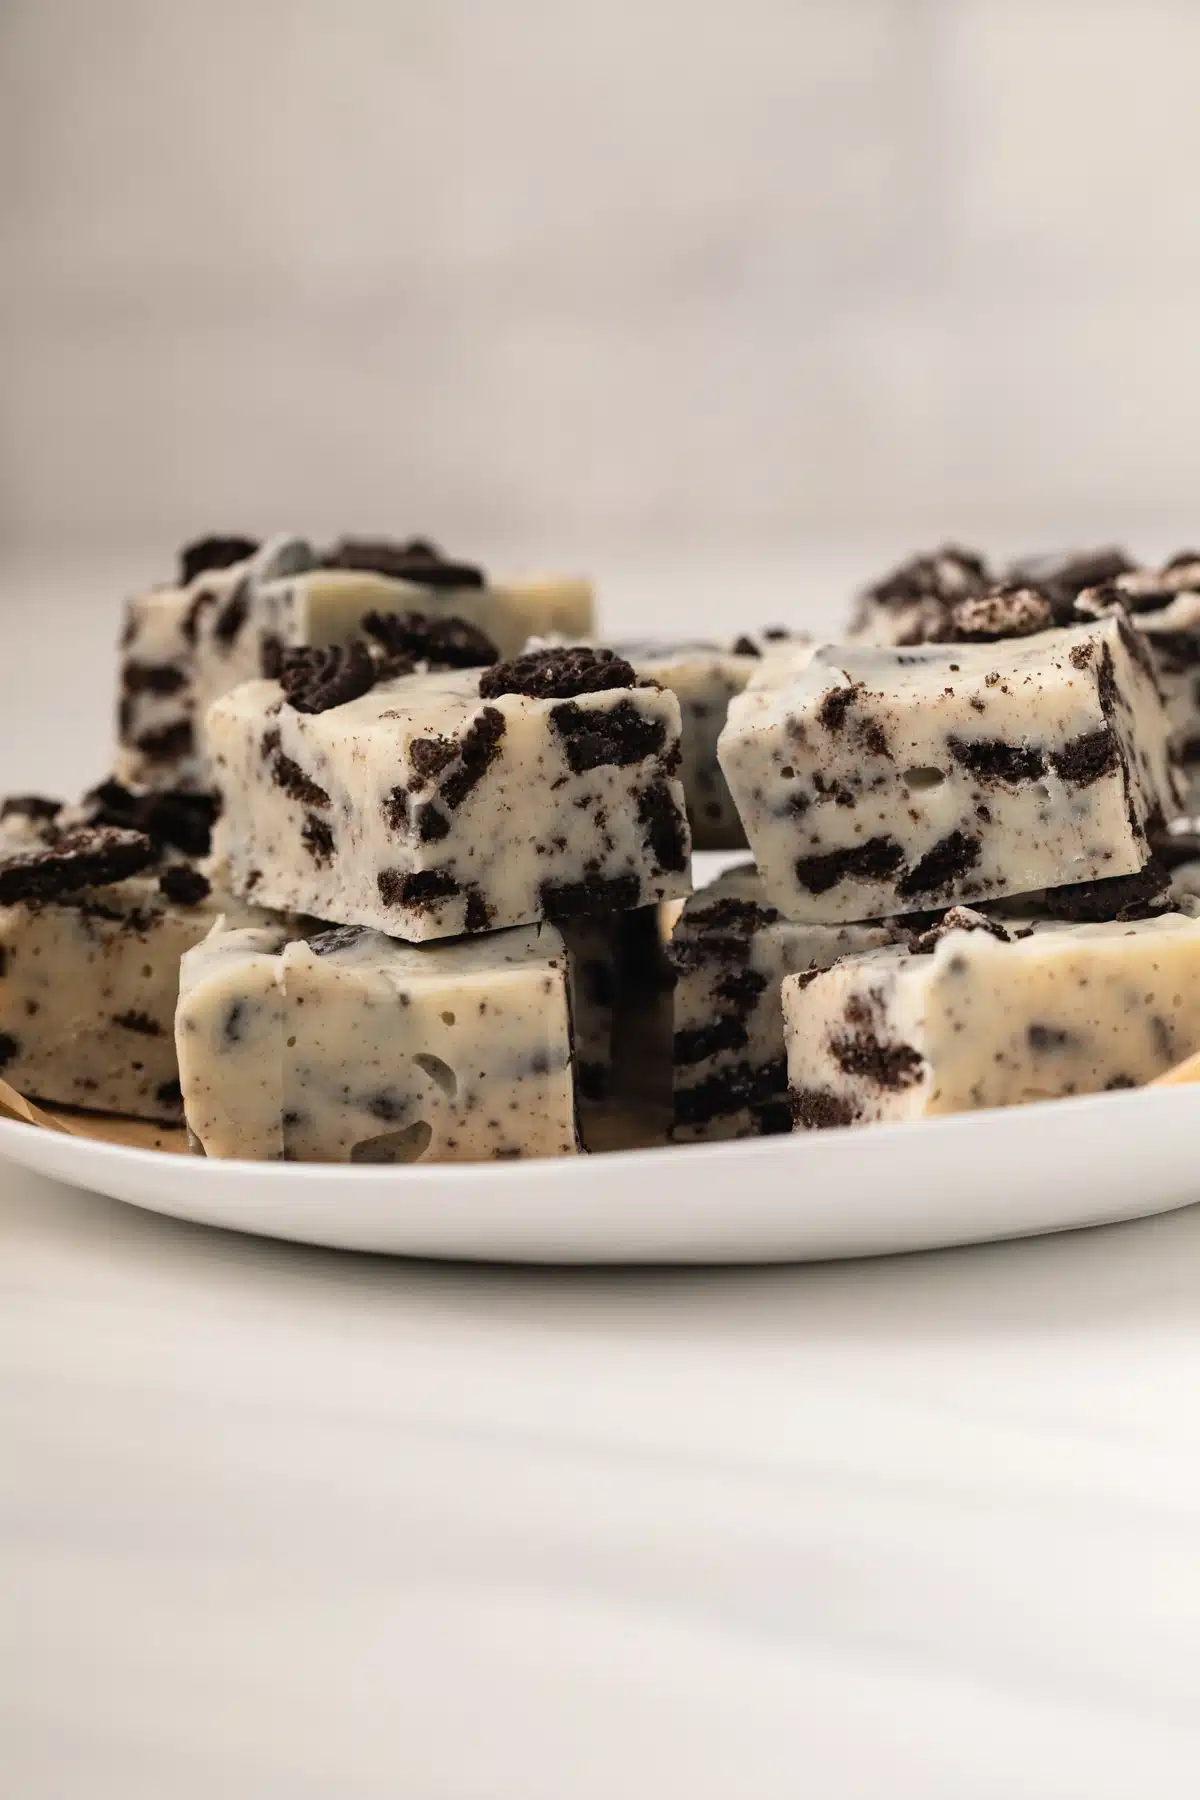
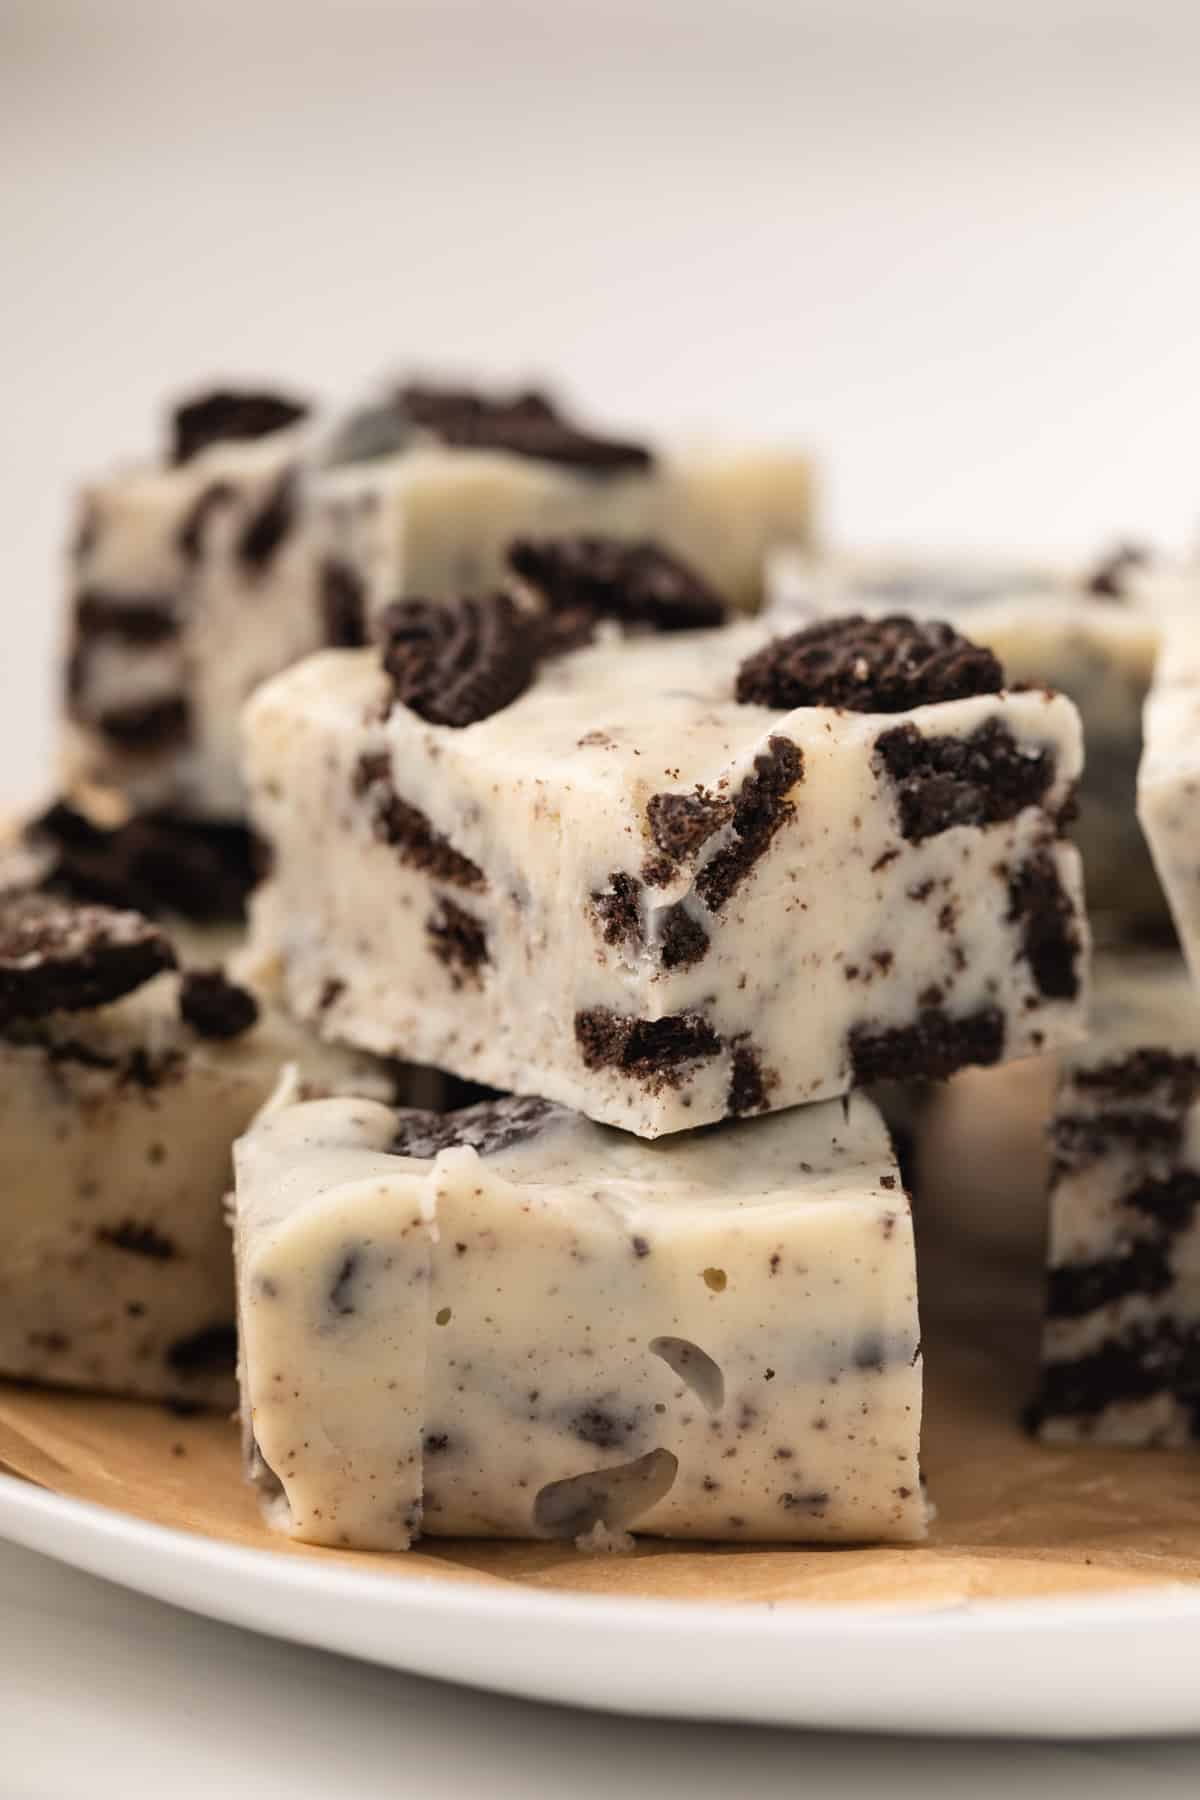
This delicious Oreo fudge is a white chocolate fudge studded with bits of crushed cookie pieces. The result is silky, smooth, slightly, chewy, with the unmistakable flavor of Oreos. It’s an easy no bake dessert everyone will love.
Recipe Snapshot
- TASTE: Like an Oreo version of fudge
- TEXTURE: Creamy, dreamy and studded with Oreos
- EASE: Easy!
- TIME: 10 minutes, plus time to chill
What You’ll Need
Ingredients
The ingredient list is short! You only need a handful of ingredients to make this easy Oreo fudge recipe.
- White chocolate: White chocolate chips or chop up a few white chocolate bars.
- Butter: Unsalted butter is needed to give the fudge a smoother texture. You can omit it but I highly recommend using it.
- Sweetened condensed milk: One 14-ounce can of sweetened condensed milk is needed. Make sure to use the regular one and not the fat-free one.
- Vanilla extract: Buy a high-quality natural extract.
- Salt: To balance the flavors
- Oreos: 24 Oreo cookies crushed into small pieces.
Recommended Tools
- Mixing bowl: Make sure to use a heatproof glass bowl.
- Small saucepan: The bowl will be set over a saucepan filled with a little water to act as a bain-marie.
- Silicone spatula: A silicone spatula is all you need to mix the ingredients together.
- Square pan: An 8-inch square pan is what I used to pour the fudge into to set.
How to Make Oreo Fudge
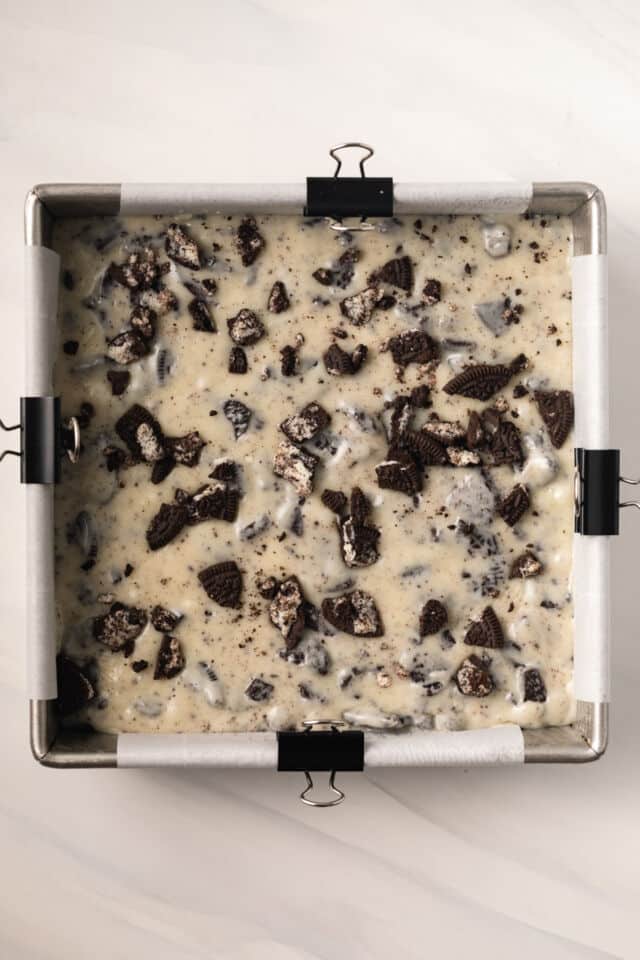
This delicious homemade Oreo fudge comes together in under 10 minutes and will be ready to enjoy after it chills for about an hour. To begin, line your 8-inch square pan with parchment paper or wax paper and set aside. Leave an overhang so you can easily lift the fudge out and cut it into squares.
Be sure to check out the full recipe and ingredient list below
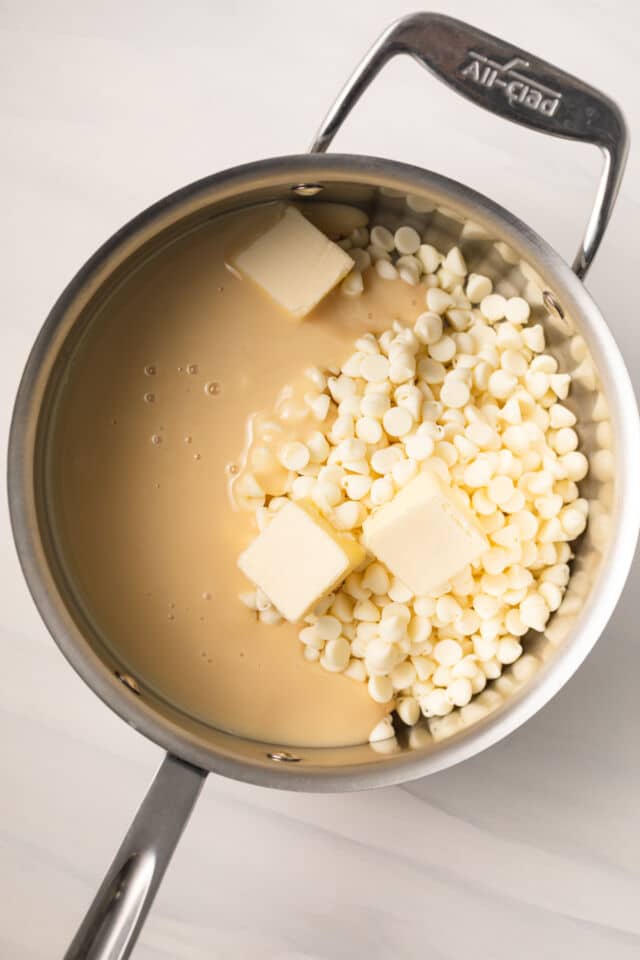
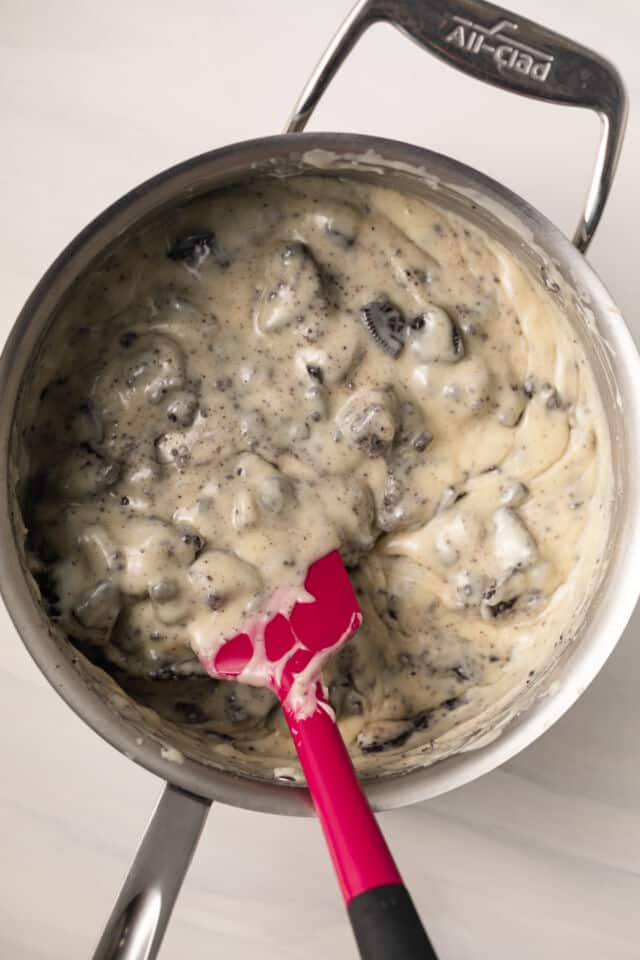
- Melt the chocolate. In a medium saucepan, set over medium-low heat, combine the white chocolate chips, butter, condensed milk, and salt together. Stir until melted and smooth.
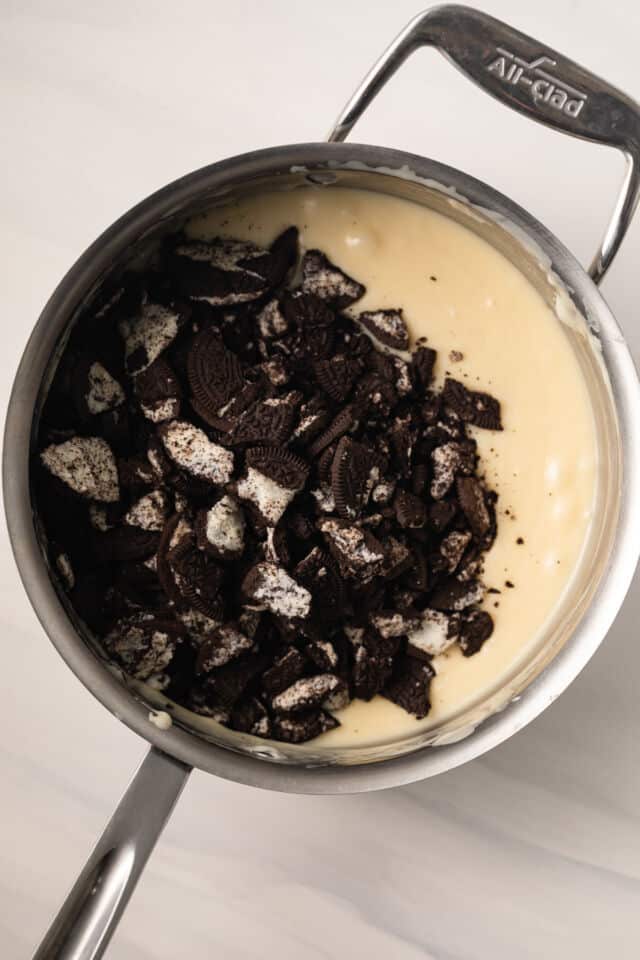
- Add the mix-ins. Remove from the heat and stir in the vanilla extract and all but ¼ cup of the crushed Oreo cookies.
- Prepare the fudge. Pour the mixture into the prepared pan and smooth the top. Sprinkle the top with the remaining Oreos.
- Chill. Refrigerate until firm, about 1 hour. Remove the fudge from the pan, lifting out the paper, and then use a knife to cut the fudge into squares and serve.
Handy tip:
Read the labels carefully – don’t grab evaporated milk instead of sweetened condensed milk. They are two different products, and evaporated milk won’t work in this recipe. If you need to, you can make homemade sweetened condensed milk. This will require some preparation since it will have to made before you can use it to make fudge.
Tips For Success
- This version of fudge is meant to be softer and creamier than traditional recipes. For a sturdier fudge, skip the butter and heat the chocolate with the sweetened condensed milk until melted and smooth.
- Make this fudge in the microwave! Combine all the ingredients except for the Oreos in a microwave-safe bowl and microwave in 30-second intervals, stirring between each one until melted and smooth. Add the Oreos after the ingredients are melted.
- This fudge will soften some at room temperature so keep it refrigerated until ready to serve.
Storage & Freezing
To store: Keep the fudge stored in an airtight container in the refrigerator for up to 2 weeks.
To Freeze: Wrap the fudge tightly in plastic wrap and a couple of layers of aluminum foil, then place it in an airtight container. Store in the freezer for up to 2 months. Thaw in the refrigerator overnight.
Oreo Fudge
Ingredients
- 3 cups (510 g) white chocolate chips
- 14 ounces sweetened condensed milk
- 3 tablespoons unsalted butter
- ⅛ teaspoon salt
- 2 teaspoons vanilla extract
- 24 Oreo cookies crushed into small pieces, divided
Instructions
- Line an 8-inch square pan with parchment paper or wax paper and set aside. Leave an overhang so you can easily lift the fudge out and cut it into squares.
- In a medium saucepan, set over medium-low heat, combine the white chocolate chips, butter, condensed milk, and salt together. Stir until melted and smooth.
- Remove from the heat and stir in the vanilla extract and all but ¼ cup of the crushed Oreo cookies.
- Pour the mixture into the prepared pan and smooth the top. Sprinkle the top with the remaining ¼ cup Oreo cookies.
- Refrigerate until firm, about 1 hour. Remove the fudge from the pan, lifting out the paper, and then cut into squares and serve.
Notes
- Butter: Salted butter can be used. Omit the salt from the recipe.
- You can store the homemade Oreo fudge in a covered container, at room temperature for up to 2 weeks, or in the fridge for up to 3 weeks.
- Or you can freeze Oreo fudge for up to 3 months, in a covered container. Thaw at room temperature.
Nutrition
The nutrition information provided is for convenience and as a courtesy only. It is not guaranteed to be accurate because nutrition information can vary for a variety of reasons. For precise nutritional data use your preferred nutrition calculator and input the exact ingredients and brands you used in the recipe.
