Homemade Bread
This post may contain affiliate links. Read the full disclosure here.
This homemade bread recipe makes the perfect light and fluffy sandwich loaf with yeasted dough made in a stand mixer.
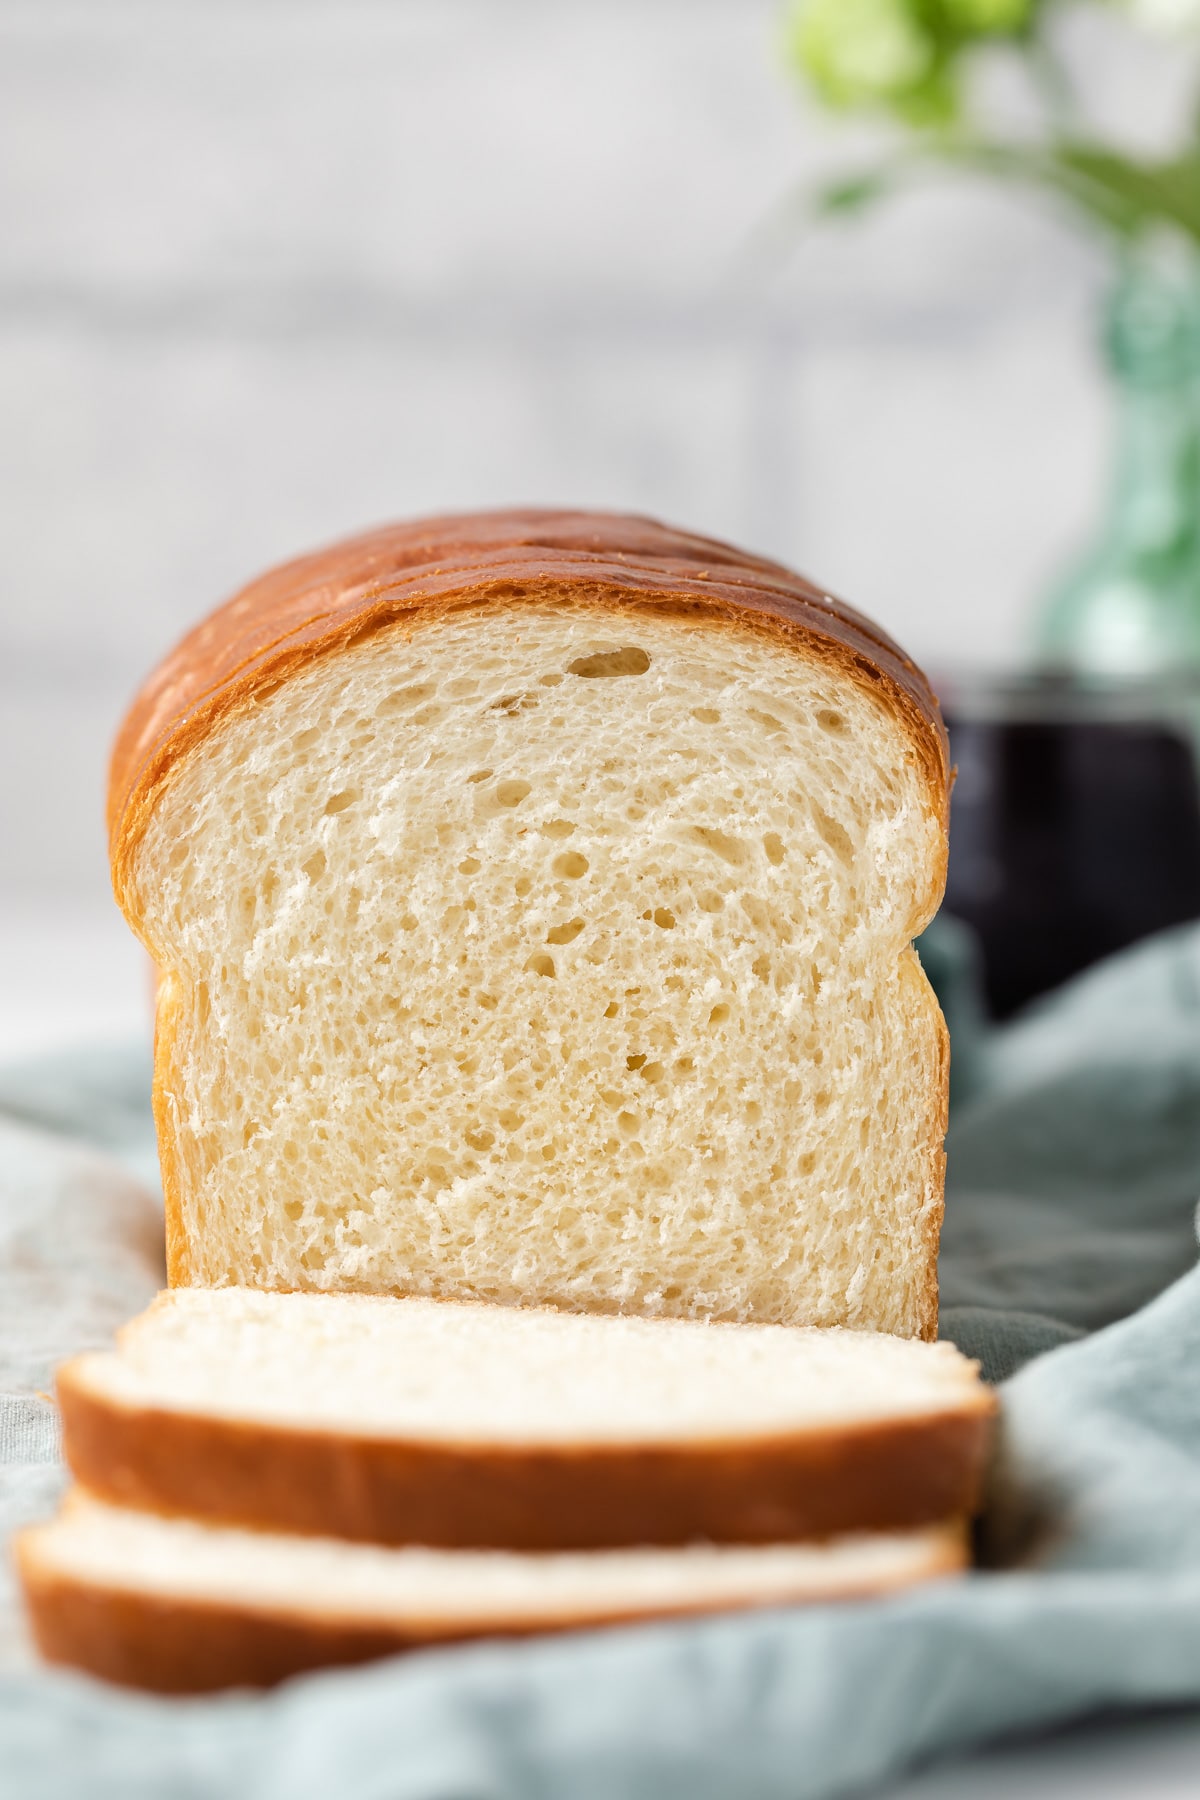
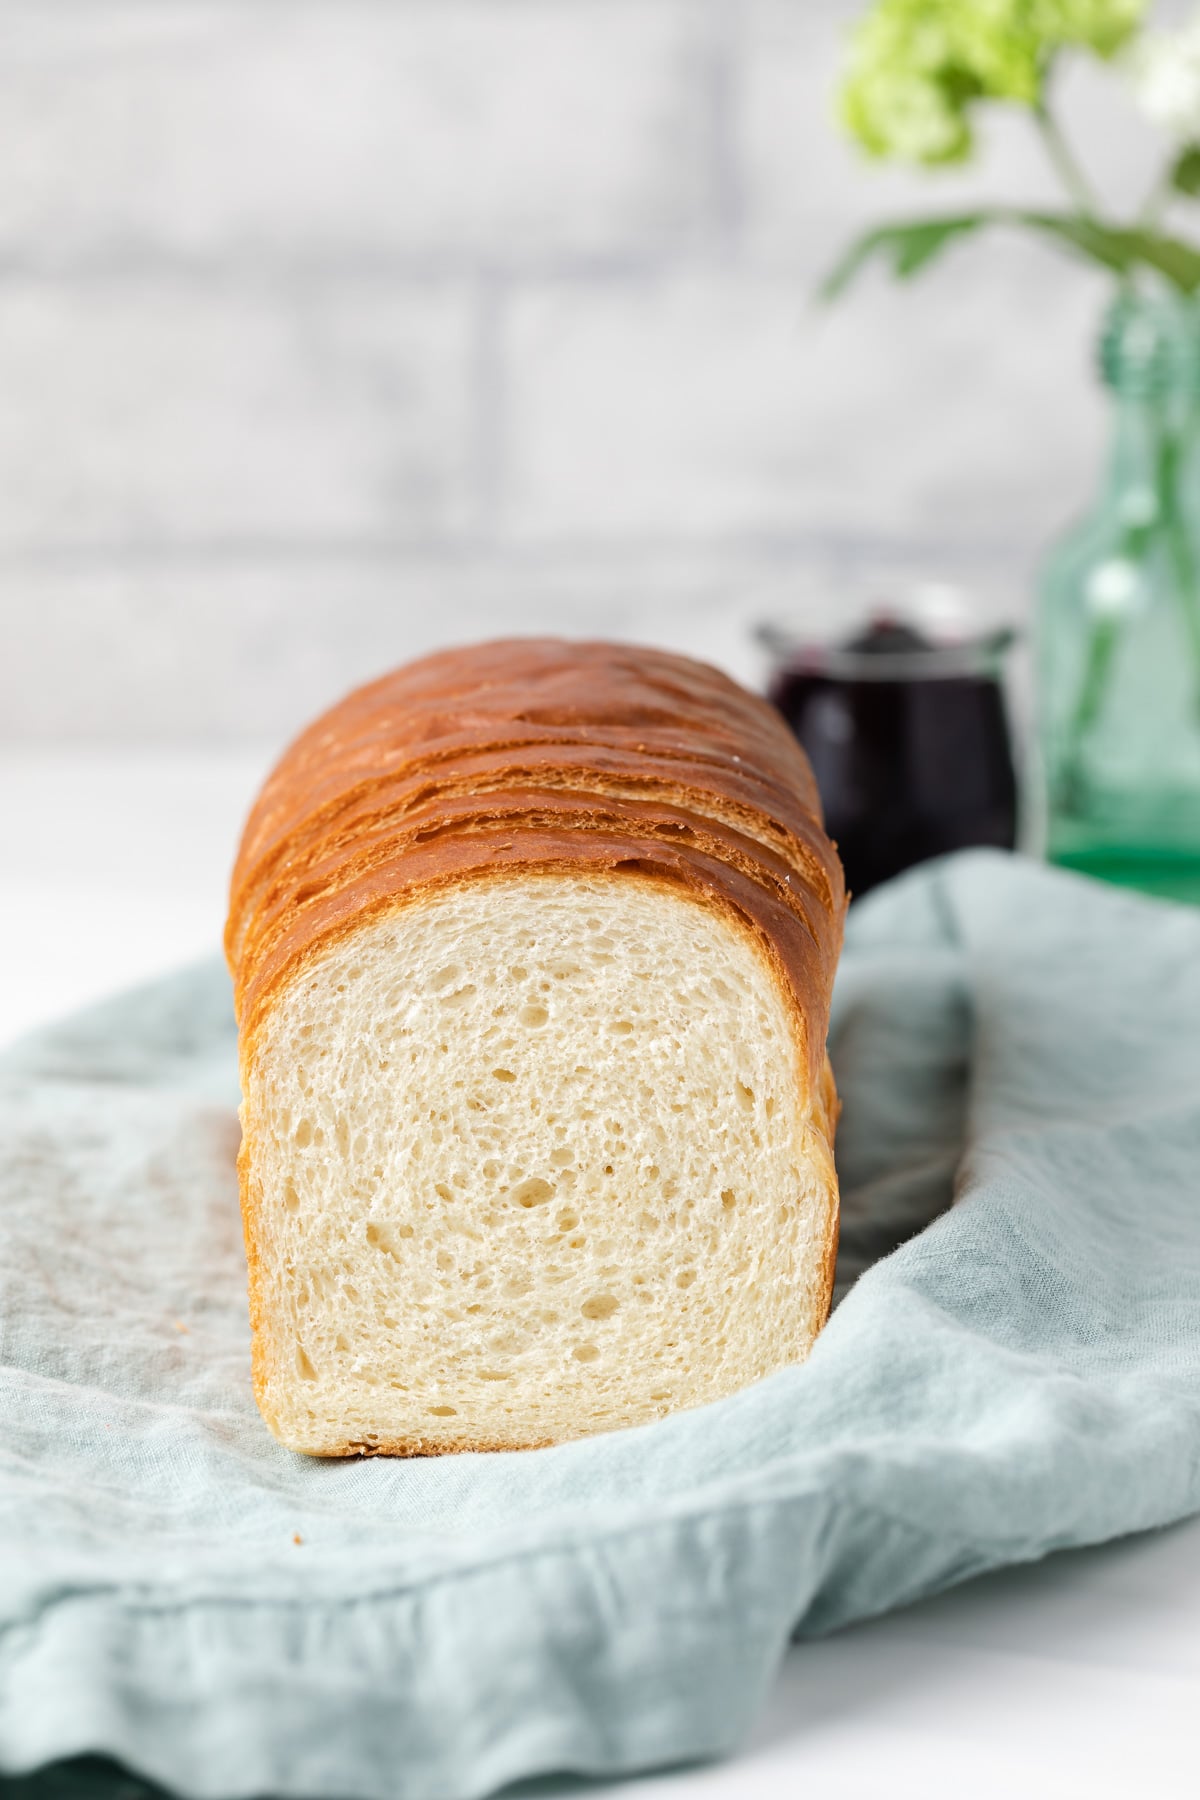
There’s nothing better than the smell of freshly baked white bread wafting throughout your house. Well, maybe slicing open that loaf and sinking your teeth into a fluffy, chewy slice of homemade bread.
This easy homemade bread dough recipe is all you need to make delicious sandwich bread that outshines anything you can buy at the store. It’s a simple and reliable recipe perfect for new bread bakers and seasoned pros alike.
The recipe is similar to my focaccia bread, homemade bread and whole wheat English muffins.
Why this recipe works
- Cornstarch in the dough helps tenderize the gluten for fluffy bread that rises well.
- This bread has two rising periods, which allow the yeast to fully activate and allows the gluten in the flour to relax before baking.
- Baking the dough in a loaf pan ensures that your bread comes out in a sliceable, neat shape.
- Active dry yeast is easy to use and generates a consistent rise every time.
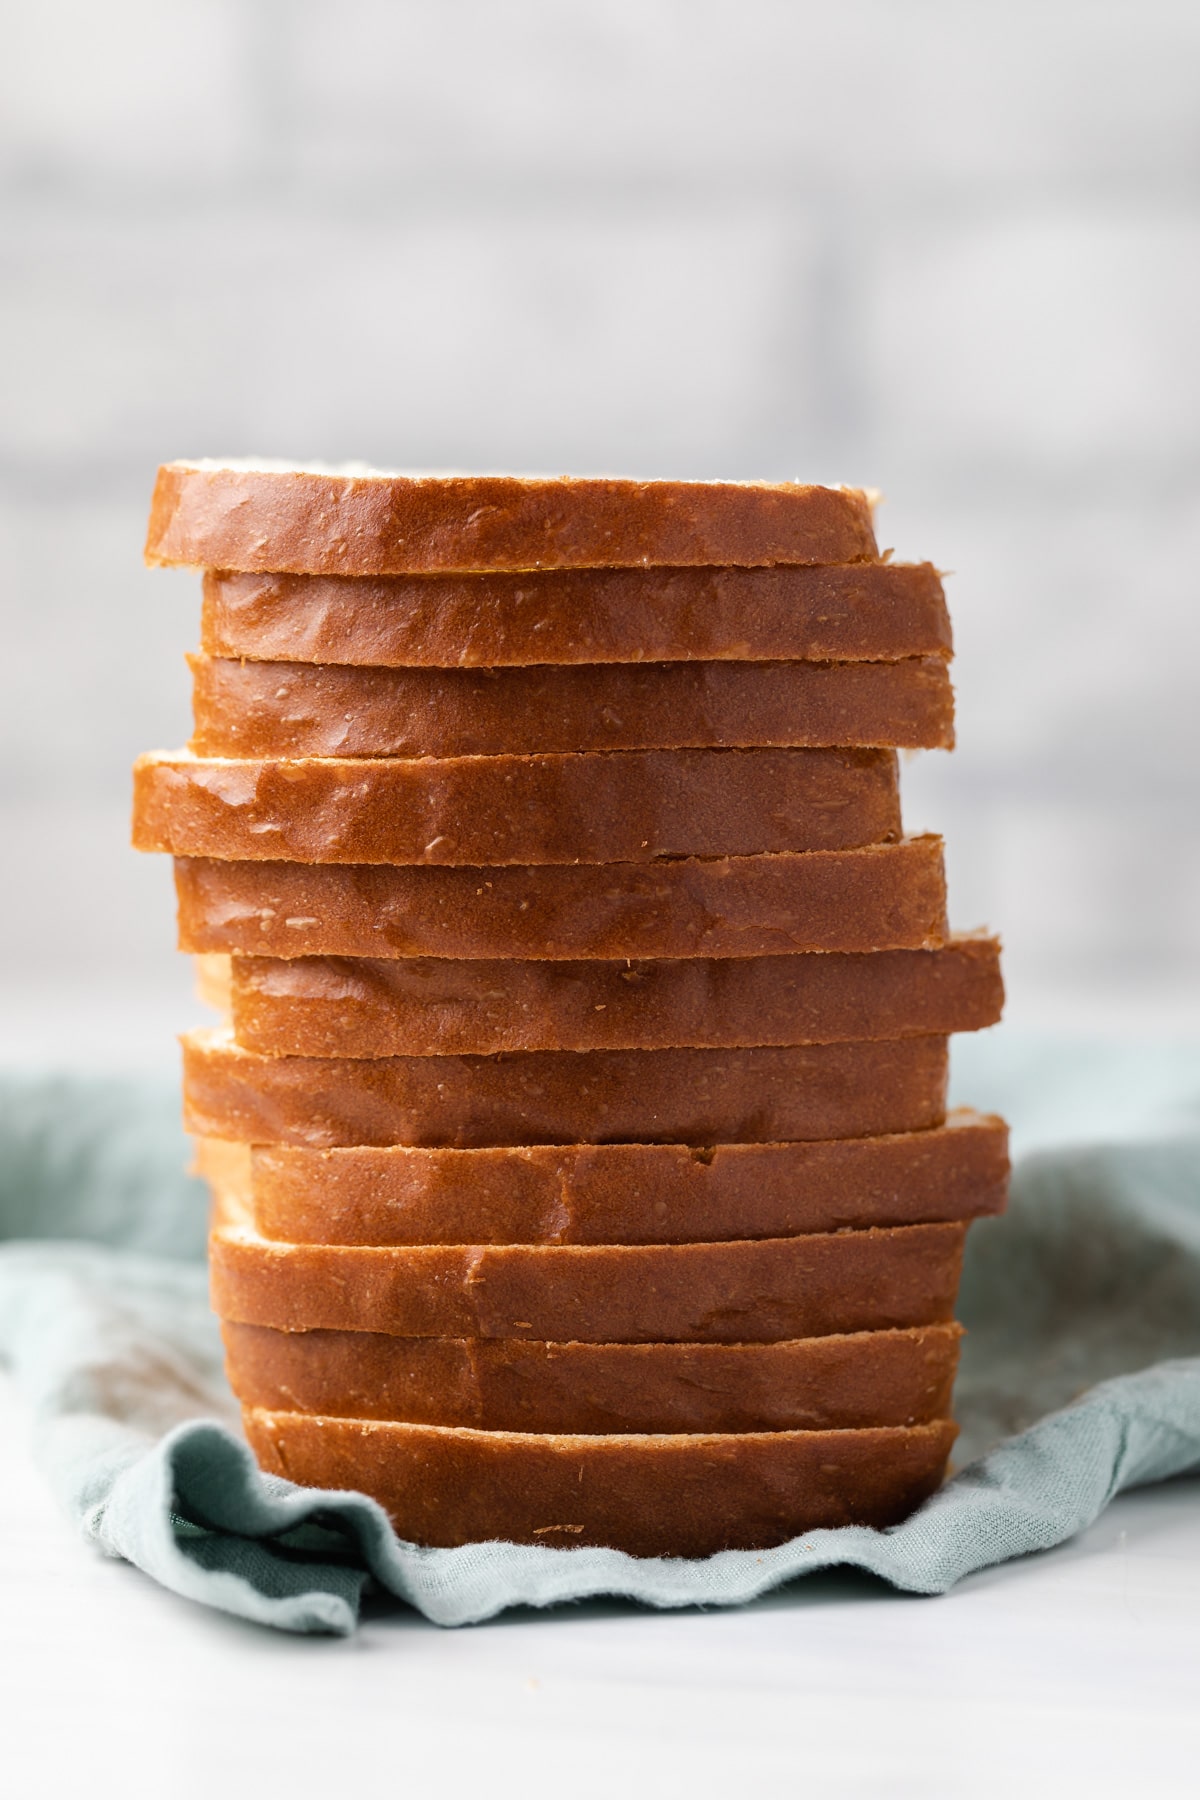
Homemade bread recipe
This straightforward recipe for homemade bread has a few steps. First, you’ll activate the yeast and mix up the dough. Then you’ll knead the dough, letting your stand mixer do the hard work.
The dough then needs to rise for the first time, until doubled in volume. Then you’ll deflate the dough and shape it to fit in a loaf pan for the second rise.
Finally, give the bread a gentle mist with water and bake until it’s fully cooked and golden on top. The hardest part is then letting the bread cool for long enough before slicing into it!
Ingredients
- Warm milk. Milk contains natural sugars that feed the active dry yeast. Warming is important, as the heat allows the yeast to activate faster. Your milk should be 105 to 115°F. Any hotter could kill the yeast.
- Granulated sugar. This is the food your yeast needs to activate. Don’t’ worry, it won’t give your bread a sweet flavor.
- Active dry yeast. This is the easiest, most reliable form of yeast for homemade bread. If you only have instant yeast, here’s a handy conversion chart. Expect shorter rise times.
- Bread flour. Bread flour has more protein than all-purpose, which gives added structure and rise to your white bread. However, you can substitute bread flour with an equal amount of all-purpose flour. The bread will be less chewy and have a much softer crumb if using all-purpose flour.
- You can also make whole wheat bread by substituting up to 50% whole wheat flour for an equal amount of the bread flour. Do not use 100% whole wheat flour in this recipe. The bread will not bake properly.
- Cornstarch. This is the key to soft, fluffy texture. Cornstarch is gluten-free, so it prevents long, tough strands of gluten from forming in your dough.
- Salt. Salt elevates flavor and also contributes to a more tender crumb.
- Unsalted butter. Just one tablespoon of softened butter adds necessary richness to the sandwich bread. Make sure the butter is at room temperature. Otherwise, it will not mix into the dough as easily if they are cold. I also recommend brushing the warm loaf fresh out of the oven with melted butter.
- Egg. The egg yolk helps tenderize the crumb while egg white adds protein and structure to the dough.
To make this bread you’ll need:
- Mixer: A stand mixer is your friend for mixing bread dough. You can make this dough by hand, but expect to use some elbow grease for kneading.
- Loaf pan: This recipe makes enough for 1 9×5-inch loaf pan.
How to make homemade bread
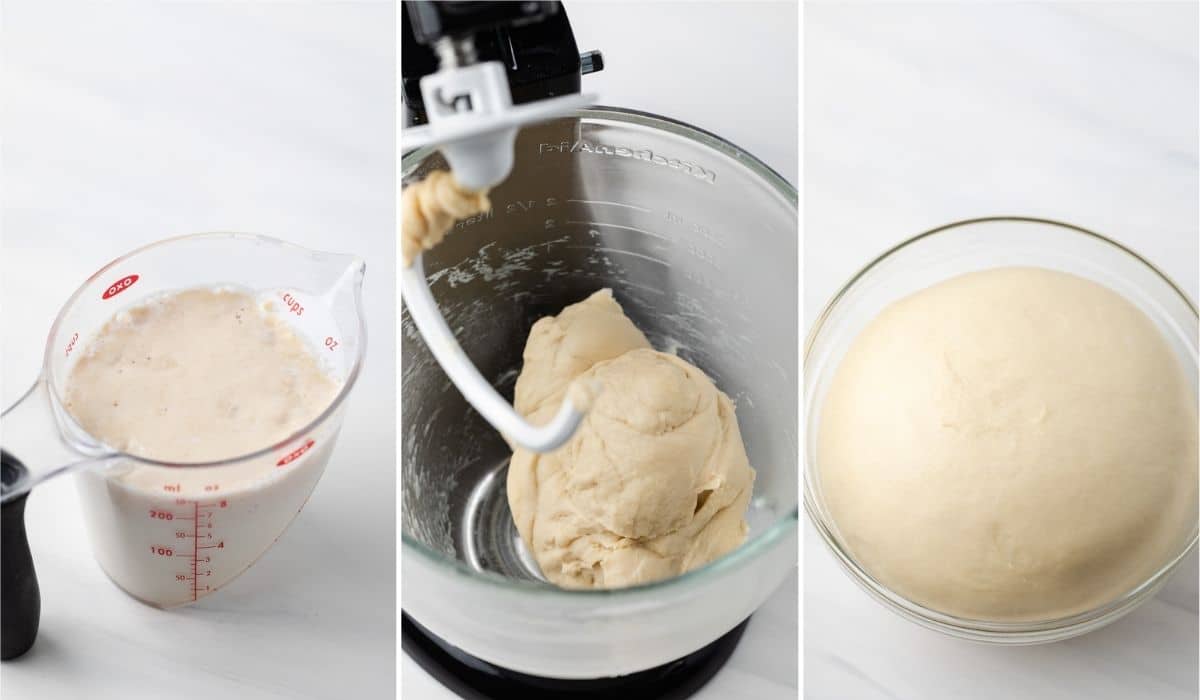
The first step to making homemade bread is to activate the yeast. This is a simple matter of mixing the yeast with warm milk and sugar. Let this mixture sit for 5 minutes. It will foam up, which is a sign that the yeast is active.
Step 1: Make the dough
While your yeast activates, start combining half of the bread flour, the cornstarch, and salt in a mixing bowl. Add your activated yeast, then the room-temperature butter and egg. Mix everything for a full 2 minutes.
Next, add the remaining flour and knead the dough in the mixer by mixing on medium speed for 8 minutes. The dough is done kneading when it reaches 77°F internal temperature.
Now the dough needs to rise. Do so in a greased mixing bowl for 1 hour to an hour and a half. During this time, the dough should double in volume.
Step 2: Shape the loaf
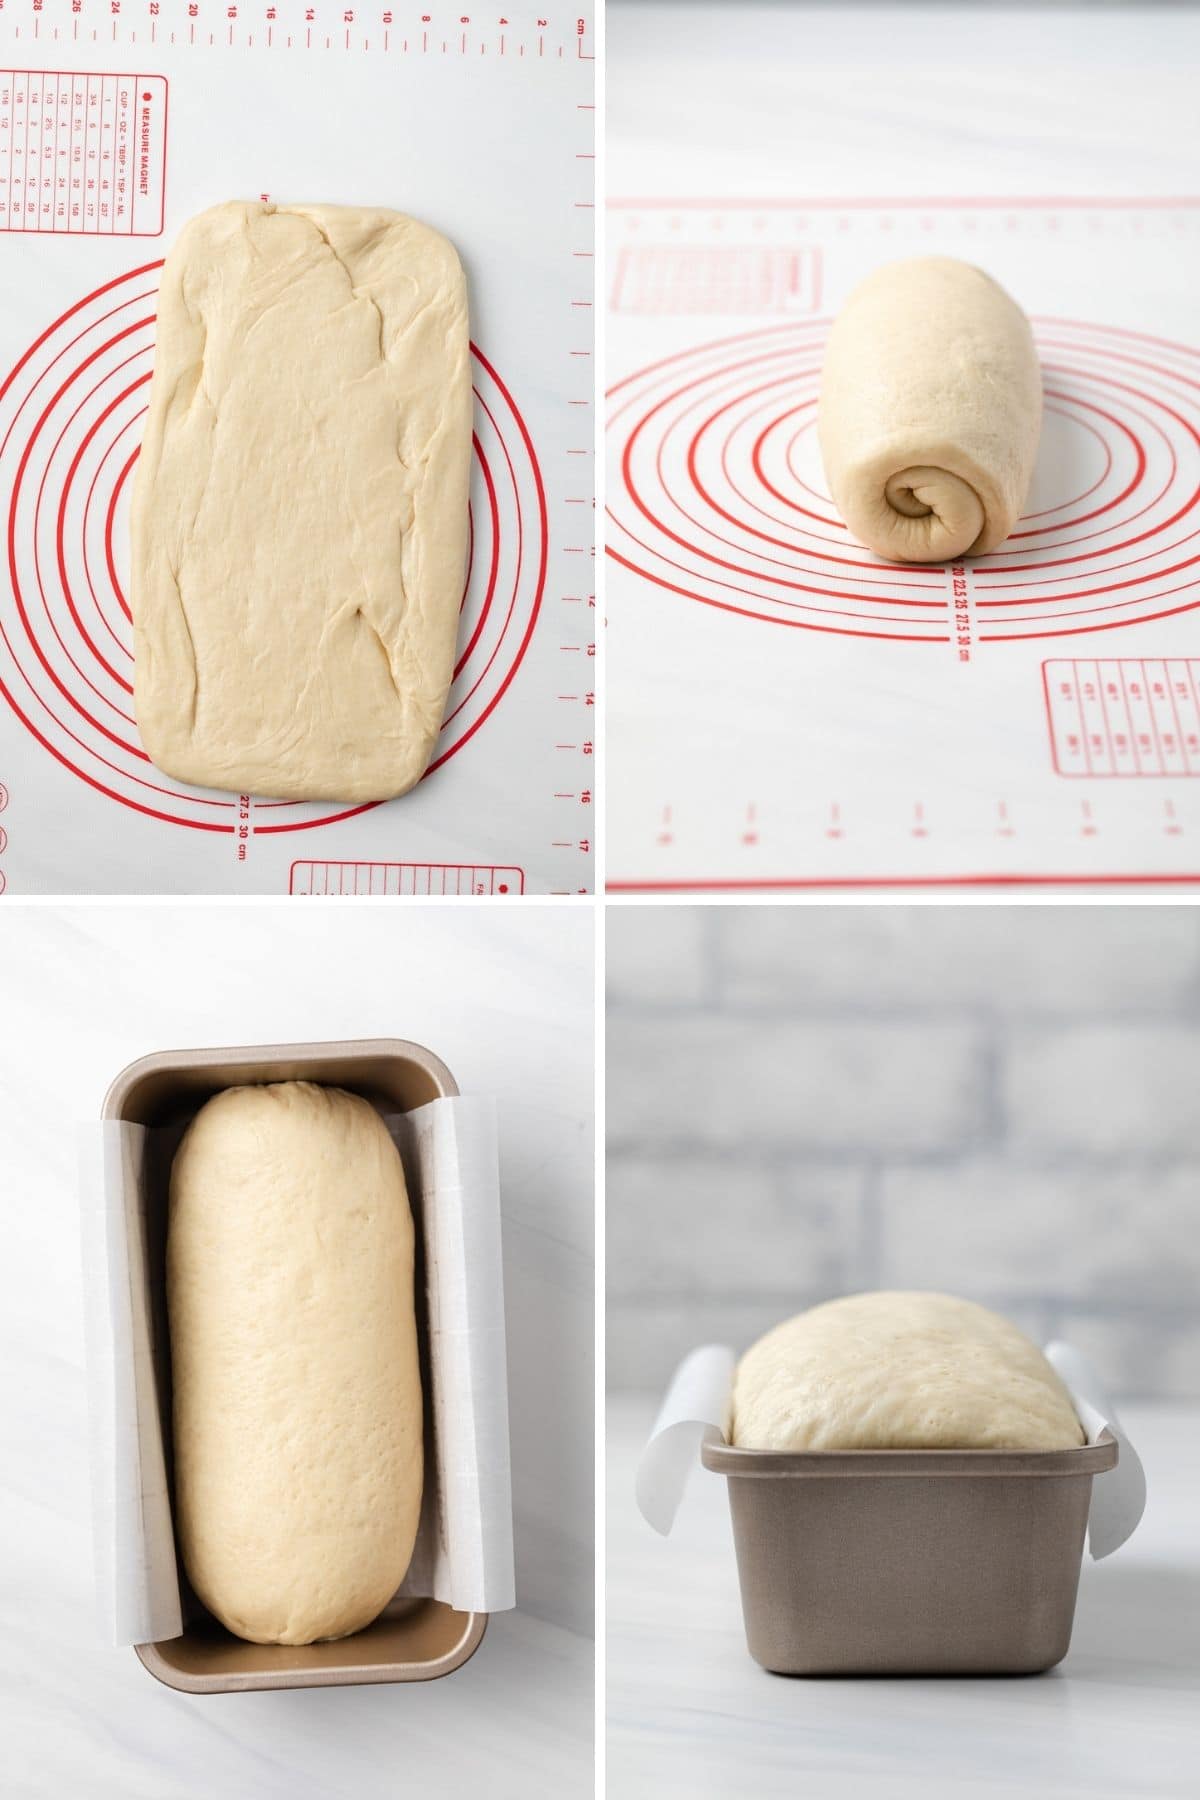
Now you’re ready to shape the loaf. Start by greasing a 9×5-inch loaf pan. Place the dough on a floured work surface and press it into a rectangle. You want the short side of the rectangle to measure slightly less than the long side of your loaf pan (9 inches).
Roll the rectangle into a log, starting at the short end. Then place the log seam side down into the loaf pan and let this rise again. The second rise should take only 45 to 60 minutes. When it’s done, your loaf should be about 1 ½ inches above the lip of the bread pan.
Have your oven preheating to 375°F while the bread rises.
Step 3: Bake
Now it’s baking time! Before going into the oven, spritz the loaf with water. This helps create a beautiful golden crust and keeps the dough moist during baking.
Bake for 25 to 30 minutes, until the top is brown and the bread reaches 195°F internally. This is the internal temperature of a perfectly cooked loaf.
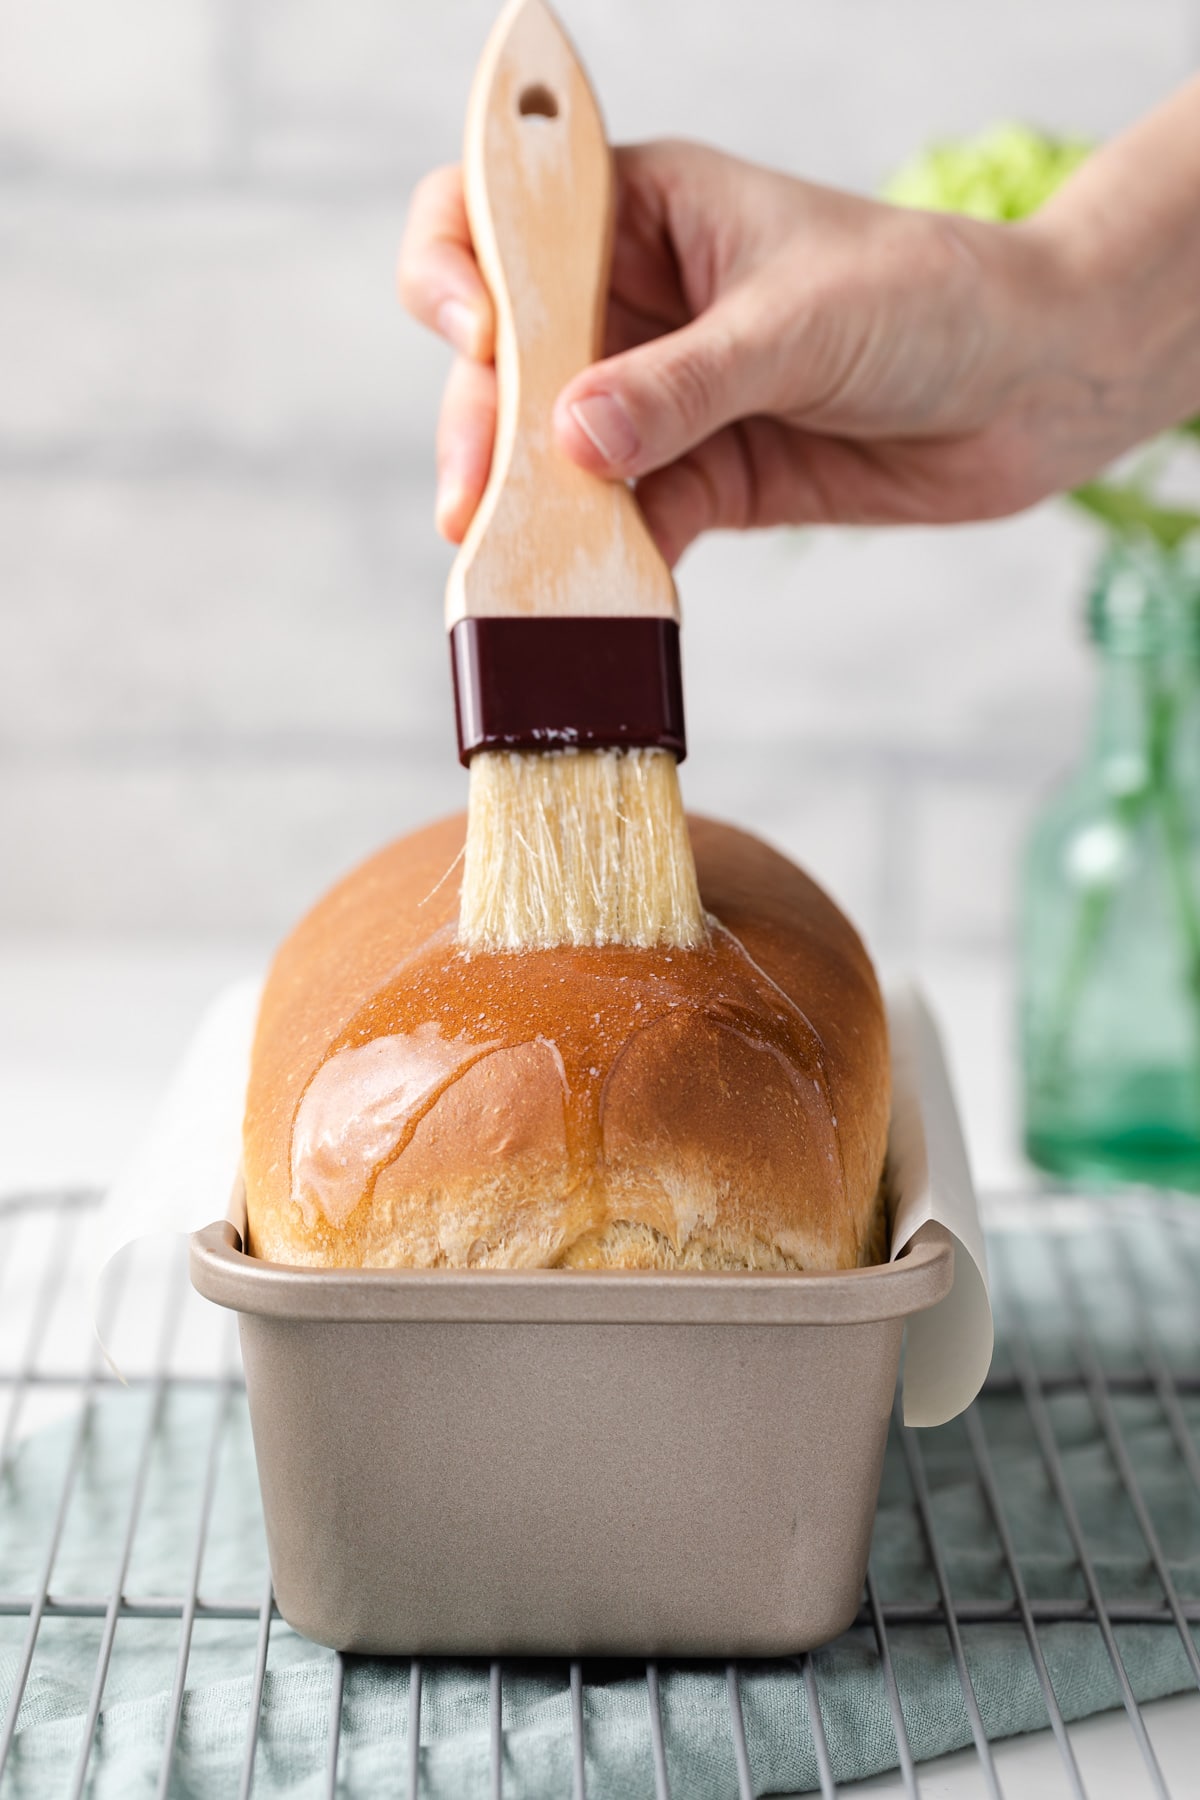
As soon as you remove the gleaming loaf from the oven, brush it liberally with melted butter for extra flavor and shine. Then let cool and enjoy your delicious homemade bread!
Tips for success
- When shaping the loaf, roll it tightly and pinch the seam. This will help the loaf hold its shape during baking.
- Let your oven preheat for at least 30 minutes before you put the bread in. Otherwise, your loaf may rise and fall as it bakes.
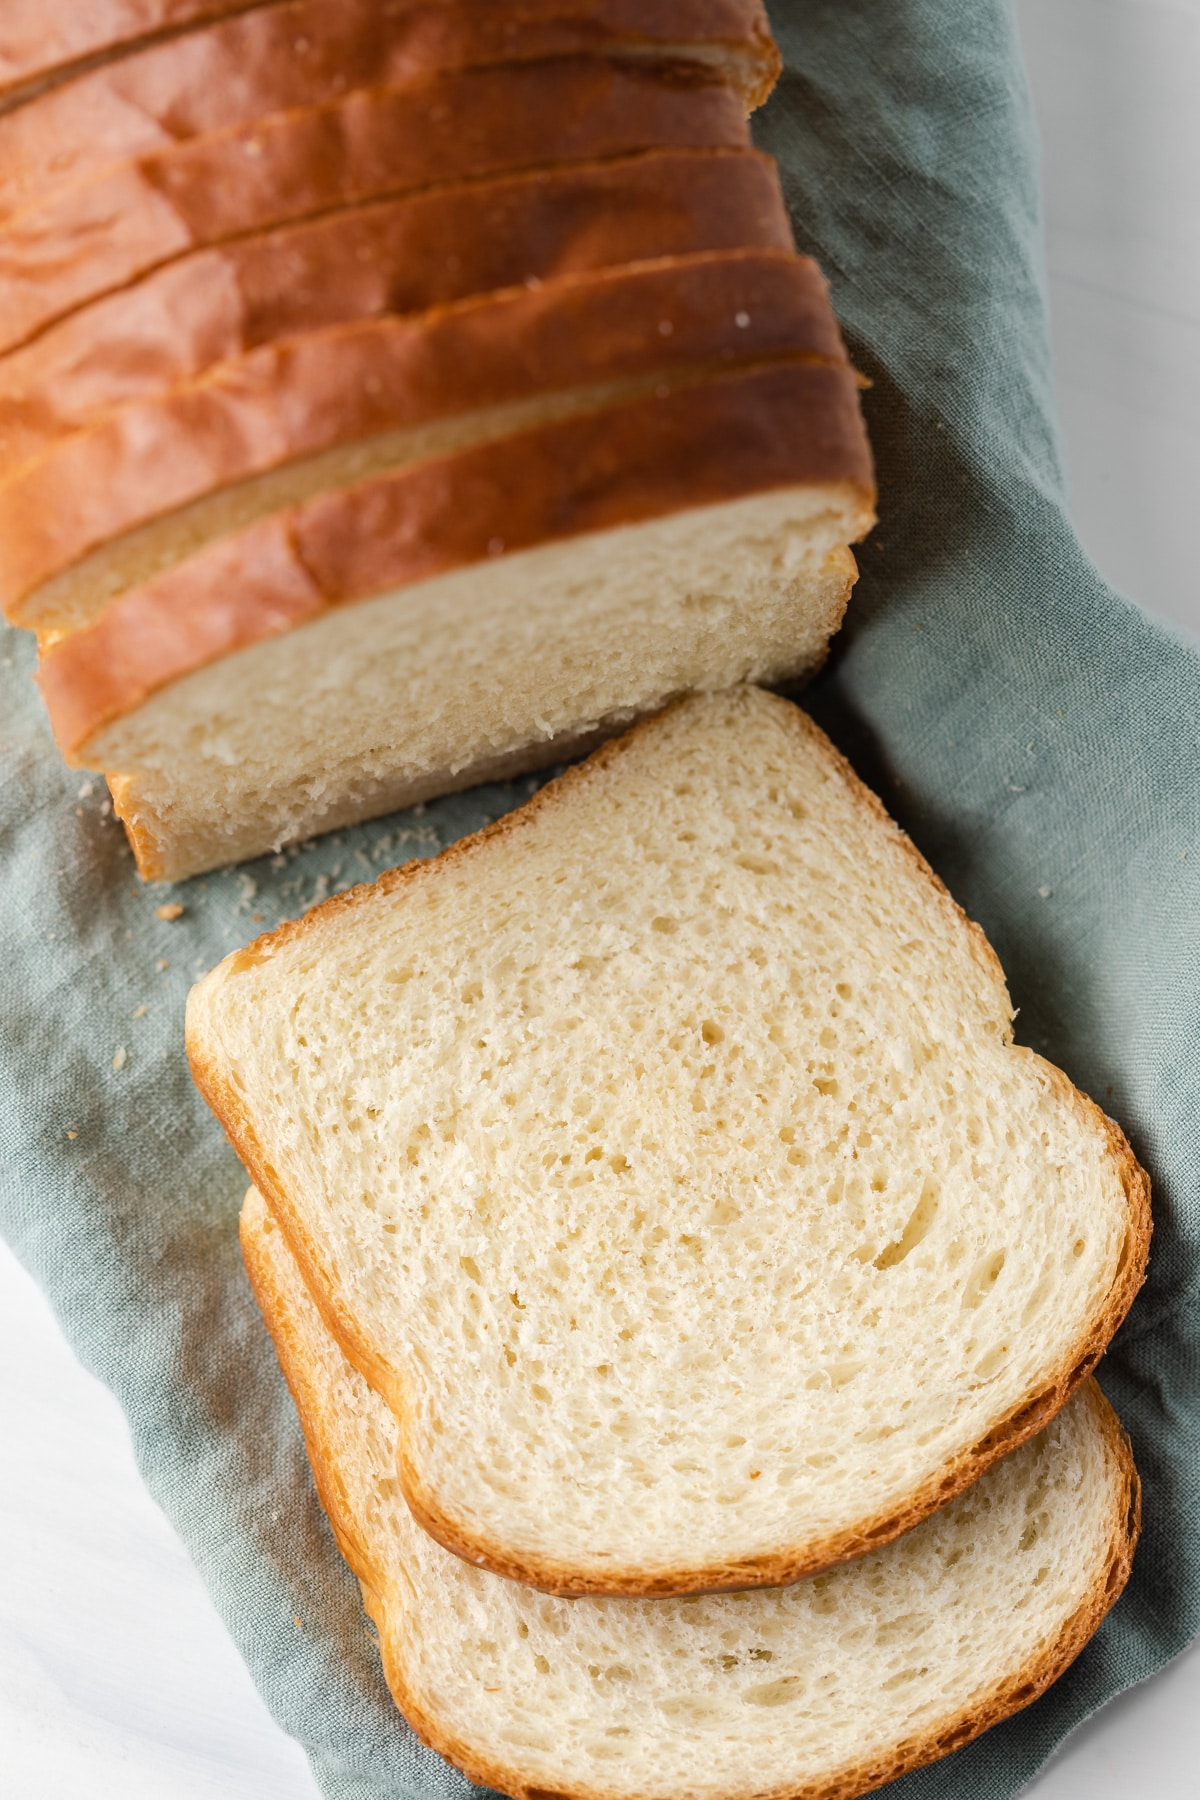
- Be sure to let the loaf cool in the pan for at least 15 minutes. The bread continues to cook after you remove it from the oven and cutting it too early can destroy the structure of your loaf.
- The crust will be crisp immediately upon coming out of the oven but will soften as the bread cools.
- To make cloverleaf rolls, divide the dough into 1-ounce pieces. Roll each piece into a tight ball and place three balls into each cup of a greased muffin pan. Proof until doubled in size then bake at 375°F for 20-25 minutes, until lightly browned and cooked through.
Storing & Freezing
To store: Store the bread in an airtight container at room temperature for up to 3 days or in the refrigerator for up to 8 days.
To Freeze: Slice the bread and freeze it in zip-top bags for up to 1 month. Thaw slices as you need them.
More bread recipes to try:
Homemade Bread
Ingredients
- ¾ cup (180 ml) milk, warmed to 105 -115ºF
- 1 tablespoon granulated sugar
- 2 ¼ teaspoons active dry yeast, 1 packet
- 2 ½ cups (325 g) bread flour
- 1 tablespoon cornstarch
- 1 teaspoon salt
- 1 tablespoon unsalted butter, softened
- 1 large egg, room temperature
- 2 tablespoons unsalted butter, melted
Instructions
- In a small bowl, combine the warm milk, sugar, and yeast. Let stand for 5 minutes, until foamy.
- In the bowl of a stand mixer fitted with the paddle attachment, half the flour, cornstarch, and salt. Blend well.
- Add the yeast mixture and beat on low speed until combined. Add the butter and egg then beat on low speed for 2 minutes.
- Switch to the dough hook attachment and add the remaining flour. Mix on medium speed for about 8 minutes or until the dough reaches 77°F.
- Transfer the dough to a lightly greased bowl, cover, and let sit at room temperature until doubled in size, about 1 to 1 ½ hours.
- Generously grease a 9×5 loaf pan.
- Turn the dough out onto a lightly floured work surface and gently press it into a rectangle, making sure the short end is slightly shorter than the length of your bread pan. Starting at the short end of the dough, tightly roll it into a log, pinching the seams as you go.
- Place the dough seam side down into the prepared loaf pan. Cover lightly and let sit at room temperature until doubled in size, about 45-60 minutes. The bread should be about 1 ½ inches above the rim of the loaf pan in the center.
- Meanwhile, preheat the oven to 375°F. It is best to have the oven preheating for at least 30 minutes before baking the bread to ensure it is fully up to temperature.
- Lightly mist the top of the dough with water and bake the bread for 25-30 minutes, until brown and hollow sounding or the internal temperature reaches 195°F on an instant-read thermometer.
- Remove the bread from the oven and immediately brush the top with melted butter. Allow the bread to cool in the pan for 15 minutes then transfer to a wire rack to cool completely.
Notes
- An equal amount of all-purpose flour can be used in place of bread flour. Keep in mind the bread will be less chewy and have a much softer crumb if using all-purpose flour.
- Instant yeast can be used instead of active dry yeast. Expect shorter proofing times.
- Make sure the butter and egg are at room temperature. They will not mix into the dough as easily if they are cold.
- When shaping the loaf, roll it tightly and pinch the seam. This will help the loaf hold its shape during baking.
- The crust will be crisp immediately upon coming out of the oven but will soften as the bread cools.
Know when the bread is ready to bake!
The second proofing time can vary depending on the temperature in your kitchen. Check if your dough has proofed properly by gently pressing the dough with your index finger. If the dough is perfectly proofed and ready to bake, an indention will form and it will remain. If the dough bounces back without leaving an indention, the dough is under proofed. Variations- Whole wheat bread – Make the bread whole wheat by substituting up to 50% whole wheat flour for an equal amount of the bread flour. Do not use 100% whole wheat flour in this recipe. The bread will not bake properly.
- Cloverleaf rolls – Divide the dough into 1-ounce pieces. Roll each piece into a tight ball and place three balls into each cup of a greased muffin pan. Proof until doubled in size then bake at 375°F for 20-25 minutes, until lightly browned and cooked through.
- Store the bread in an airtight container at room temperature for up to 3 days or in the refrigerator for up to 8 days.
- Slice the bread and freeze it in zip-top bags for up to 1 month. Thaw slices as you need them.
Nutrition
The nutrition information provided is for convenience and as a courtesy only. It is not guaranteed to be accurate because nutrition information can vary for a variety of reasons. For precise nutritional data use your preferred nutrition calculator and input the exact ingredients and brands you used in the recipe.

Can you make this in a Pullman Pan
I’ve never tested the recipe with a Pullman pan so I can’t say for sure.
Can you use this recipe in a bread machine?
I’ve actually never used a bread machine so I can’t advise on this.
The recipe has butter twice one soft and one melted, can you clarify?
The instructions tell you to add the softened butter to the dough while mixing then brush the baked bread with melted butter once it comes out of the oven.
Can I use this as a hamburger recipe or would it not hold up with all the fixings?
Sandwich bread typically doesn’t hold up well with too many wet condiments. You could slice it thick and lightly toast the slices to make it sturdier.