Self Raising Flour
This post may contain affiliate links. Read the full disclosure here.
Today’s post covers another baking basic, or baking secret – Self-Raising Flour. This is a great tool to have in your kit when you are making biscuits or other fluffy baked goods.

Many biscuit recipes (though admittedly not this one) call for self-raising flour. You can buy it in the store, and it does work well, but since the potency of baking powder diminishes over time, you’ll have wasted your money if you don’t use up the flour. Save yourself some money by making this self rising flour substitute at home!
This is a quick and easy time saving recipe for self rising flour that you’ll appreciate having in your recipe box. You can use in it any recipe that calls for a cup of self rising flour, using just a cup of all purpose flour with a bit of baking powder.
Baking soda and baking powder are both leavening agents, which mean they make things rise. You’ll see them often in recipes for baked goods.
Baking powder is basically baking soda combined with cream of tartar – which is an acid.
I’ll spare you the entire chemistry lesson, but essentially, when baking soda is combined with an acid, and then it is activated with moisture (milk, buttermilk, butter, and so forth), it will create a chemical reaction which gives off a gas that gets trapped in the baked good, causing it to rise.
Isn’t science cool?
Anyways, baking powder needs to be fresh. The older it is, the less likely it is to fully activate, meaning baked goods made with older baking powder that has lost its punch will not rise as much as you would like them to.
Many southern recipes call for self-raising flour for quick breads or other baked goods. In yeast breads, the yeast itself causes those breads to rise, so they’ll often use all purpose flour, wheat flour or cake flour rather than self-rising flour.
When you buy self-raising flour at the store, it is really just all purpose flour which has been combined with a leavening agent. And if you don’t use all that flour quickly – and unless you own a biscuit shop, it’s unlikely you will – the flour will deactivate and not work as well.
That’s where this recipe for homemade self rising flour comes in. It can be used in any recipe that calls for self rising flour.
Make whatever quantity you need. If you don’t use it all you can keep it stored in an airtight container in a cool, dark place for about a week.
Ingredients
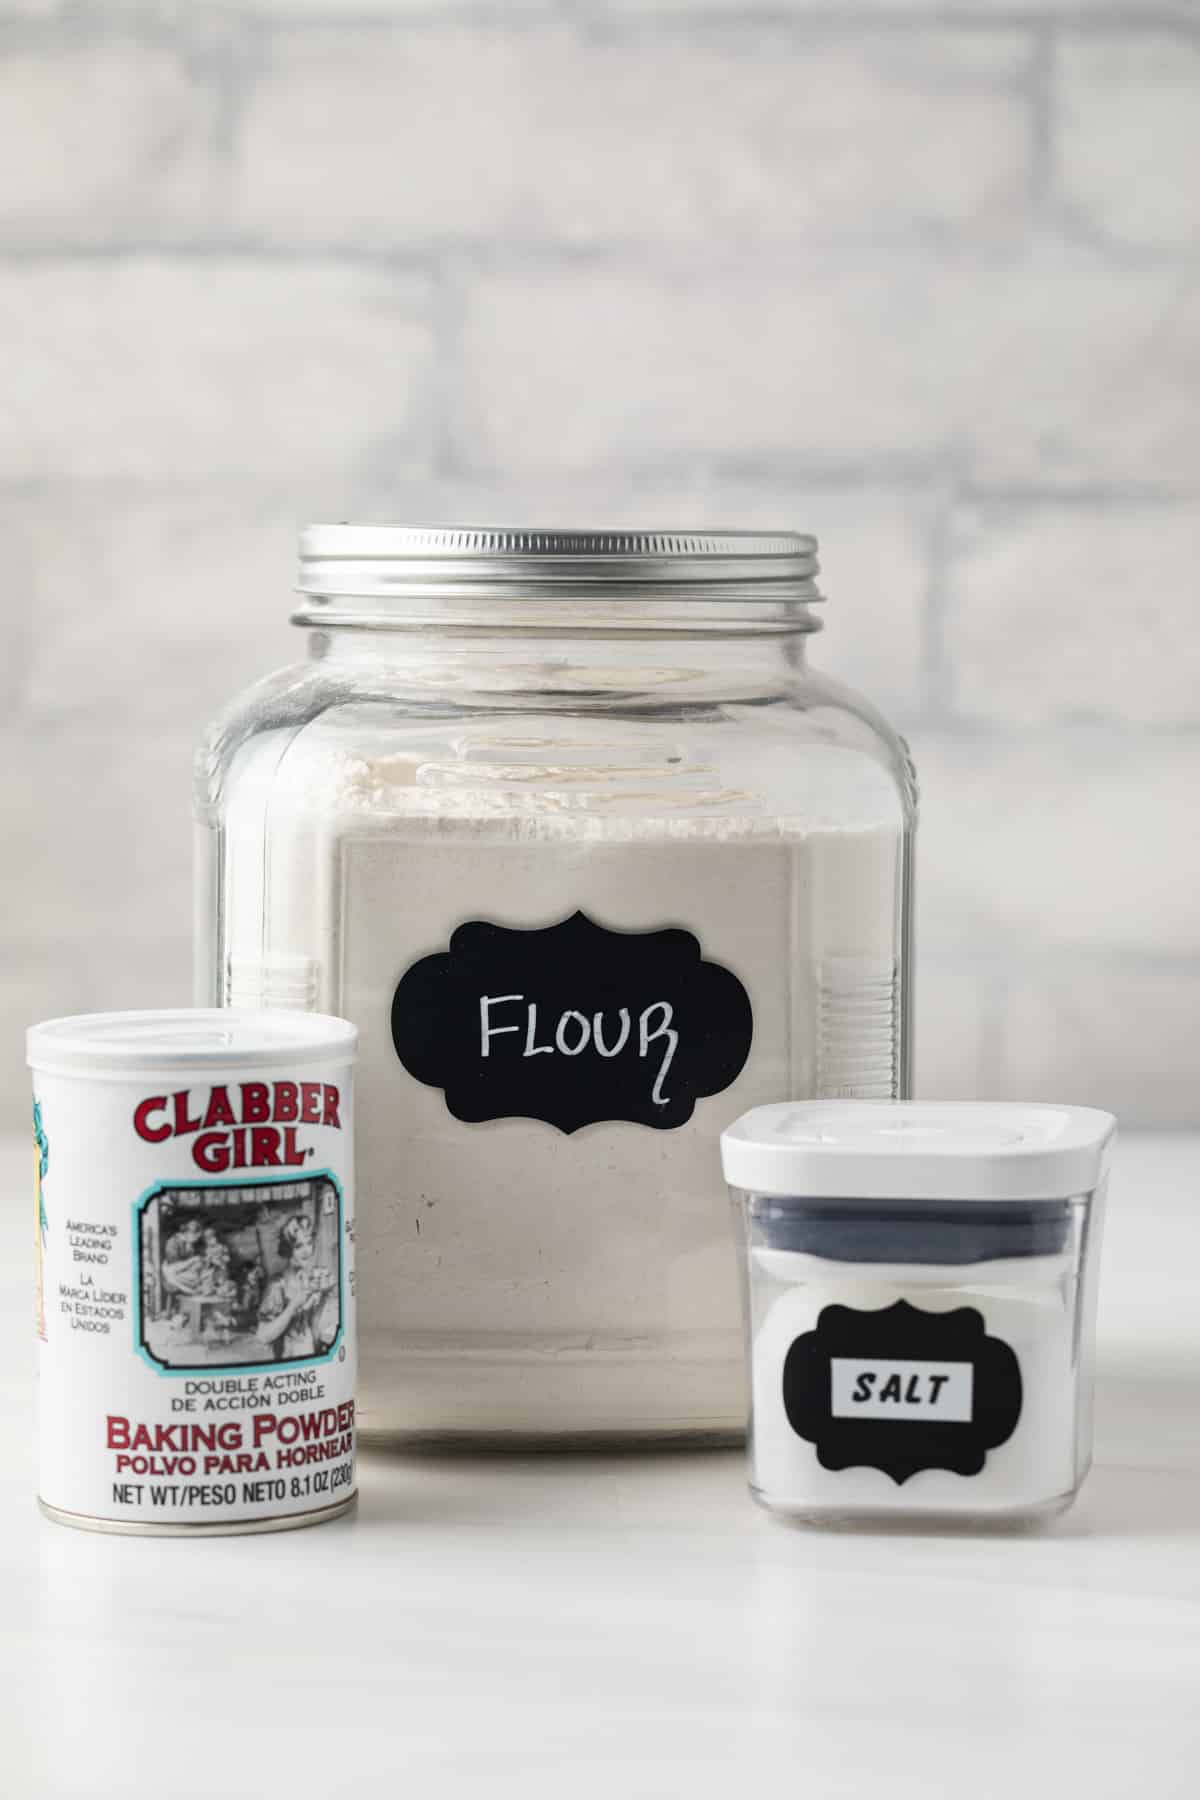
This recipe requires three simple ingredients.
- Flour – You will use one cup of all purpose flour here.
- Baking powder – This recipe calls for 1.5 teaspoons of baking powder.
- Salt – Just a little to help activate the chemical reaction and make the flour rise.

How to Make Self-Raising Flour
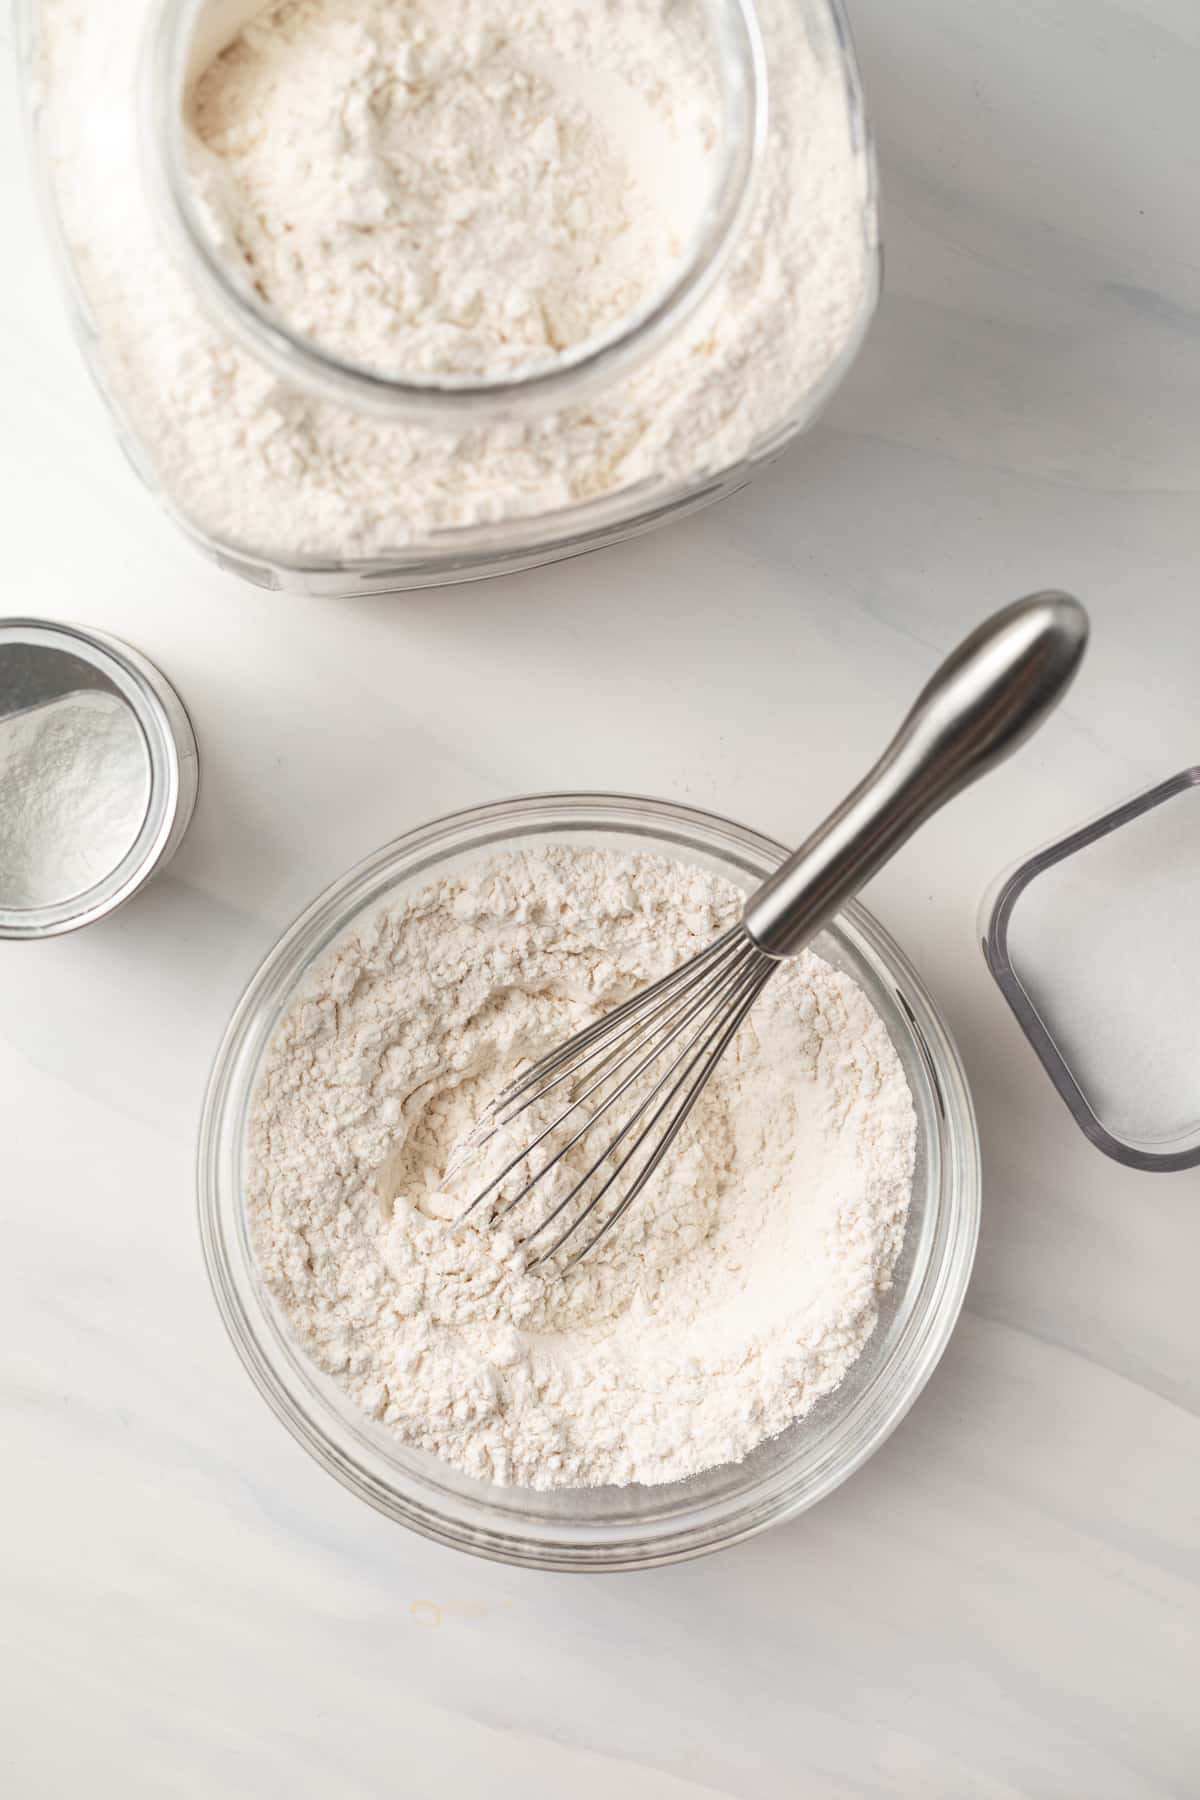
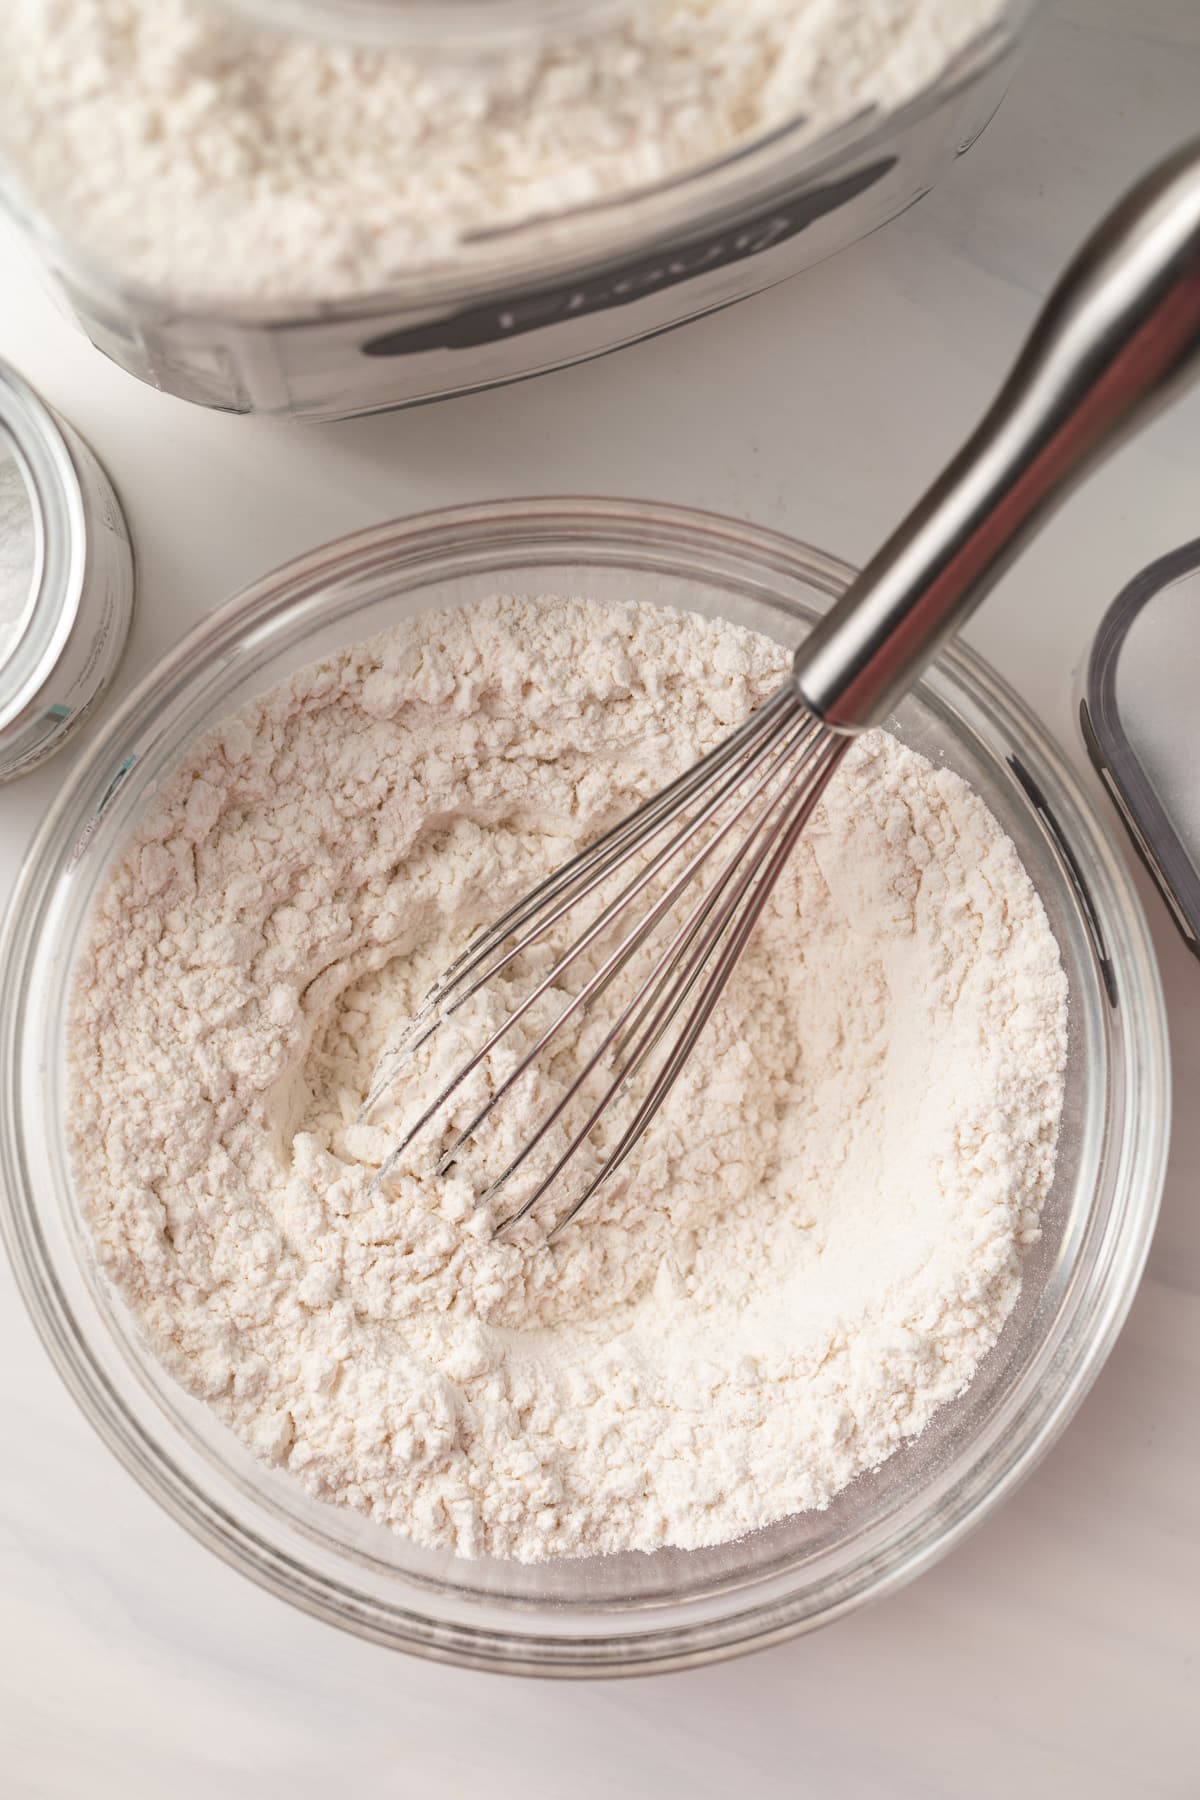
Whisk all three ingredients together, blending well. That’s all that is required to make self-rising flour at home.
Be sure to check out the full recipe and ingredient list below
Handy tip: Use Fresh Ingredients!
I like to make self-raising flour because I can guarantee it is fresher and more likely to create rise in baked goods than pre-bought self-rising flour. However, this is only true if the baking powder and flour that I use are fresh. So when making this recipe, make sure you use fresh baking powder and flour that has been stored in an airtight container.
Tips For Success
Mix all ingredients together well so they are completely blended.

Storage & Freezing
Use right away, and store any unused portions in an airtight container in a cool dark place for up to one week.
Self Raising Flour

Ingredients
- 1 cup (130 g) all-purpose flour
- 1 ½ teaspoons baking powder
- ¼ teaspoon salt
Instructions
- Whisk the flour, baking powder, and salt together in a small bowl.
- Use as directed in your recipe.
Notes
- Storage: Self-rising flour can be stored in an airtight container at room temperature for up to 1 year. Keep it in a dark, cool place.
Nutrition
The nutrition information provided is for convenience and as a courtesy only. It is not guaranteed to be accurate because nutrition information can vary for a variety of reasons. For precise nutritional data use your preferred nutrition calculator and input the exact ingredients and brands you used in the recipe.

Thank you so much for this tip and recipe. So many times recipes call for self rising flour and I have been at a loss why or how to get around it. We do not have self rising flour on the shelf of our local grocery, nor have I seen it in larger centres around that is a: financially acceptable and b: in a size acceptable for home use.
This blog post was and will be my go to from this day forward!
Cool