Pumpkin Crème Brûlée
This post may contain affiliate links. Read the full disclosure here.
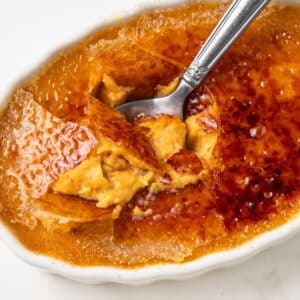
Indulge in the ultimate fall treat with this Pumpkin Crème Brûlée! Packed with the warm flavors of pumpkin spice and a hint of sweetness, this dessert is the perfect addition to your Thanksgiving table or any autumn celebration.
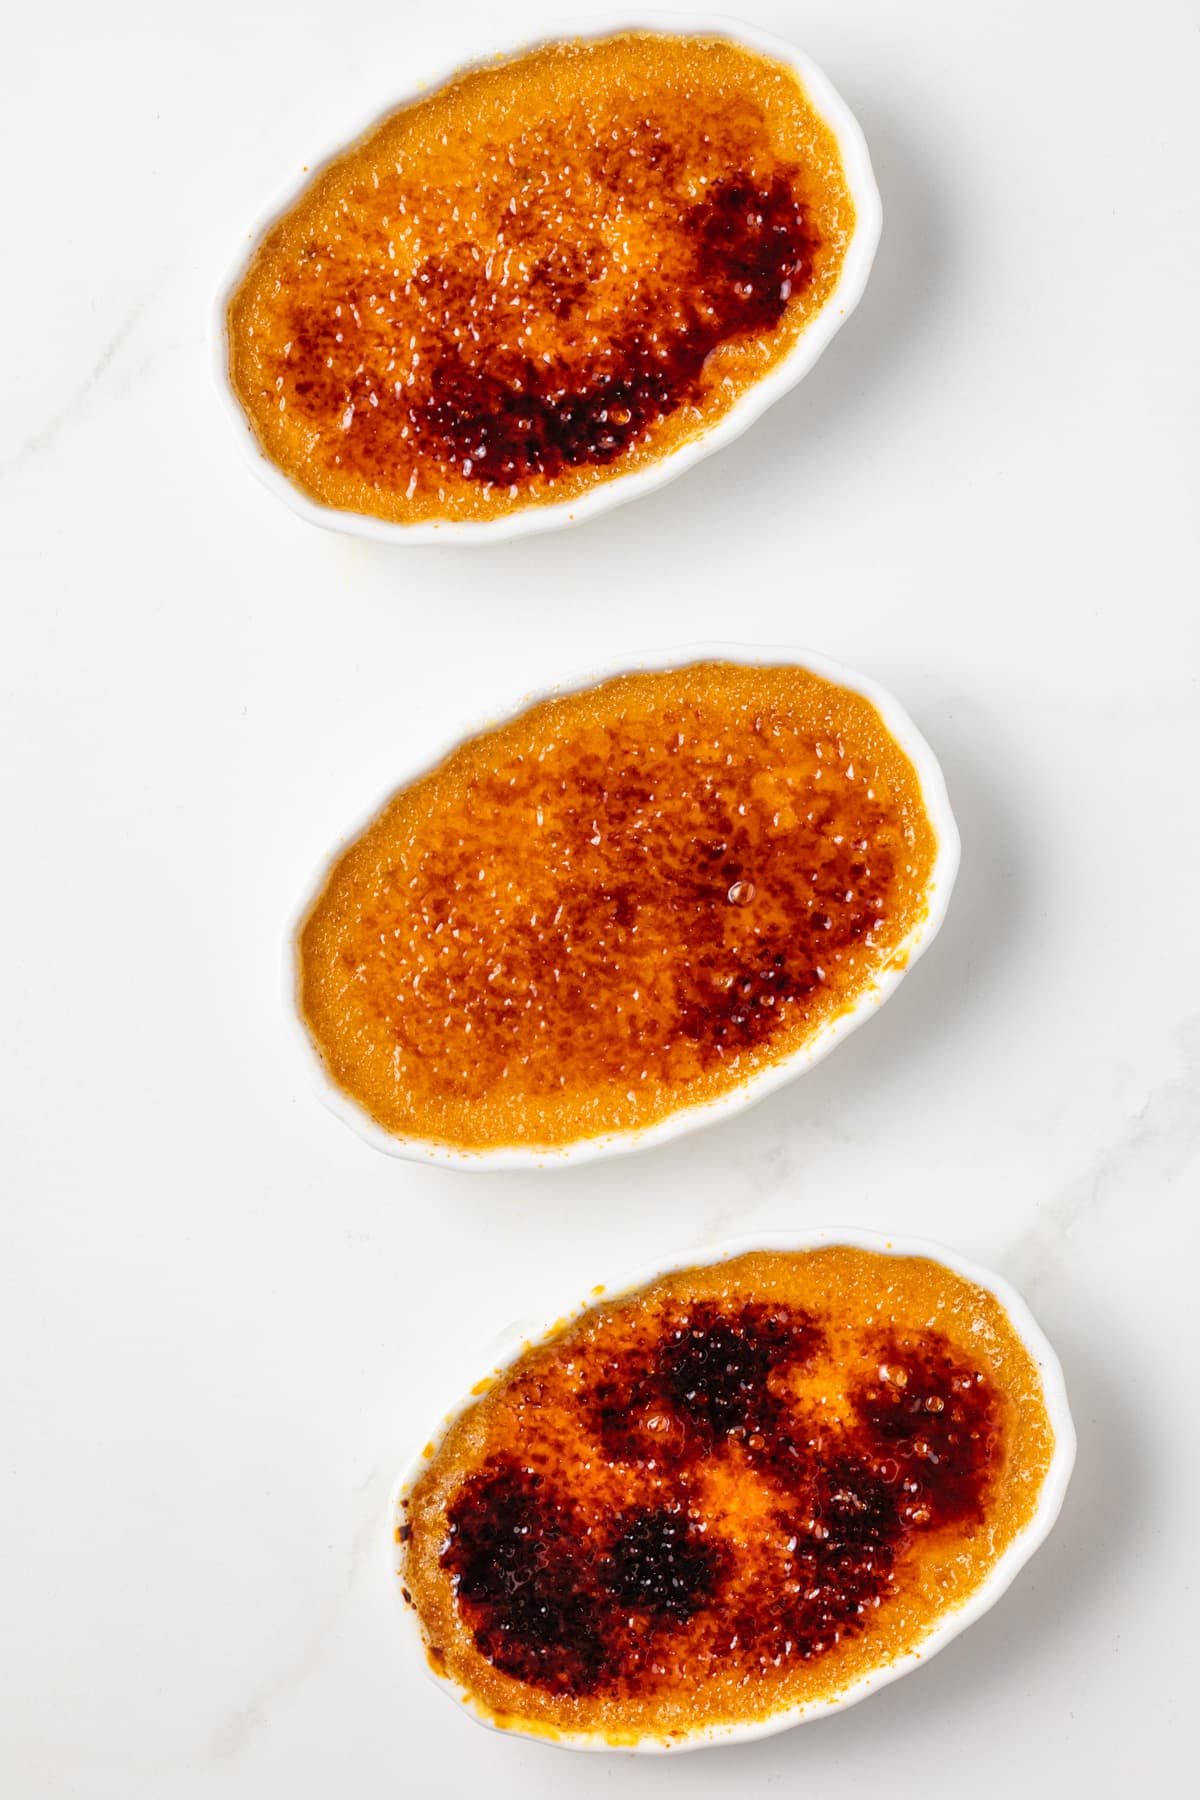
I firmly believe everyone should have a signature sweet treat. For me, it’s creamy, crackly crème brûlée.
But why stop at blackberry or rich chocolate? Today, we’re diving into the delicious world of pumpkin crème brûlée!
You might think this decadent dessert is only achievable in a restaurant’s kitchen, crafted by an expert pastry chef, but that couldn’t be further from the truth! I’m here to share everything I learned about making crème brûlée, breaking it down into simple steps that guarantee restaurant-quality results right at home.
This delightful pumpkin crème brûlée features real pumpkin and the warm spices of fall, making it a worthy contender against pumpkin pie on your holiday dessert table.
Get ready to impress your friends and family with a dessert that’s as beautiful as it is delicious! Let’s get torching!
Ingredients
For the ingredient measurements and the entire recipe, be sure to scroll down to the bottom of the blog post where the recipe card is located.
- Pumpkin puree: Use 100% real pumpkin puree and not the pumpkin pie filling.
- Heavy cream: Creates a rich, smooth custard.
- Vanilla
- Spices: Ground cinnamon and ginger season the custard for that perfect Fall flavor.
- Sugar
- Egg yolks: The egg yolks are responsible for thickening the custard.
Step by Step Directions
For the full recipe instructions, scroll down to the bottom of the blog post to the recipe card.
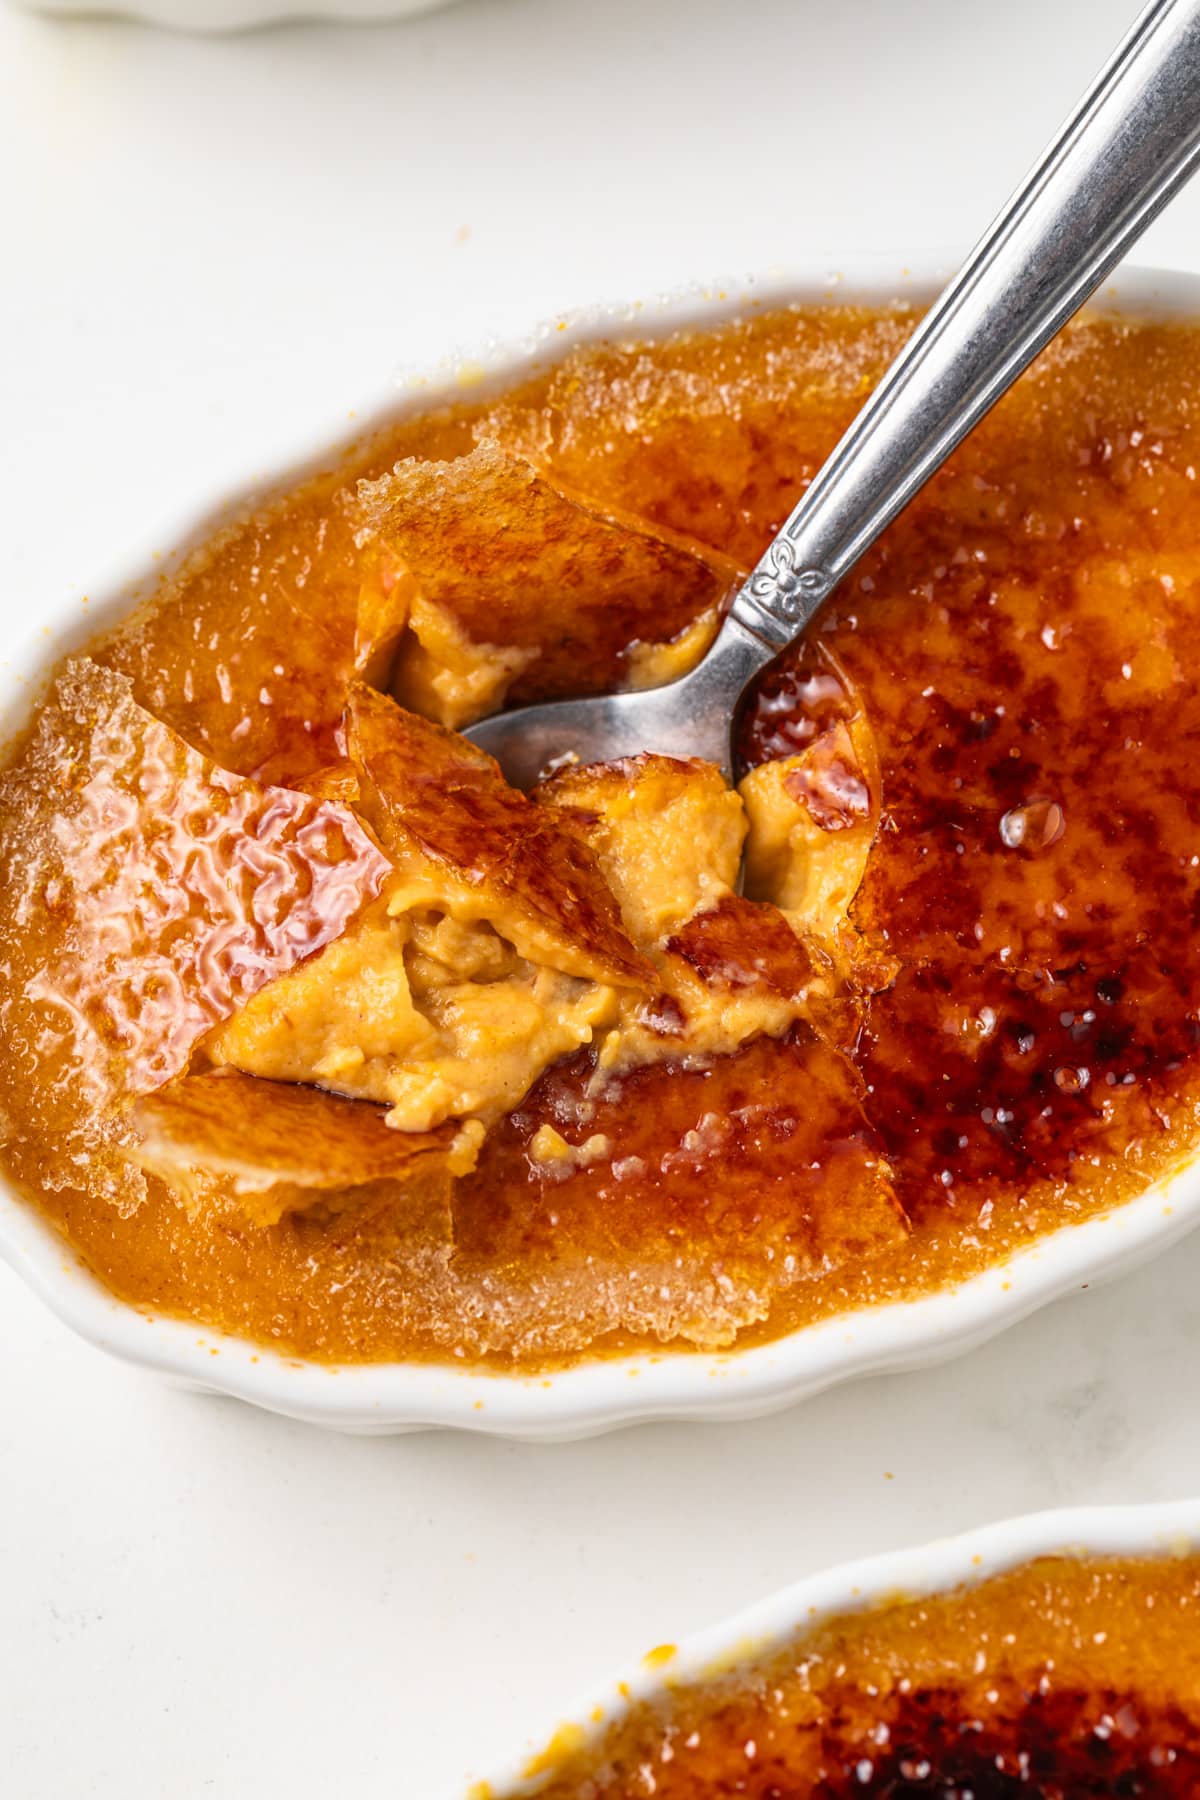
- Bring the pumpkin puree, cream, vanilla, and spices to a simmer.
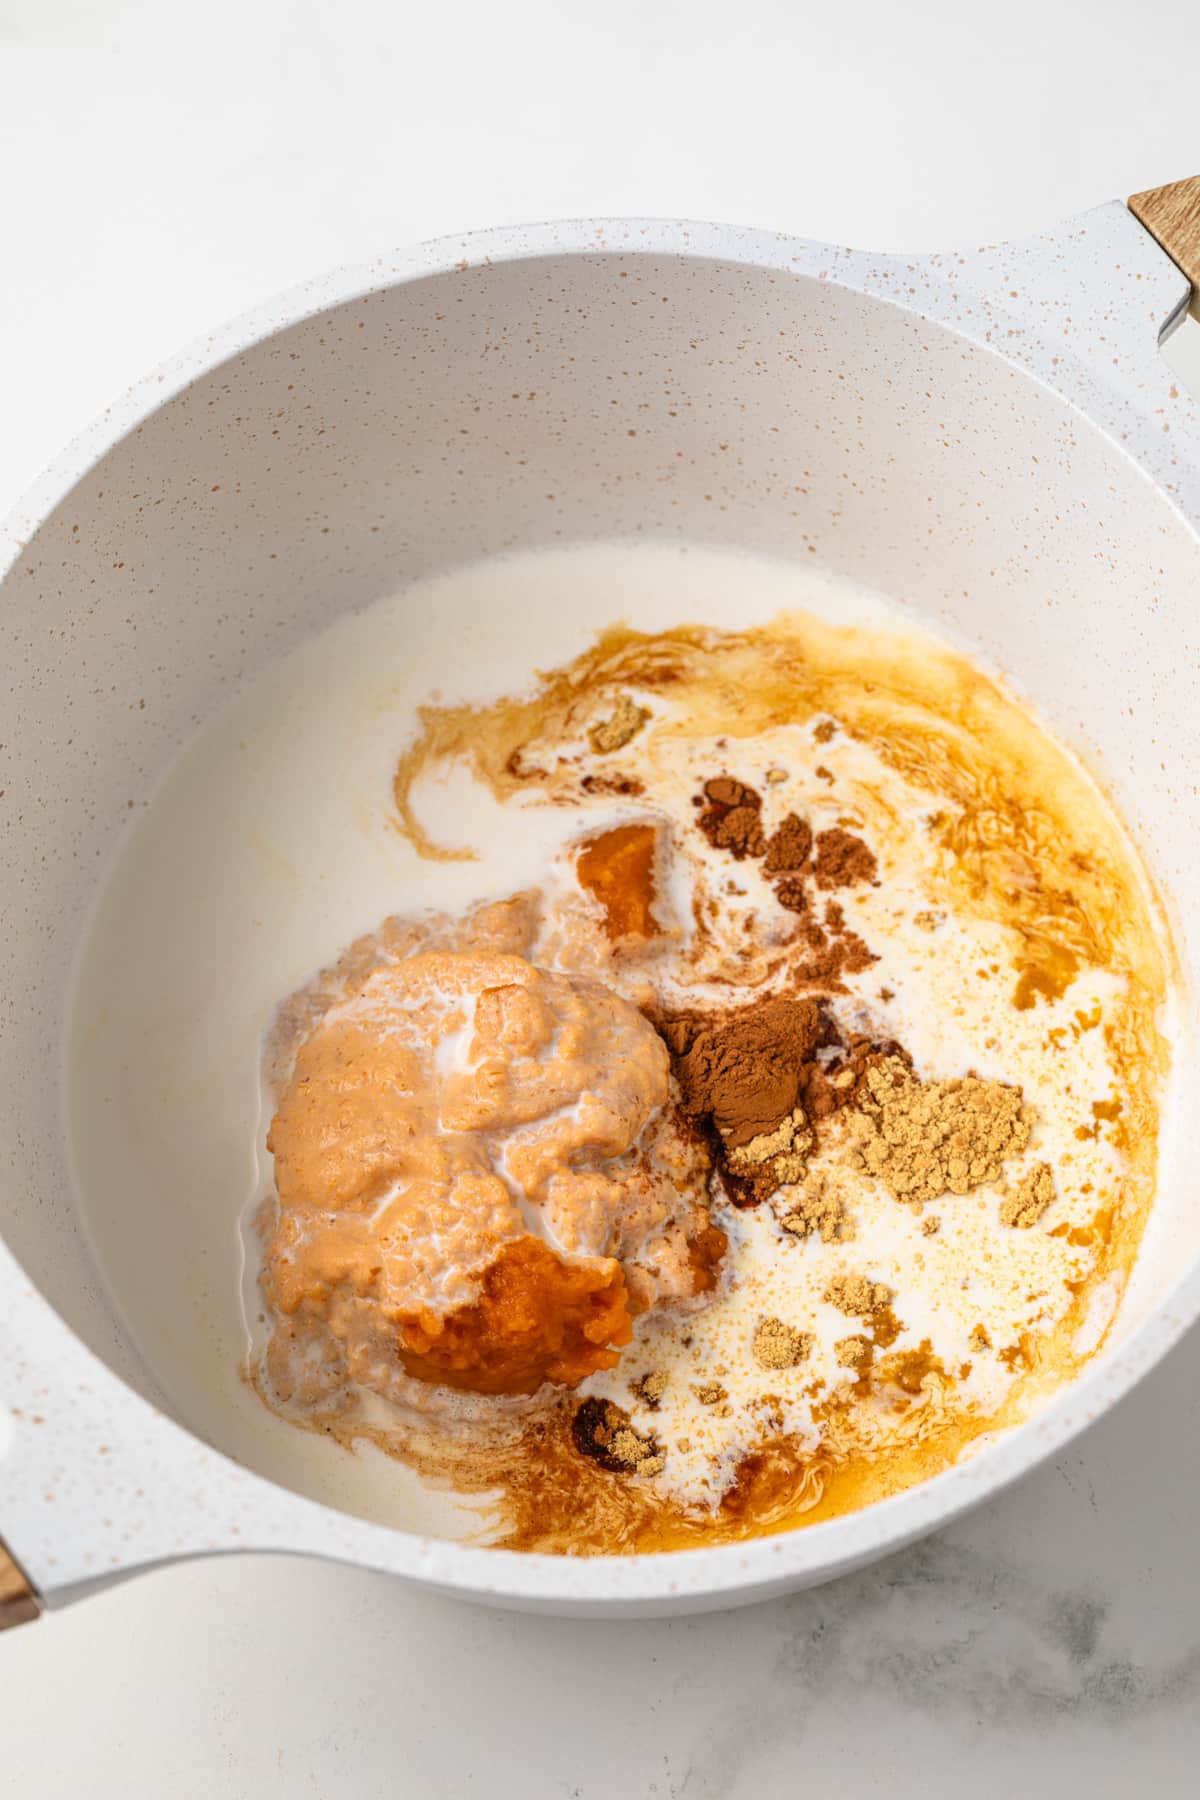
- Whisk the egg yolks and sugar together.
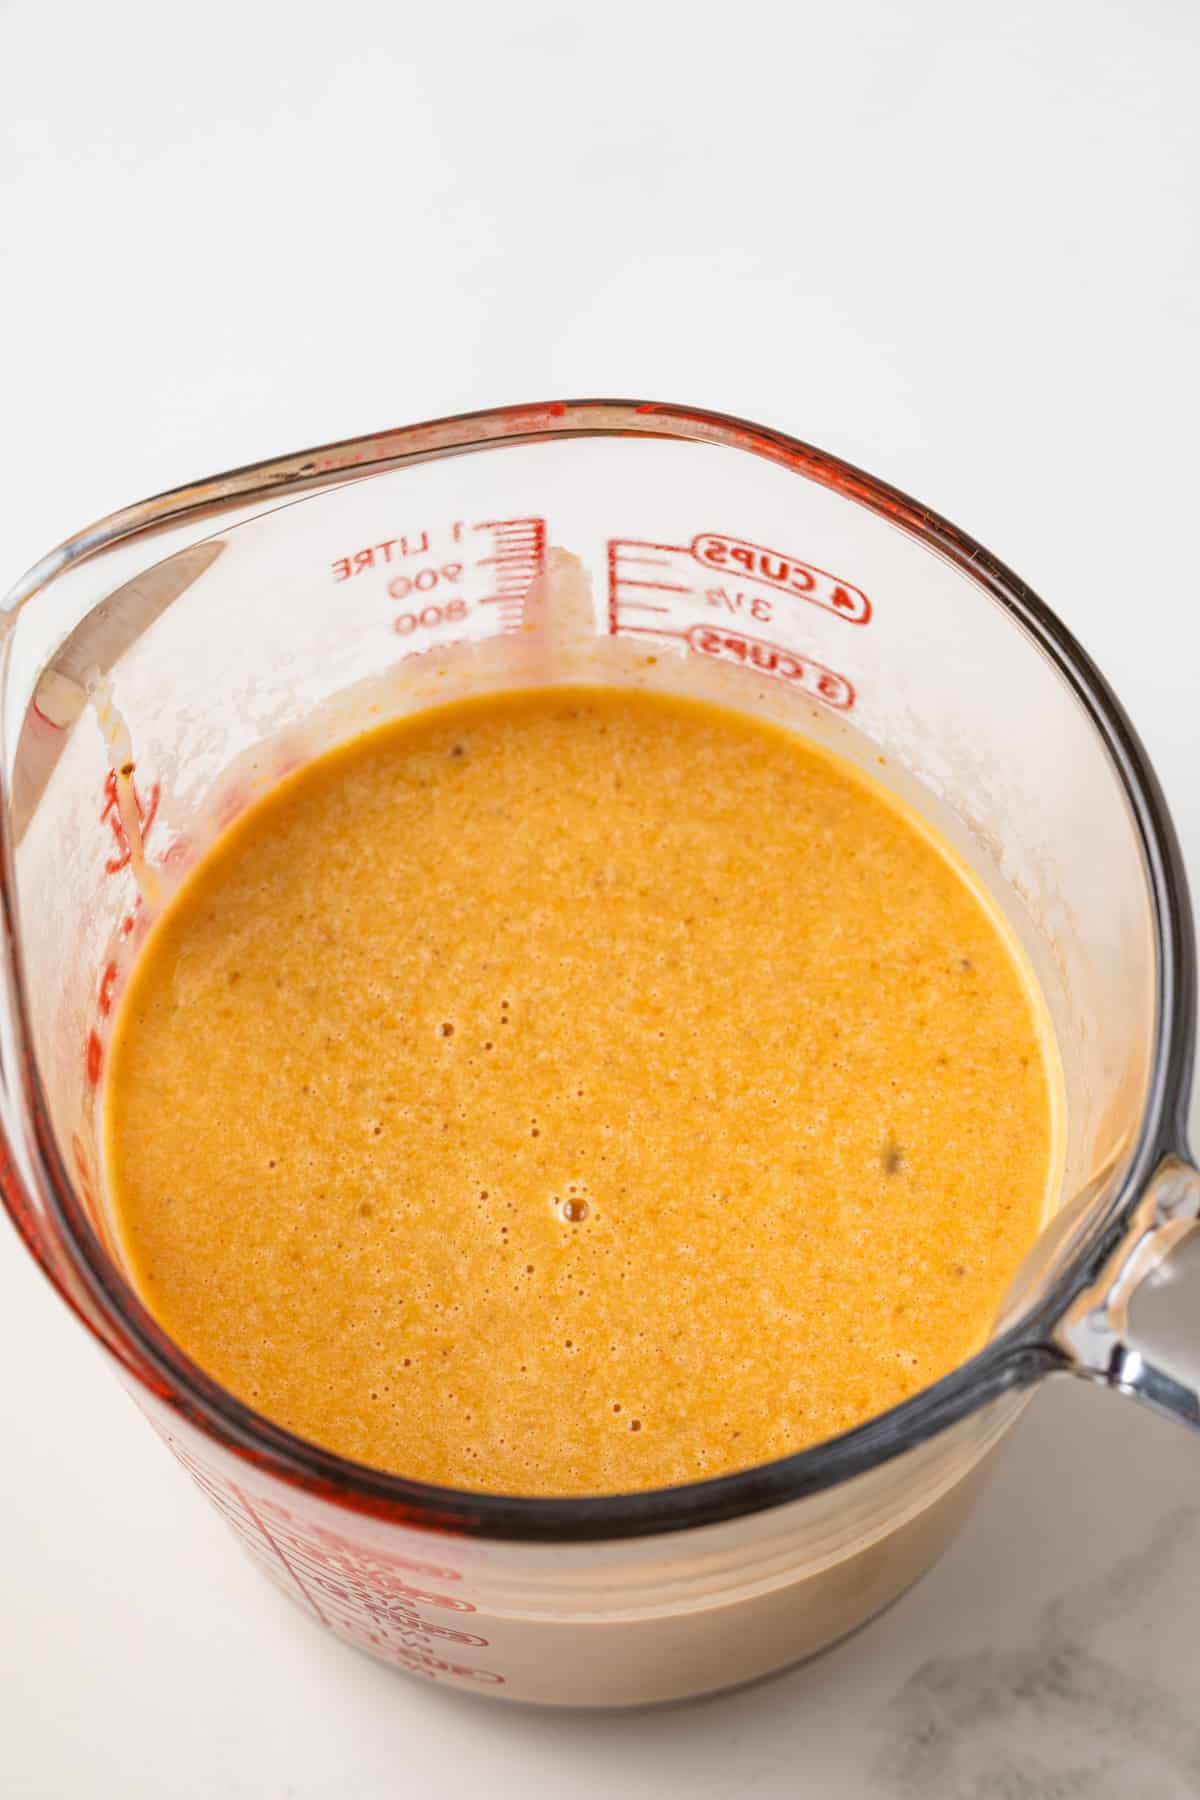
- Slowly pour the warm pumpkin mixture into the egg mixture while whisking continuously.
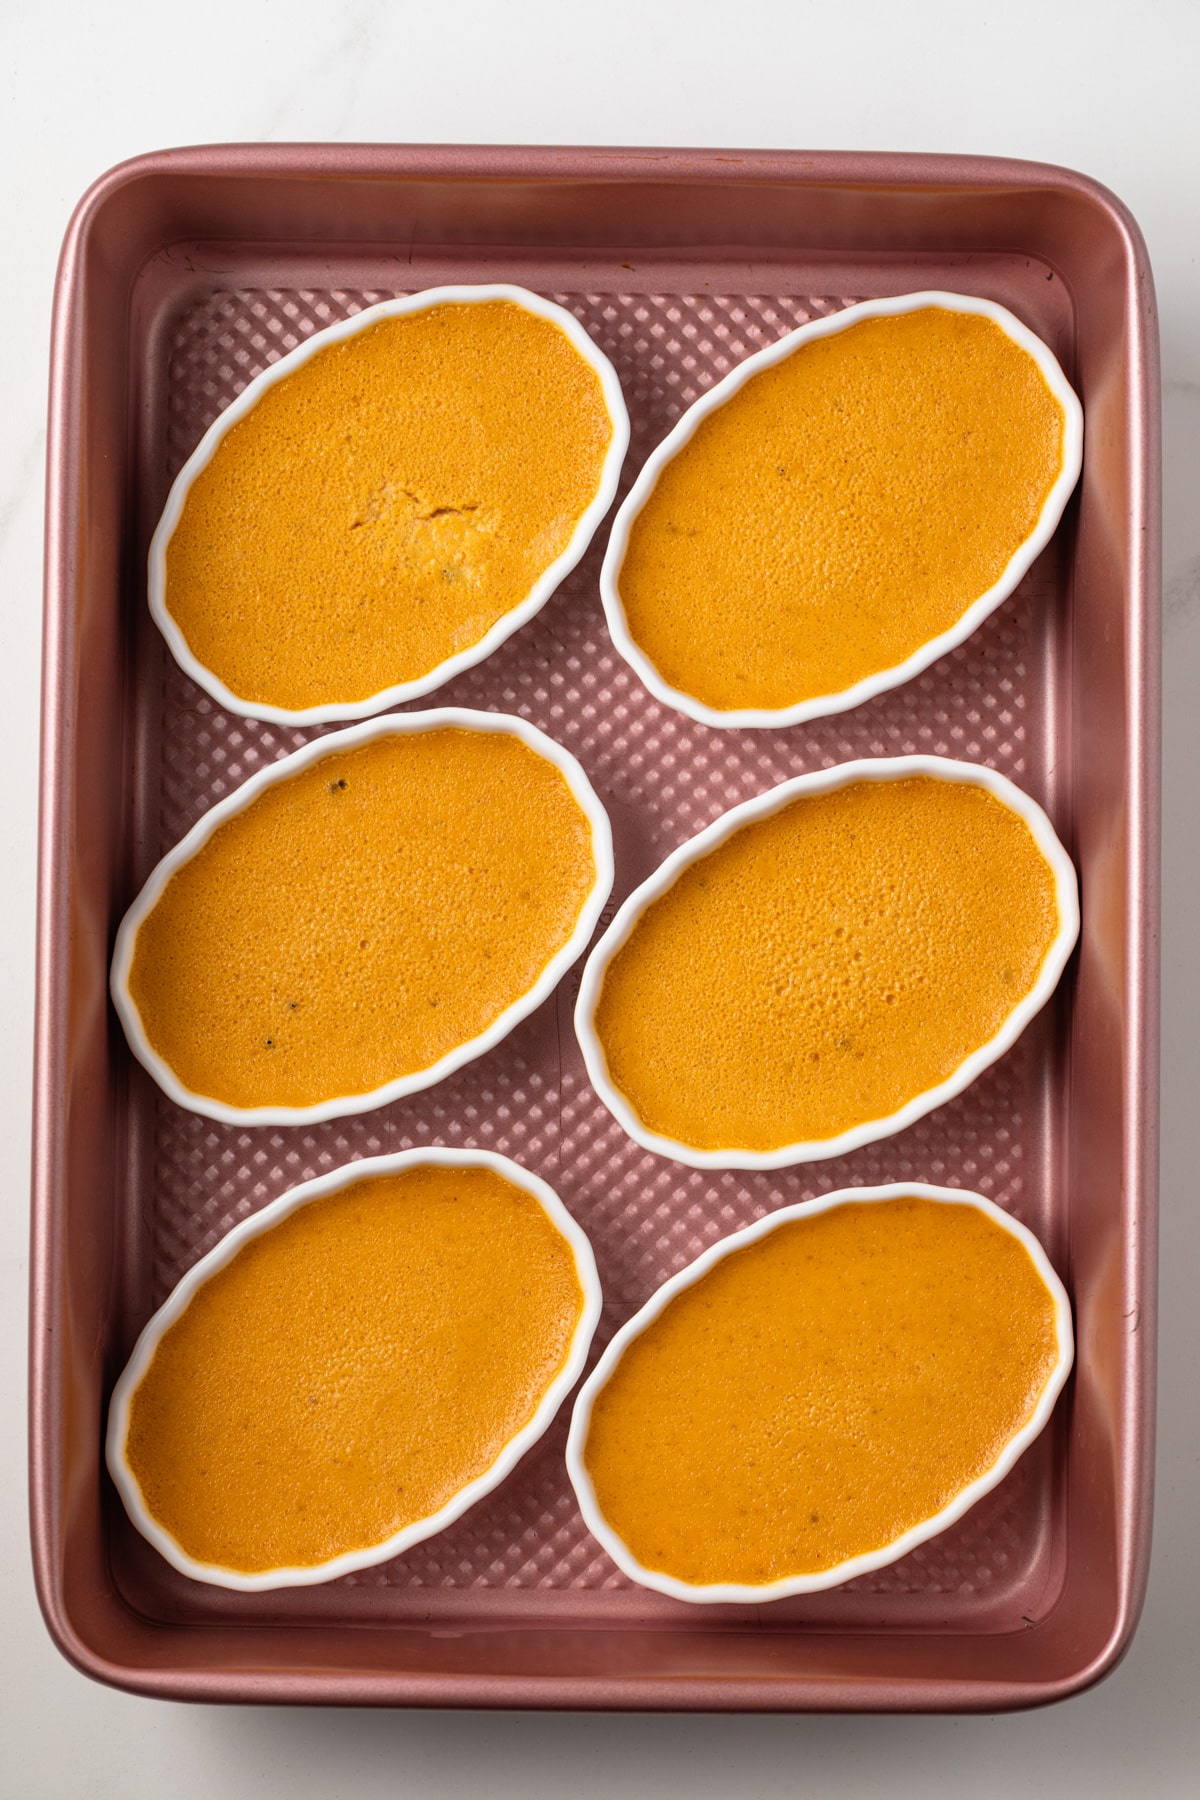
- Carefully pour the custard into ramekins and bake in a water bath until set.
- Cool to room temperature, then refrigerate for at least 4 hours.
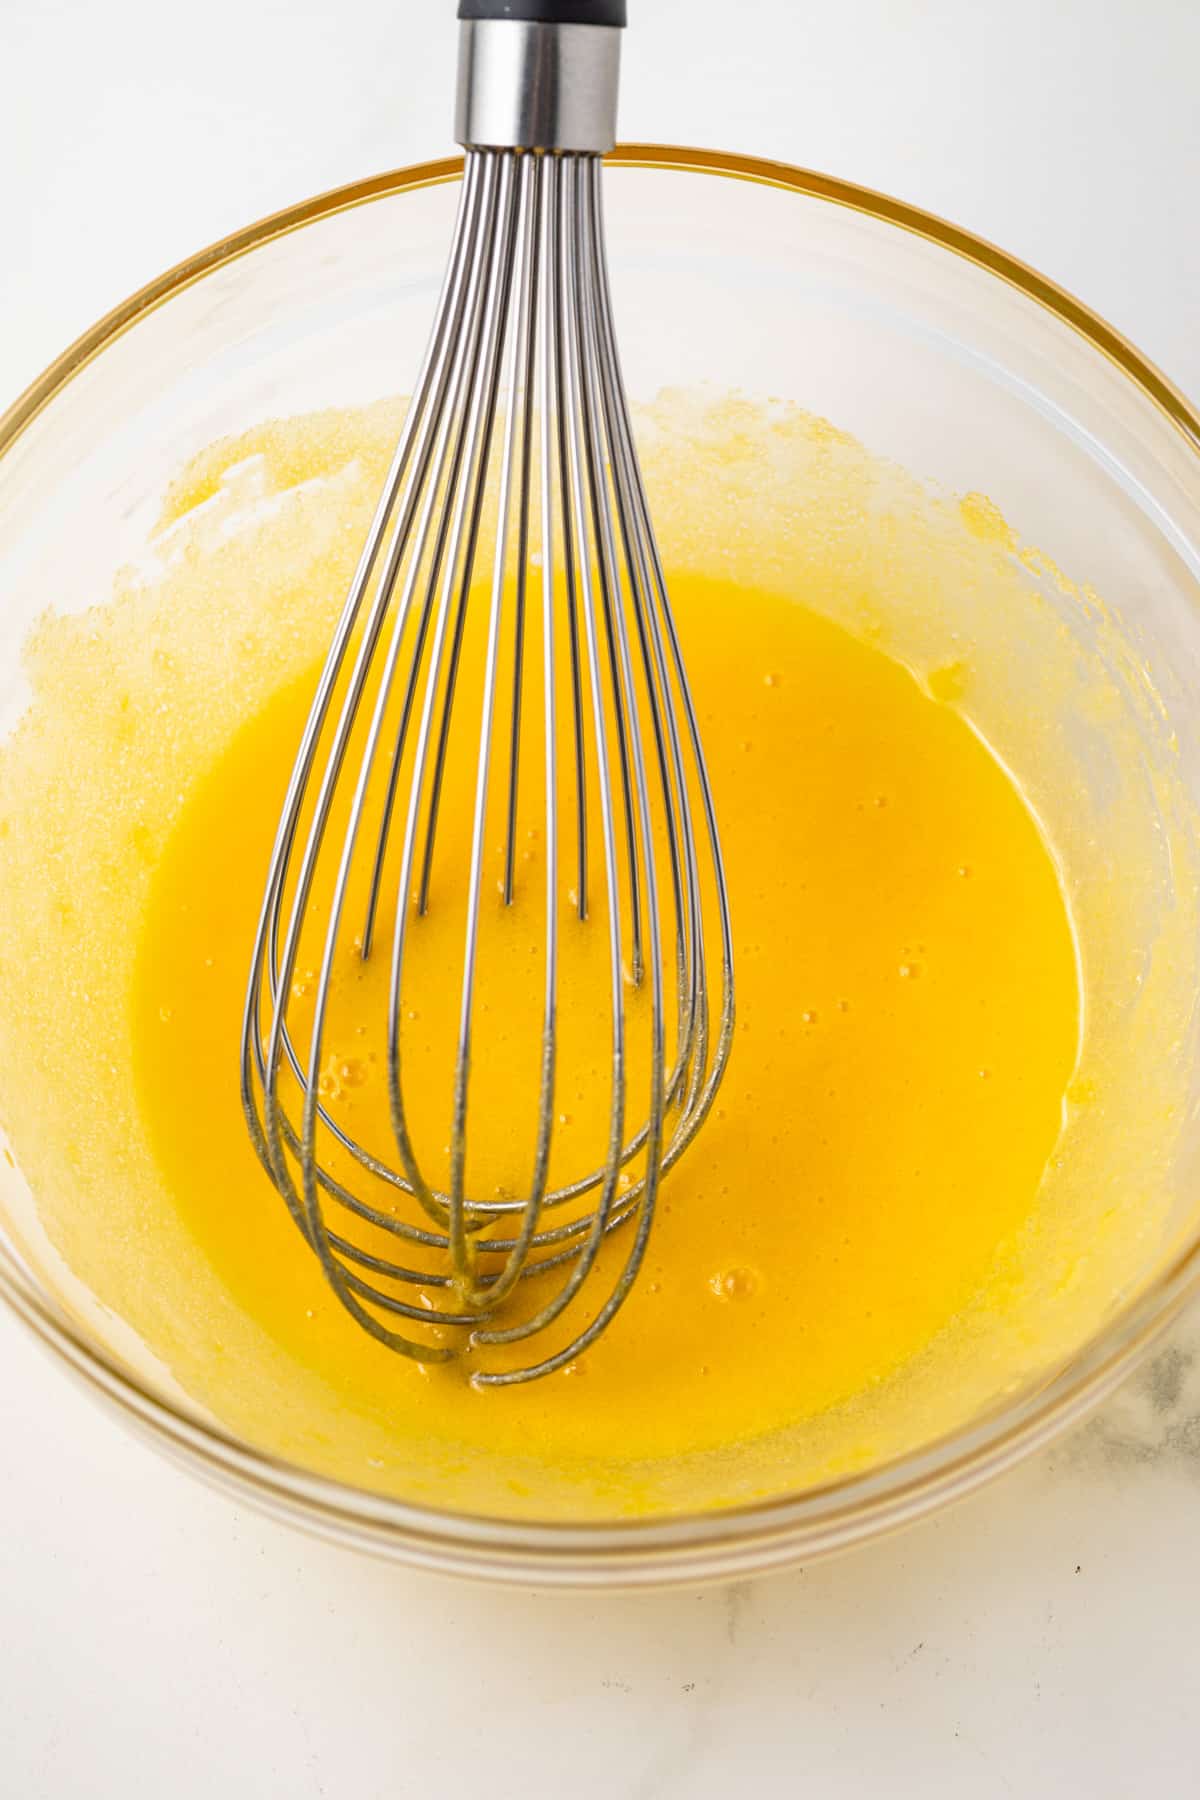
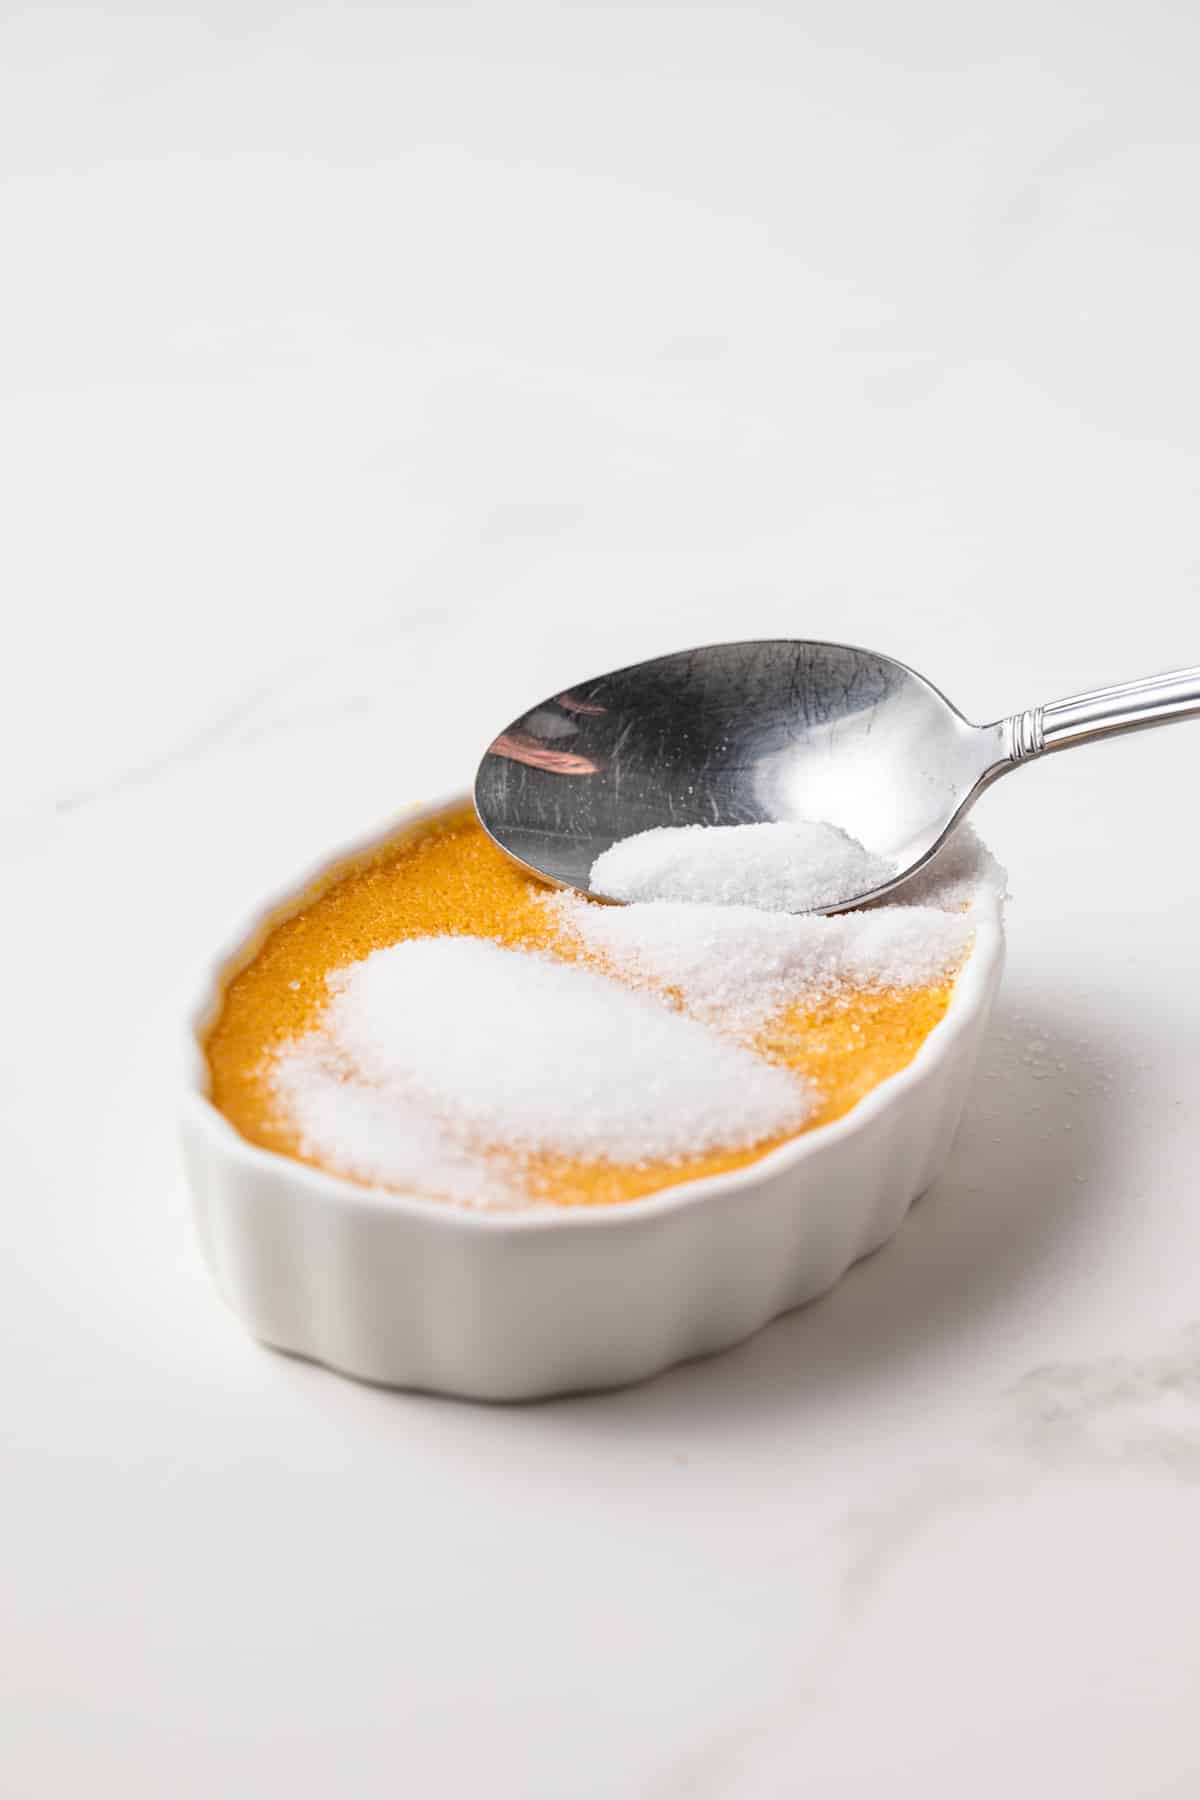
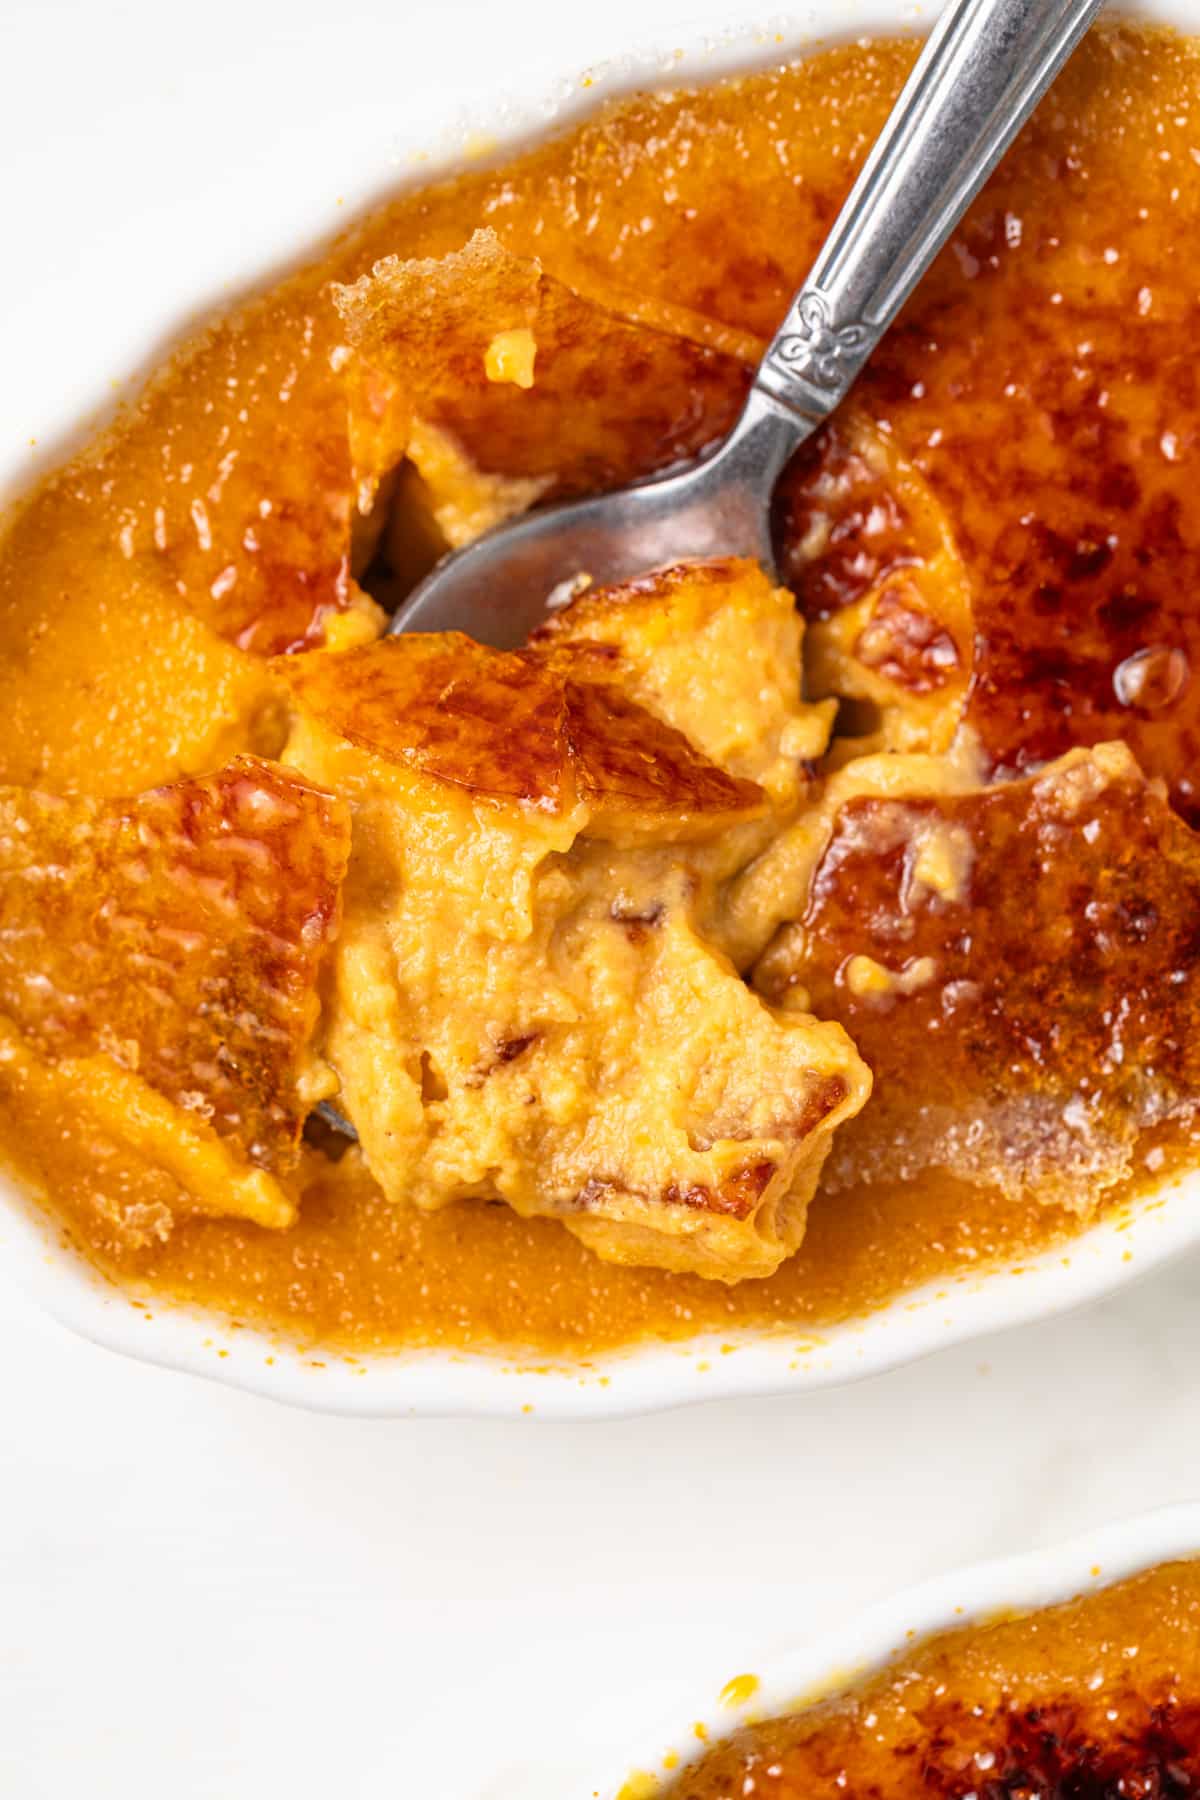
- When ready to serve, sprinkle sugar over the tops and caramelize with a kitchen torch.
Tips For Success
- It’s important to slowly pour the hot cream into the eggs. To make this easier, you can use a ladle and add 1 spoonful at a time while whisking. If you go too fast the eggs may scramble.
- How do I know when it is done? Timing can be tricky and will vary depending on the type of ramekin you use. I used shallow ramekins and they took about 25 minutes to bake. The custard is done when it jiggles uniformly from edge to edge when shaken gently. You can also test with a fingertip – press it lightly in the center and the custard should spring back will leaving your fingertip clean.
- Is the water bath necessary? Using the water bath will help make sure it cooks evenly and that the tops won’t crack.
- Make sure the water for the water bath is hot when you pour it into the baking pan. Using a tea kettle works well and makes it easier to pour into the pan. Take extra care to make sure you don’t get water into the custard when you fill the pan for the water bath, as it will ruin it.
- Try to spread the granulated sugar in a thin, even layer across the top of the custard, so that it crisps up evenly, especially if broiling rather than torching.
More Recipes You’ll Love
Pumpkin Creme Brulee
Ingredients
- 1 cup (220 g) pumpkin puree
- 1 cup (240 ml) heavy cream
- 1 teaspoon vanilla extract
- ½ teaspoon ground cinnamon
- ½ teaspoon ground ginger
- ½ cup (100 g) granulated sugar
- 6 large egg yolks, room temperature
- ¼ cup (50 g) granulated sugar, for sugar topping
Instructions
- Preheat the oven to 325°F. Arrange six 4-ounce ramekins in a 2-inch deep baking dish. Set aside.
- Add the pumpkin puree and cream to a small saucepan and heat over medium heat until bubbles appear along the sides of the pan and the mixture is steaming. Stir in the vanilla, cinnamon, and ginger. Remove from heat.
- In a medium bowl, quickly whisk ½ cup (100g) sugar and egg yolks together.
- Slowly pour the hot cream into the yolk mixture while whisking continuously until well combined.
- Transfer the mixture to a pitcher or large liquid measuring cup, then pour the custard into the ramekins.
- Place the baking pan with filled ramekins inside the oven. Then, carefully fill the pan with enough hot water to come halfway up the sides of the ramekins.
- Bake 25-30 minutes, just until set. Start checking the custard early. Bake time will vary depending on the thickness and depth of your ramekins. The custard should be set and not soupy with only a small area of jiggle in the center.
- Carefully remove the baking dish from the oven and allow the ramekins to cool in the water bath. Once the ramekins are cool enough to handle, remove them from the water, cover with plastic wrap, and refrigerate for at least 4 hours or up to 2 days before serving.
- Just before serving, sprinkle 2 teaspoons of sugar evenly over each custard, then immediately caramelize the sugar with a propane torch or broiler.
Notes
- Water bath: The water bath will help the custard bake slowly and evenly. Take extra care not to get water in the custard. This will ruin it.
- Baking the custard: Timing can be tricky and will vary depending on the type of ramekin you use. I used shallow ramekins and they took about 25 minutes to bake. The custard is done when it jiggles uniformly from edge to edge when shaken gently.
- Make ahead: While the custard requires 4 hours of cooling time in the refrigerator, if wrapped tightly in plastic wrap you can make it 2-3 days in advance.
Nutrition
The nutrition information provided is for convenience and as a courtesy only. It is not guaranteed to be accurate because nutrition information can vary for a variety of reasons. For precise nutritional data use your preferred nutrition calculator and input the exact ingredients and brands you used in the recipe.
