
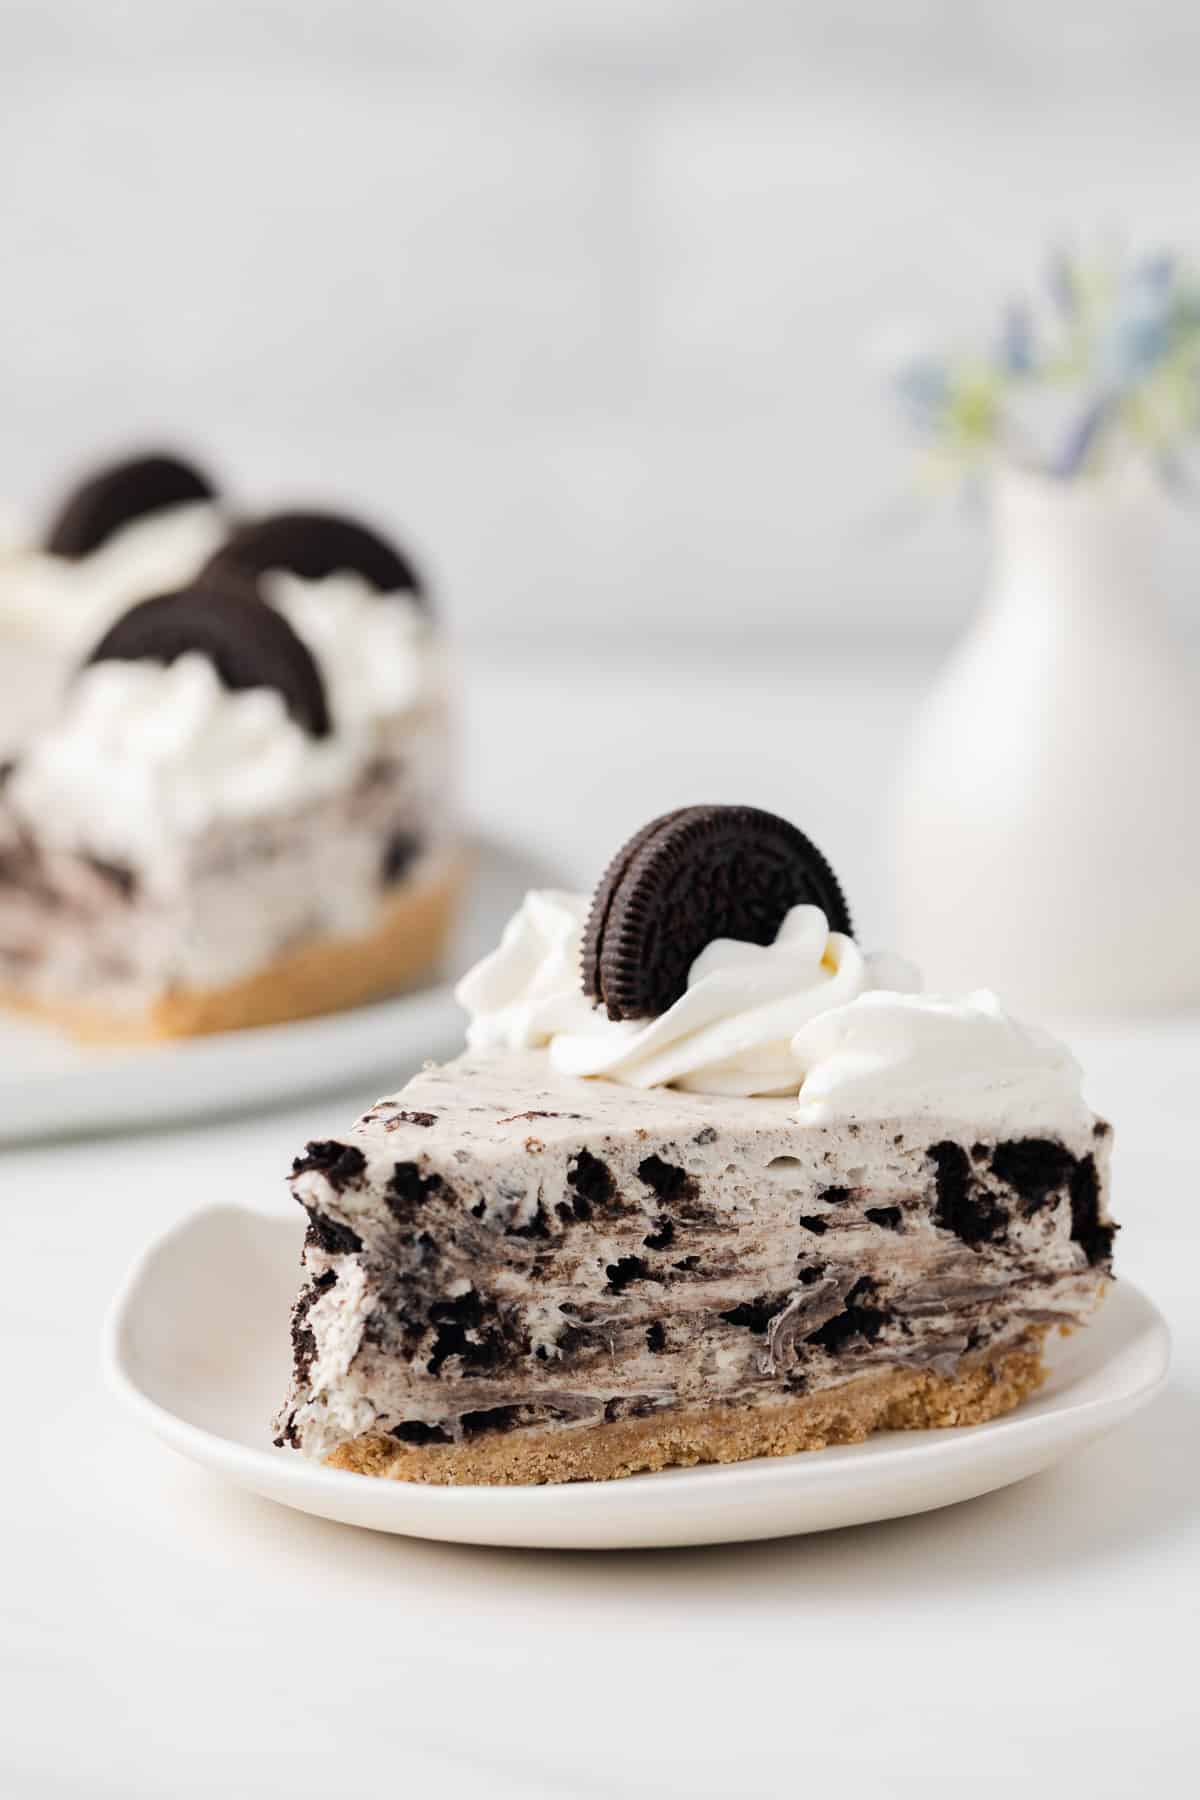
No Bake Oreo Cheesecake
This post may contain affiliate links. Read the full disclosure here.
Looking for a delightful dessert that’s a breeze to make? Look no further than the delectable no-bake Oreo cheesecake! With Oreo cookies taking center stage in the filling, this treat is a guaranteed crowd-pleaser. Whether you’re hosting a lively party or gearing up for a festive holiday gathering, this recipe will surely impress your guests.
Attention, Oreo enthusiasts! Listen up, for I present to you a delightful creation: the no-bake Oreo cheesecake.
Picture this: a luscious, velvety cheesecake filling enveloped in a captivating dance of Oreo-infused goodness.
Now, here’s the kicker: you can whip up this masterpiece in just 25 minutes. Yes, you heard me right! It’s so much easier than my baked Oreo cheesecake which takes hours to prepare.
This no-bake Oreo cheesecake can be prepared in advance, making it an impeccable choice for all your festivities. Simply pop it into the fridge for a minimum of four hours, and voilà!
Whether you’re celebrating a birthday extravaganza, gathering with loved ones, or immersing yourself in the holiday spirit, this cheesecake is guaranteed to leave an indelible mark on your palate.
Recipe Snapshot
- TASTE: Just like Oreos.
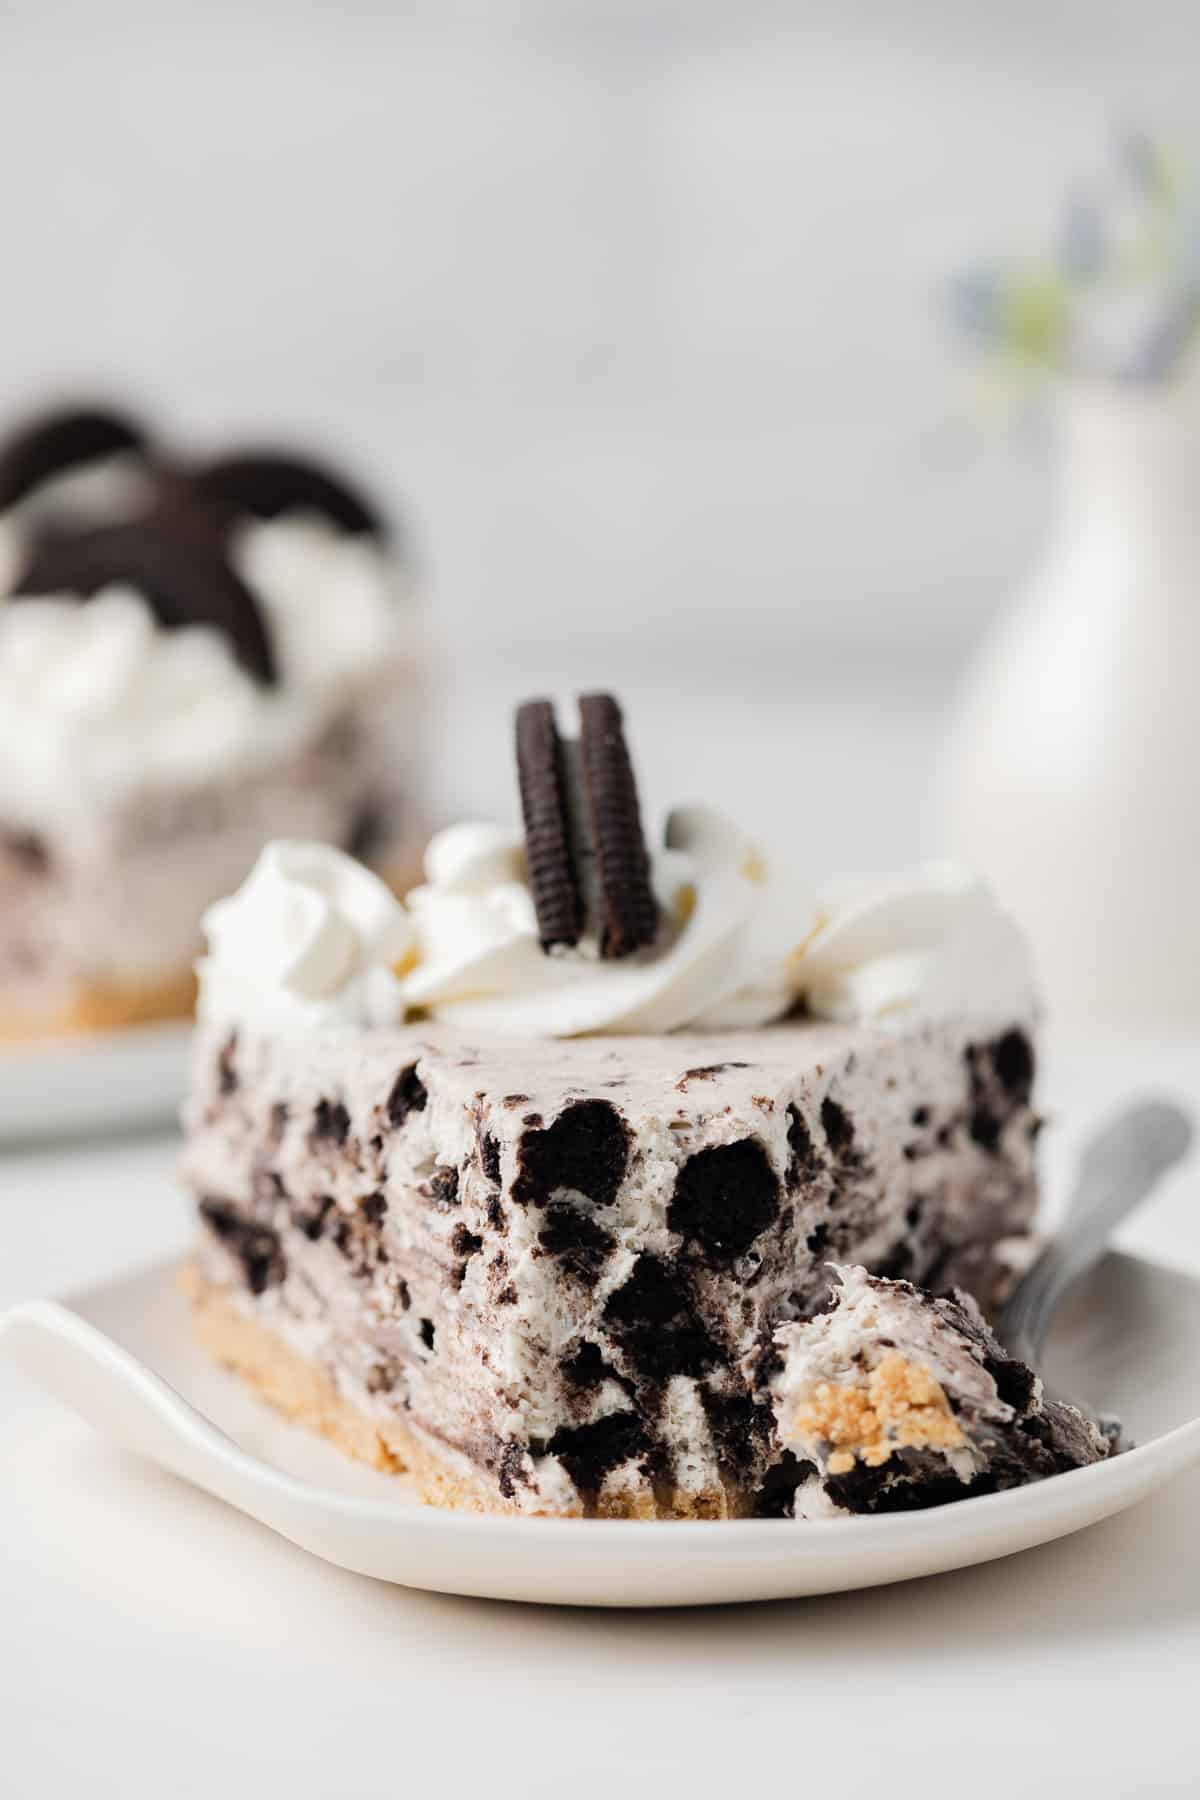
- TEXTURE: Silky with bits of Oreo cookies.
- EASE: This recipe is so simple to prepare. It comes together in under 30 minutes.
- TIME: 25 minutes prep time and 4 hours chill time.
What You’ll Need
Ingredients
- Graham crackers – For the crust.
- Melted butter – I used unsalted sweet cream butter for the crust.
- Cream cheese – Be sure to use brick-style full fat cream cheese. The cream cheese should be softened to room temperature before making the cheesecake filling.
- Powdered sugar – Adds sweetness to the filling without causing it to be grainy.
- Vanilla extract – I use pure vanilla for the best flavor.
- Heavy whipping cream – Also known as heavy cream. It is whipped to stiff peaks and then folded into the batter to create a creamy, fluffy cheesecake.
- Oreos – You can use regular, double stuffed or gluten-free.
Recommended Tools
- Spring form pan
- Stand mixer with the paddle attachment.
How to Make No Bake Oreo Cheesecake
This cheesecake recipe is so incredibly easy and perfect for beginners. The filling doesn’t require baking so it’s great to make when you are short on time.
Be sure to check out the full recipe and ingredient list below
- Make the graham cracker crust: Combine graham cracker crumbs and butter in a 9-inch springform pan. Press it firmly into the bottom. Pop the crust into the freezer while you make the filling.
- Combine the cream cheese, sugar, vanilla, and salt. Do this in a stand mixer fitted with the paddle attachment. Or you can use a handheld electric mixer.
- Make the whipped cream. In a separate bowl, use a handheld electric mixer to beat the cream to stiff peaks. Fold the whipped cream into the cream cheese mixture.
- Add the Oreo. Fold in the crushed Oreos.
- Assemble the cheesecake. Spread the filling evenly over the prepared crust.
- Chill the cheesecake. Cover the pan tightly with foil or plastic wrap and refrigerate for 4 hours.
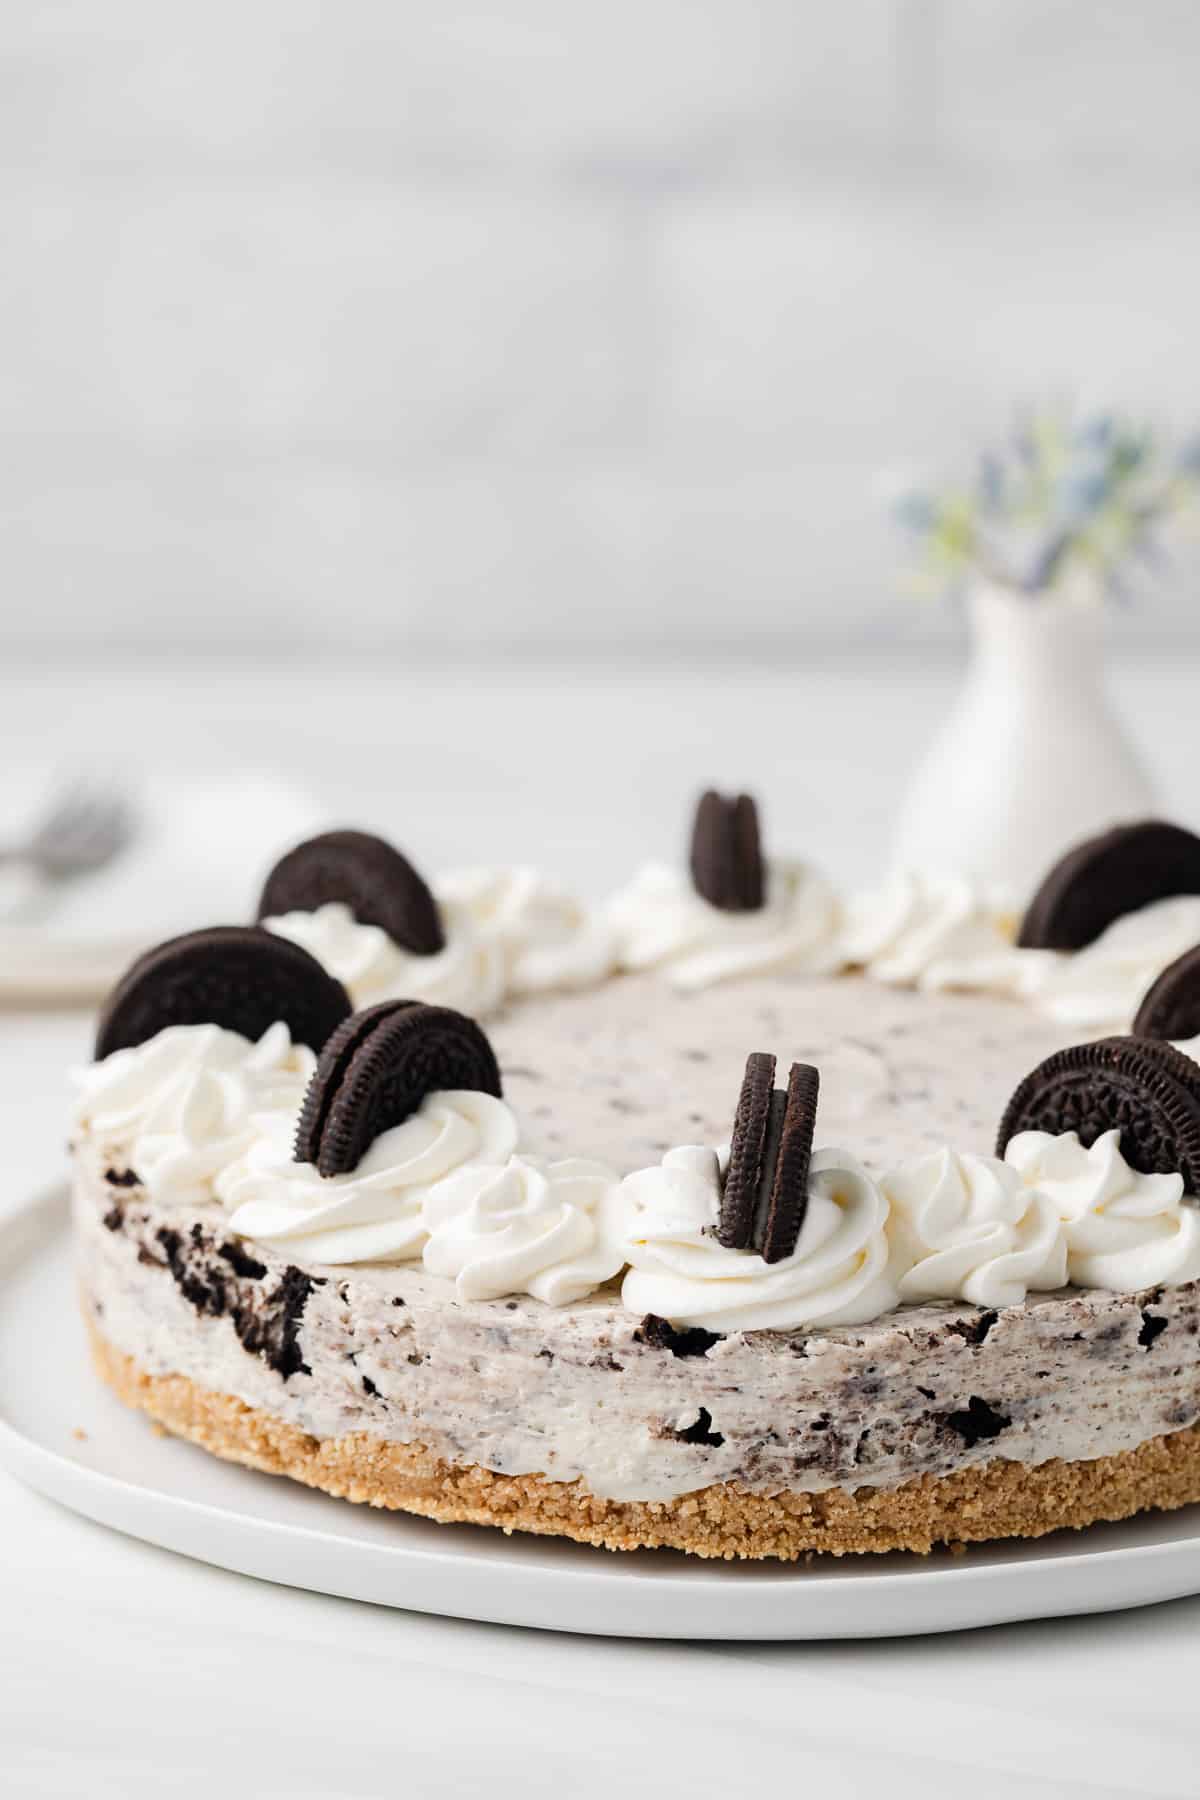
- Serve. Just before serving, garnish the cheesecake with whipped cream swirls and Oreos.


Handy tip:
Make sure that your cream cheese is at room temperature before getting started, this ensures a smoother filling with no lumps.
Tips For Success
- Oreos: You can use regular, double-stuffed, or gluten-free Oreos.
- Cream cheese: Use full-fat or lite cream cheese. Avoid fat-free as the filling may not set properly. Also, use brick-style cream cheese and not the ones found in the tub.
- Heavy cream: You may substitute a 16-ounce tub of whipped topping for the heavy cream.
- Springform pan: This recipe works best with a 9-inch springform pan. The removable sides make it easier to remove the cheesecake from the pan.
Storage & Freezing
This cheesecake can be made up to 4 days in advance. Keep it covered tightly and store it in the refrigerator. Wait to add toppings until you are ready to serve it.
No-Bake Oreo Cheesecake
Ingredients
For the crust
- 1 ½ cups (148 g) graham cracker crumbs, from about 1 and ½ sleeves
- 6 tablespoons unsalted butter, melted
For the filling
- 24 ounces (680 g) cream cheese, softened
- 1 ½ cups (180 g) confectioners’ sugar, sifted
- 1 tablespoons vanilla extract
- ⅛ teaspoon salt
- 1 cup (240 ml) heavy whipping cream, cold
- 10 ounces (285 g) Oreo cookies, about 25 whole cookies
- whipped cream, for garnish
- crushed Oreos, for garnish
Instructions
Make the crust
- Line the bottom of a 9-inch springform pan with foil or parchment paper: set aside.
- In a medium bowl, combine the cookie crumbs and melted butter. Mix until crumbs are well coated with butter.
- Press the mixture firmly into the bottom and an inch up the sides of the prepared pan. Set in the freezer while you make the filling.
Make the filling
- In the bowl of a stand mixer fitted with the paddle attachment or with a handheld electric mixer, beat the cream cheese on medium speed until smooth and creamy, about 3 minutes.
- Add the confectioners' sugar and mix on low speed until the sugar is moistened. Then turn the speed up to medium and continue mixing until well combined, about 2 minutes.
- Add the vanilla and salt. Mix on medium speed until well incorporated, about 1 minute.
- If using a stand mixer with the paddle attachment, switch to the whisk attachment and add the heavy cream. Beat on low speed until the cream is well mixed in. Turn the speed up to high and beat until the batter becomes thick and stiff.
- Place Oreos in a zip-top bag and crush them into bits. Add them to the batter and gently fold until they're evenly distributed.
- Pour the filling over the prepared crust and spread to the edges of the pan. Refrigerate for at least 8 hours.
- Remove the sides of the pan. Garnish with whipped cream and crushed Oreos as desired just before serving.
Notes
- The assembled cheesecake will keep for up to 5 days stored covered in the refrigerator.
- After the cheesecake has been refrigerated for 8 hours, you can transfer it to the freezer. Wrap the entire pan in plastic wrap followed by a layer of aluminum foil. It will keep for up to 3 months. Thaw in the refrigerator overnight before serving.
Nutrition
The nutrition information provided is for convenience and as a courtesy only. It is not guaranteed to be accurate because nutrition information can vary for a variety of reasons. For precise nutritional data use your preferred nutrition calculator and input the exact ingredients and brands you used in the recipe.