French Silk Pie
This post may contain affiliate links. Read the full disclosure here.
This French Silk Pie features a flaky pie crust, smooth and creamy chocolate filling, and is topped with fresh whipped cream and chocolate shavings. There are no raw eggs in this recipe.
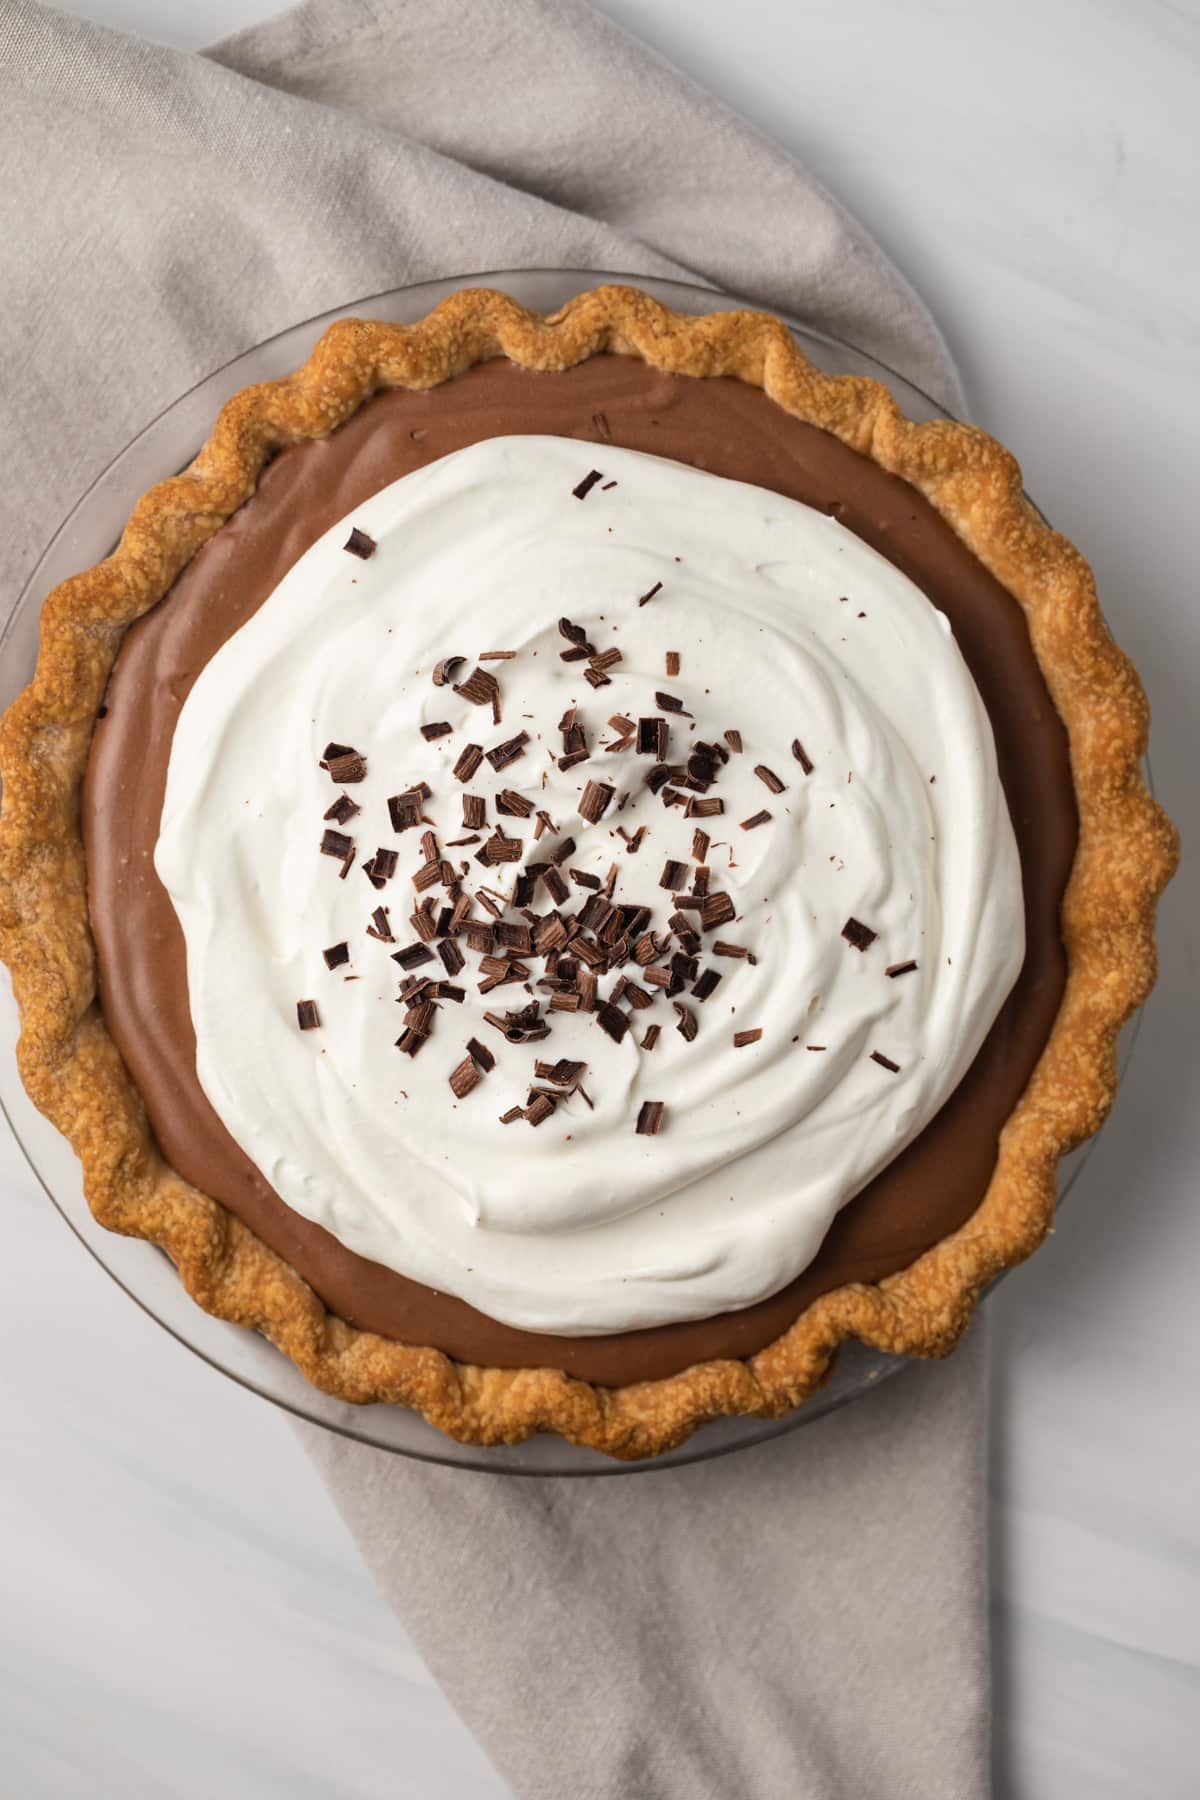
Creamy, dreamy French Silk Pie. The flaky crust, the fluffy and decadent chocolate filling, and the cool whipped cream topping – it’s the perfect pie.
When I think of French Silk Pie, I think of those spinning pie towers in diners or steak houses – filled with individual slices of everything from coconut cream pie to lemon meringue pie to pumpkin pie to apple pie, of course. And there are usually a few slices of this rich and delicious French Silk Pie as well.
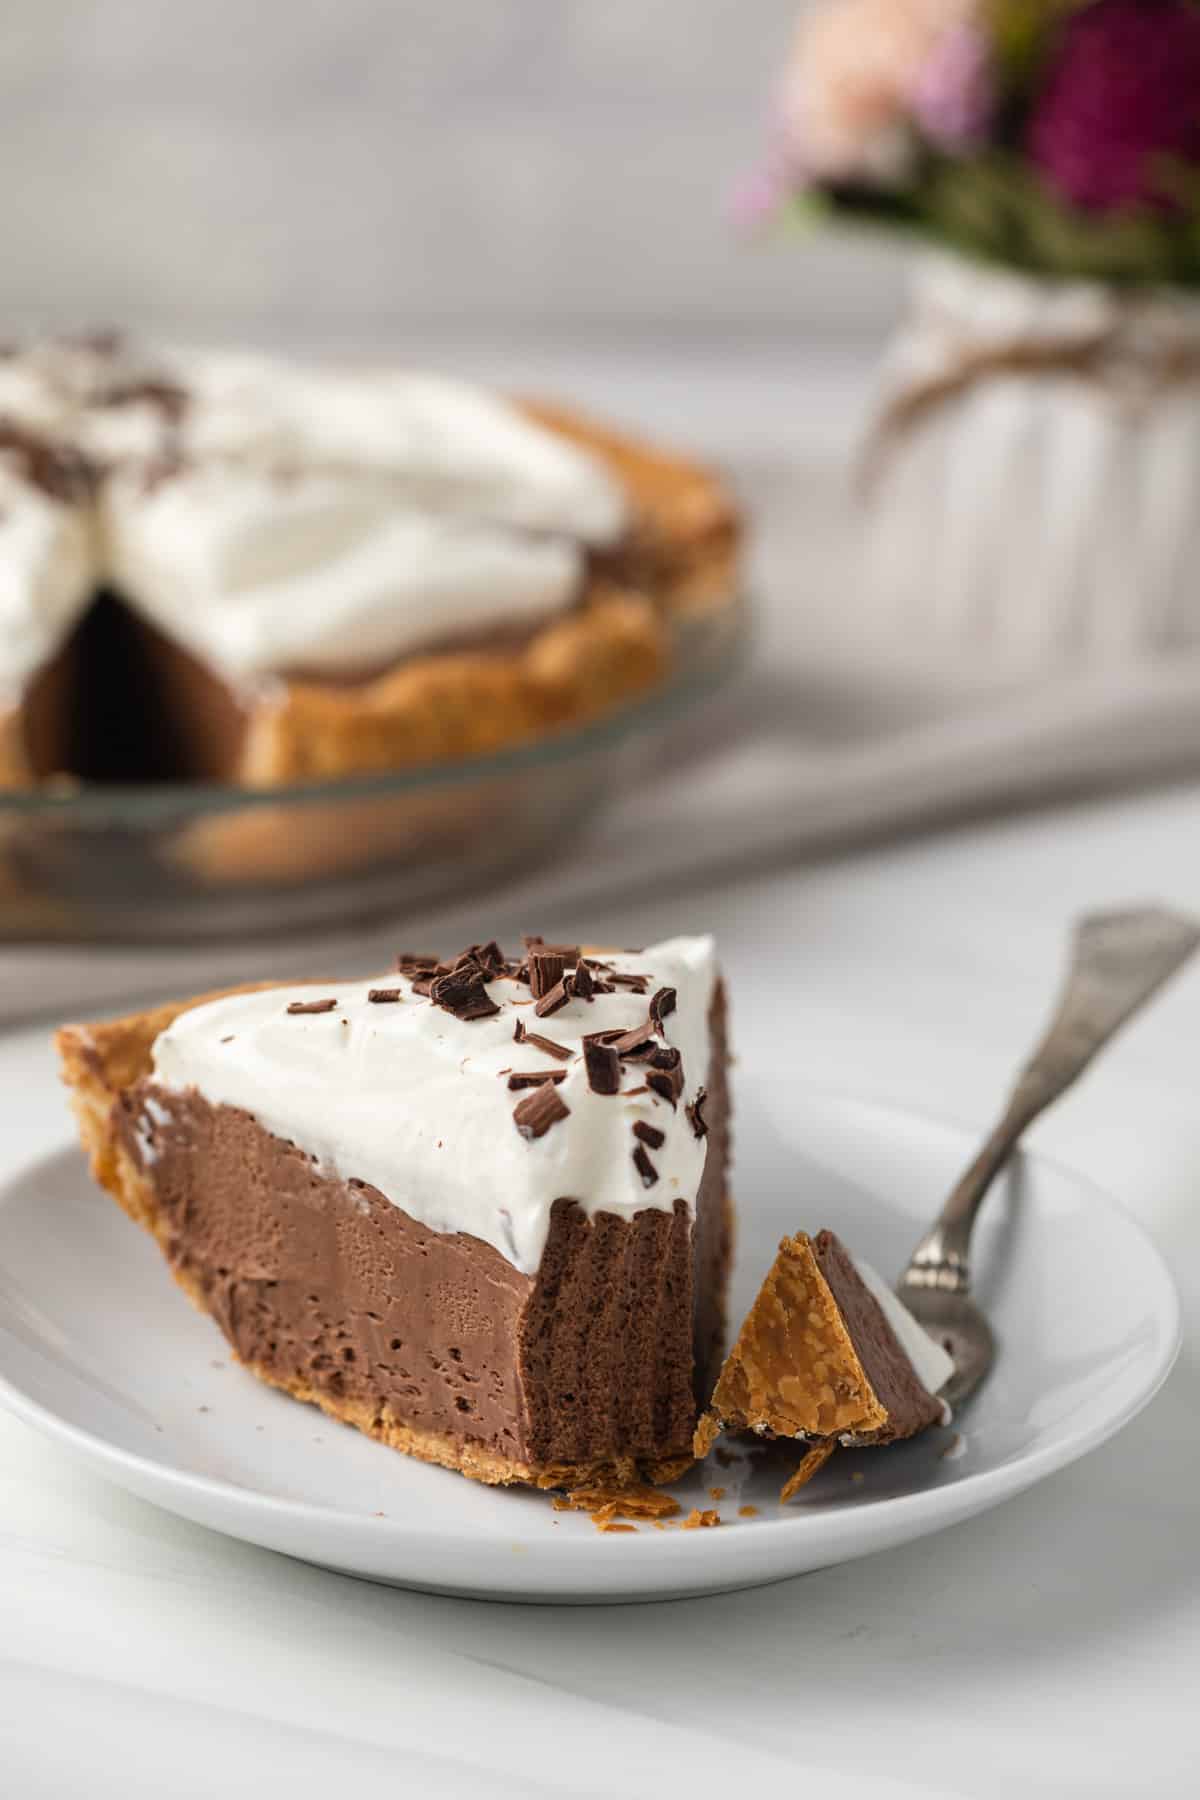
But only one or two because usually, it sells out pretty quickly. Rich, chocolate filling – almost like a mousse is nestled in a flaky pie crust and topped with a dollop of fresh whipped cream. It’s a delicious flavor sensation.
Some french silk or chocolate pie recipes call for raw eggs. Those who follow this site regularly know that I try to avoid raw eggs whenever possible. That’s what is great about this recipe. The eggs are cooked slowly with the sugar to create the base of the pie. Then beaten for some time until they become light and fluffy.
It makes for a rich, sweet and fluffy base to add the melted chocolate and whipped cream to. Once it is refrigerated the consistency is creamy, cool, fluffy and addictive.
The flaky crust is from my favorite, go-to pie crust recipe. I often make my own, but I’ll admit, even I have sometimes used a store-bought crust. And, honestly, it’s pretty good. This pie filling is so yummy, don’t avoid making the pie because you don’t want to make the crust.
Finally, the chocolate pie needs a contrasting cool and fresh whipped topping as a contrast. This pie is topped with a simple whipped cream. If you know you are going to keep it in the fridge for a few days, I would wait to add the topping until right before serving. Whipped cream gets a little funny after two days or so. You can also try it with my chocolate whipped cream!
Once assembled – this pie – with the flaky crust, decadent creamy filling, and light, and fluffy whipped cream topping is simply irresistible.
Try to have just one piece!
Recipe Snapshot
- TASTE: Chocolate heaven
- TEXTURE: Creamy and fluffy pie filling with a flaky crust
- EASE: Medium effort, still easy but this shouldn’t be your first pie.
- TIME: An hour and fifteen minutes plus 3 hours of chilling time.
What You’ll Need
Ingredients
These simple ingredients come together to make a truly delicious dessert.
- 1 homemade pie crust or store-bought
- Heavy cream – For both the topping and the filling. Make sure it is cold.
- Large eggs – These give the filling a silky, mousse-like texture.
- Sugar – White granulated sugar for the filling and powdered sugar for the topping.
- Water – Just a bit.
- Bittersweet chocolate – A baking bar, finely chopped. Don’t use milk chocolate here.
- Vanilla extract – Make your own with this recipe or use a high-quality natural extract. This will be used in the filling
- Butter – Softened and cut into ½-inch pieces
- Chocolate shavings or cocoa powder – For garnish.
Recommended Tools
How to Make Homemade French Silk Pie
This french silk pie recipe is a little more involved than my typical recipe, admittedly, but it is absolutely worth it. To start, preheat the oven to 400°F and put the oven rack to the lower-third position to prepare to pre-bake the crust.
Be sure to check out the full recipe and ingredient list below
Make the Crust
- Prepare the crust. Roll the dough into a circle that’s about 12 inches in diameter. Gently place it in a 9-inch pie pan. Trim the edge so there’s a 1-inch overhang over the sides of the pie pan. Fold the excess dough under so it sits up on the rim of the pan and flute as desired.
- Refrigerate. Refrigerate for 30 minutes. Remove the crust from the refrigerator and prick the bottom with the tines of a fork. Line the shell with parchment paper and fill it with pie weights.
- Bake. Bake the crust for 20 minutes, until it starts to turn lightly golden. Carefully remove the pie weights and return the crust to the oven to continue baking for another 15 minutes, until golden brown and matte-looking instead of shiny. If the edges of the crust begin to brown too much, cover it with an aluminum ring or pie shield. Transfer to a wire rack and cool.
Make the Filling
- Melt the chocolate. Place the chopped chocolate in a heat-proof bowl and set it over a pot filled with 1-inch of barely simmering water. Stir continuously until the chocolate is fully melted and smooth. Remove the bowl from the pot and set it aside to cool.
- Whip the cream for the filling. Using a stand mixer with a whisk attachment or a handheld electric mixer, beat the heavy cream until stiff peaks form. Refrigerate until ready to use.
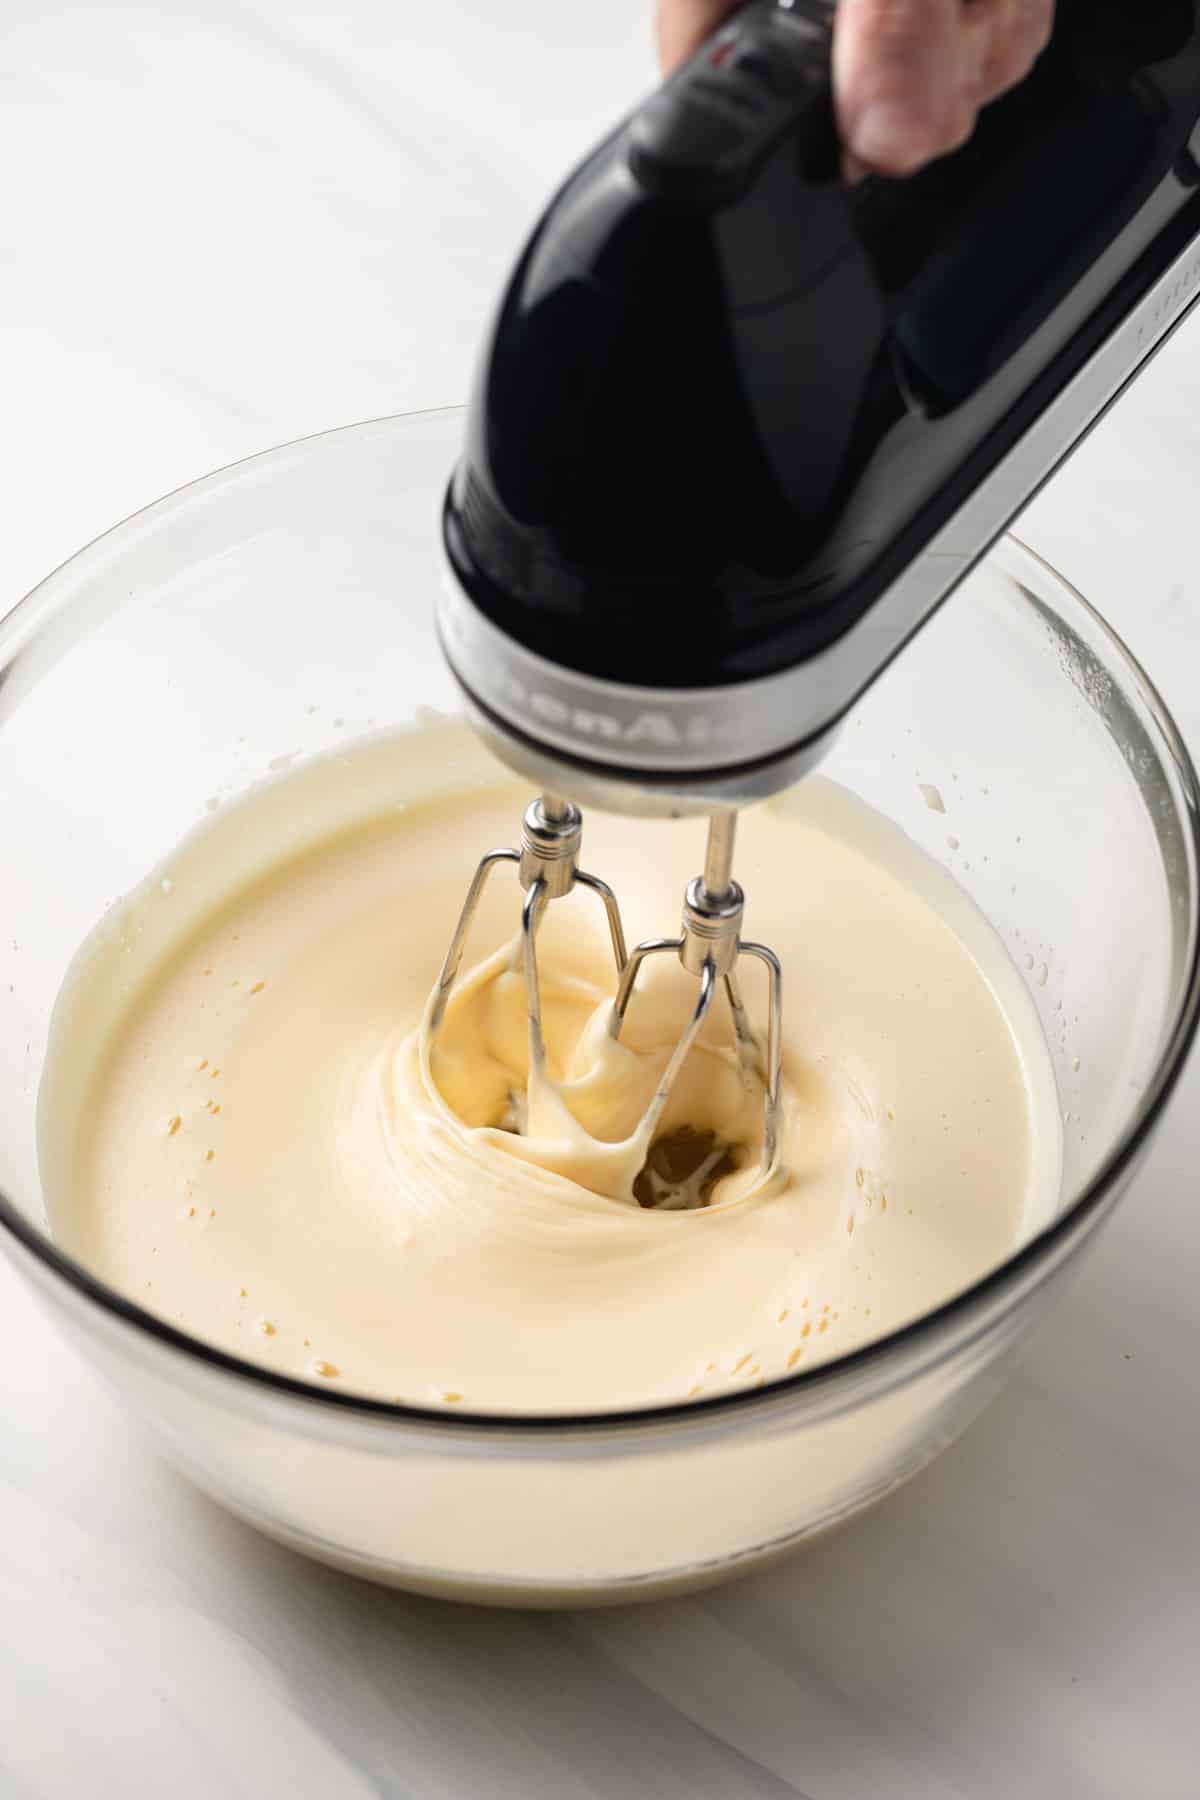
- Cook the base of the filling. Combine the eggs, sugar, and water in a large heat-proof bowl set over a pot filled with 1 inch of barely simmering water. Mix on medium speed until the egg mixture is thickened about 10 minutes (mixture should reach about 160 degrees).
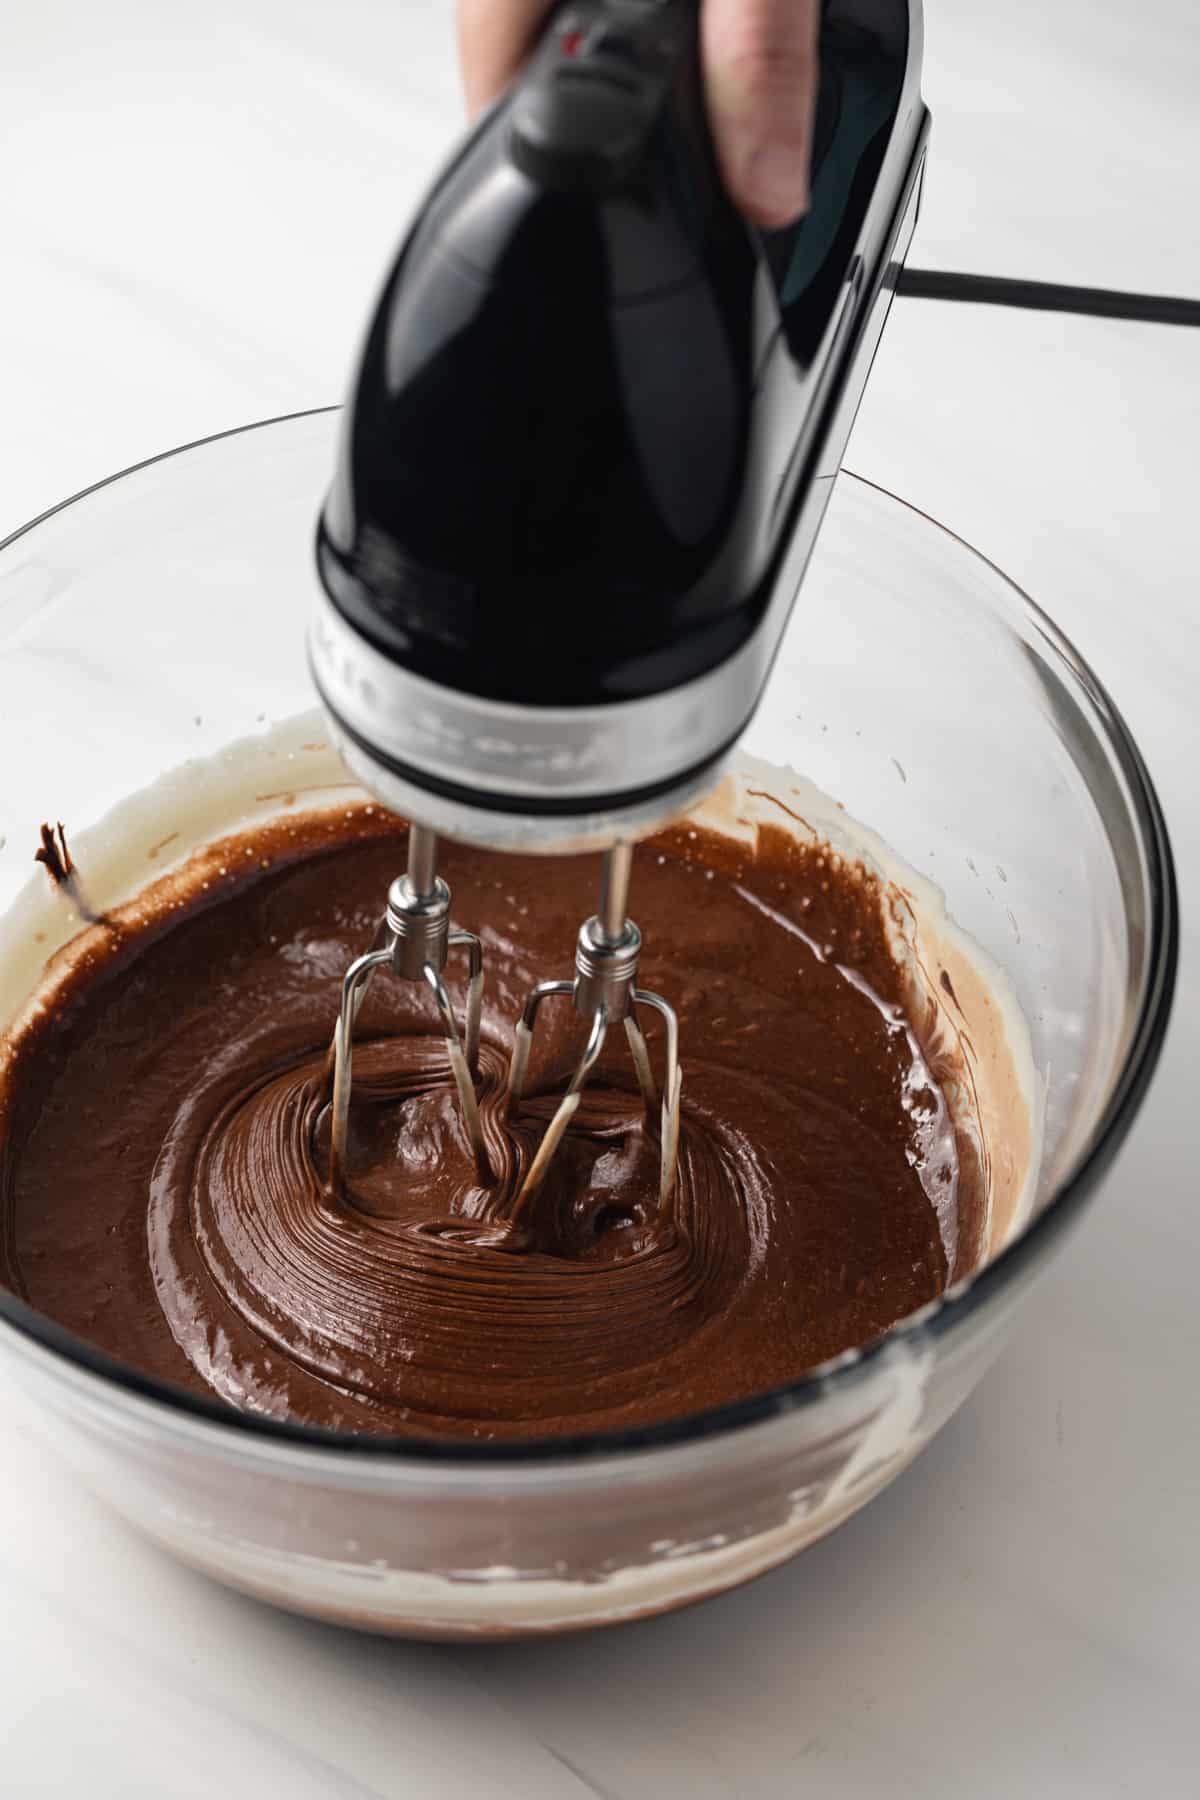
- Continue with the base. Remove from heat. Beat for about 8 minutes, until the egg mixture is completely cooled, light, and fluffy. Incorporate the cooled melted chocolate and vanilla, then beat in the butter a few pieces at a time.
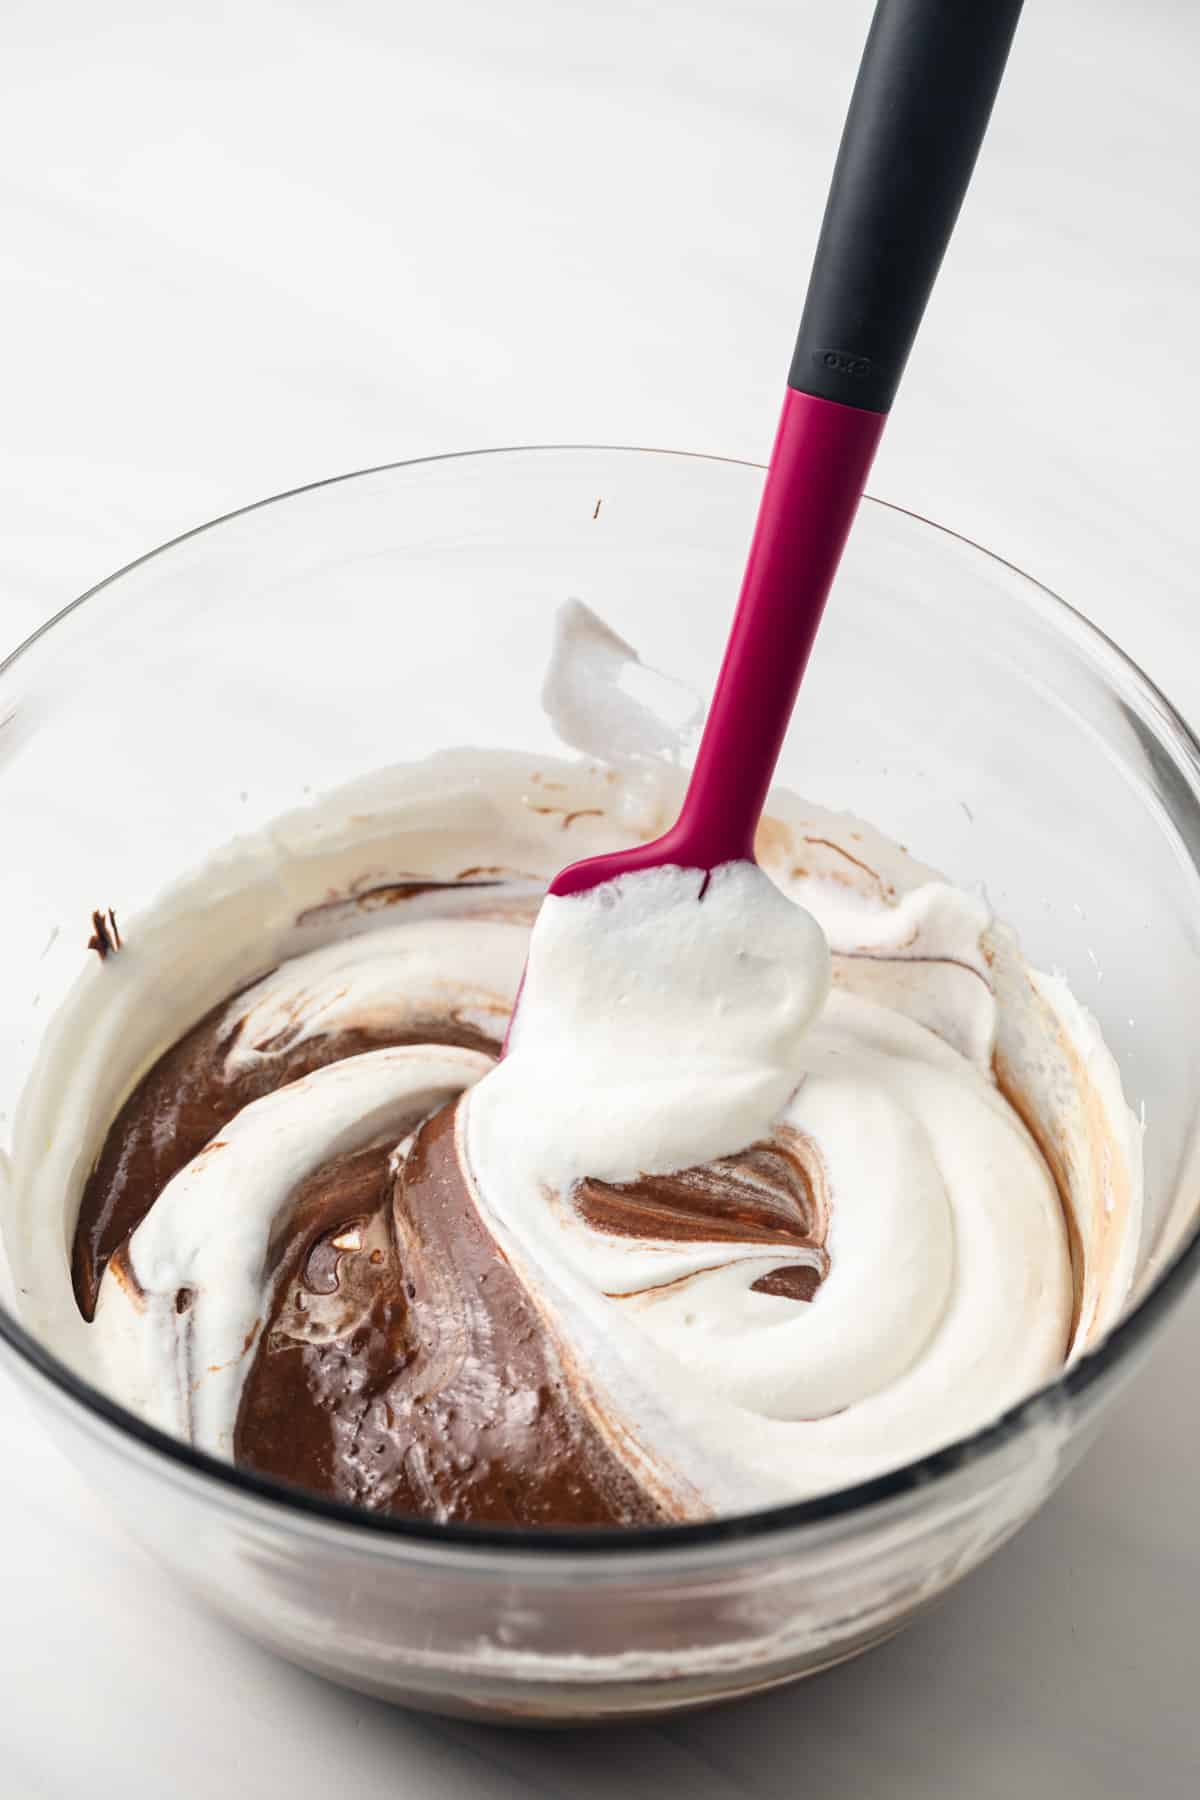
- Fold in the whipped cream. Use a rubber spatula to gently fold in cold whipped cream until no streaks remain.
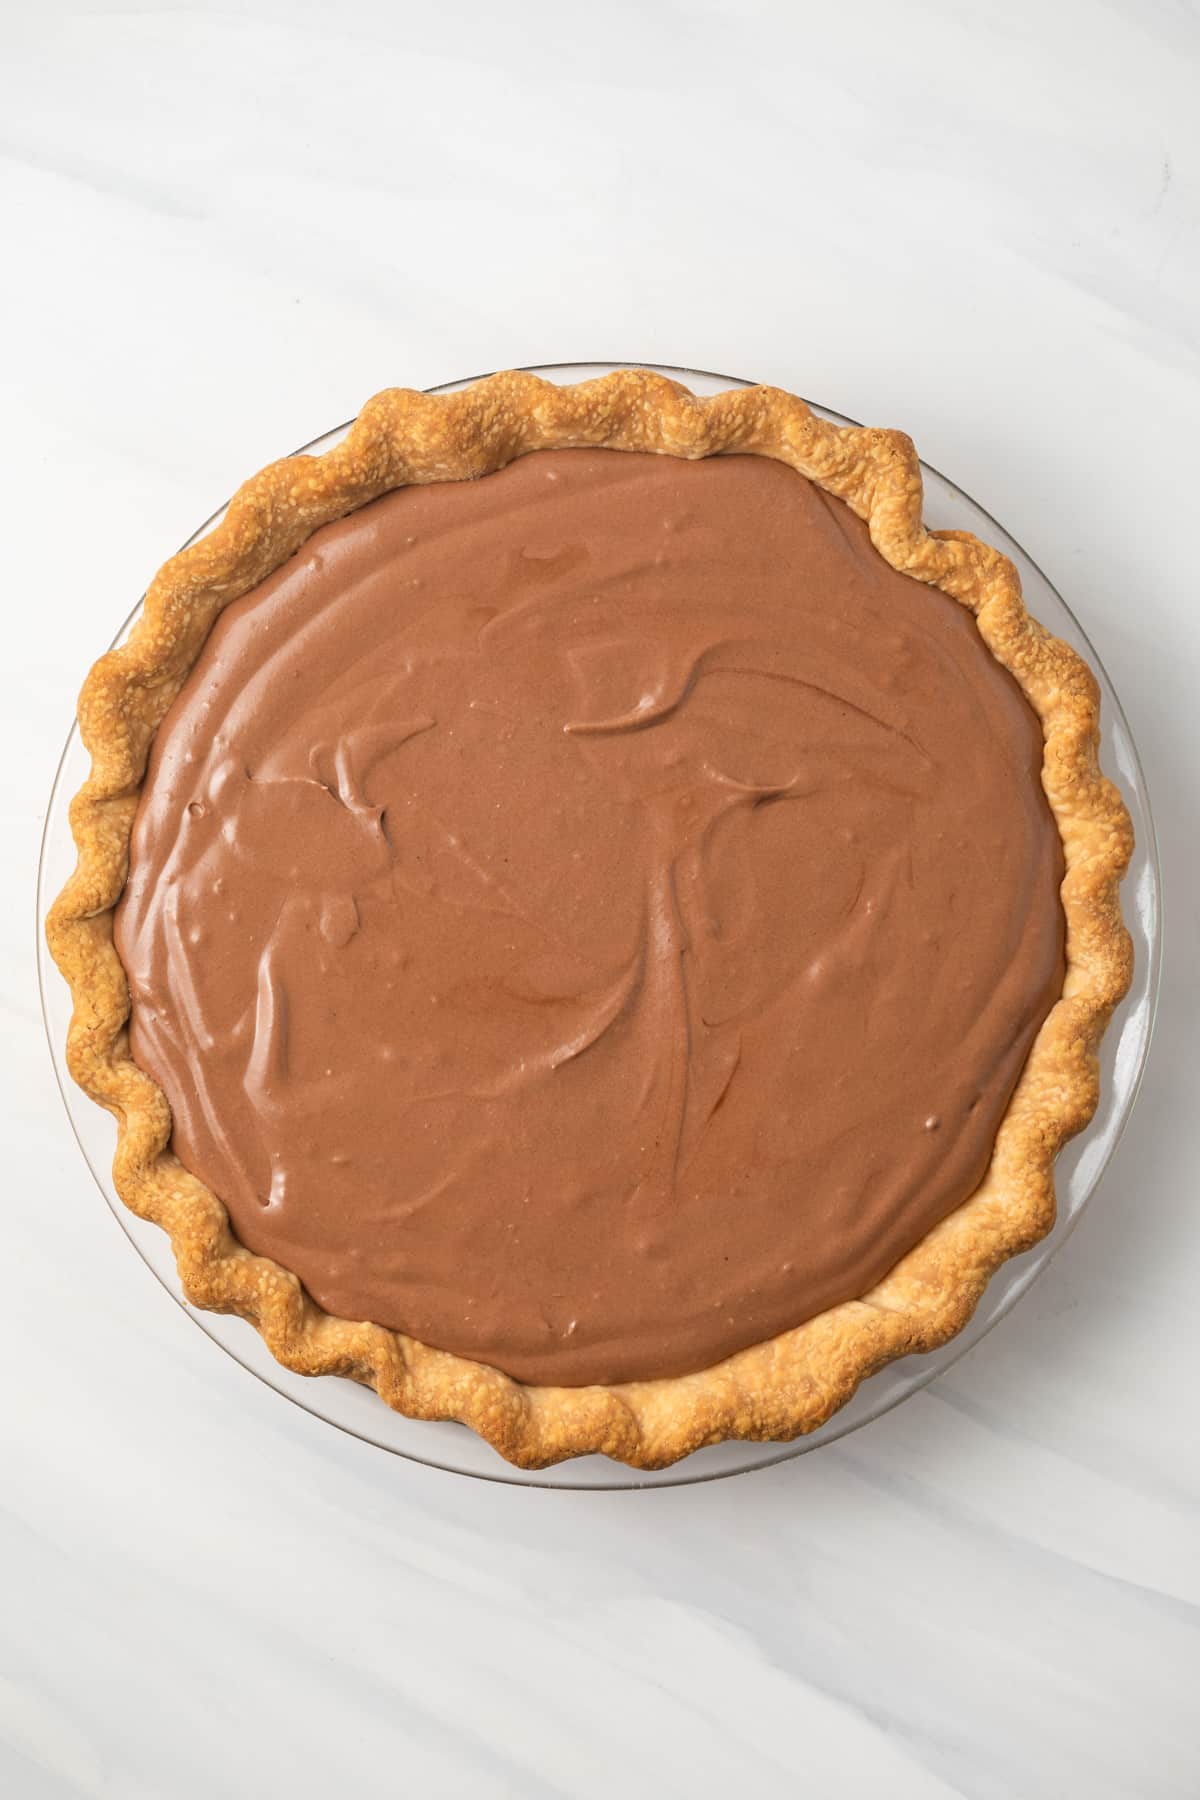
- Pour in crust. Transfer the filling to the cooled pie crust and smooth over the top with an offset spatula. Refrigerate uncovered until set, at least 3 hours.
Make the Topping
- Beat whipped cream. Using an electric mixer to beat the cream, powdered sugar, and vanilla on high speed until stiff peaks form.
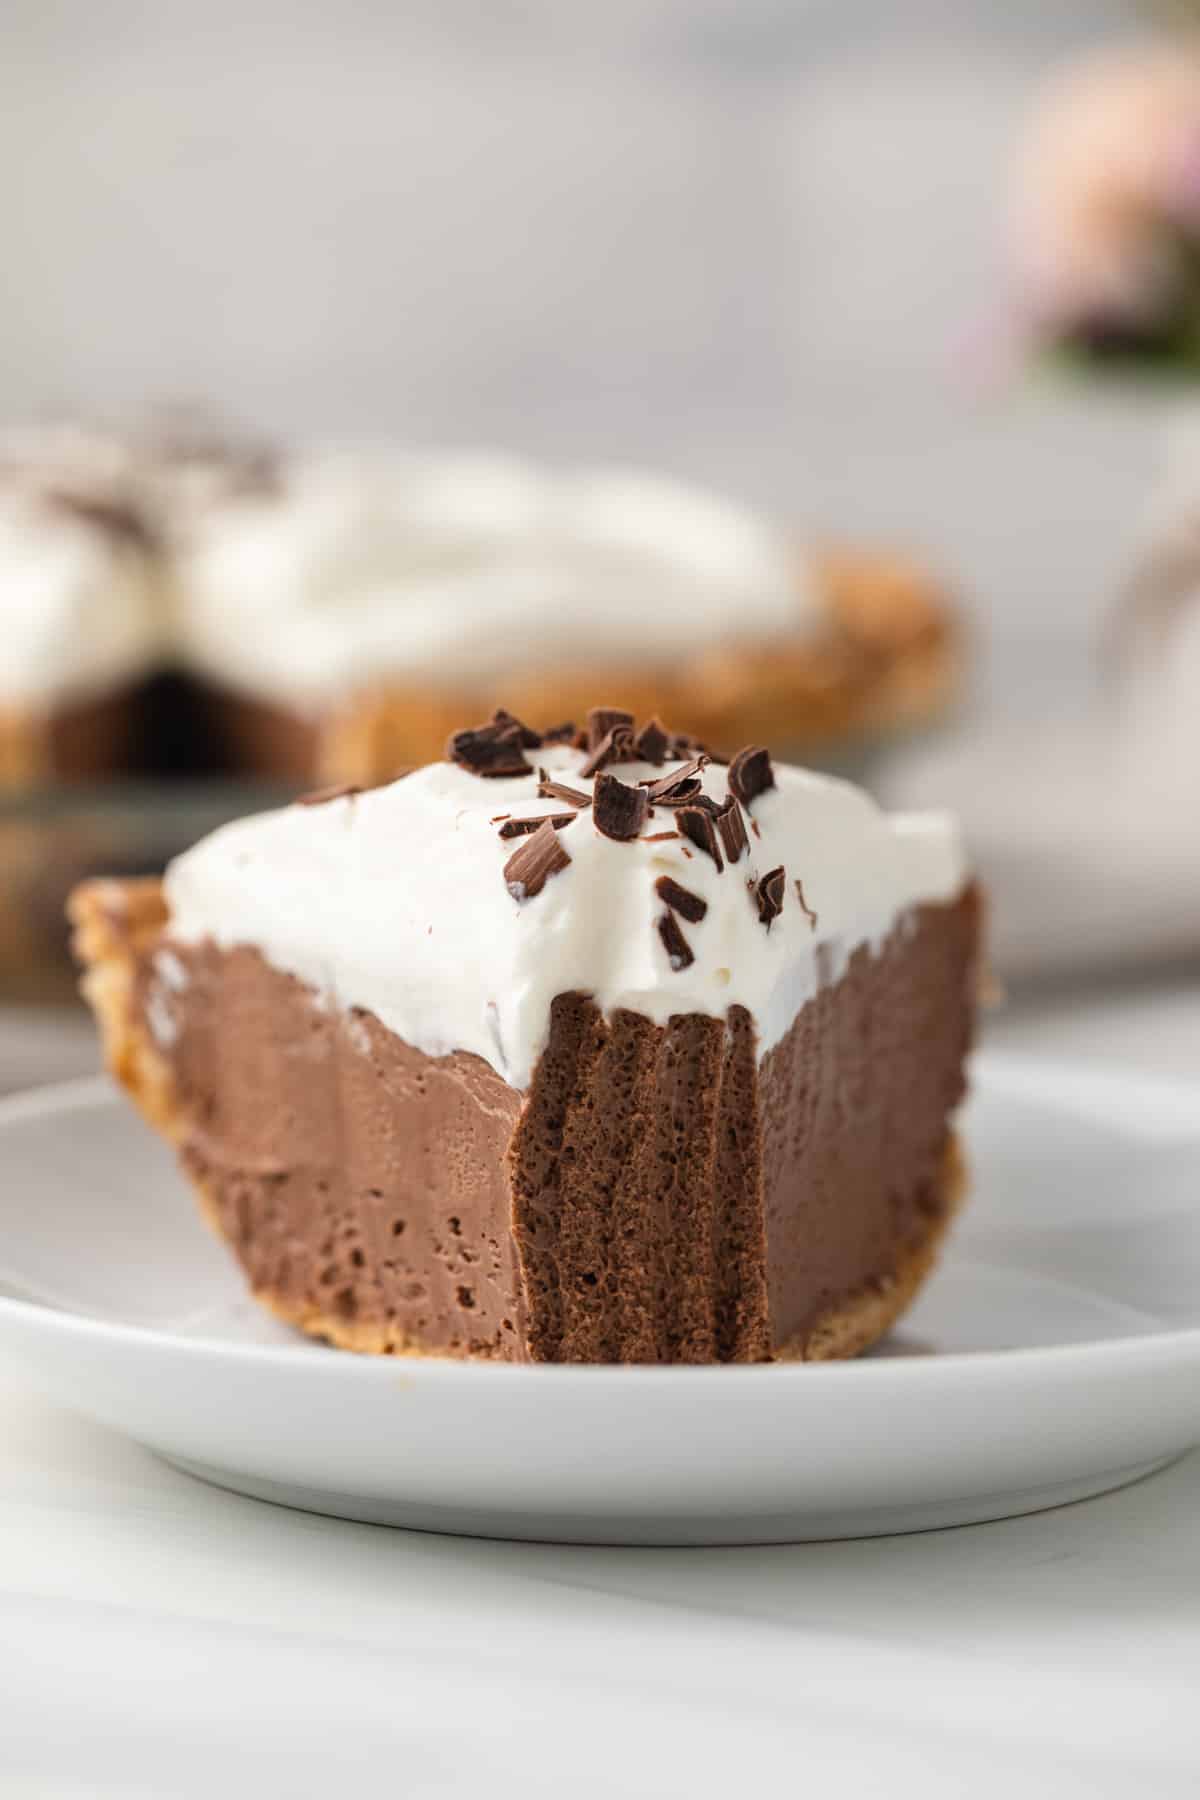
- Top the pie. Top the pie with whipped cream and garnish with chocolate shavings or dust with cocoa powder.
Handy tip:
Baking chocolate must be used for the filling to set correctly. I don’t recommend using chocolate chips.
Tips For Success
- Heavy cream whips up best when it is cold, so make sure your cream is very cold. You can also put the beaters and the bowl in the freezer for about a half hour before using them to make everything extra cold. The whipped cream will whip up incredibly quickly.
- When placing the pie crust in the pan, be very gentle and do not stretch the dough so as to not rip the crust.
- For pie weights, use pie weights, uncooked rice, or dried beans. The rice and beans can’t be cooked later but save and reuse them for future pies. The weights should be evenly distributed in the shell and some should be pressed up the sides.
Storage & Freezing
- Refrigerate the naked pie for up to 2 days before serving.
- Store the whipped cream-topped pie in the refrigerator for up to 5 days.
French Silk Pie
Ingredients
For the crust
- 1 homemade pie crust, or store-bought
For the filling
- 1 ½ cups (360 ml) heavy cream, cold
- 3 large eggs
- 1 cup (200 g) granulated sugar
- 2 tablespoons water
- 8 ounces (226 g) bittersweet chocolate, finely chopped
- 1 teaspoon vanilla extract
- ½ cup (113 g) unsalted butter, softened and cut into ½-inch pieces
For the topping
- 1 cup (240 ml) heavy cream, cold
- 2 tablespoons confectioners' sugar
- 1 teaspoon vanilla extract
- Chocolate shavings or cocoa powder
Instructions
Make the Crust
- Roll the dough into a circle that's about 12 inched in diameter. Gently place it in a 9-inch pie pan without stretching it.
- Trim the edge so there's a 1-inch overhang over the sides of the pie pan. Fold the excess dough under so it sits up on the rim of the pan and flute as desired.
- Refrigerate for 30 minutes.
- Meanwhile, adjust the oven rack to the lower-third position and preheat to 400°F.
- Remove the crust from the refrigerator and prick the bottom with the tines of a fork. Line the shell with parchment paper.
- Fill the lined shell with pie weights, uncooked rice, or dried beans. You won't be able to cook the rice and beans later but they can be saved and reused for future pies. Make sure the weights are evenly distributed in the shell and some are pressed up the sides.
- Bake the crust for 20 minutes, until it starts to turn lightly golden. Carefully remove the pie weights and return the crust to the oven to continue baking for another 15 minutes, until golden brown and matte looking instead of shiny. If the edges of the crust begin to brown too much, cover with an aluminum ring or pie shield.
- Transfer to a wire rack and cool while you make the filling.
Make the filling
- Place the chopped chocolate in a heat proof bowl and set it over a pot filled with 1-inch of barely simmering water. Stir continuously until the chocolate is fully melted and smooth. Remove the bowl from the pot and set it aside to cool while you make the rest of the filling.
- Using a stand mixer with a whisk attachment or a handheld electric mixer, beat the heavy cream at medium-high speed until stiff peaks form, about 3 minutes. Refrigerate until ready to use.
- Combine the eggs, sugar, and water in a large heat-proof bowl set over a pot filled with 1 inch of barely simmering water. Using a handheld electric mixer, mix on medium speed until the egg mixture is thickened and reaches 160°F, about 10 minutes.
- Remove from heat and continue to beat until the egg mixture is completely cooled and fluffy, about 8 minutes.
- Add the melted chocolate and vanilla and beat until incorporated.
- Beat in the butter a few pieces at a time until fully incorporated.
- Use a rubber spatula to fold in cold whipped cream until no streaks remain.
- Transfer the filling to the cooled pie crust and smooth over the top with an offset spatula.
- Refrigerate uncovered until set, at least 3 hours.
Make the topping
- Using an electric mixer to beat the cream, powdered sugar, and vanilla on high speed until stiff peaks form.
- Top the pie with whipped cream and garnish with chocolate shavings or dust with cocoa powder.
Notes
- Chocolate: Baking chocolate must be used for the filling to set correctly. I don’t recommend using chocolate chips.
- The naked pie may be refrigerated for up to 2 days before serving.
- Whipped cream-topped pie can be stored in the refrigerator for up to 5 days.
Nutrition
The nutrition information provided is for convenience and as a courtesy only. It is not guaranteed to be accurate because nutrition information can vary for a variety of reasons. For precise nutritional data use your preferred nutrition calculator and input the exact ingredients and brands you used in the recipe.
